
You’ll start by evaluating your pool’s structural integrity and positioning the light niche at least 18 inches below the waterline. Next, you’ll install the niche securely and bond all metallic components within five feet using proper gauge wire. Then, you’ll run electrical conduit from your junction box while maintaining adequate burial depth and sealing connections. You’ll mount the fixture with a waterproof gasket, tightening screws evenly. Finally, you’ll test voltage, grounding, brightness, and GFCI functionality. Each step builds on critical safety fundamentals that warrant further exploration.
Prepare Your Pool and Select the Right Location
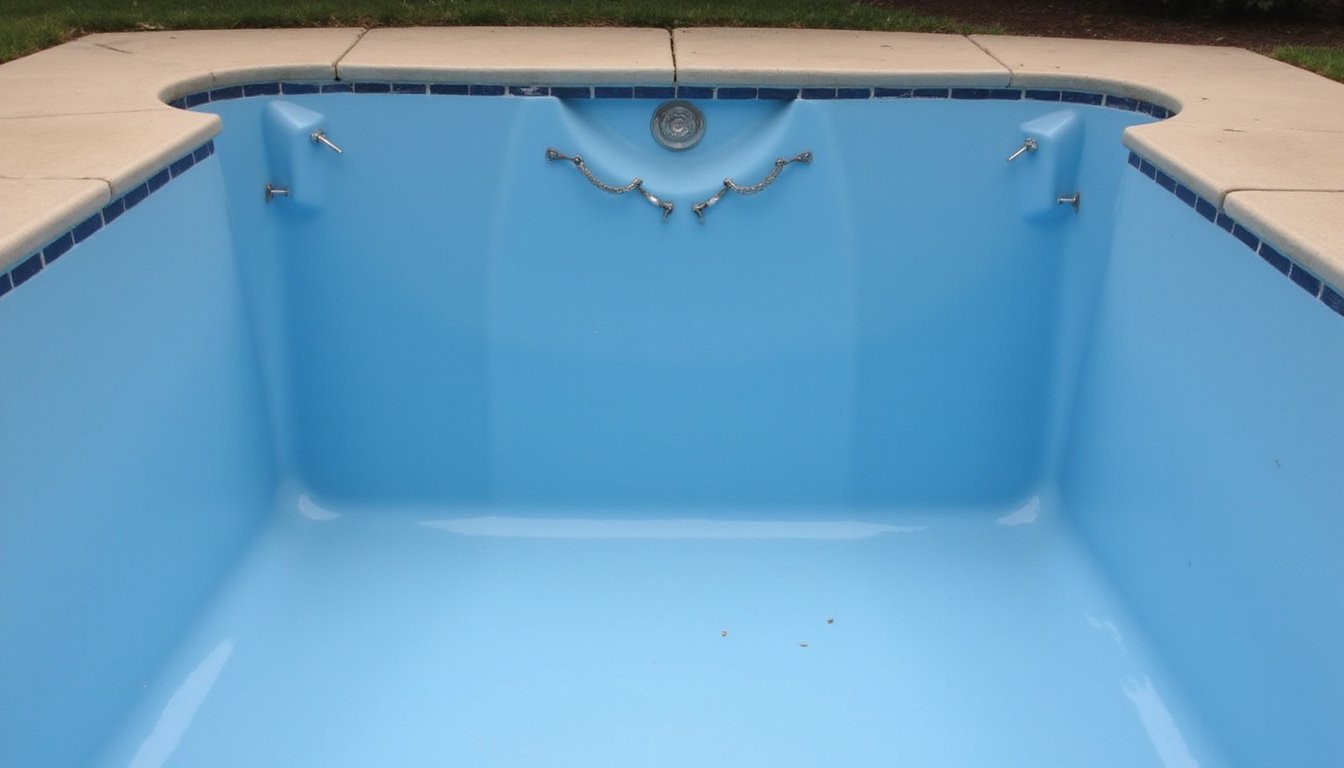
Before you drill into your pool’s walls or mount any fixtures, you’ll need to assess your pool’s structural integrity and identify the best location for your lighting system. Inspect structural integrity by evaluating your pool type, gunite, vinyl, or fiberglass, since each requires different installation methods. Check wall thickness and examine for cracks or leaks at prospective light locations. Examine pool chemistry and water clarity to identify maintenance needs before installation. The light niche should be installed in the deep center wall of your pool for optimal positioning and safety.
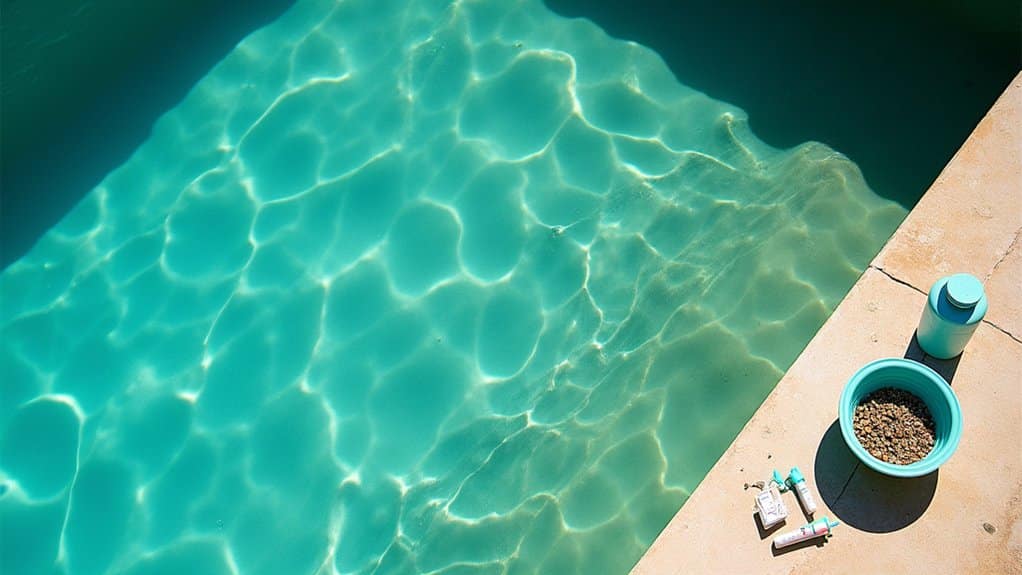
Position lights at least 18 inches below the waterline to minimize glare and optimize aesthetics. Space multiple fixtures evenly to prevent dark spots and guarantee uniform illumination across main swimming zones. Avoid installing near ladders, returns, or fittings to reduce obstruction risks. Consider choosing between energy-efficient LED and brighter halogen lights based on your long-term budget and performance preferences. LED lights can save about 80% more energy than halogen alternatives, making them a cost-effective choice for long-term pool maintenance. Clean the installation area thoroughly with non-abrasive solutions, allow it to dry completely, and mark proposed spots with waterproof markers for precision placement.
Install the Niche and Secure the Housing
With your installation location and mounting surface prepared, you’re ready to position the niche and establish proper bonding before securing it to the pool structure. Proper placement of the niche requires orienting it with the pilot screw hole at 12 o’clock and ensuring the light lens sits at least 18 inches below normal water level. Check niche alignment by verifying it’s flush with the pool wall and rebar. For concrete pools, tie the niche to rebar using wire to prevent shifting during concrete placement. Bond the niche housing to all metallic items within 5 feet using No. 8 AWG wire connected to the rear bonding lug. For fiberglass pools, assemble the locking clamp from outside and secure with self-tapping screws. Confirm the seating surface is clean and debris-free before proceeding.
Run Electrical Conduit and Complete Bonding
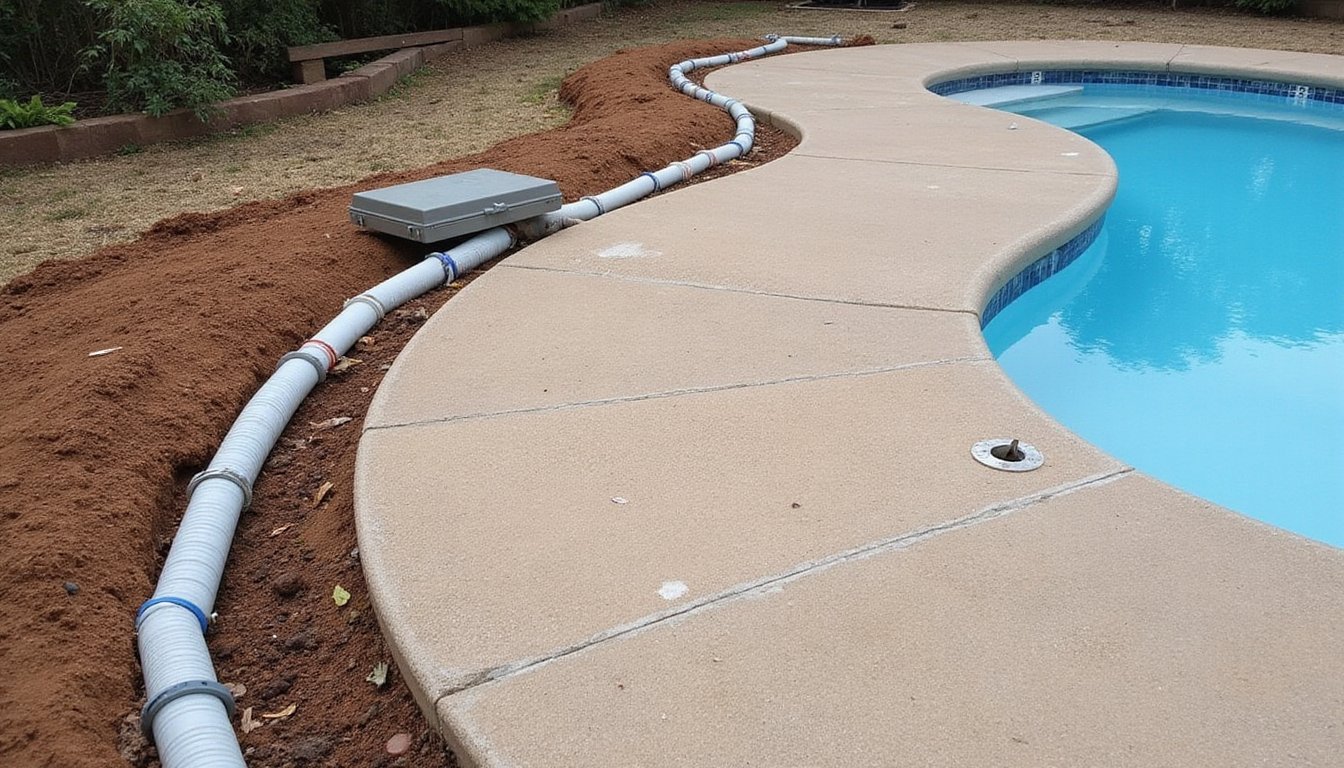
The electrical infrastructure you’re about to install forms the backbone of your pool light system’s safety and functionality. You’ll route conduit from the junction box to the pool light niche, securing it against movement and damage. For underground conduit burial, maintain a 2 3 foot depth to protect against landscaping interference and freeze damage. Run conduit in straight paths where possible to minimize cable stress and simplify future maintenance. Seal all connections with silicone to guarantee watertight integrity. Next, establish grounding wire integrity by connecting a dedicated ground wire from the fixture’s grounding terminal to the junction box. Bond all metal components, niche, ladder sockets, pool walls, using #8 bare copper wire encircling the pool structure. Before beginning any work, turn off the power supply to ensure your safety throughout the installation process. Consulting local electrical codes for specific requirements ensures your installation complies with safety standards and regulations in your area. Inspect all connections for corrosion and secure fastening before energizing your circuit.
Mount the Light Fixture and Seal Waterproof Components
Now that you’ve established your electrical infrastructure, it’s time to mount the light fixture and create a watertight seal that’ll protect your pool system from costly water damage and electrical hazards.
Position the fixture’s pilot screw hole at 12 o’clock and secure it using provided mounting screws without overtightening. Install the gasket firmly and evenly between the light and niche, then apply waterproof sealant around all edges. Guarantee the fixture sits flush against the pool wall with no visible gaps.
Tighten all screws in a crisscross pattern for even pressure distribution. Perform waterproof integrity checks by gently tugging the power cord to confirm seal retention and wire adjustability. Conduct a thorough installation quality inspection, confirming all surfaces are debris-free and gaskets are properly seated before final sealing.
Test Functionality and Verify Safe Operation
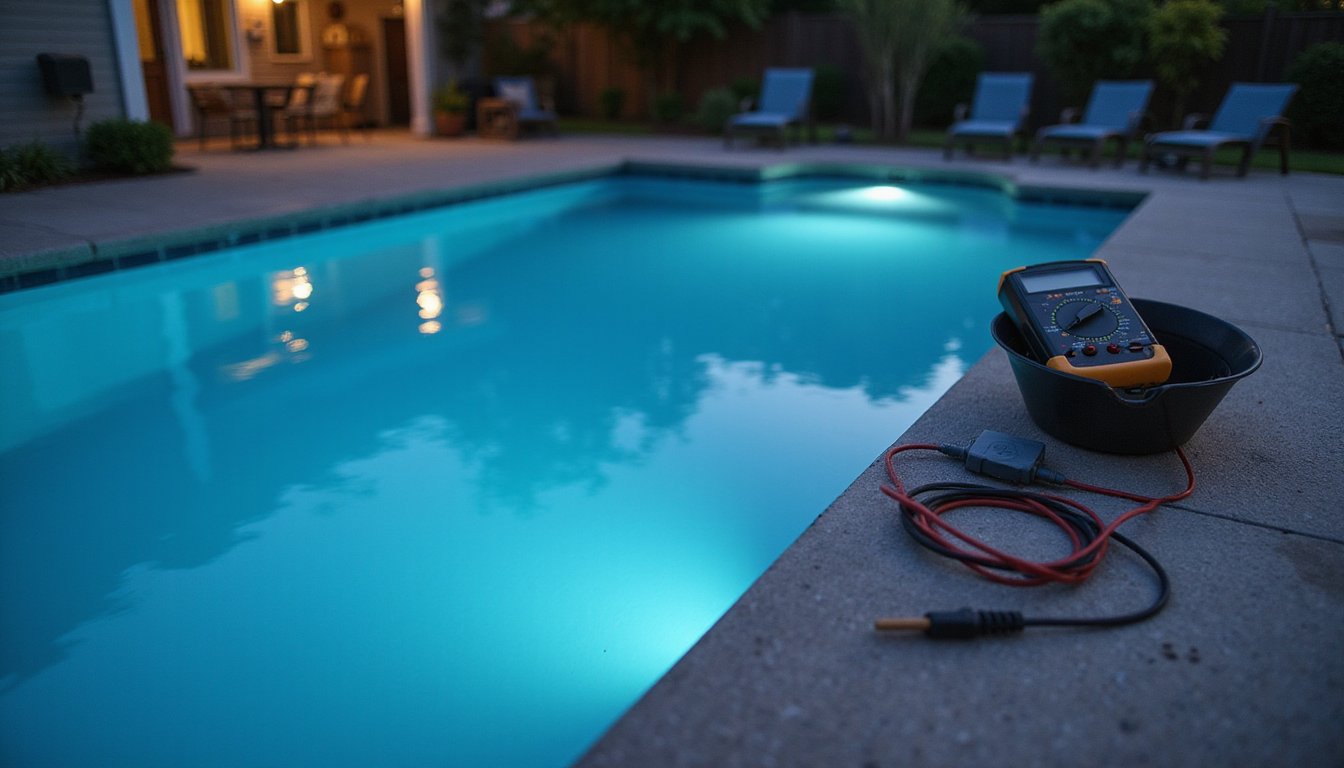
Your installation’s success hinges on thorough testing and verification before you consider the project complete. Start by shutting off power at the breaker and using a voltage tester to confirm zero current. Inspect electrical panel connections for signs of overheating or loose wiring. Confirm grounding integrity by verifying proper bonding per NEC standards. Restore power and activate the light switch, observing for consistent brightness without flickering. Run multiple on-off cycles to identify intermittent faults. Check the fixture interior for moisture, rust, or mineral deposits indicating water intrusion. Examine the gasket for cracks and housing for warping. Test your GFCI to guarantee it trips immediately when activated. Professional electricians should verify all wiring connections comply with industry standards to ensure electrical safety compliance. Watch for dim or flickering light conditions during operation, as these are common signs indicating potential fixture or wiring problems that require further investigation. Addressing these issues early prevents escalation into major problems that could compromise safety and require extensive repairs. Document all findings and schedule professional inspections periodically to maintain compliance and safety standards.
Frequently Asked Questions
How Often Should I Inspect My Pool Light for Corrosion and Water Infiltration?
You should conduct regular visual inspections of your pool light monthly during swimming season and quarterly when the pool’s closed. You’ll need to schedule professional maintenance checks annually before the swimming season starts. At minimum, you must inspect your fixture at least once per season, focusing on corrosion and water infiltration signs. However, local regulations or manufacturer specifications may mandate more frequent inspections, particularly if you’re in regions experiencing harsh environmental conditions.
Can I Operate My Pool Light When It’s Not Submerged in Water?
No, you shouldn’t operate your pool light outside water. You’re risking electrical shock and rapid overheating that’ll destroy the fixture in minutes. Without proper wiring safety precautions and water’s cooling effect, you’re violating manufacturer specifications and NEC regulations. The lens can shatter from heat buildup, and you’ll void your warranty. Always guarantee your light’s submerged, turn off the circuit before servicing, and use insulated tools when performing maintenance work.
When Should I Replace the Lens Gasket on My Pool Light Fixture?
You should replace your pool light’s lens gasket every 3 4 years as an industry standard. However, you’ll want to expedite this timeline if you’re using frequent pool chemicals, which substantially degrades gasket material. Don’t wait for problems; replace it immediately if you detect water or moisture inside the fixture. When selecting replacement gasket material, you must verify it’s specifically formulated for chemical and UV resistance in your pool environment.
What Voltage Ratings Are Safe for Underwater Pool Light Installations?
You’ll find that 12V and 24V are your safest underwater pool light voltage ratings. The NEC mandates low voltage requirements for fixtures within 5 feet of water, powered by UL 379 transformers. If you’re using 120V systems, you’ll need ground fault protection, grounding, and bonding at increased distances. Never exceed 36V for direct submersion. Always verify your local electrical codes; they’ll dictate specific voltage compliance for your installation.
How Deep Should Electrical Conduit Be Buried for Pool Light Wiring?
You’ll bury PVC conduit at least 18 inches deep in soil, or 6 inches if you’re placing it under 2 inches of concrete. For direct-burial cable, you’re required to go 24 inches deep. You must use appropriate conduit materials, corrosion-resistant metal or PVC, and guarantee proper soil compaction requirements by backfilling with clean material free of rocks or sharp objects that could damage your wiring during settling.