Transforming your outdoor space into a haven for fun and relaxation doesn’t have to be a daunting task. With a few DIY projects, you can turn your backyard, garden, or patio into a personalized oasis perfect for gatherings, entertainment, and unwinding after a long day. Whether you want to enjoy a cozy movie night under the stars or add a charming path through your garden, these DIY ideas can help you make the most of your outdoor area.
Creating a DIY outdoor movie theater is a fantastic way to bring family and friends together for a unique cinematic experience. Imagine setting up a big screen, comfy seating, and twinkling lights to watch your favorite movies with the night sky as your ceiling. It doesn’t take much to set up, and the memories you’ll create are priceless.
Another great project is building a simple garden pathway. A well-planned pathway not only adds functionality by guiding foot traffic but also enhances the beauty of your garden. It’s a manageable project that can make your garden look well-tended and inviting. By choosing the right materials and following a clear building guide, you can create a charming pathway that suits your style.
Read on to discover more exciting DIY projects, like constructing a backyard fire pit and adding creative lighting, to make your outdoor space truly shine.
Creating a DIY Outdoor Movie Theater
Gathering the Essential Equipment
To create your own outdoor movie theater, you’ll need some basic equipment. Start with a good-quality projector that can deliver clear images even in an outdoor setting. Look for one with high brightness levels so the picture remains visible as the sun sets. You’ll also need a screen, which can be as simple as a white sheet or a professional outdoor projector screen. Don’t forget an audio system; portable speakers or Bluetooth sound systems work great for this.
Next, think about how you’ll play your movies. A laptop or a streaming device like a Roku or Amazon Fire Stick can be connected to the projector. Make sure you have all the necessary cables and adapters to hook everything up. Extension cords and power strips are also handy to keep your equipment running without any power interruptions.
Setting Up the Perfect Screen and Seating
Once you have your equipment, it’s time to set up the screen and seating area. Choose a flat surface for the screen, such as a wall or a frame you build yourself. Make sure it’s stable and positioned where everyone can see it clearly. If you’re using a sheet, secure it tightly to avoid wrinkles or flapping in the wind.
For seating, comfort is key. Arrange a variety of seating options like lawn chairs, hammocks, or even cozy blankets and pillows on the ground. Think about the layout so that everyone has a good view of the screen. Adding some folding tables or trays can be useful for holding snacks and drinks. Make sure there’s plenty of space for everyone to relax and enjoy the movie.
Adding Cozy Touches for an Amazing Movie Night
Make your outdoor movie night truly special with some cozy touches. String lights or lanterns can provide soft, ambient lighting without distracting from the screen. Consider adding some citronella candles or tiki torches to keep bugs away while adding to the atmosphere.
Think about having a snack station nearby with popcorn, candy, and drinks. You can even set up a small bar or cooler with cold beverages. Blankets and pillows will not only make your seating area more comfortable but also keep everyone warm as the night gets cooler. Personalize the space with decorations or themed items related to the movie you’re showing. These small additions will create a cozy, inviting atmosphere that everyone will love.
Building a Simple Garden Pathway
Choosing the Right Materials
The first step in building a garden pathway is choosing the right materials. Gravel, bricks, and stepping stones are popular options. Gravel is easy to work with and provides good drainage, but it might require more upkeep. Bricks give a more formal look and are durable, though they can be more expensive and labor-intensive to install. Stepping stones offer a natural look and are simple to lay out, making them ideal for DIY projects.
Consider the overall look you want and the amount of maintenance you’re willing to do. Also, think about the weather conditions in your area, as some materials hold up better in different climates. Picking the right material will ensure your pathway looks great and lasts a long time.
Planning the Layout of Your Pathway
Next, plan the layout of your pathway. Decide where you want it to start and end, and mark it out using stakes and string or garden hose. Make sure the pathway is wide enough for comfortable walking, generally about 2-3 feet wide. Design it to follow the natural flow of your garden, curving around trees, flower beds, or other garden features.
Take your time to walk along the planned route and make adjustments as needed. You want the pathway to feel natural and inviting, guiding guests wherever you want them to go. Clear the path of any debris, roots, or large rocks that might interfere with the building process.
Step-by-Step Building Guide
1. Prepare the Ground: Begin by digging out the path to a depth of about 4-6 inches, depending on the material you chose.
2. Install Edging: Use plastic or metal edging to keep your pathway materials in place and give it a neat, finished look.
3. Lay a Base Layer: For gravel or stone paths, add a layer of landscape fabric to prevent weeds. Then, add a 2-inch layer of sand or crushed stone as a base.
4. Place Your Material: Lay down your chosen material carefully. If using stepping stones, place them evenly apart, making sure each stone is level.
5. Fill in the Gaps: For gravel paths, fill the path with gravel, raking it smooth. For brick or stone paths, sweep sand or fine gravel into the cracks to secure the pieces in place.
6. Compact the Material: Use a tamper tool to compact the pathway material, ensuring everything is stable and level.
Building a garden pathway is a rewarding DIY project that can transform your outdoor space, making it both functional and beautiful.
Constructing a Backyard Fire Pit
Selecting a Safe Location
Choosing the right spot for your fire pit is crucial for safety. Look for an open area that is at least 10 feet away from any structures, trees, or overhanging branches. Make sure the ground is level and free of any obstructions. It’s also wise to keep your fire pit away from high-traffic areas to prevent accidents. Check with local regulations and any community guidelines to ensure you’re following the rules.
Consider wind direction when picking the location. You want to avoid having smoke blowing directly towards your house or seating areas. Safety should always be the top priority, so take your time to choose a spot that minimizes any risks.
Materials and Tools Needed
To build a simple fire pit, you’ll need a few materials and tools. Here are the basics:
1. Materials:
– Fire bricks or pavers
– Gravel or sand
– Metal fire ring (optional)
– Concrete (for permanent pits)
2. Tools:
– Shovel
– Level
– Tape measure
– Tamper tool
– Trowel (if using concrete)
Make sure you have all the materials and tools on hand before you start. This will help the building process go smoothly and efficiently.
Building and Safety Tips
1. Prepare the Ground: Dig out a circular area about 6 inches deep and slightly wider than your fire pit. Fill the bottom with a layer of gravel or sand for drainage.
2. Lay the Foundation: Place the first layer of fire bricks or pavers in a circle, making sure they are level. Use a level tool to check as you go and adjust as needed.
3. Build Up the Walls: Continue stacking the bricks or pavers, staggering the seams for stability. If you’re using concrete, apply it between bricks for extra strength.
4. Install the Fire Ring: If you have a metal fire ring, place it inside the pit. This helps contain the fire and extends the life of your bricks.
5. Check Stability: Once the structure is complete, give it a final check to ensure everything is stable and secure.
Safety Tip: Always have a bucket of water, hose, or fire extinguisher nearby. Never leave the fire unattended, and make sure it is completely out before leaving the area or going to bed.
Enhancing Your Space with DIY Lighting
Creative Lighting Ideas
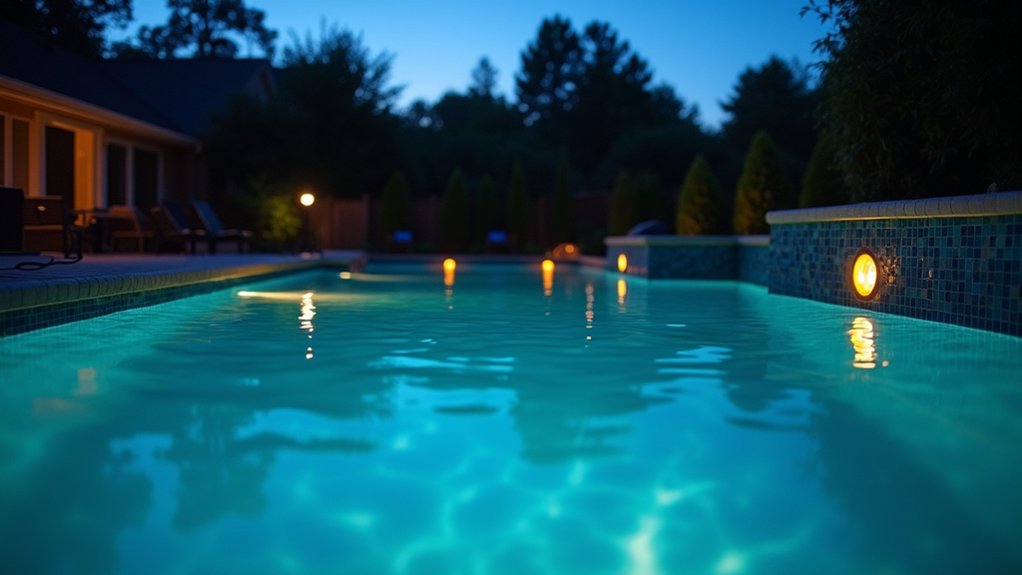
One way to transform your outdoor space is by adding creative lighting. String lights are a popular choice and can be hung across patios or wrapped around trees to create a warm, inviting atmosphere. Lanterns, whether solar-powered or with real candles, add a rustic touch and can be placed along pathways or around seating areas. You can also use LED fairy lights inside glass jars for a magical effect.
For a more permanent solution, you might consider installing garden lights along walkways or spotlighting key features like trees and flower beds. Mixing and matching different types of lighting can add depth and character to your outdoor space, making it both functional and beautiful.
How to Make String Light Poles
Creating DIY string light poles is easier than you might think, and it’s a great way to hang lights without needing nearby structures. Here’s how to do it:
1. Materials:
– Wooden or metal poles (8-10 feet tall)
– Planters or buckets
– Concrete mix
– String lights
– Hooks or cable ties
2. Steps:
1. Fill the bottom of the planters or buckets with concrete mix and insert the poles. Make sure the poles are straight and allow the concrete to set.
2. Once the concrete is dry, move the planters to your desired locations.
3. Attach hooks or cable ties to the tops of the poles to hold the string lights.
4. String the lights between the poles, securing them as you go.
This setup gives you the flexibility to place your string lights wherever you need them and is sturdy enough to withstand windy conditions.
Installing Solar Garden Lights
Solar garden lights are an eco-friendly and cost-effective way to brighten your outdoor space. They are simple to install and don’t require any wiring. Follow these easy steps:
1. Choose Your Lights: Pick solar lights that match your style and needs. Consider the brightness and run time of the lights.
2. Placement: Decide where you want to place the lights. Ideally, they should be in areas that receive direct sunlight for most of the day.
3. Installation: Insert the stakes into the ground, ensuring the solar panels are facing up and free from obstructions. Most solar lights come with built-in stakes that make this step straightforward.
Solar garden lights add an elegant glow to your pathways and garden features, enhancing your outdoor space while being gentle on the environment.
Conclusion
Creating a welcoming and enjoyable outdoor space doesn’t have to be complicated. From setting up a DIY outdoor movie theater and building a simple garden pathway to constructing a backyard fire pit and enhancing your space with creative lighting, there are many projects you can tackle to transform your backyard. Each of these projects is designed to be simple enough for beginners while providing a big impact.
At Prime Pool Market, we’re here to help you make the most of your outdoor living areas. Visit our website for more tips, tools, and outdoor living supplies to bring your DIY ideas to life. Make your backyard the ultimate retreat with Prime Pool Market.


