
To fix your pool light, first shut off power at the main electrical panel and verify zero current with a voltage tester. Next, unscrew the retaining screw, gently pry the fixture loose, and inspect for damage or water intrusion. Finally, replace the bulb with a compatible model, install a new gasket, and reassemble the lens carefully. Tighten all components firmly without over-torquing. For detailed guidance on each step and safety considerations, further exploration of this process’ll equip you with complete confidence.
Ensure Power Safety
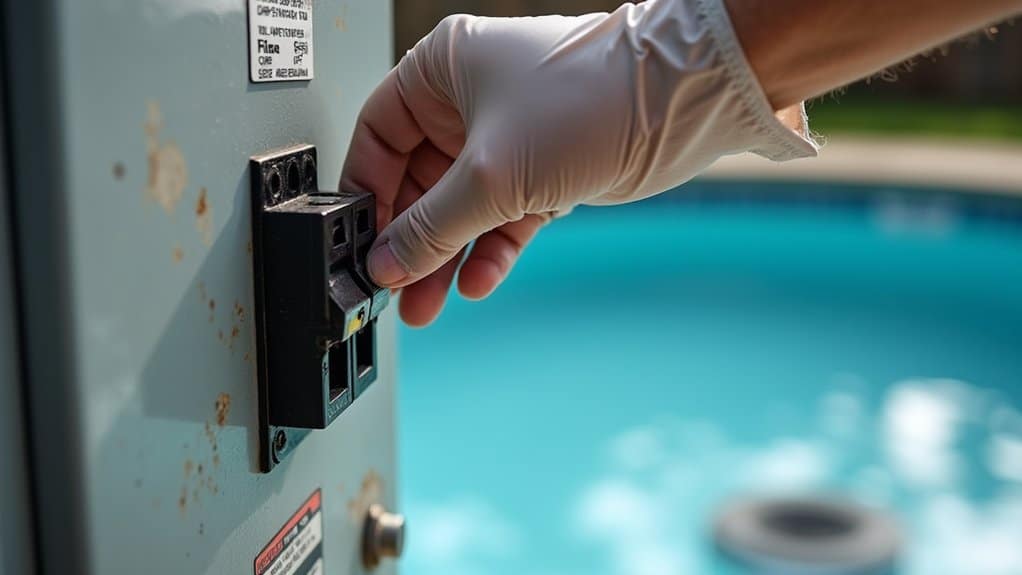
Before you touch any pool light fixture, you’ll need to shut off and lock out the power at your home’s main electrical panel and then verify with a voltage tester that zero current’s running through the circuit. Apply lockout/tagout procedures to prevent accidental re-energizing during repair work.
Next, deactivate all associated timers, remote controls, and automated pool systems connected to the lighting. Don’t proceed if you can’t positively verify the circuit’s de-energized contact a licensed electrician instead. Failure to follow National Electrical Code standards creates serious risks of electrocution and fire hazards for you and pool users. The combination of water and electricity makes pool lighting repairs particularly dangerous if proper safety protocols aren’t observed. Ground fault circuit interrupters provide essential protection against electrical hazards during any repair work on pool systems.
Once power’s confirmed off, inspect the pool light’s junction box for proper grounding connections and bonding integrity. Use continuity testing to verify that bonding wires remain intact and continuous throughout the pool’s entire system, including ladders and rails. Perform continuity testing again after reassembly before re-energizing the system.
Remove and Inspect the Pool Light Fixture
With power safely disconnected and verified off, you’re ready to remove the fixture from the pool wall. Locate the retaining screw at the fixture’s top and carefully unscrew it without dropping it into the pool. Gently pry the fixture loose, avoiding forceful pulling that could damage the cord or liner. Rest the fixture on the pool deck with adequate cord slack.
Next, inspect the exterior housing for cracks, chips, and exposed wiring. Examine the face ring and lens for mineral deposits or deformities. Check metal components for rust or corrosion. Assess the cord’s integrity where it enters the fixture and check sealing integrity of the waterproof grommet. Look for fraying or moisture seepage. Inspect for water intrusion inside the housing, which indicates a failed gasket or compromised seal requiring replacement. A failed gasket allows water to seep into the light housing, potentially causing corrosion of internal components and electrical hazards that necessitate professional repair or complete fixture replacement.
Replace Bulb and Reassemble Fixture
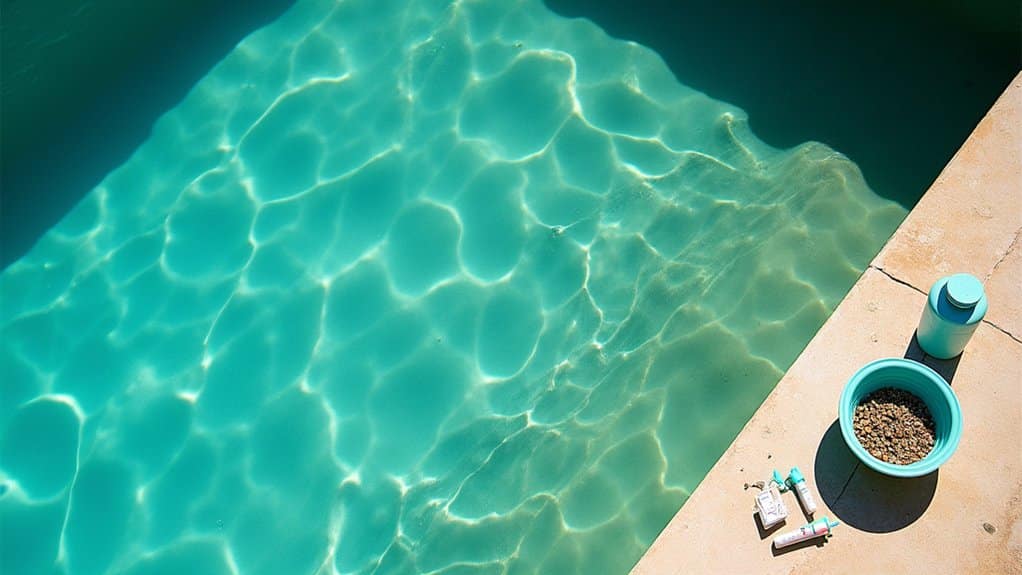
Now that you’ve inspected the fixture and confirmed its condition, you’re ready to install a replacement bulb and reassemble the housing. First, confirm bulb compatibility by verifying the type, wattage, and voltage match your fixture’s requirements. Insert the replacement bulb gently, turning clockwise until snug avoid overtightening to prevent breakage. For halogen bulbs, use a paper towel to prevent skin oils from damaging the glass. Before you begin, make sure to turn off the power to the pool area to ensure your safety while working with the fixture.
| Step | Action | Consideration |
|---|---|---|
| Install Bulb | Turn clockwise until secure | Don’t overtighten |
| Position Gasket | Place evenly around lens | Prevent twisting |
| Attach Lens | Align with housing carefully | Guarantee centered fit |
| Tighten Hardware | Secure clamps or screws firmly | Avoid lens cracks |
Next, install a new gasket evenly around the lens to maintain the watertight seal. Carefully position the lens over the bulb, align it with the housing, and tighten all clamps or screws firmly without over-torquing. If you encounter any electrical hazards or complex issues during reassembly, consult a professional rather than risk injury. LED bulbs can last up to 50,000 hours, significantly reducing the frequency of future replacements. Dry all external surfaces before testing.
Frequently Asked Questions
What Type of Bulb Should I Use for My Specific Pool Light Model?
To determine which bulb you’ll need, you’ve got to identify your specific model first. Check your fixture’s back panel or owner’s manual for the manufacturer name and model number. You’ll find halogen bulb specifications listed there, detailing wattage and voltage requirements. If you’re considering LED bulb compatibility as an upgrade, verify your fixture supports LED retrofits. Common types include PAR56, E27, and R40, each requiring different installation methods and electrical specifications.
How Often Should Pool Light Gaskets and Seals Be Replaced Preventatively?
You should replace your pool light gaskets every 3 years as part of your routine inspection schedule. However, you’ll want to install a new gasket each time you open the fixture or change the bulb. Your proactive maintenance plan must include monthly visual inspections to catch deterioration early. Consider replacing gaskets more frequently if you’re in a hot climate or maintaining challenging water chemistry, as these factors accelerate breakdown and compromise your seal’s effectiveness.
Why Does My Pool Light Flicker Even After Replacing the Bulb?
Your pool light’s flickering after bulb replacement points to potential electrical issues rather than the bulb itself. You’ll need to inspect loose connections, corroded terminals, and faulty wiring that new bulbs won’t fix. Check your transformer and LED driver compatibility too. Proper equipment maintenance including cleaning contacts, tightening terminals, and applying dielectric grease restores consistent power flow. If flickering persists, you’ve likely got voltage fluctuations or water damage requiring professional assessment.
Can I Install a New Pool Light Fixture Myself or Hire Professional Help?
You can install a new pool light fixture yourself if you’ve got solid electrical skills and proper tools, but you’ll face serious electrical safety concerns near water. Hiring a professional electrician guarantees code compliance and waterproofing reliability. While DIY saves money on budget considerations, professionals typically finish in under an hour versus several hours for inexperienced installers. Weigh your expertise level honestly improper installation risks insurance denial and electrocution hazards.
What Causes Water to Continuously Enter the Light Housing After Repairs?
You’re likely experiencing water ingress due to improper gasket installation or inadequate sealant application. When you reinstall seals misaligned or pinched, you create channels for water penetration. Similarly, if you don’t apply sealant extensively around housing joints and conduit entries, moisture exploits these gaps. You’ll also trap water if you don’t dry all surfaces before sealing. Additionally, deteriorated conduits or cracked housings bypass your repair efforts entirely.