
You’ll start by identifying your pool lighting system type LED, halogen, or solar-powered then locate the control switch near your pump room or interior access point. Next, verify the main breaker’s “on” position and test power with a voltage tester. Inspect fixtures and wiring for damage, then activate manual lights using the dedicated switch or set up automated controls through your smartphone app. If issues arise, check GFCI outlets and breakers before contacting a certified electrician for deeper troubleshooting.
Understand Your Pool Lighting System Type
Before you can turn on your pool lights, you’ll need to identify which type of system you’re working with. Compare LED and halogen/incandescent pool light features to determine your setup. LEDs offer energy efficiency and smart control compatibility, while halogen lights provide simpler operation but consume more power. Evaluate fiber optic pool light performance considerations if you’ve got cables running to an external light source this setup requires different activation methods than traditional fixtures. You’ll also encounter solar-powered, battery-operated, or fully automated smart systems. Each type has distinct control mechanisms: some use manual switches, others rely on remote controls or smartphone apps. For adhesive fixed spotlights, the high-strength polymer attachment ensures permanent installation without any building work required. Choosing the right system for your vinyl liner pool depends on balancing initial cost with long-term energy savings. Document your system type now, as it’ll directly affect your activation procedure and ongoing maintenance requirements.
Locate the Control Switch or Breaker Panel
Now that you’ve identified your pool lighting system type, you’ll need to locate its control mechanism. Start by checking near your pool equipment pumps, filters, and heaters typically share the same electrical setup. Look for a wall-mounted switch or breaker panel in a nearby shed or equipment area.
If you don’t find it outdoors, check inside your home just beyond the door leading to the pool. Next, focus on verifying circuit breaker labels on any panels you discover. Breaker boxes usually display clear “Pool Light” markings, though older installations may require closer inspection.
Additionally, identify nearby power outlets to understand your electrical layout better. Consult your pool’s user manual for precise diagrams showing switch locations. GFCI protection switches positioned near the main control box offer both safety and accessibility for quick operation. If your lights don’t turn on, check that the GFCI hasn’t tripped, as this dedicated safety device protects the lights circuit and commonly causes non-working lights. Before attempting any work on the pool lights, always remember to turn off power to prevent electrical hazards and ensure your safety.
Verify Power Supply and Safety Protocols
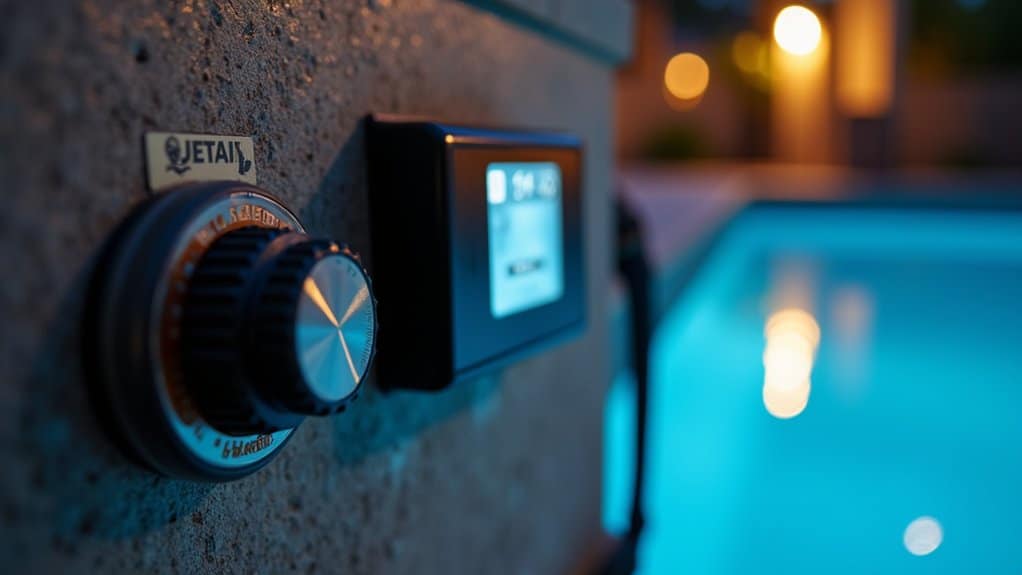
Before you flip any switches, you’ll need to verify that your pool’s electrical system can safely handle its lighting load. Start by confirming that your transformer’s output voltage matches your light fixtures’ requirements typically 12V or 24V for pool applications. Calculate your total wattage and guarantee your transformer supplies at least 130% of that combined load.
Next, assess transformer placement; it should sit at least 10 cm above ground and 120 cm from the pool wall. Ensure adequate space around transformer for proper heat dissipation and ventilation to prevent overheating and maintain efficiency. Verify grounding continuity by testing that all grounding wires are securely connected and corrosion-free throughout the system. Evaluate the transformer’s load capacity to ensure it can accommodate any future expansion of your pool lighting system. Check that GFCIs function properly by pressing their test buttons, and confirm your circuit breakers comply with NEC standards. To maintain ongoing safety, test your GFCIs monthly and watch for warning signs like warm outlets or buzzing sounds that indicate potential electrical hazards. These preliminary checks prevent dangerous electrical faults before activation.
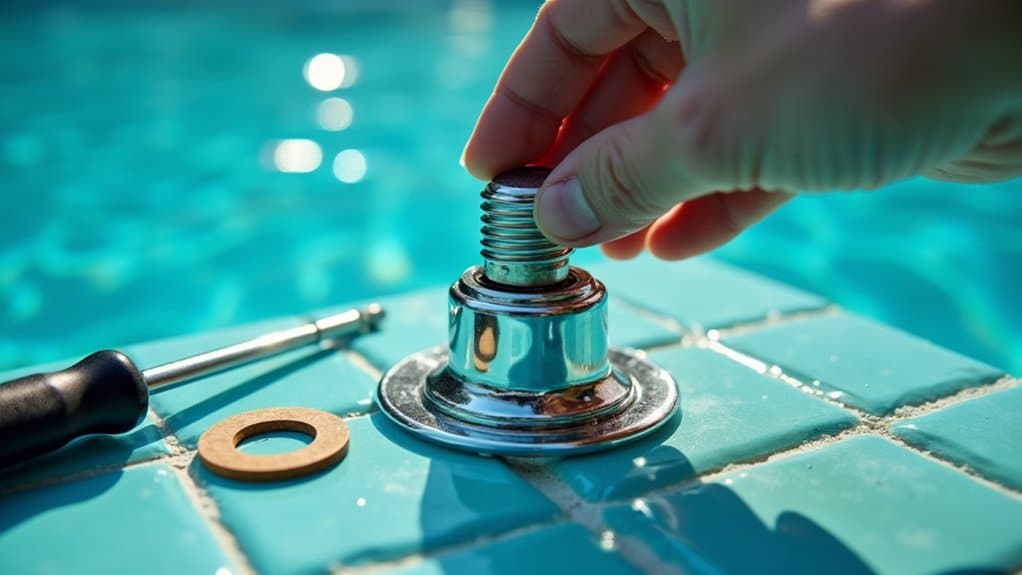
Inspect Fixtures and Wiring for Damage
Once you’ve confirmed your electrical infrastructure meets safety standards, you’ll inspect the fixtures and wiring that’ll carry power to your pool lights.
Your visual inspection procedure should identify cracks, corrosion, loose fittings, and burnt bulbs. Check for exposed or frayed wire insulation, which signals immediate hazards. Examine junction boxes for water entry and verify all connections are tight and corrosion-free. Neglected wiring issues can escalate to dangerous electrical faults that compromise your pool’s safety. As part of your monthly pool maintenance, inspect pool lights to catch any deterioration early.
The electrical testing importance can’t be overstated. Test your GFCI protectors to confirm they trip properly failure means your system isn’t safe. Verify dedicated breakers show no faults. Activate each fixture and note any flickering or dimness, which suggests underlying issues requiring professional review.
Document all findings. Replace damaged components before proceeding to activate your lights. When in doubt about any electrical component or if anything appears amiss, contact a professional to ensure your pool meets safety standards and prevents hazards.
Activate Manual Pool Lights
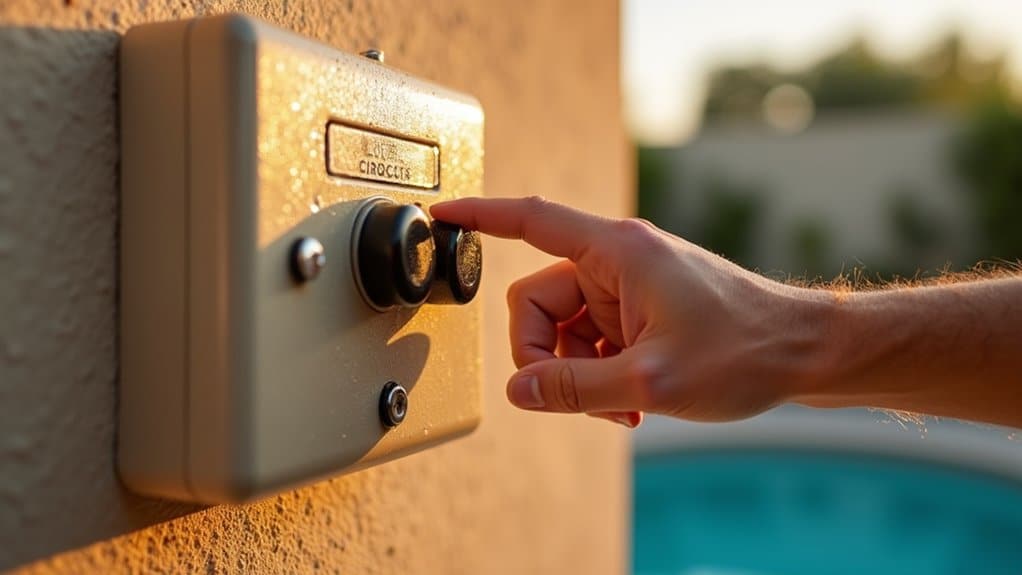
You’ll need to locate your dedicated pool light switch, typically found near the pool area, pump room, or inside your home adjacent to exterior access consult your user manual if you’re unsure of its location. Before activation, verify that the main breaker supplying power to your pool lights is in the “on” position and use a voltage tester to confirm electrical safety and power continuity. Guarantee you’re operating the switch with dry hands while standing on a non-conductive surface to minimize electrical hazard risk. Proper grounding through a safety ground wire prevents electrical shocks and enhances the overall performance of your lighting system. For color-changing LED systems, you can cycle through 14 pre-programmed effects by using the on/off switch to select your desired lighting atmosphere. Always turn off power supply before performing any maintenance or troubleshooting on your pool lighting system to ensure your safety.
Locating Your Pool Switch
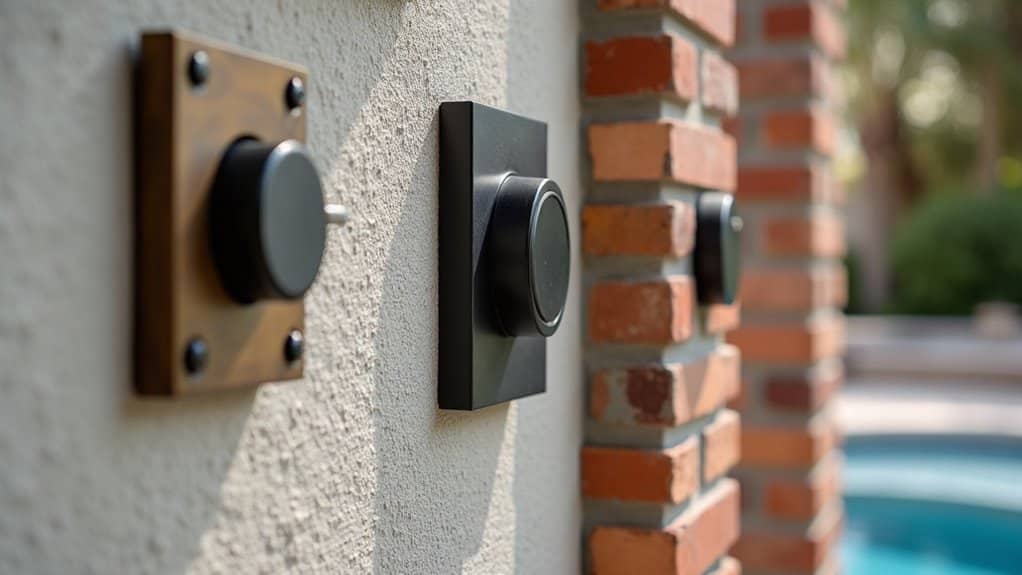
Finding your pool light switch is straightforward since most installations place them in one of three primary locations: near the pool entrance, adjacent to the pool equipment area, or inside your home close to the pool door. Look for clearly labeled wall switches marked “Pool Light” or similar designations. These are typically standard toggle or rocker switches mounted within easy reach.
For outdoor installations, you’ll find weatherproofed switch placement in protective boxes mounted on walls or posts. Check your pool’s user manual if the switch isn’t immediately visible. Some systems feature stand alone lighting controls with wireless receivers near equipment pads. If you’re unable to locate the switch initially, systematically inspect nearby utility rooms, equipment sheds, or garages. When in doubt about switch identification, consult a licensed electrician for proper verification. Many pool light systems use a 12VAC transformer controlled by the wall switch to power your lights.
Safety Checks Before Activation
Before you activate your pool lights, you’ll need to perform several safety checks to safeguard yourself and your equipment from electrical hazards. First, verify the circuit breaker dedicated to your pool lights is OFF and labeled to prevent accidental re-activation. Use a voltage tester or multimeter to confirm zero current at the junction box.
Next, prioritize electrical hazards by inspecting all wire connections for secure attachment and exposed conductors. Check the fixture housing for cracks, chips, or corrosion that could compromise safety. A multimeter continuity test can verify that hot, neutral, and ground wires are properly connected with readings close to zero ohms.
Then, verify waterproofing integrity by examining the lens gasket and checking for condensation inside the housing. Inspect junction boxes and conduit connections for tight seals. Guarantee the fixture and wiring are completely dry before proceeding.
Finally, confirm UL certification and compliance with National Electrical Code guidelines before activation.
Set Up Automated Pool Light Control
You’ll install a central control hub as the brain of your pool automation system, choosing between wired or wireless configurations based on your setup. Next, you’ll sync your pool lights to the system through your mobile app or touchscreen interface, ensuring all connected devices work seamlessly together. Finally, you’ll schedule automated lighting times using timer functions and customized weekly schedules to optimize energy efficiency and match your swimming routines.
Install Central Control Hub
A central control hub serves as the command center for your pool’s lighting system and related equipment, consolidating all automation functions into a single interface. You’ll need to select between basic timer systems and advanced Wi-Fi-enabled automation hubs based on your compatibility requirements.
| Installation Step | Location | Requirements |
|---|---|---|
| Hub Placement | Outdoors near equipment | 6+ feet from water, weatherproof enclosure |
| Power Connection | Main electrical line | Follow safety protocols, local codes |
| Device Wiring | Low-voltage cables | RS-485 communication setup |
| Hub Configuration | Smart home network | Install manufacturer app, assign zones |
Position your hub securely with proper fasteners and weather protection. Wire the main power supply safely, then connect low-voltage communication cables to your lights and equipment. Configure zones for independent control, link to your Wi-Fi network, and install the manufacturer’s app for remote scheduling and management capabilities.
Sync Lights to System
Once you’ve installed your central control hub, the next critical step is syncing your pool lights to the system so they respond to automated commands and remote controls. Start by pairing each light fixture with your controller via the app or wireless remote, ensuring all fixtures are recognized on your network. Update firmware for both lights and controllers to access the latest automation features. Configure lighting zones by designating areas like pool, spa, and landscape through your controller interface. Test individual and group commands to verify responsiveness. Address any light synchronization issues by checking signal strength and repositioning the hub if necessary. Follow proper installation procedures by confirming GFCI protection and grounding compliance. Verify all grouped lights respond in unison before programming effects or schedules.
Schedule Automated Lighting Times
Automation’s true power emerges when you establish scheduled lighting times that transform your pool into a self-managing system. Access your controller’s menu or mobile app to set specific start and stop times for your lights. You’ll designate which days apply to each schedule daily repetition, weekdays only, or custom occasions.
Most systems let you program multiple on/off cycles daily. Digital timers offer superior flexibility compared to analog alternatives, supporting vacation modes and override functions. When coordinating schedules across different pool zones, you can synchronize light show sequences for unified control.
Adjusting presets requires only selecting your desired color or brightness level within the schedule. Review your programmed settings periodically to guarantee alignment with current usage patterns. Manual overrides remain available whenever you need immediate adjustments without altering the complete schedule.
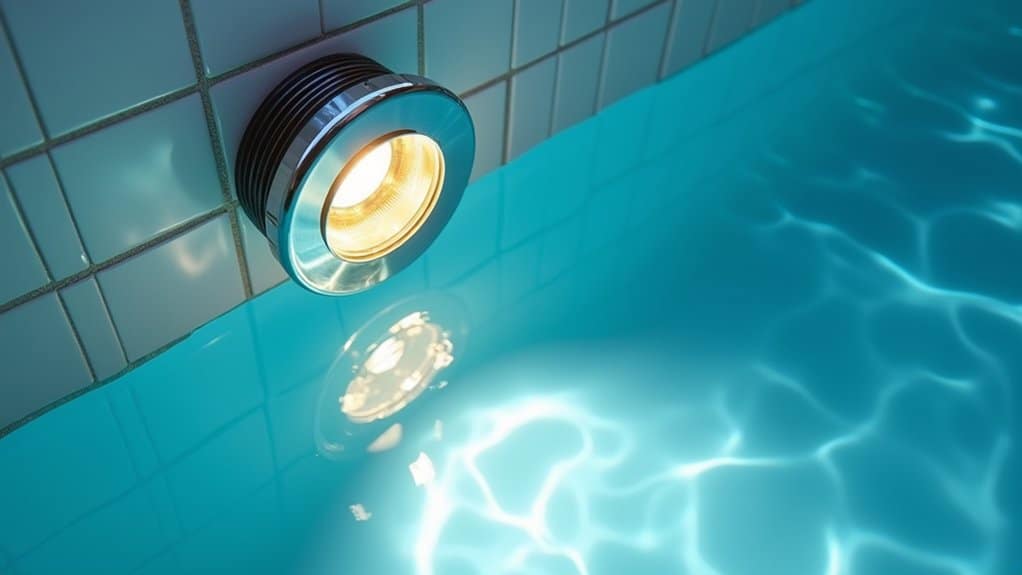
Troubleshoot Common Pool Lighting Issues
When your pool lights fail or malfunction, you’ll need to systematically identify the root cause before attempting repairs. Start by checking your GFCI outlet and resetting it if tripped. Test your breaker and inspect wiring at junction boxes for disconnections.
Next, examine the bulb itself:
- Burned-out filaments or discoloration inside the fixture indicate bulb failure
- Water-damaged bulbs that blacken or show internal corrosion
- Corroded sockets preventing proper electrical contact
For persistent issues after bulb replacement, suspect deeper electrical faults. Always power off at the breaker before troubleshooting to avoid electric shock risks. DIY repairs on sealed fixtures risk warranty considerations and potential injury. Contact a certified electrician for complex problems, underground wiring faults, or repeated breaker tripping.
Frequently Asked Questions
Can I Change Pool Light Colors, and What Systems Support This Feature?
Yes, you can change pool light colors using LED color changing options. You’ll find RGB and RGBW LED systems work best for this. Popular brands like Pentair IntelliBrite 5G, Jandy WaterColors, and Hayward ColorLogic all support color changing. You can control them via power cycling, wireless remotes, or smartphone apps. These energy efficient lighting solutions offer preset colors and dynamic shows, making customization simple for any pool setup.
How Often Should I Clean or Replace Pool Light Bulbs for Optimal Performance?
You’ll want to follow a proper light bulb replacement schedule based on your bulb type: incandescent bulbs need replacing every 1 3 years, halogen every 2 5 years, and LEDs every 10 15 years. For professional light maintenance recommendations, inspect monthly for flickering, dimming, or water intrusion. Clean lenses quarterly using non-abrasive materials to remove mineral buildup and algae. Replace bulbs immediately if you notice discoloration or frequent circuit breaker trips. Balanced pool chemistry extends bulb longevity vastly.
Do Pool Lights Increase My Electricity Bill, and Which Type Is Most Energy-Efficient?
Yes, pool lights increase your utility bill impact directly. You’ll find that LED fixtures are your most energy efficient options, consuming 80-87% less electricity than incandescent bulbs. While traditional lights use 300-500 watts, LEDs require only 35-75 watts for equivalent brightness. Operating an LED costs roughly $18 yearly versus $131 for incandescent. You’ll recoup your LED investment within 2-3 years through substantial energy savings and reduced replacement costs.
Can I Control Pool Lights Remotely Using My Smartphone or Voice Assistant?
Yes, you can control your pool lights remotely using your smartphone or voice assistant. You’ll need a Wi-Fi-enabled smart controller installed with your lighting system. Download the compatible app to adjust colors, brightness, and scheduling from anywhere. For voice activation integration, enable skills for Alexa or Google Assistant on your automation hub. You’ll then issue hands-free commands to toggle lights on/off or change settings instantly.
What Is GFCI Protection, and Why Is It Essential for Pool Lighting Safety?
You’ll find GFCI (Ground-Fault Circuit Interrupter) protection detects current imbalances and instantly cuts power to prevent electrocution. You must implement proper installation and circuit design per NEC Article 680 requirements. You’re protecting yourself in wet environments where water increases shock risk considerably. You’ll comply with building codes by installing GFCI breakers or receptacles within specified distances. You should test your devices monthly to verify they’re functioning properly.