


A dim pool light usually points to a worn bulb, voltage drop along the cable run, an incorrectly tapped or overloaded transformer, or water infiltration inside the fixture housing. You’ll want to start by measuring voltage at both the transformer and the fixture terminals with a digital multimeter to isolate the source. Corroded connections, undersized wire gauge, and debris-coated lenses are also common culprits. Each cause leaves a distinct diagnostic fingerprint you can trace through the steps below.
Common Reasons Your Pool Light Looks Dim
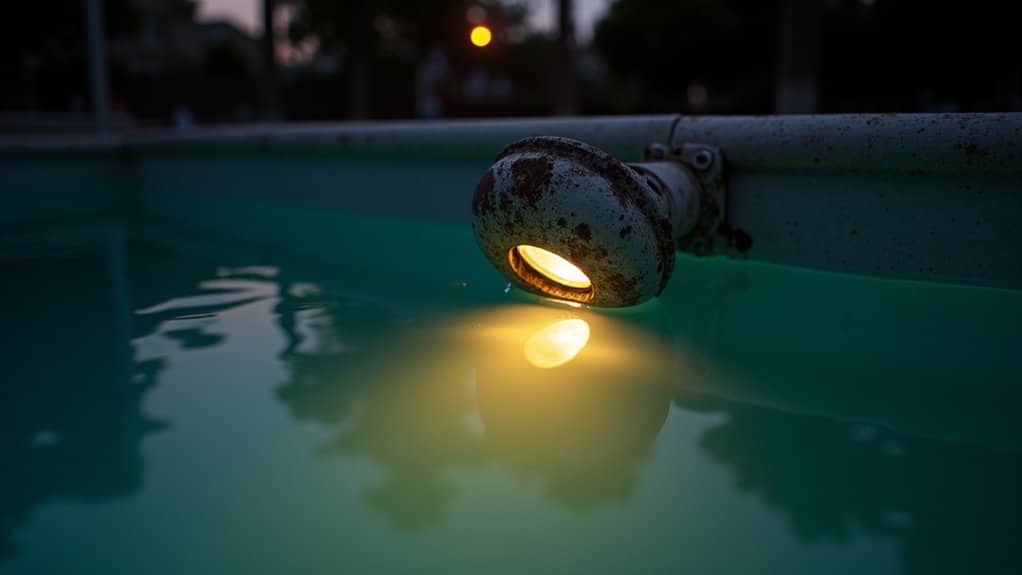
Worn bulbs flicker before burning out completely, mimicking dimness. Overloaded circuit breakers restrict electrical flow, while corroded wiring and insufficient voltage starve fixtures of power. An LED pool light dim issue typically points to degraded components or debris-coated lenses reducing output. Loose fixture housings caused by regular pool activity can also contribute to noticeably reduced illumination. Leaky housings may allow water to enter the fixture, further compounding the dimming problem. A failing transformer can also disrupt consistent power flow, causing lights to appear dim or uneven. You’ll need to systematically diagnose each factor mechanical, seal integrity, and electrical to pinpoint the root cause effectively.
How the Wrong Transformer Dims Your Pool Light
When your transformer can’t compensate for voltage drop across long cable runs, your pool light receives insufficient power and appears dim or faded. A dual wire tap transformer with 13V and 15V output options lets you select the higher tap to offset resistance losses, delivering full brightness to distant fixtures. You’ll need to measure the actual voltage at the light fixture to determine which tap setting corrects the drop and restores consistent illumination.
Voltage Drop Effects
Key factors that amplify voltage drop:
- Wire gauge too small for the circuit’s amperage and run length
- Cable runs exceeding 85 ft without voltage compensation
- Loose or corroded connections generating resistive heat loss
- Overloaded transformers operating above 80% rated capacity
Measure voltage at both the transformer output and the fixture end. If the difference exceeds acceptable thresholds, prioritize corrective pool lighting maintenance before components degrade further.
Dual Wire Tap Benefits
Voltage drop at the fixture end often points back to a single root cause: the transformer itself. When your pool light dim or fading condition persists despite sound wiring, a single-tap 13V transformer likely can’t compensate for distance-related power loss.
A dual voltage tap configuration solves this directly. You’ll access both 13V and 15V taps on one unit, selecting the higher output to offset voltage degradation across extended cable runs. That additional 2V eliminates the underwater light fading you’re diagnosing.
Connect main fixtures to the 15V tap while running accent lights from the 13V tap simultaneously. Quick-connect tabs accelerate installation. You won’t need multiple transformers one multi-tap unit manages both circuits, maintaining consistent brightness across your entire system.
Choosing Correct Tap
Selecting the wrong transformer tap is the single most common reason pool lights dim prematurely even when every other component checks out. When your pool light’s not bright enough, verify you’re compensating for voltage drop across the cable run. A 13V tap on a long wire results in sub-12V delivery, causing visible dimming and accelerating pool light fixture wear.
Follow these tap selection criteria:
- Use the 15V tap for runs exceeding 100 feet to offset distance losses
- Match total load wattage to your transformer’s rated capacity
- Reserve 12 14V taps for shorter, low-wattage installations only
- Measure output voltage under load at the fixture to confirm adequate delivery
Test before sealing any junction box.
Voltage Drop: Why Your Pool Light Flickers or Dims
When current flows through a wire, the wire’s inherent resistance consumes a portion of the supplied voltage before it ever reaches your pool light this reduction is voltage drop. In low-voltage systems, current runs approximately 15 times higher than line-voltage equivalents, amplifying the drop percentage considerably.
| Cause | Symptom | Diagnostic Indicator |
|---|---|---|
| Long cable runs | Dim or flickering output | Voltage reading below driver minimum at fixture |
| Undersized wire gauge | Overheating terminals, discoloration | Raised wire temperature under load |
| Multiple fixtures on one circuit | Uneven brightness across lights | Nearest light bright, farthest light dim |
If your driver’s input voltage falls below its operating range, it’ll trigger thermal protection or premature MOSFET failure.
How to Test for Voltage Drop at Your Pool Light
Before you can pinpoint where voltage is lost along the supply line, you’ll need a digital multimeter set to AC voltage select the 200V range for line-voltage checks or the 20V range for low-voltage 12V circuits.
Start by measuring baseline voltage at the source outlet, expecting 118 125V. Then test sequentially downstream under load:
Always start at the source measure your baseline voltage at the outlet first, then work your way downstream under load.
- Measure transformer input, then output at 12V terminals (expect 11 12V)
- Check connections at wire hubs, timers, and photocells
- Test directly at the pool light fixture with lights energized
- Compare each reading against your baseline to isolate the drop
Voltage below 11V at a 12V fixture confirms a significant drop. Zero volts at the transformer output indicates internal failure requiring replacement.
Loose Fixtures That Make Your Pool Light Dim
A loose fixture housing ranks among the most overlooked causes of dim pool lighting, yet it’s one of the simplest to diagnose. Pool activities kids playing, swimmers entering and exiting gradually loosen lock screws. This creates a wobbly fixture that disrupts electrical connections, producing intermittent contact and inconsistent power flow.
To resolve this, enter the pool and tighten the housing screw using a Philips screwdriver. If the screw is damaged, replace it alongside the O-ring gasket, which forms an impervious seal preventing water ingress.
Limit DIY efforts to superficial tightening only. If dimming persists after securing the housing, you’re likely dealing with a deeper electrical issue. Given the inherent risks of electricity near water, consult a certified electrician for further diagnosis.
Leaky Housing and Water Damage in Pool Lights
Though a loose fixture explains many cases of dim pool lighting, water infiltration into the housing assembly presents a far more serious threat one that compromises both light output and electrical safety. Conduit seal failure at the niche connection port accounts for the majority of pool light leaks.
You should inspect for these diagnostic indicators:
- Water accumulation visible inside the light lens assembly
- Pool water level stabilizing at or below the light elevation
- Cracks or deterioration around the light ring and niche area
- Dye test revealing water movement toward the niche
When water contacts internal lamp components, corrosion accelerates and electrical hazards develop rapidly. You’ll need professional detection methods, including dye testing and conduit inspection, to confirm the leak source before attempting repairs.
Burnt-Out Bulbs vs. Bad Wiring: How to Tell
When your pool light dims or fades, you’ll need to determine whether the bulb has failed or a wiring defect is restricting power delivery. Start by replacing the bulb if the new one burns out prematurely or doesn’t restore full brightness, the problem likely originates in the wiring or electrical supply. To confirm, measure the voltage at the fixture terminals and inspect all connections for corrosion, looseness, or damage that could cause resistance-induced power loss.
Testing Bulb Functionality
Diagnosing whether a dim or dead pool light stems from a burnt-out bulb or faulty wiring requires a systematic electrical testing approach. Start by resetting your GFCI, then verify 12V output at the transformer using a volt-ohm meter.
With power off, disconnect the black and white wires at the junction box and perform these critical tests:
- Continuity test: Set your multimeter to the lowest ohm scale; a good bulb reads 3 20 ohms between black and white wires.
- Open circuit detection: High ohms, OFL, or infinite resistance confirms a burnt-out bulb.
- Short circuit check: Zero ohms indicates an internal short within the bulb.
- Fault-to-ground test: Measure black-to-green and white-to-green on the highest ohm scale; infinity readings confirm no ground fault.
If voltage reaches the fixture but you’re getting abnormal resistance readings, you’ve isolated a bulb failure.
Identifying Wiring Problems
If your bulb passes continuity and fault-to-ground tests but the light still won’t operate properly, the problem likely lies in the wiring itself. Inspect junction boxes, cord seals, and splice points for these diagnostic indicators:
| Indicator | Burnt-Out Bulb | Bad Wiring |
|---|---|---|
| GFCI trips on reset | Rarely | Immediately |
| Lens condition | Discolored/moisture inside | Clear but non-functional |
| Splice points | Intact | Melted or discolored |
| Repeated failures | Isolated incident | Same location recurs |
| Multimeter reading | Open circuit at filament | Fault-to-ground detected |
You’ll find that melted splices, corroded connections, or frayed insulation confirm wiring degradation. Repeated failures at identical splice locations indicate systemic problems requiring licensed electrician assessment rather than component replacement.
Overloaded Circuits That Dim or Kill Your Pool Light
An overloaded circuit remains one of the most overlooked causes of dim or failing pool lights, yet it’s also one of the most dangerous. When your pool pump, lights, and nearby appliances share a single 20-amp circuit, simultaneous operation pulls current beyond rated capacity, causing voltage drops that dim your fixtures.
You’ll identify circuit overload through these diagnostic indicators:
- Tripped breakers occurring repeatedly when pool equipment runs
- Warm outlets or switches near your pool’s electrical panel
- Buzzing sounds from outlets signaling overheating conductors
- Flickering lights triggered when high-draw devices activate
Left unresolved, sustained overload degrades wiring insulation and destroys light components. You should upgrade to dedicated circuits for pool lighting and schedule routine electrical inspections to prevent hazardous conditions.
How to Fix a Dim Pool Light Yourself
Tackling a dim pool light yourself starts with cutting all power at the circuit breaker and GFCI outlet you don’t want live current anywhere near water. Verify zero voltage with a multimeter before touching the fixture.
Remove the single Phillips screw at the top of the fixture don’t enter the pool. The unit floats; wriggle it from the niche and pull the cord onto a towel at the pool’s edge. Detach the compression bolt, pry off the lens, and unscrew the bulb. Test it in a standard household lamp socket. If it’s dim or dead, replace it with a compatible LED bulb matching wattage and base type.
Clean lens edges, install a fresh gasket, reassemble, and reinstall. Restore power and confirm brightness.
When a Dim Pool Light Means You Need an Electrician
Not every dim pool light is a weekend DIY fix some symptoms point to electrical faults that demand a licensed electrician. Persistent dimming despite basic troubleshooting indicates internal fixture degradation, conduit breaches, or compromised safety protections requiring professional diagnosis.
Contact a certified electrician immediately if you observe:
- Tingling or shocks near the pool, signaling stray voltage from bonding or grounding failures
- GFCI that won’t trip despite visible dimming, indicating protection circuit malfunction
- 120V system irregularities, where leakage risks escalate beyond safe DIY intervention
- Loose fixtures with visible housing damage, suggesting water intrusion and internal wiring corrosion
Don’t attempt underwater cord repairs or splice modifications yourself. An electrician can verify code compliance, downgrade to safer 12V systems, and restore electrical integrity.
Frequently Asked Questions
Can a Dirty Pool Light Lens Cause Dimming Over Time?
Yes, a dirty lens can absolutely cause your pool light to dim over time. Algae, calcium deposits, and mineral buildup accumulate on the lens surface, blocking and scattering light output progressively. You’ll notice gradual fading as grime intensifies. To diagnose this, clean the lens thoroughly if brightness improves, you’ve confirmed the cause. Regular lens maintenance prevents dirt-related dimming. If dimming persists after cleaning, you’ll need to investigate deeper issues like seal degradation or voltage problems.
How Often Should Pool Light Gaskets Be Replaced Preventatively?
You should replace pool light gaskets every three to five years as a preventative measure. However, you’ll want to inspect them annually for brittleness, cracking, or compression loss. If you’re in areas with hard water, high chlorine levels, or significant thermal cycling, you’ll need to shorten that interval. Don’t wait for visible moisture infiltration inside the lens that’s already a failure point. Proactive replacement maintains the watertight seal protecting electrical components.
Do LED Pool Lights Dim Faster in Heated Pools?
There’s no direct evidence that heated pools cause your LED lights to dim faster. Dimming typically stems from voltage drops caused by poorly matched transformers, excessive distance between the transformer and fixture, or degraded electrical connections not water temperature. You should check your transformer output, verify wire gauge adequacy, and inspect connections for corrosion. If you’re experiencing persistent dimming, have a licensed electrician diagnose your circuit’s voltage delivery to rule out electrical inefficiencies.
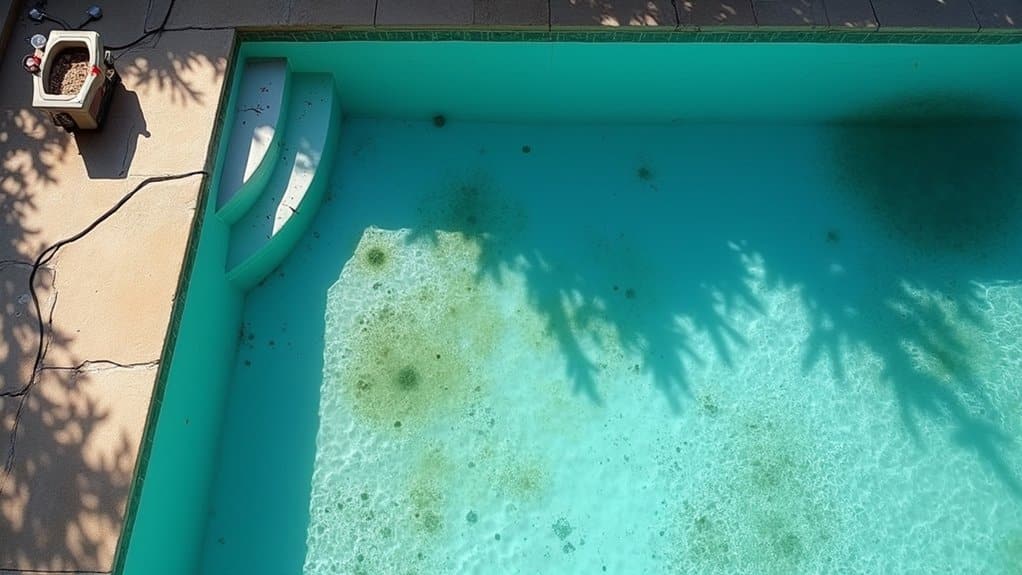
Can Pool Water Chemistry Affect Pool Light Brightness Levels?
Yes, pool water chemistry can directly affect your light brightness levels. Cloudy water from imbalanced pH, low chlorine, or insufficient calcium hardness reduces light transmission, making fixtures appear dimmer. You’ll also find that corrosive water conditions caused by low pH or inadequate stabilization degrade lens covers and reflective surfaces over time. To maintain ideal brightness, you should keep pH between 7.2 7.6, maintain proper calcium hardness, and guarantee adequate cyanuric acid levels to prevent chemical imbalances.
Will Upgrading to LED Bulbs Fix Dim Pool Light Issues?
Upgrading to LED bulbs can resolve dimming if aging components are the root cause, since LEDs deliver brighter, more consistent output and resist degradation over time. However, you won’t fix dimming caused by voltage drops, faulty wiring, or mismatched transformers by swapping bulbs alone. You’ll need to verify your power supply meets LED specifications and inspect connections for resistance. Address underlying electrical issues first to guarantee your upgrade performs at its best.