
Shut off the pump first, that drops the pressure holding the leak open. Let pressure bleed off, then run a dye test to pinpoint the source. Check threaded fittings, unions, manifolds, and skimmer joints before scanning straight runs. Dry the PVC completely, since adhesives won’t bond to wet surfaces. Patch pinholes with underwater putty, or seal surface holes with epoxy and a rubber patch. Below, you’ll find each method’s exact steps and cure times.
Key Takeaways
- Shut off the pump first to stop water flow and let pressure bleed off before touching anything.
- Use dye testing near suspect areas, threaded fittings, unions, manifolds, skimmer joints, to pinpoint the exact leak.
- Dry the pipe exterior completely, since adhesives and sealants won’t bond to wet PVC.
- Apply underwater repair putty or rubber-reinforced epoxy putty for small seams, pinholes, or surface leaks after light sanding.
- For threaded leaks, clean threads, apply silicone and three to four Teflon wraps, then hand-tighten plus a slight wrench turn.
Shut Off the Pump Before You Touch Anything
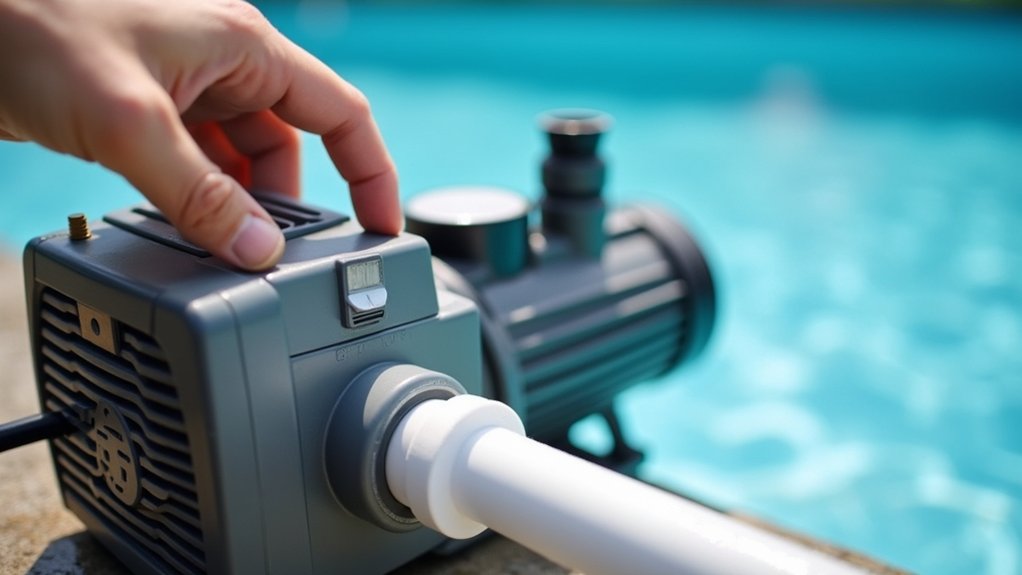
Shut off the pump before you touch anything to stop water flow and drop the pressure holding that leak open. Any leaking pool pipe stays pressurized while the pump runs, forcing water through the breach and making a clean seal impossible. Killing power first is the diagnostic baseline for every pool leak repair. After flow stops, pressure bleeds off, and you can inspect threaded fittings, unions, manifolds, and skimmer connections without water masking the source. Dry the exterior thoroughly before you attempt to fix a leaking pool pipe, since adhesives and sealants won’t bond to wet PVC. For underground runs, isolate the line and run a pressure test to confirm the pipe itself is failing before you cut anything. Next, replace your pool skimmer easily to ensure that debris does not clog your system. A clean skimmer helps maintain optimal flow and can prevent additional damage to your pool’s plumbing.
Find the Pool Leak Fast With a Dye Test
A dye test pinpoints the exact leak source before you cut or seal anything. Start with a visual inspection of likely failure points: threaded fittings, unions, pump manifolds, skimmer connections, and visible cracks. After you’ve narrowed the zone, release a small amount of dye near each suspect area with the pump off so water stays still. Watch the dye’s movement. It’ll draw toward the breach, marking the precise entry point. This diagnostic step keeps your pool pipe repair accurate and prevents unnecessary cutting into sound plumbing. For underground lines, isolate the section and run a pressure test to confirm whether the pipe itself is failing. Repairing pool plumbing correctly depends on this confirmation, so verify the source before you commit to any fix. Essential valves in pool plumbing play a critical role in maintaining proper water circulation and system functionality. Regular maintenance of these valves is necessary to prevent leaks and ensure efficient operation of the pool system.
Check Fittings, Unions, and Skimmer Joints First
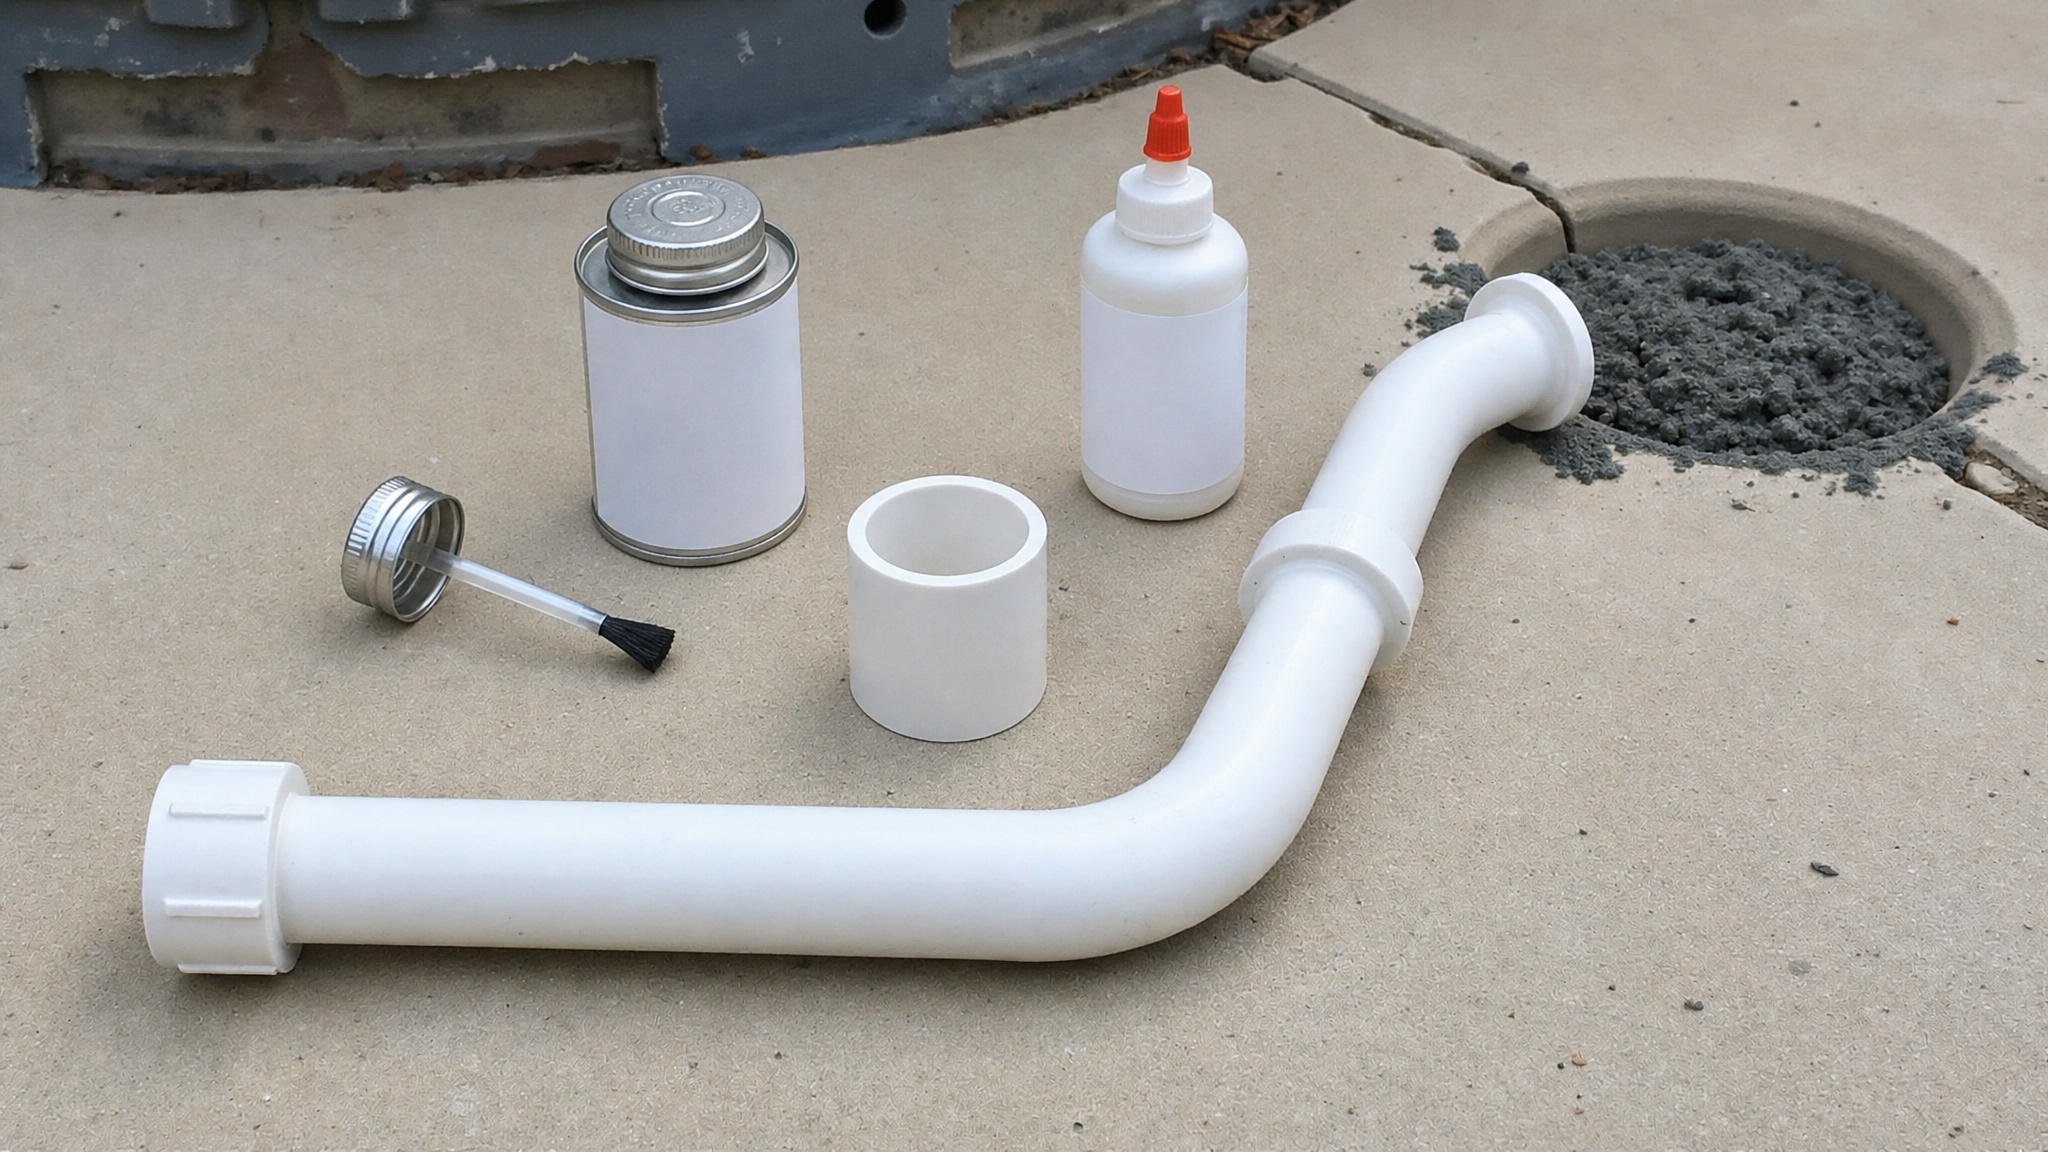
Before you inspect anything, shut off the pump to stop water flow and drop pressure on the leak. Start your inspection at the most common failure points, threaded fittings, unions, pump manifolds, and skimmer connections, since these fail more often than straight pipe runs. If a visual check doesn’t confirm the source, run a dye test to pinpoint the exact leak before you cut or seal.
Inspect Common Failure Points
Common failure points concentrate at threaded fittings, unions, pump manifolds, and skimmer connections, since these points concentrate stress and movement. After you’ve shut off the pump and dried the pipe exterior, start your inspection at the connections most likely to fail rather than scanning the entire system. Examine each threaded joint for weeping or mineral staining, which signals a compromised seal. Check unions for loose collars and hairline cracks at the shoulder. At the pump manifold, look for seepage around the discharge and suction ports. Inspect skimmer connections where the pipe goes between into the shell, a frequent failure zone.
If visual inspection doesn’t isolate the source, run a dye test near each suspect joint. Confirm the exact leak point before you cut, seal, or disassemble any fitting.
Perform Dye Test
A dye test pinpoints the exact source of a leak before you commit to cutting or sealing, useful when visual inspection can’t isolate it. Shut off the pump first to stop water movement, then let the water settle so currents don’t disperse the dye prematurely. Release dye slowly near suspected failure points and watch for the telltale draw toward the crack or seam.
Prioritize these locations in sequence:
- Threaded fittings and unions, where seal degradation and over-tightening cracks commonly originate
- Pump manifolds, where pressure cycling stresses joints and connections
- Skimmer joints, where liner-to-plumbing transitions frequently separate
Once the dye confirms the exact source, mark it clearly. This diagnostic step prevents unnecessary excavation or cutting and directs your repair to the confirmed defect.
Isolate Pump First
Isolate the pump first on any pipe repair, because shutting it off stops water flow and drops pressure on the leak. With the pump de-energized, you’ll inspect the highest-probability failure points before cutting anything. Threaded fittings, unions, pump manifolds, and skimmer connections fail more often than straight runs, so you’ll check them first.
| Inspection Point | What to Verify |
|---|---|
| Threaded Fittings | Cracks, loose seal, tape wear |
| Unions | O-ring seat, hand-tight condition |
| Pump Manifold | Housing cracks, gasket integrity |
| Skimmer Joints | Weep at glued or threaded connection |
After you’ve isolated the pump and confirmed the source, you’ll dry the exterior thoroughly. Water and adhesive don’t bond, so dry surfaces stay non-negotiable.
Patch Small Pipe Leaks With Underwater Putty
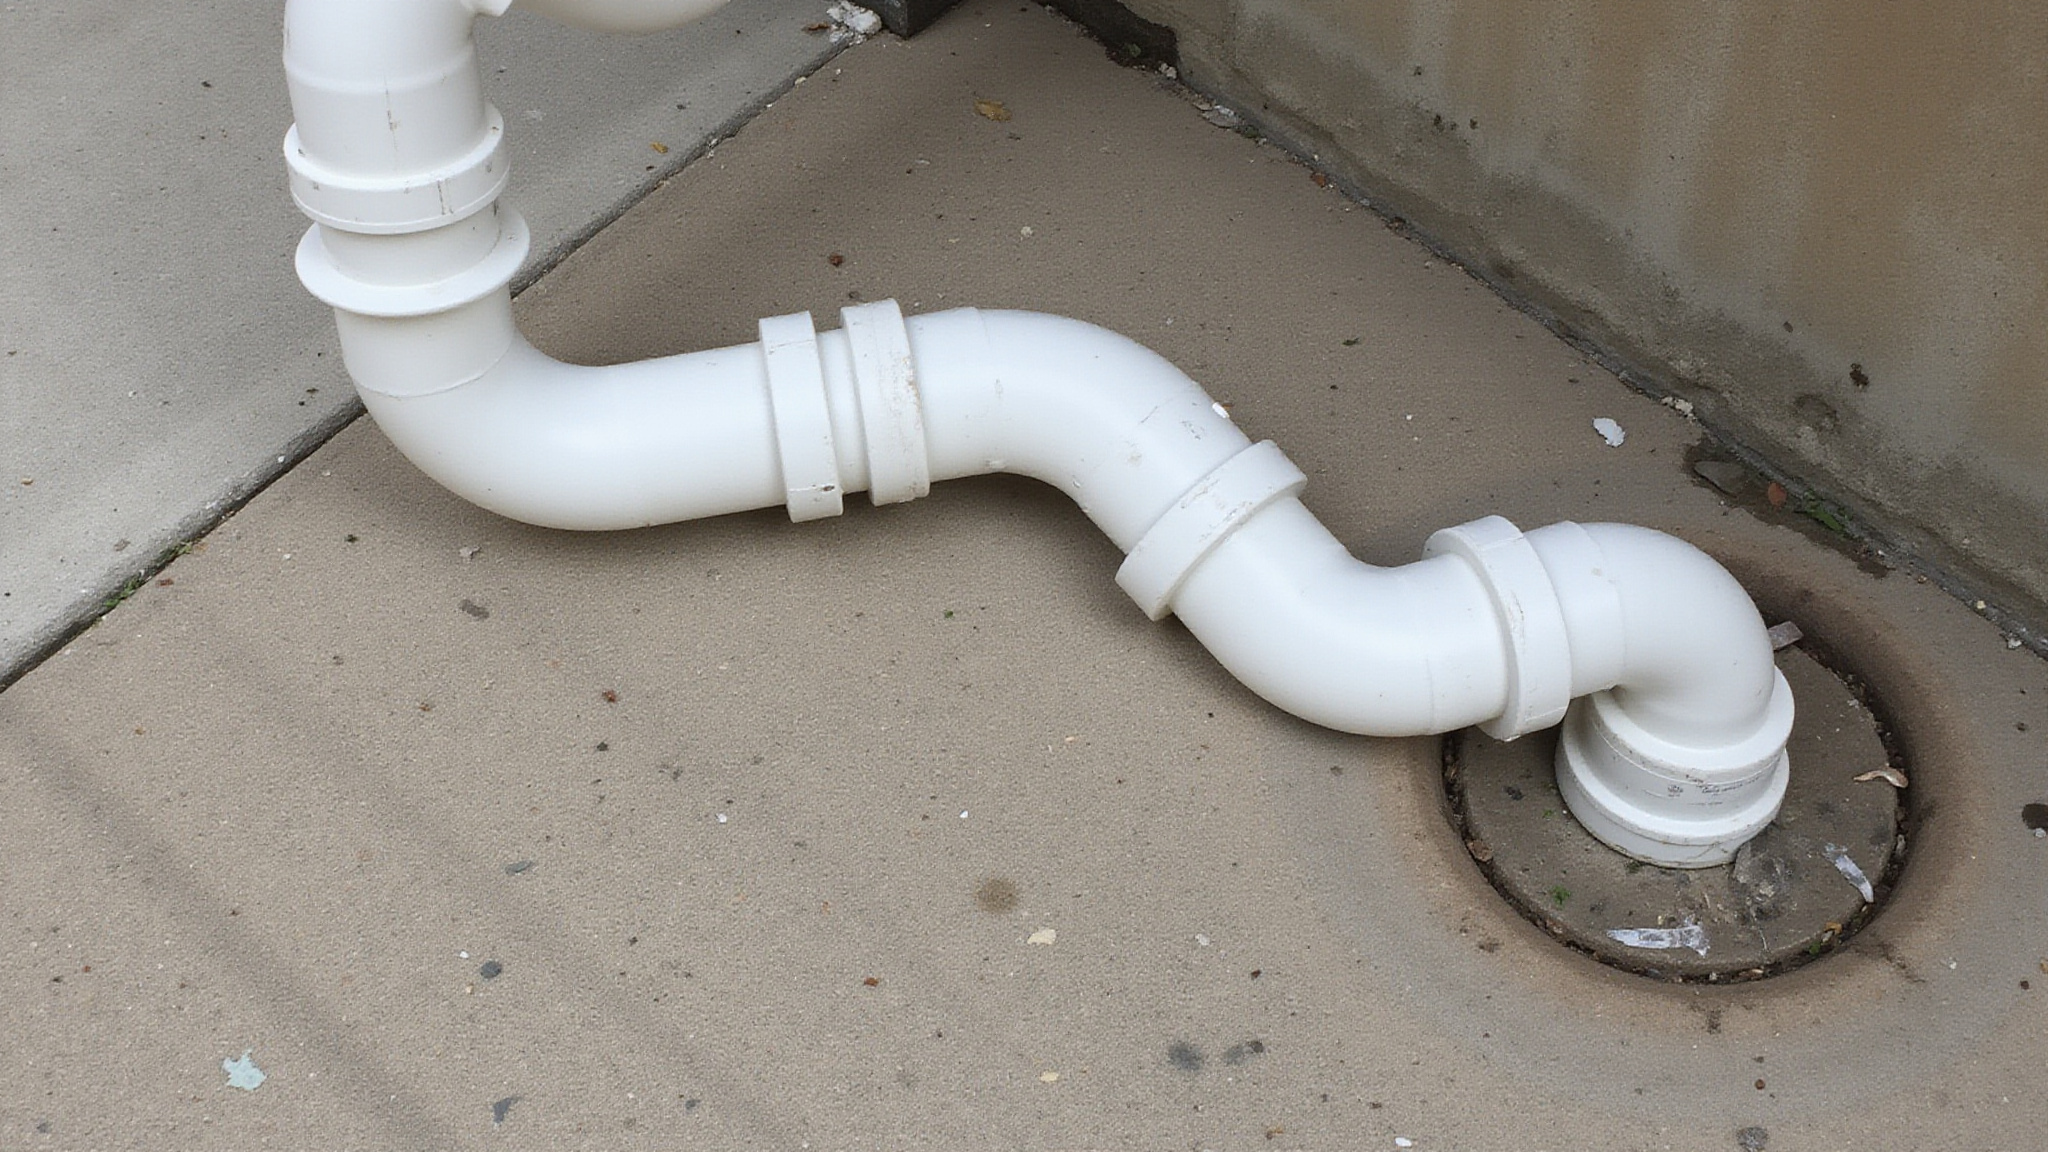
Underwater repair putty gives you a fast, low-cost seal for a small seam or pinhole leak. Diagnose the exact leak point first using a dye test, then prep the surface to spec:
- Clean the area thoroughly, removing debris, biofilm, and scale from the seam or pinhole.
- Dry the exterior completely, since water and adhesive won’t bond reliably.
- Lightly sand the repair zone to improve mechanical adhesion.
Knead the putty per manufacturer directions, then press it firmly over the leak, working it into the seam. One pool guide notes the putty hardens in about 30 minutes. If the seal needs reinforcement, add a rubber patch over the cured putty. Repressurize the line only after full cure to verify the fix holds.
Seal Surface Holes Using Epoxy and Rubber
To seal surface holes, use epoxy putty reinforced with a rubber patch, which handles holes that putty alone won’t cover, especially where you need a harder shell. First, shut off the pump to stop flow and drop pressure on the leak. Dry the pipe exterior completely. Water and epoxy don’t bond. Lightly sand the repair area to give the epoxy grip, then knead and apply the epoxy putty for a quick surface seal. Press it firmly into the hole and feather the edges. For added strength, center a rubber patch over the cured epoxy while it’s still tacky, reinforcing the seal against pressure. This works best on small external holes where cutting isn’t practical. Confirm the fix by restoring pressure and checking for renewed seepage before returning the system to service.
Why Dry Pipe Is Everything for a Good Seal
Water and glue don’t mix, so any moisture on the pipe surface will ruin the adhesive bond before it cures. You’ve got to dry the exterior thoroughly before applying sealant, primer, or cement, since even a thin film of water compromises adhesion. A dry surface is what gives you a reliable adhesive connection that holds under pump pressure.
Water Ruins Glue Bonds
Water ruins glue bonds because moisture almost always sabotages a PVC bond, so you can’t cut corners on drying the pipe before you glue. Water and PVC cement don’t mix, even a thin film interrupts the solvent weld, leaving a joint that skins over without fully fusing. That produces a weak bond that pushes apart or seeps under pressure once the pump restarts.
Verify these conditions before you apply primer and cement:
- The exterior and cut edge are completely dry, wiped and air-clear of residual water.
- You’ve shut off the pump so no flow re-wets the repair zone mid-cure.
- The surface is clean and lightly sanded, giving the solvent a sound, dry bonding profile.
Skip drying, and you’ll be recutting that failed joint soon.
Drying Before Sealant
Dry the pipe thoroughly before applying any sealant, putty, or cement, because a dry pipe is the single non-negotiable condition for the repair to hold. Shut off the pump to stop water flow and reduce pressure on the leak. Then dry the pipe’s exterior completely. Water and glue don’t mix, so residual moisture will compromise the bond and cause the repair to fail under pressure.
For temporary patches, you’ll get the fastest results when the pipe is fully dry, cleaned, and lightly sanded first. Underwater repair putty is the exception, but even it seals better on a prepped surface.
For PVC replacement, apply primer and cement only to dry pipe and fittings. Any trapped water beneath the joint weakens curing, so verify the surface is completely dry before assembling.
Reliable Adhesive Connection
A reliable adhesive connection depends on the chemistry curing on a completely dry surface. Water and glue don’t mix, so any residual moisture compromises the bond and reintroduces the leak you’re trying to eliminate. Apply PVC primer first to soften the surface, then fresh PVC cement while the primer’s still active. Old glue that’s turned gel-like won’t cure properly, so discard it.
Follow this sequence for a code-compliant joint:
- Prep the cut edge with sandpaper or emery cloth, then confirm the surface is bone-dry.
- Prime and cement both pipe and fitting, assembling quickly before the cement skins over.
- Hold the fitting firmly for 10 to 30 seconds so the joint doesn’t push apart during curing.
Rushing any step guarantees a weak, failure-prone connection.
Fix a Leaking Threaded Joint the Right Way
Fix a leaking threaded joint by shutting off the pump and relieving pressure before you touch the fitting. Unscrew the leaking connection and inspect the threads for debris, old sealant, or cracks. Clean them completely, then dry the surface, since water and sealant won’t bond reliably.
Apply 100% silicone to the male threads, then wrap Teflon tape three to four times in the direction that tightens the thread. This combination seals microscopic gaps that either material alone can miss.
Reassemble hand-tight first, then add only 1/2 turn to 1 to 1 1/2 turns with a wrench. Stop at moderate resistance. Over-tightening cracks plastic fittings, which converts a simple seal repair into a full replacement.
How Much Should You Tighten a Fitting?
Start by threading the fitting hand-tight until you feel firm resistance, which sets your reference point for the final tightening. From there, add only about 1/2 turn to 1 1/2 turns with a wrench or pliers to seat the joint. Stop at moderate resistance, since over-tightening cracks plastic fittings and creates the leak you’re trying to prevent.
Hand-Tight First Step
The hand-tight first step is threading the fitting together by hand until you meet firm resistance, that’s your baseline. This hand-tight position establishes the reference point for controlled wrench tightening and prevents you from overshooting the safe torque range. Confirm you’ve prepped the connection correctly:
- Apply 100% silicone to the male threads first
- Wrap Teflon tape three to four times in the thread’s tightening direction
- Verify the tape lies flat without bunching or tearing
When you feel that firm resistance by hand, stop. Don’t force it further with your fingers. From this baseline, you’ll add only about 1/2 turn to 1 to 1 1/2 turns with a wrench. Overshooting cracks plastic fittings, so treat hand-tight as your diagnostic zero before any mechanical assistance.
Adding Wrench Turns
Add only about 1/2 turn to a maximum of 1 to 1 1/2 turns with a wrench or pliers, with hand-tight set as your zero. Stop at moderate resistance. Plastic fittings crack under excess torque, so treat that resistance point as your hard limit, not a suggestion. Feel for the joint seating. The threads should tighten and the sealant should compress without stressing the fitting body.
| Turn Amount | Diagnostic Cue |
|---|---|
| 1/2 turn | Sealant seats, light resistance |
| 1 to 1 1/2 turns | Firm resistance, stop point |
| Beyond 1 1/2 | Overstress, crack risk |
If the leak persists at the maximum turn, don’t force it further. Back off, re-tape the threads, and reassemble rather than fracturing the fitting.
Avoid Cracking Fittings
Treat moderate resistance as a hard limit, not a target, because plastic fittings crack under excess torque. After you’ve prepped the threads with silicone and wrapped Teflon tape three to four times in the correct direction, seat the fitting hand-tight first. That establishes your baseline engagement before any wrench contact.
From there, add only a controlled amount of mechanical torque:
- Apply about 1/2 turn for small or thin-wall fittings where the plastic flexes easily.
- Extend to 1 to 1 1/2 turns on heavier Schedule 40 deep-socket fittings.
- Stop the moment resistance builds noticeably. That’s your crack threshold.
Don’t chase a leak-free seal through brute force. Over-tightening splits the socket, so let moderate resistance dictate your final position.
Replace a Bad PVC Pipe Section for Good
Cut out the bad section and glue in fresh PVC to get the most durable fix for a leak in a straight run or a badly damaged fitting. Make a straight cut through the pipe, then clean each cut edge with sandpaper or emery cloth to remove burrs. Leave about 2 inches of pipe on each side for a solid connection. Confirm the surfaces are fully dry, since water and glue don’t mix. Apply PVC primer, then fresh medium or heavy-body cement to both pipe and fitting, and assemble quickly before the cement skins over. Hold the glued joint firmly for 10 to 30 seconds so it doesn’t push apart while curing. Use Schedule 40 deep-socket fittings for pressure applications.
Prime and Glue PVC So It Holds
Once you’ve cut in your new section, prime dry pipe surfaces with PVC primer, since water and glue don’t bond. Apply fresh medium or heavy-body PVC cement quickly and assemble before it skins over, because gelled or old glue won’t hold. Then hold the joint firmly for 10 to 30 seconds so it doesn’t push apart during curing.
Prime Dry Pipe Surfaces
Prime dry pipe surfaces to build a bond that holds under pressure, since water and glue don’t mix. Confirm the pump is off and the exterior is completely dry. Primer softens the pipe wall and fitting socket, opening the material for cement penetration. Any residual moisture compromises that chemical bond and invites a repeat leak.
- Wipe the pipe and socket dry, then verify no water weeps from the line.
- Sand the cut edge with emery cloth to remove burrs and expose fresh surface.
- Apply primer to both the pipe and fitting socket, coating the full joint depth.
Work fast, prime, then cement while the surface stays tacky and dry.
Apply Fresh Cement Quickly
Apply fresh cement quickly because fresh cement skins over in seconds, so you’ve got to work fast while the primer’s still tacky. Use fresh medium or heavy-body PVC cement. If it’s turned gel-like, toss it, since old glue won’t bond reliably. Coat both the pipe end and fitting socket, then seat them immediately with a slight twist to spread the cement evenly. Don’t hesitate; a skinned-over joint won’t fuse and will leak under pump pressure. Hold the connection firmly for 10 to 30 seconds so it doesn’t push apart while the joint sets. Confirm you’re using Schedule 40 deep-socket fittings rated for pressure applications. Remember, water and glue don’t mix, so the surface must stay bone-dry through assembly. Once cured, you’ve got a permanent, code-compliant bond that’ll outlast temporary patches.
Hold Joint Firmly
Hold the connection firmly for 10 to 30 seconds so it doesn’t push apart while the joint sets. Freshly cemented PVC wants to back out as the solvent softens and fuses the mating surfaces, so steady pressure prevents a compromised bond.
Watch for these indicators of a sound hold:
- Even bead of cement pushed out around the full circumference, confirming complete socket engagement
- No slippage or gap forming at the fitting shoulder during the count
- Firm resistance when you release, indicating the joint has begun curing
Don’t rush the release. If you let go early, the fitting can creep outward, leaving a shallow bond that’ll leak under pump pressure later.
How Long Before You Can Restart the Pump?
The wait time depends entirely on which repair method you used. If you glued a PVC coupling or replacement section, you held the joint for 10 to 30 seconds during curing, but don’t restart yet. PVC cement needs longer to reach full pressure strength, so wait at least two hours before you power the pump back on. For underwater repair putty, allow about 30 minutes to harden. For epoxy putty or threaded joints sealed with silicone and Teflon tape, give the silicone time to cure per its label instructions.
Confirm the repair area’s fully set and dry. Then power the pump on and run a pressure check, watching the joint for any renewed weeping or pressure loss before resuming normal operation.
Test Underground Lines Before You Dig
Test underground lines by isolating the suspect line and running a pressure test to confirm whether the leak sits in the pipe itself or at a fitting. Watch the gauge closely, because pressure behavior tells you where to focus excavation.
Follow this diagnostic sequence:
- Isolate the line and cap both ends so you can pressurize the segment independently.
- Pressure test and treat a loss of about 5 psi or under over 30 seconds as a usable liquid-repair range.
- Evaluate access to both ends, since limited access often demands professional no-dig equipment.
Confirm the leak’s location first, then decide whether you’ll dig or circulate repair material.
Try a No-Dig Loop Repair First
A no-dig loop repair can seal a leak by circulating liquid repair material through the line instead of digging, provided the leak sits within a pressure range of about 5 psi or under over 30 seconds. Set up a water loop and run the repair material through the system for 2 to 3 hours, letting it coat the interior and seal the leak point. After the first cycle, retest the pressure. If the drop persists, keep circulating; extended coverage often improves the seal at the leak area. This no-dig approach works best when you can access both ends of the line, since isolation is critical for the loop to function. If access is limited or the pressure won’t hold after repeated cycles, you’ll likely need professional equipment or excavation to finish the job.
When to Call a Pool Pro Instead
Call a pool pro when you can’t isolate the line or confirm the leak’s location, because diagnostic limitations turn a quick fix into guesswork. Underground repairs often demand professional pressure-testing equipment, especially when you can’t access both ends of the line.
Call a pro when:
- Pressure loss exceeds the workable range, roughly 5 psi over 30 seconds, or persists after a full no-dig circulation cycle of 2 to 3 hours.
- You can’t isolate the line or reach both ends for a valid pressure test.
- Cracked manifolds, buried Schedule 40 runs, or repeated failures point to structural problems beyond patching.
Handing off complex underground work protects your system, saves excavation costs, and keeps your repair code-compliant.
Conclusion: Patching a Leaking Pipe
A leaking pool pipe can often be patched quickly and cheaply with epoxy putty or repair tape once you find the exact spot, buying time until a permanent fix. Small above-ground leaks are the most DIY-friendly, while buried or pressure-side leaks may need a pro. Deal with even a slow leak early, since it only wastes more water and stresses the system the longer it runs.
Shop Quality Pool Plumbing Supplies Today
Fixing valve, plumbing, and skimmer issues starts with the right parts, and Prime Pool Market has everything you need. We offer reliable Pool Plumbing Supplies at discount prices delivered right to your door. Call (877) 650-7665 today or browse our shop and save on every purchase.
Frequently Asked Questions
How Much Does a Typical Pool Pipe Repair Cost?
A small DIY patch with epoxy putty or tape costs just a few dollars. A professional repair of an accessible pipe usually runs 150 to 400 dollars, while a buried or hard-to-reach leak that requires digging can climb higher. Locating the leak first tells you which end of that range you are dealing with.
Can I Swim While a Temporary Pipe Patch Is Curing?
Wait until the patch fully cures before running the system or swimming, which for most epoxy and putty products means a day or so. Check the product’s cure time on the label. Swimming or restarting the pump too soon can break the seal before it sets, forcing you to redo the repair from scratch.
How Long Do Underwater Putty and Epoxy Repairs Actually Last?
Treated as a permanent fix on a small crack, a good epoxy repair can hold for years. On a pipe under high pressure or with a larger split, it is better viewed as a temporary measure until a proper replacement. The lifespan depends heavily on the size of the leak and the pressure on that pipe.
What Causes Pool Pipes to Leak in the First Place?
Common causes include ground shifting and settling, freeze damage, tree roots pressing on the lines, and simple age as PVC and fittings degrade. Poorly glued joints from the original install are another frequent source. Knowing the cause helps you decide whether a patch will hold or whether the pipe needs replacing outright.
Does Pool Pipe Damage Affect My Water Bill or Chemistry?
Yes to both. A leak steadily loses water, so an auto-fill or manual topping off shows up on the bill. Constantly adding fresh water also dilutes your chemicals, making the chemistry harder to keep balanced. A leak that seems minor can quietly drive up costs and throw off the water the longer it goes unfixed.