
If your pool loses more than a quarter-inch of water daily, you’re likely dealing with a leak not just evaporation. Start with a bucket test to rule out natural loss, then run a pump on/off test to isolate whether the issue is in your plumbing or shell. Common culprits include failed shaft seals, cracked fittings, and underground pipe damage. Below, you’ll find step-by-step methods to pinpoint the exact source.
How Much Water Loss Is Normal vs. a Pool Leak?
Every pool loses water to evaporation it’s a basic physical process you can’t avoid. Under standard conditions, you’ll see approximately ¼ inch of daily loss translating to 60 120 gallons for a 400 sq ft pool. In hot, arid climates, that figure climbs to ½ inch daily. Wind speeds exceeding 10 mph can triple these rates. A pool this size may lose up to 10,000 gallons annually, making consistent monitoring essential. Every pool loses water to evaporation a fundamental physical process you can’t avoid. Under typical conditions, expect about ¼ inch of daily loss, or roughly 60 120 gallons for a 400 sq ft pool, increasing to ½ inch in hot, arid climates, with wind speeds over 10 mph potentially tripling that rate. Over a year, this can total up to 10,000 gallons, making regular monitoring and strategies for managing common pool resources essential for maintaining efficiency and controlling costs.
When evaluating normal vs. excessive loss indicators, consistent drops beyond ½ inch per day signal potential pool leak detection needs. Among common pool water loss causes, structural cracks, worn seals, and faulty plumbing connections rank highest. You should establish a regional baseline first: arid zones tolerate higher evaporation, while humid areas average just ⅛ ¼ inch daily. Regions with moist air, such as the East and West coasts, Great Lakes, and Florida, naturally retain more pool water because humidity prevents water molecules from escaping into the atmosphere. Losses exceeding these thresholds warrant systematic investigation. Performing a bucket test by placing a water-filled bucket on the pool step and comparing water levels after 24 hours can help determine whether the loss is due to evaporation or an actual leak.
The Bucket Test: Confirm Your Pool Is Leaking
The bucket test gives you a reliable, low-cost method to distinguish between normal evaporation and an actual pool leak. You’ll need to set up the test precisely filling a 5-gallon bucket with pool water, placing it on a pool step, and marking both the interior and exterior water levels simultaneously. After 24 undisturbed hours, you’ll compare the water level drops inside and outside the bucket, where any greater loss outside confirms a leak requiring professional attention.
Setting Up Correctly
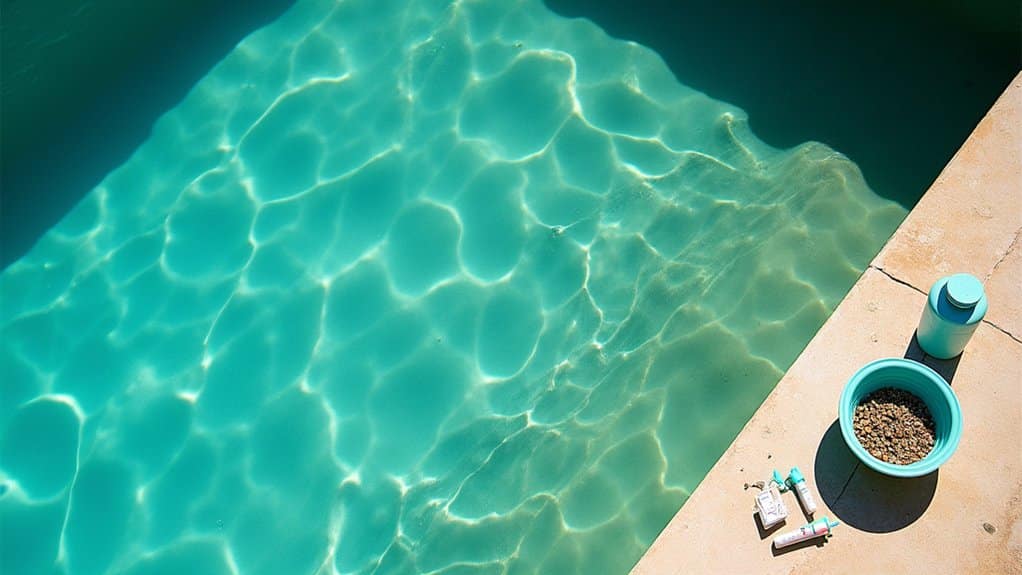
Before you can pinpoint a leak’s location, you’ll need to confirm one actually exists and the bucket test is the most reliable DIY method to distinguish a true leak from normal evaporation. Fill your pool to its standard water level and gather a 5-gallon bucket. Turn off any autofill device, then shut down the pump and wait five minutes for the water to settle.
Fill the bucket within 1 2 inches of the top using pool water, then place it on the first or second step, submerged approximately five inches. Mark the water level inside and outside the bucket at identical heights using tape. Verify alignment at eye level. This precise calibration eliminates evaporation vs leak pool ambiguity, ensuring accurate pool leak repair diagnostics and reducing ongoing pool maintenance leak issues.
Reading Your Results
After 24 hours have passed, return to your bucket and crouch down to read both water lines at eye level don’t touch the bucket or disturb the surface. Compare the pool’s water drop against the bucket’s drop. If both levels decreased equally, evaporation is your culprit not a leak. After 24 hours, return to your bucket and carefully read both water levels at eye level without touching or disturbing the surface. Compare the drop in the pool to the drop in the bucket if both decrease equally, evaporation is the cause, not a leak, helping you rule out issues before they lead to concerns like pool water turning skin green due to unnoticed water balance problems.
However, if the pool level dropped more than the bucket by a quarter inch or greater, you’ve confirmed a leak. This disparity points to pool plumbing leaks, a pool liner leak, or pool structure cracks requiring professional diagnosis.
Next, repeat the test with the pump off. If levels equalize, your equipment is the issue. If the pool still loses more water, the leak exists within the shell or plumbing. Contact a leak detection specialist promptly.
The Pump On/Off Test: Shell Leak or Plumbing Leak?
Once you’ve confirmed a leak with the bucket test, the pump on/off test helps you isolate whether the problem originates in the shell or the plumbing. You’ll run the pump continuously for 24 hours while measuring water loss against the bucket, then repeat the same measurement with the pump off for another 24 hours. Comparing the two results tells you whether the leak is on the pressure side, the suction side, or in the pool shell itself directing your next diagnostic steps accordingly.
Running Pump 24 Hours
| Condition | Leak Indication |
|---|---|
| Greater loss pump-on vs. pump-off | Pressure-side plumbing leak |
| Greater loss pump-off vs. pump-on | Suction-side plumbing leak |
| Equal loss both periods | Shell or structural leak |
If your pool’s losing water equally in both tests, plumbing isn’t the issue the shell is. Document each measurement precisely. One inch of water loss equals approximately 500 gallons, confirming whether your pool losing water exceeds normal evaporation.
Pump Off Comparison
When you’ve completed both the pump-on and pump-off tests, comparing the two measurements reveals exactly where your pool’s losing water. If both tests show equal water loss that exceeds the bucket’s evaporation baseline, you’re dealing with a shell leak a crack, separation, or liner compromise that loses water regardless of pump status.
If the pump-on test shows greater loss than pump-off, the leak’s on the pressure side: return lines, jet fittings, or backwash plumbing under system pressure. Conversely, greater loss during pump-off points to suction-side failure skimmer lines, main drain plumbing, or suction connections. Pump operation can actually mask these leaks.
Once you’ve isolated the category, the next step involves dye testing or pressure testing lines at 15 psi to pinpoint the exact failure point.
Interpreting Water Loss
Because the bucket test establishes your evaporation baseline, the pump on/off test isolates whether water loss originates in the pool’s shell or its plumbing. Compare your recorded measurements from both 24-hour cycles to determine the leak category.
If the pool loses more water with the pump running than with it off, you’re likely dealing with a pressure side leak return lines, backwash lines, or equipment fittings. If the loss is greater with the pump off, suspect a suction side issue where water escapes through inactive lines. If your pool loses more water with the pump running than when it’s off, you’re likely dealing with a pressure-side leak in areas like return lines, backwash lines, or equipment fittings; if the loss is greater with the pump off, a suction-side issue is more likely, where water escapes through inactive lines both scenarios often point to pool not circulating properly pool losing water when pump is on, requiring targeted inspection to restore proper function and prevent further loss.
When both cycles produce equal water loss that also matches the bucket’s drop rate, evaporation alone accounts for the difference. However, if both cycles show equal loss exceeding the bucket’s rate, the leak resides in the pool shell itself.
Dye Testing: Find the Exact Leak Location
Dye testing pinpoints the exact location of a pool leak by exploiting a simple principle: concentrated dye, heavier than the surrounding water, gets drawn into any crack, gap, or fissure where water is escaping. Red dye is standard; use fluorescent yellow on dark surfaces and blue on light ones. Apply with a syringe for precise placement.
Before testing, turn off your pump and isolate returns with quick plugs to eliminate currents. Confirm the water is completely still. Squeeze a small amount of dye directly at the suspected area tiles, fittings, drains, skimmers, or wall cracks. Watch closely: if the dye pulls toward a specific point, you’ve confirmed active water movement. Test one area at a time for accurate diagnosis.
Pool Equipment Leaks: Check Your Pump, Filter, and Valves
Most pool leaks don’t originate from the shell itself they stem from the equipment pad, where your pump, filter, valves, and heater connect through a network of fittings, seals, and unions. Start by inspecting each component systematically while the system runs under pressure.
- Pump: Check the shaft seal and housing for drips, puddles, or moisture at the base during operation. Shaft seals are the most common failure point.
- Filter: Examine O-rings, multiport valve ports, and drain plugs. Abnormal pressure gauge readings can indicate internal leaks you won’t see externally.
- Valves: Test all valve stems and bonnets under pressure. Listen for hissing and look for corrosion or mineral deposits both signal slow, persistent leaks.
Plug skimmers and returns before pressure testing to isolate equipment-side losses accurately.
Signs of an Underground Pool Leak You Can’t See
Not every pool leak announces itself with a visible puddle or dripping fitting some of the most damaging leaks occur entirely underground, where deteriorating pipes, shifted joints, or cracked shells bleed water directly into the surrounding soil. You’ll need to recognize indirect indicators to catch these hidden failures early.
| Indicator | What It Signals | Diagnostic Action |
|---|---|---|
| Spiking water bills | Undetected subsurface water loss | Compare monthly usage trends |
| Unexplained yard puddling | Leaking buried plumbing lines | Inspect soil saturation zones near pool |
| Soil shifting or sinkholes | Structural erosion undermining the shell | Schedule pressure testing immediately |
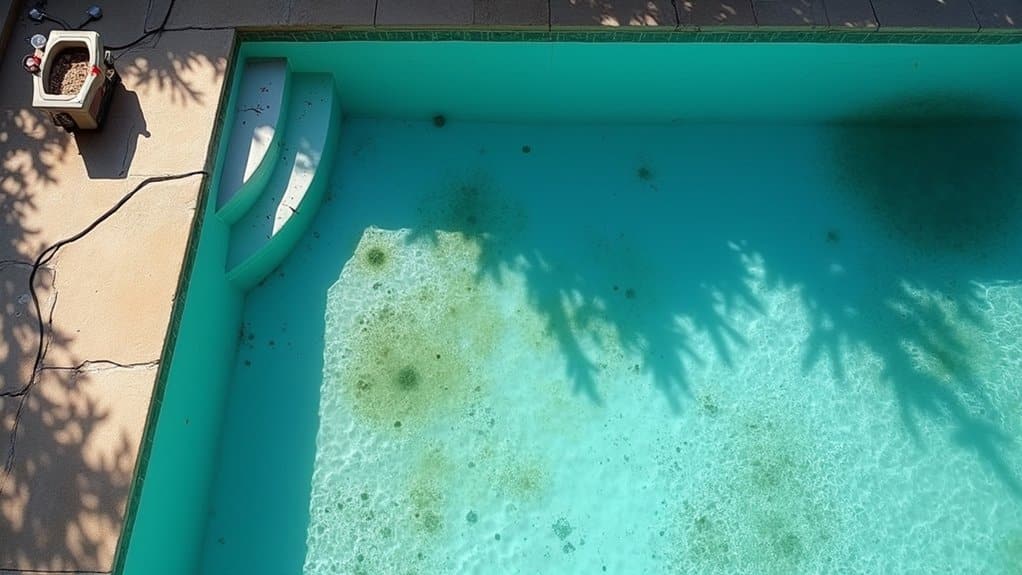
Watch for persistent algae growth, which can stem from underground water intrusion, disrupting the chemical balance. Missing skimmer grout also allows hidden escape routes you won’t detect visually.
When to Call a Professional Leak Detection Service
Although the bucket test and visual inspections can confirm water loss, pinpointing the exact failure point in a buried plumbing line or beneath a concrete shell demands specialized equipment most pool owners don’t have access to. Contact a professional leak detection service when you observe:
When DIY tests confirm water loss but can’t locate the source, it’s time to call in the professionals.
- Persistent water level drops exceeding normal evaporation rates despite sealing visible cracks and tightening accessible fittings this signals subsurface failures requiring pressure testing across plumbing segments.
- Air bubbles in return lines paired with decreased pump performance, indicating compromised underground plumbing drawing air through breach points.
- Unexplained spikes in water bills combined with soggy ground around the pool perimeter confirm active water escape from buried lines.
Early professional intervention prevents minor leaks from escalating into structural damage and substantially higher repair costs.
Frequently Asked Questions
Can a Pool Leak Cause Structural Damage to My Home’s Foundation?
Yes, a pool leak can cause significant structural damage to your home’s foundation. When water seeps into surrounding soil, it triggers expansion, softening, and washout destabilizing the ground beneath your foundation. You’ll notice cracks, uneven floors, misaligned doors, or bowing walls as hydrostatic pressure builds against foundation walls. Clay soils are especially vulnerable, losing load-bearing capacity quickly. You shouldn’t ignore even small leaks, as they can cause damages ten times their size.
How Much Does It Typically Cost to Repair a Pool Leak?
You’ll typically pay between $500 and $1,500 for a pool leak repair, with most homeowners spending around $475 to $525 for detection and simple fixes. Your actual cost depends on the leak’s location and severity. Above-ground pool repairs run $100 to $700, while in-ground repairs range from $350 to $2,700. Leak detection alone costs $100 to $500, and specific component repairs like skimmers or liners carry their own additional costs.
Does Homeowners Insurance Cover Pool Leak Detection and Repair Costs?
Your homeowners insurance typically doesn’t cover pool leak detection or repair costs when the leak results from wear and tear, aging materials, poor maintenance, or neglect. You’ll only find coverage if a covered peril like a windstorm, vandalism, or hail directly caused the damage leading to the leak. You should review your policy’s exclusions carefully and consult your insurance agent to determine whether your specific situation qualifies for any reimbursement.
How Long Does a Professional Pool Leak Repair Usually Take to Complete?
You’ll find that repair time depends on the leak’s complexity. Simple fixes skimmer seals, equipment fittings, or vinyl liner patches typically take a few hours to one day. Plumbing leaks generally require up to two days, especially if underground excavation’s involved. Structural repairs to your pool shell demand several days, factoring in crack injection, stapling, plastering, and curing time. Detection alone can span a few hours to a full day before repair begins.
Can a Pool Leak Attract Termites or Cause Mold Under the Deck?
Yes, a pool leak can absolutely attract both termites and mold under your deck. Subterranean termites follow moisture trails to softened cellulose materials, establishing colonies near leaking plumbing or foundations. Simultaneously, persistent moisture trapped beneath your deck creates dark, humid conditions that accelerate mold proliferation on wood surfaces. You’ll want to inspect for mud tubes, musty odors, and dampness regularly. Installing proper drainage, ventilation, and non-cellulose piping greatly reduces these risks.