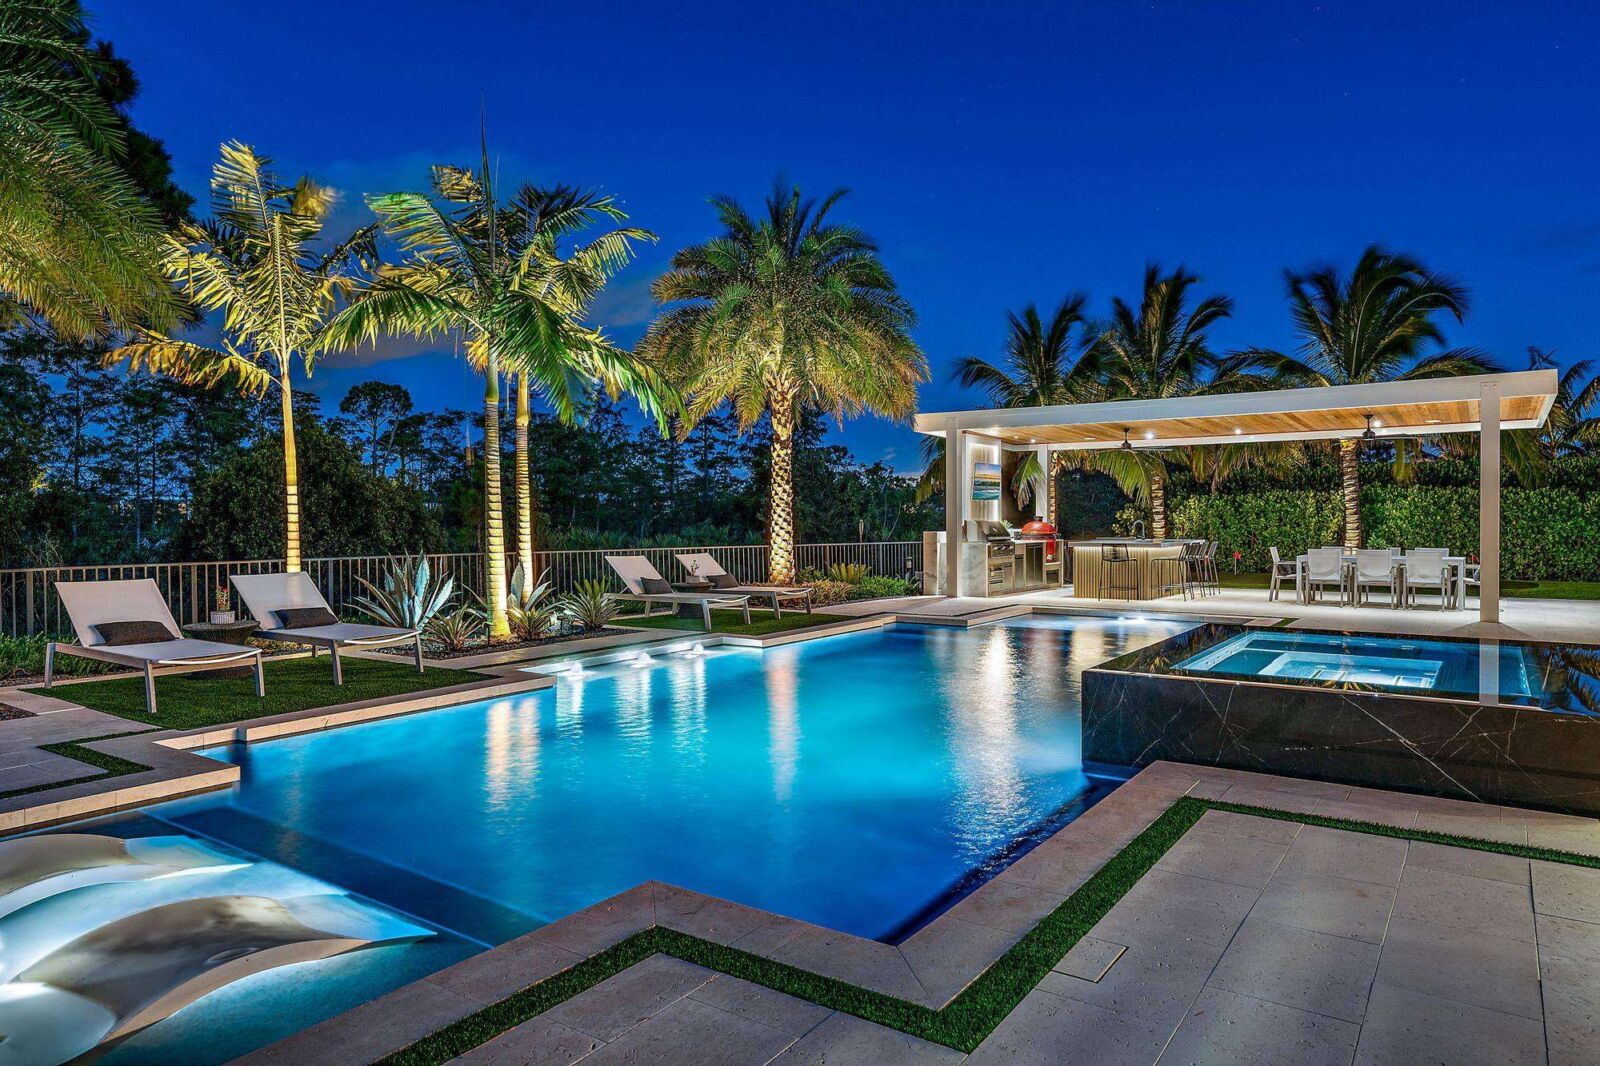
We design and build outdoor kitchens across Palm Beach, Martin and St. Lucie counties, and the ones that get used every week share the same layout logic. The ones that turn into an expensive grill stand skipped it. Here is the planning sequence we use.
1. Decide what the kitchen is for
A grill with a counter on each side is a cooking station. A grill, side burner, refrigerator, sink and bar seating is a kitchen where people stay. Be honest about which one you will use; the second costs two to three times the first and needs gas, water and power run to it.
2. Three zones
- Hot: grill, side or power burner, pizza oven. Put the grill where prevailing wind blows smoke away from seating and the house; in our area that usually means the grill on the east or north side of the island.
- Cold: refrigerator and ice chest. Keep them out of direct afternoon sun and away from the grill; an outdoor fridge next to a hot grill head runs constantly and dies early.
- Wet and waste: sink and trash drawer, between the cold and hot zones so prep flows from fridge to sink to grill.
3. Dimensions that work
- Counter height 36 inches; bar seating counter 42 inches with a 12-inch overhang.
- At least 24 inches of clear counter on each side of the grill, 36 if you cook for a crowd.
- Island depth 30 to 36 inches; built-in grills need 24 to 27 inches of cut-out depth, so a 30-inch island is the minimum.
- Walkway behind the cook: 42 inches minimum, 48 if the island has seating on the far side.
- Grill clearance to combustibles: check the grill’s manual, typically 24 inches above and 12 to the sides. Anything with a wood pergola or screen framing over the grill needs a vent hood.
4. Pick the grill first, then the components
The grill sets the cut-out and the island width. For most families a 30-inch four-burner such as the Bull Angus is right; the 38-inch Brahma suits entertaining, and the Diablo adds an infrared rear burner for rotisserie. Then fill the remaining frame with doors and drawers that match the grill brand so the finishes line up: a door and drawer combo under the grill (for the propane tank or gas valve access), a double door for storage, a trash drawer by the sink, and a paper towel holder. Every Bull component lists its cut-out dimensions, and we check your layout before you cut.
5. Gas, water and power
Decide natural gas or propane before ordering anything; grills and burners are built for one and conversion after the fact is not supported on most models. Natural gas needs a licensed gas line with a shut-off at the island. Propane needs a tank compartment with floor ventilation. Refrigerators, lights, rotisseries and ignition modules need a GFCI outlet in the island, on its own circuit if a fridge is involved. A sink needs supply and a drain or a dry well; many of our clients choose a bar sink with a drain to a gravel pit to avoid plumbing to the house.
6. Materials for salt air
Within a few miles of the coast, 430 stainless rusts in a season. Specify 304 stainless for grills and components, marine-grade polymer or masonry for the island body, porcelain or granite counters, and stainless or brass hardware. Covers are not optional here; a covered grill lasts twice as long.
7. The shortcut: a ready-built island
If you would rather not frame and finish an island, Bull’s Power Q and Patio Q islands arrive assembled with the grill, side burner, doors and drawers installed in a finished body. Set it on a slab, connect gas and power, and cook that weekend. They ship by freight or can be delivered locally from our Jupiter showroom.
Add the fire and the light
The best outdoor kitchens are planned with the fire feature and the landscape lighting at the same time, because they share the gas line, the trench and the transformer location. Our Warming Trends and landscape lighting pages cover both.
Want a layout drawn for your yard? Send a photo of the space and rough dimensions to our designers or visit the showroom at Innovative Outdoor Living, 14701 Walgreens Dr, Jupiter. Call 1-877-650-POOLS.