
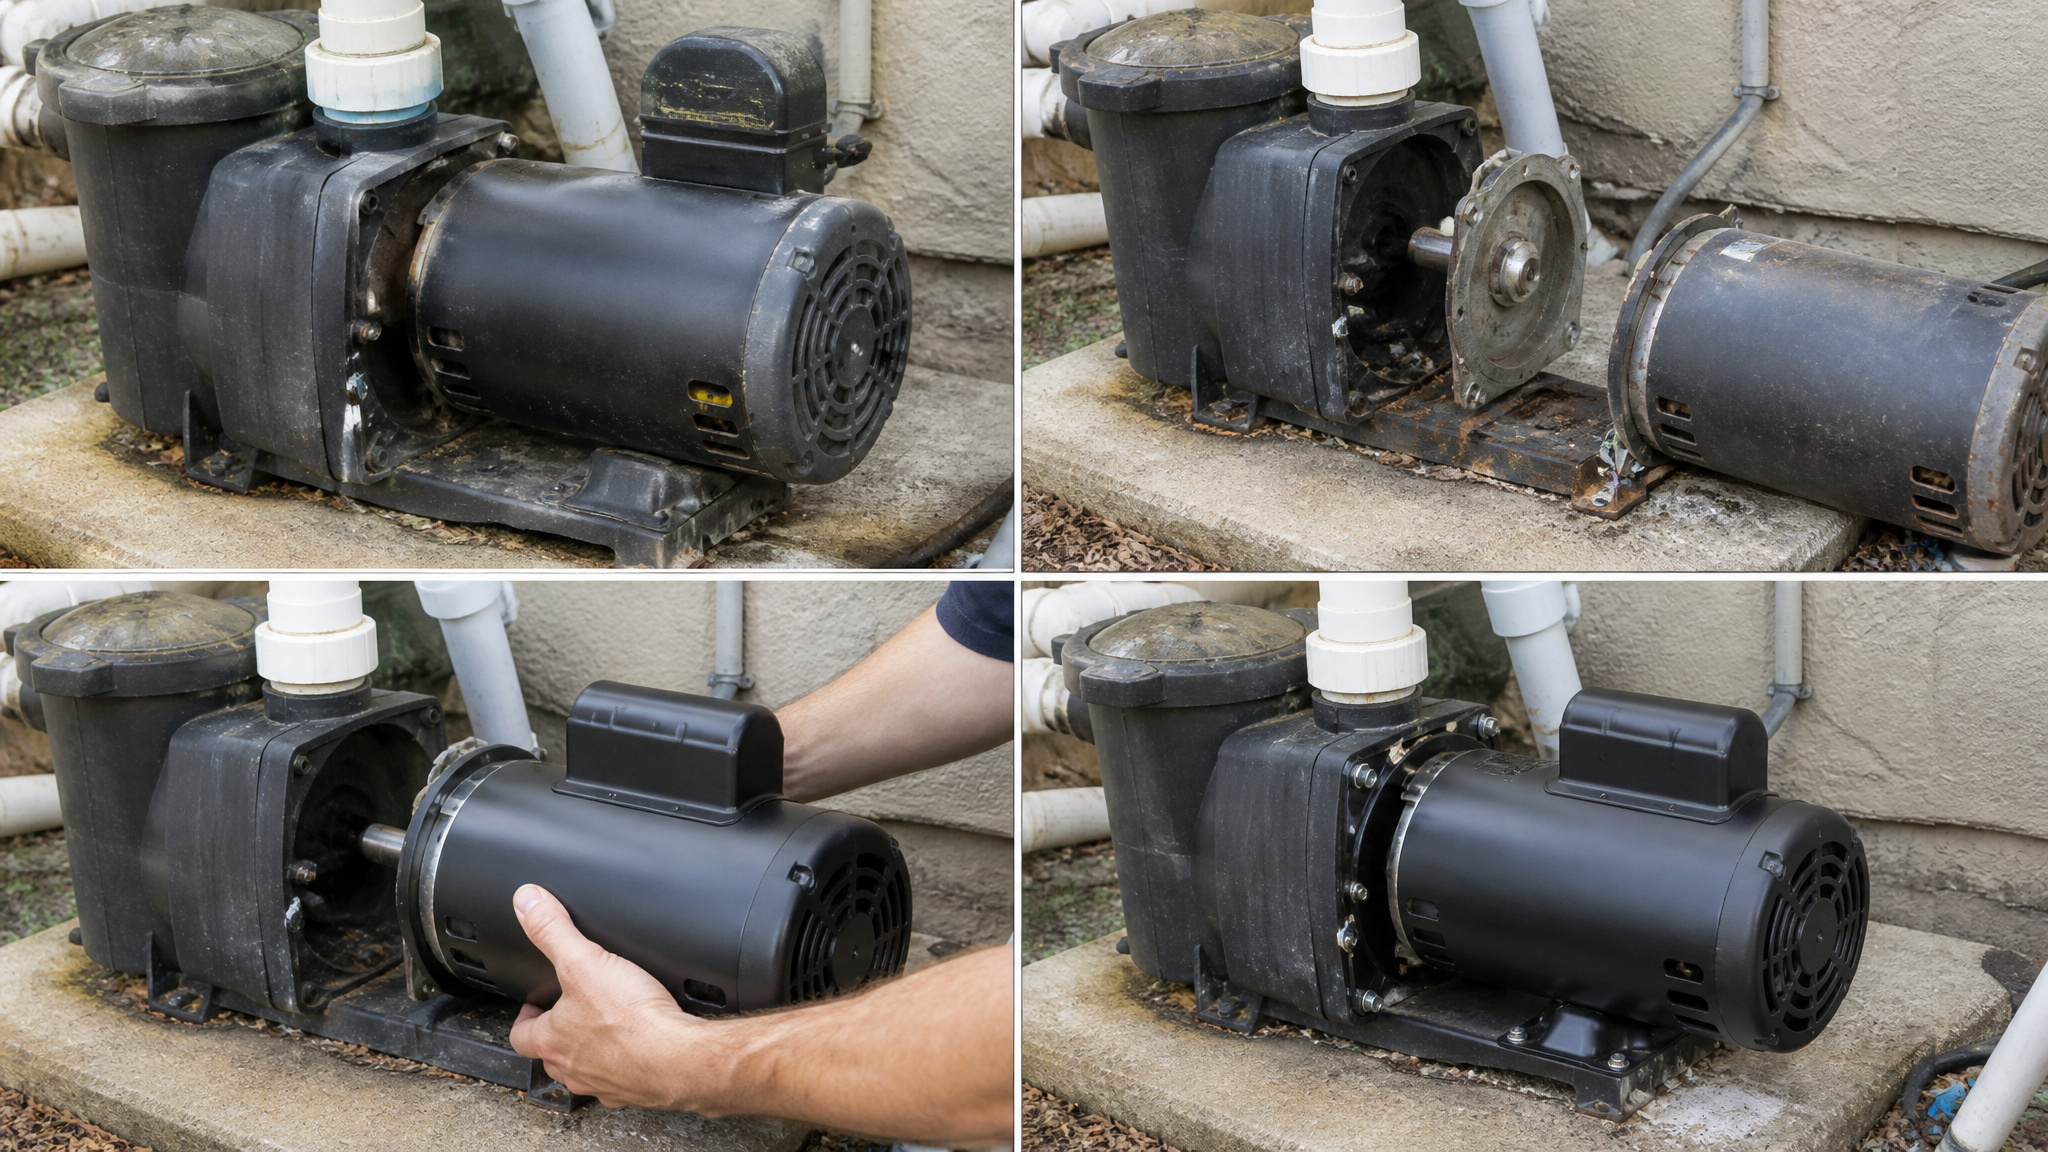
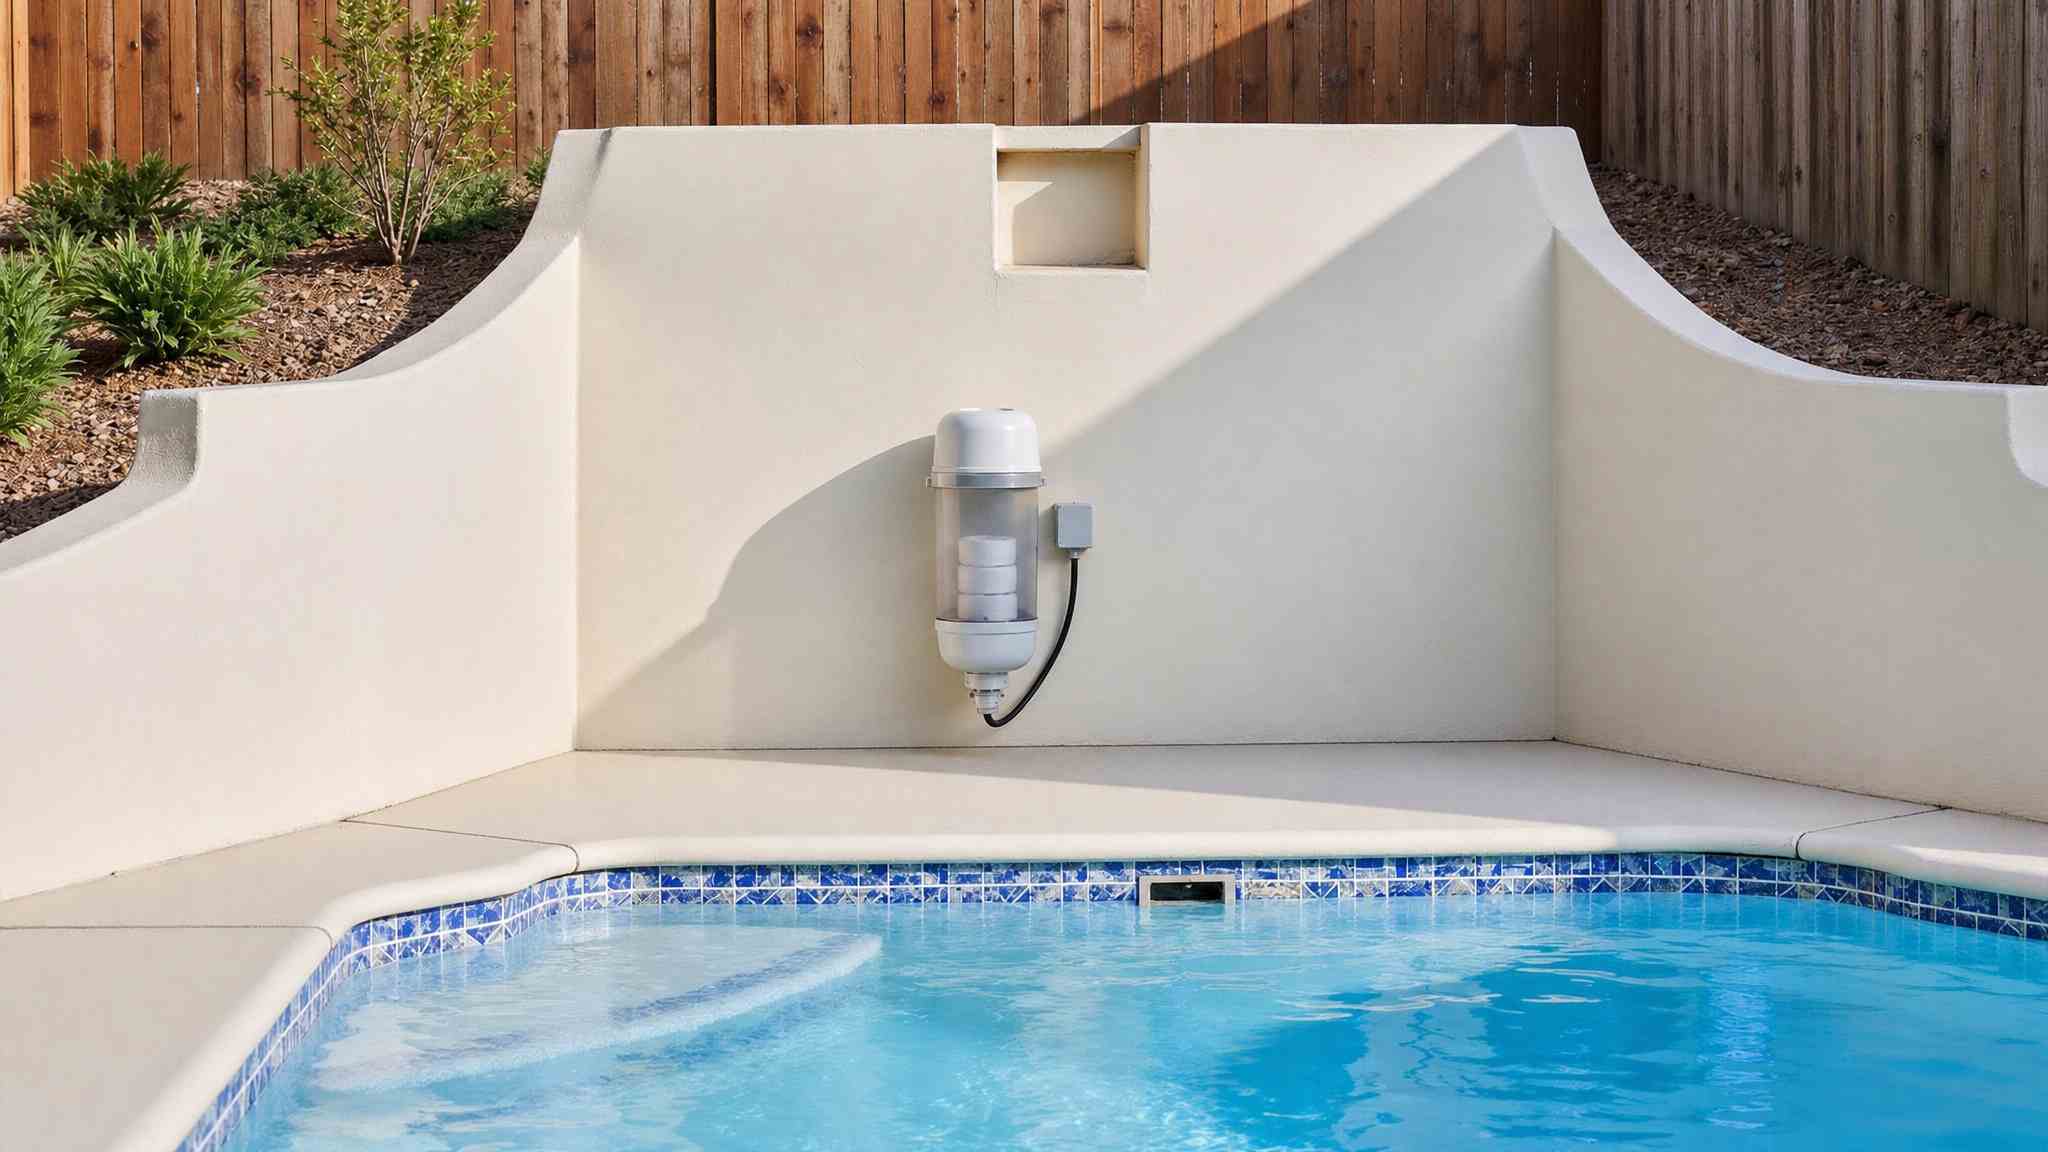
To replace a pool skimmer yourself, cut power at the breaker and lower the water below the faceplate. Relieve line pressure, then unscrew the faceplate and disconnect the plumbing. Remove the old skimmer body, inspect the opening for cracks, and clean off residue. Fit the new unit, seat gaskets flat, and tighten in a cross pattern. Refill, restart, and watch for leaks. The details below make each step foolproof.
Key Takeaways
- Cut power at the breaker, lower water below the skimmer faceplate, and relieve plumbing pressure before starting any work.
- Remove faceplate screws counterclockwise, disconnect plumbing fittings, and support the skimmer body while backing out the final fasteners.
- Inspect and clean the opening, scraping old gasket residue and repairing any cracks before installing the new skimmer.
- Position the new skimmer, seat gaskets flat, and tighten fasteners in a cross pattern to distribute pressure evenly.
- Refill the pool, restart the pump, and watch for leaks or bubbles, reseating gaskets or retightening screws as needed.
Gather Your Tools and Prep the Area

Gather your tools and prep the area by shutting off the pool pump to eliminate any risk during removal and installation. Next, lower the water level below the skimmer faceplate, or roughly two inches below the skimmer opening, so you can work without backflow. Relieve pressure in the plumbing lines before disconnecting any fittings.
Gather your tools for any diy pool skimmer work: a Phillips screwdriver, a wrench or pipe wrench, sealant or plumber’s putty, and a putty knife or saw if your skimmer type requires it. Confirm your replacement parts match your model, including the correct gasket, faceplate, or extension kit. Matching components correctly is what makes a pool skimmer replacement seat properly when you replace pool skimmer hardware.
Turn Off the Pump and Lower the Water
Before touching the skimmer, shut off the pump’s power to eliminate suction and reduce handling risk. Once the pump’s off, relieve any pressure in the plumbing lines to prevent backflow when you disconnect fittings. Then lower the water below the skimmer opening, about 2 inches under the faceplate, so you can work without water flooding the cavity.
Power Down the Pump
Cut power to the pump before touching anything else, because live electrical current and moving water don’t mix. Switch off the pump at the breaker, not just the timer, so the circuit is fully de-energized during your pool skimmer repair. Confirm the motor has stopped spinning and that no residual hum remains. This step is critical when replacing pool skimmer components, since accidental startup can pressurize plumbing lines and drive water back through fittings you’re about to disconnect. Relieve any trapped pressure by opening the pump lid or valve once power is off. Verify the switch stays locked out so nobody restores power mid-task. With the pump safely shut down, you can proceed to lowering the water level next.
Lower Water Level
Lower the water level below the skimmer opening with the pump locked out before you touch the faceplate. Most guides specify dropping the level below the skimmer faceplate, or roughly two inches below the skimmer, so the opening sits dry while you work. Use the pump’s waste setting, a submersible drain pump, or a siphon to pull the level down. Watch the water as it recedes and stop once it clears the faceplate mounting holes. Lowering the level relieves pressure against the skimmer body and prevents water from spilling through the opening when you remove fasteners. Don’t overdrain the pool, since exposing too much liner or wall risks damage. Confirm the level holds steady, then move on to removing the old skimmer.
Remove the Old Pool Skimmer Safely
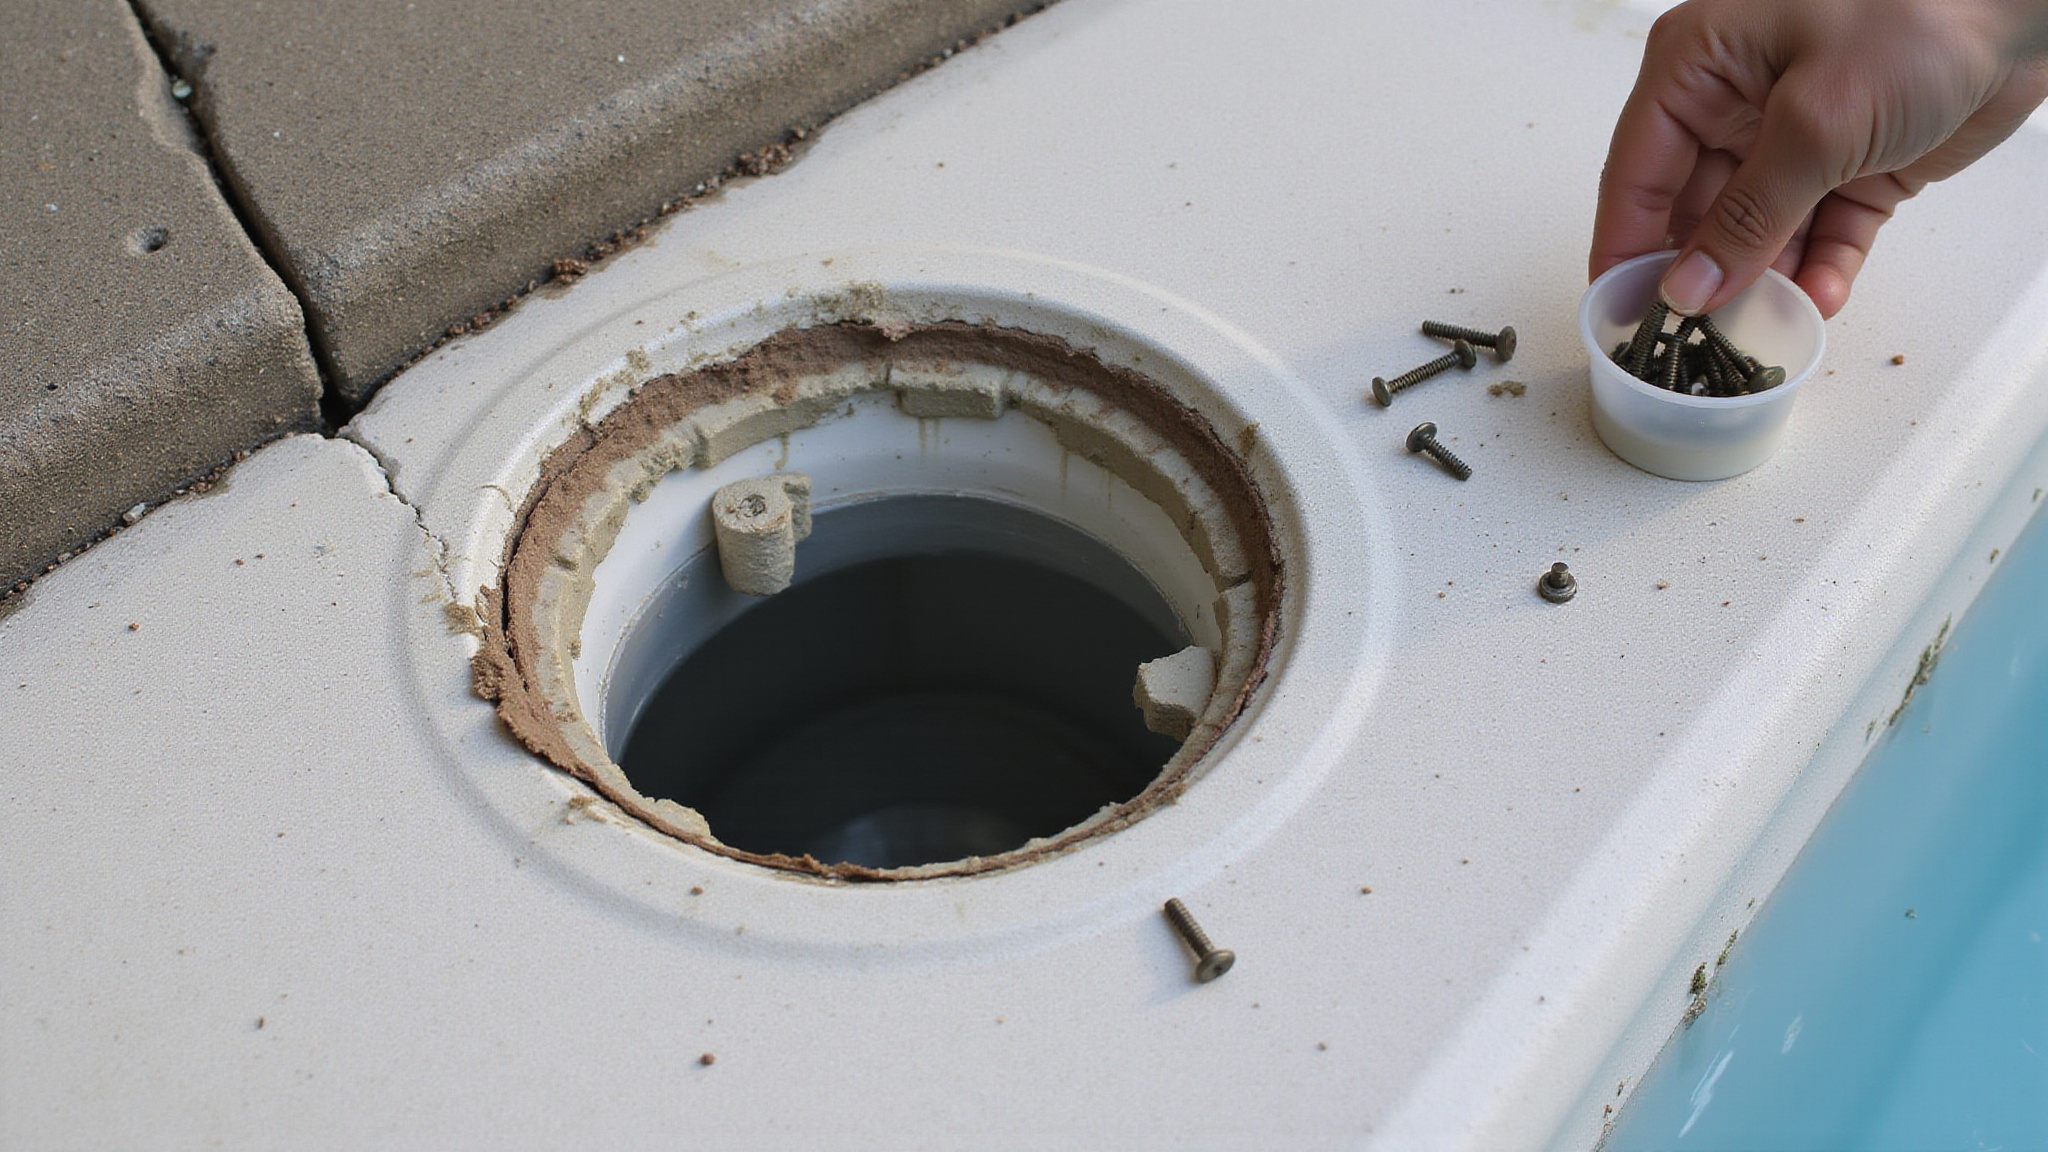
Start by removing the faceplate screws with your Phillips screwdriver, then set the plate and any gasket aside. Disconnect the plumbing hoses or fittings from the skimmer, making sure you’ve already relieved line pressure to avoid backflow. Support the skimmer body with one hand as you loosen the final fasteners so it won’t drop once it’s free.
Unscrew the Faceplate
Grab your Phillips screwdriver and locate the screws securing the faceplate. Confirm the pump’s off and the water sits below the skimmer opening. Start with the faceplate screws, turning each counterclockwise until it backs out fully. Keep every screw in a container so none roll away or drop into the pool.
Support the faceplate with one hand before removing the last few fasteners. This prevents it from falling once the final screw releases. If a screw’s corroded or stripped, apply penetrating oil and work it loose slowly rather than forcing it.
With the faceplate off, you’ll expose the old gasket pressed against the skimmer body and pool wall. Peel it away carefully, then clear any debris from the opening’s surface.
Disconnect Plumbing Fittings
Disconnect the plumbing fittings by gripping each one with a wrench or pipe wrench, then loosening it counterclockwise. Beneath the skimmer body, you’ll find the plumbing fittings connecting the suction and return lines. Relieve any residual pressure in the lines to prevent backflow and awkward handling. If the design uses external hoses, disconnect them from the skimmer ports one at a time. Support the skimmer body as you work so it won’t drop once the final connection releases. Watch for trapped water draining from the lines, and keep a rag ready. After you’ve separated every fitting, inspect the threads and ports for cracks or corrosion. Cap or plug open lines temporarily to keep debris out while you prepare the opening for the new unit.
Support and Remove Body
Support and remove the skimmer body by bracing it firmly with one hand before you remove the last fasteners, keeping every fitting disconnected first. This support keeps the body from dropping once the final screws release, protecting both the unit and the surrounding wall. Use your screwdriver to back out the remaining fasteners while maintaining pressure against the body. Once loose, ease the skimmer free from the opening with steady, controlled motion, avoiding sudden pulls that could stress the wall.
After removal, peel away old gaskets and scrape off residual sealant or debris from the opening. Clean the seating surface thoroughly so the new gasket seats correctly later. Set the old body aside, then inspect the exposed opening for cracks, wear, or damage before you proceed to installation.
Inspect the Skimmer Opening and Pool Wall
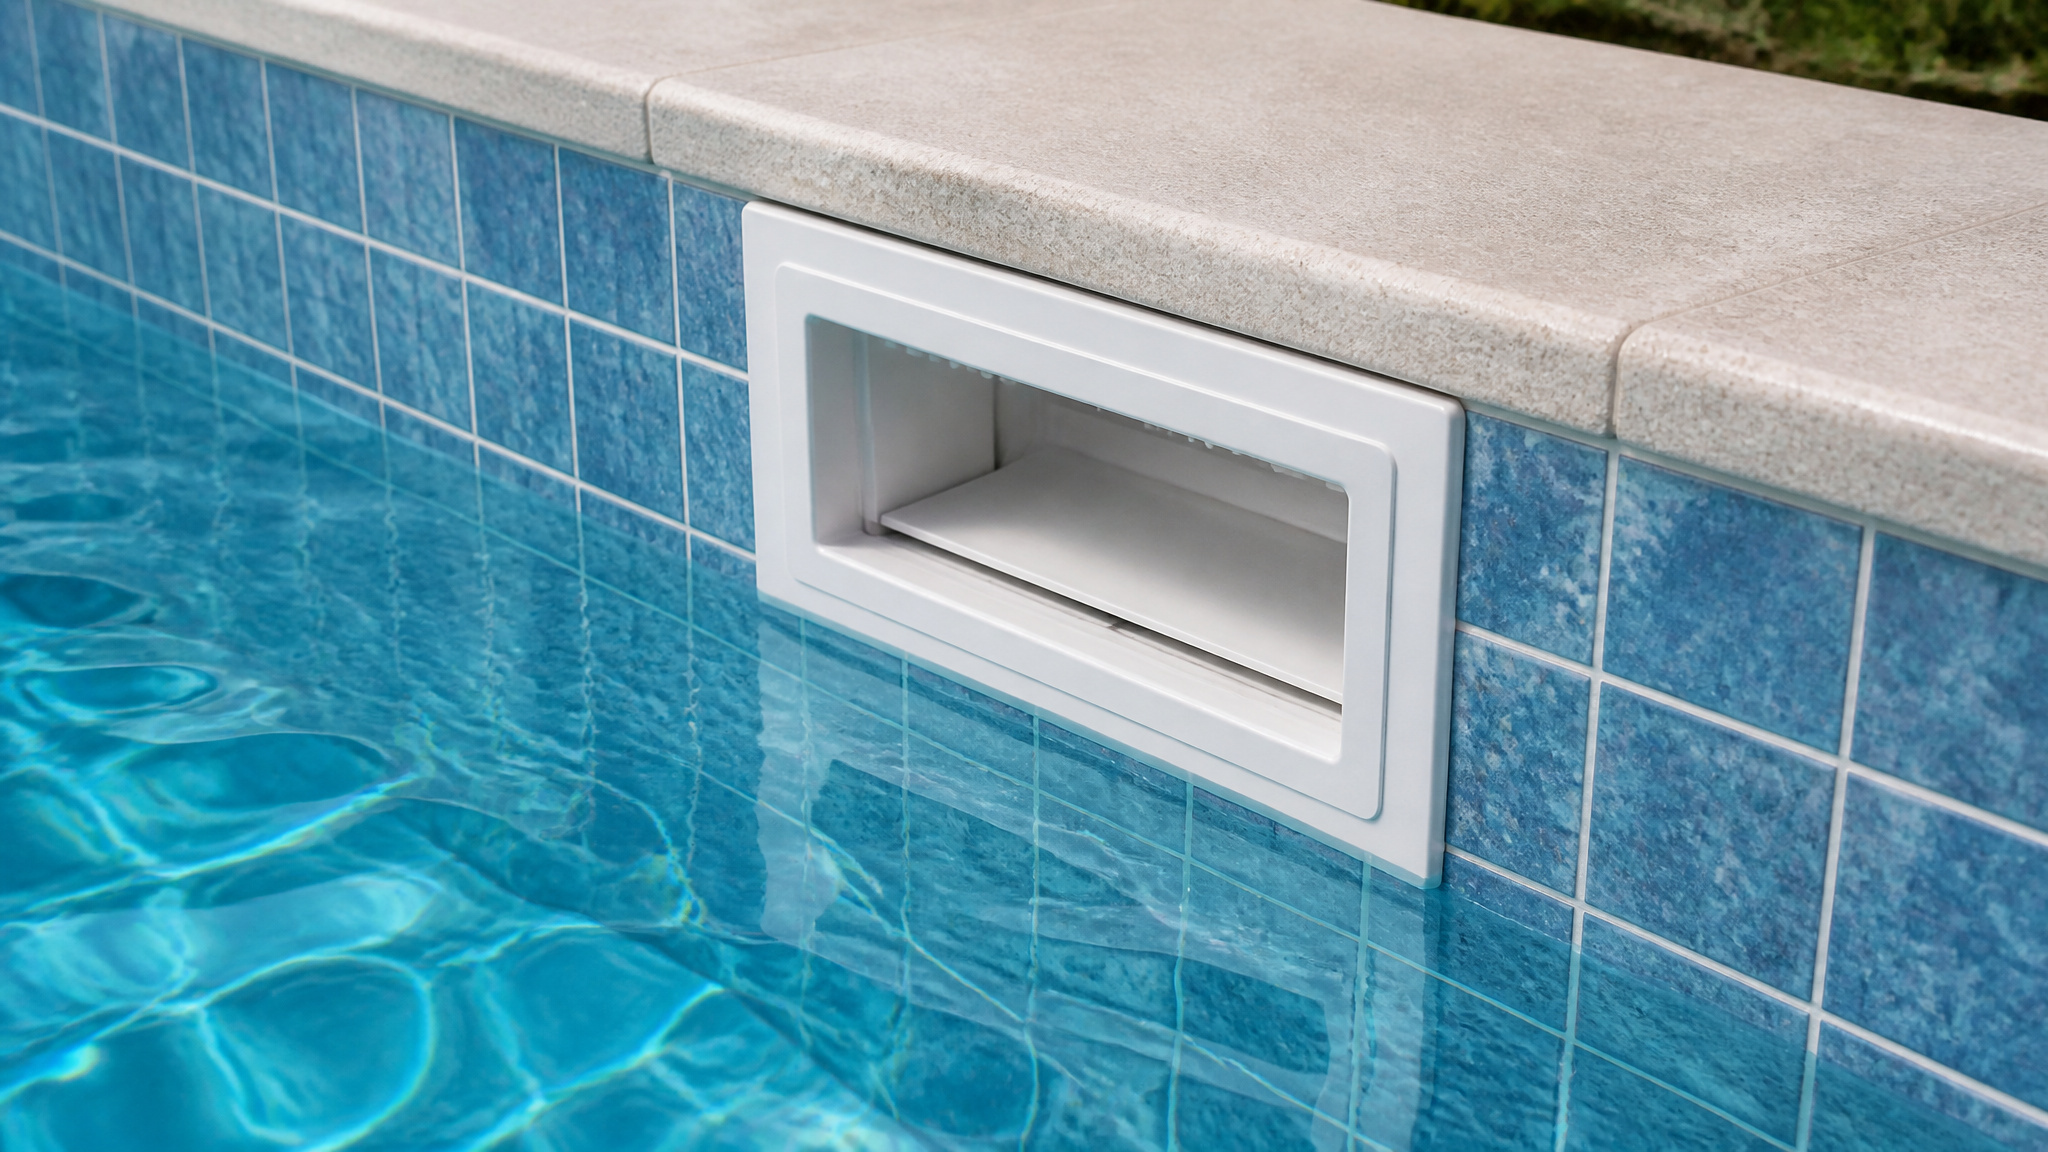
Inspect the skimmer opening and surrounding pool wall for cracks, structural wear, or damage that could compromise the seal. Examine the area closely, checking for hairline fractures, brittle sections, or shifting that indicates deeper problems. Repair any damaged wall sections now, since installing over a compromised surface leads to future leaks. When inspecting the entire system, pay special attention to fixing diverter valve leak problems. These leaks can often go unnoticed but can lead to increased water loss and significant damage over time.
Next, clean the opening thoroughly. Scrape away old gasket material, adhesive residue, and debris so the new gasket and plate seat flush against the wall. A putty knife works well for stubborn buildup. Wipe the surface until it’s smooth and dry.
If your replacement plate or body includes directional placement, verify the alignment marks and water-flow direction against the opening before you proceed to the installation step.
Fit the New Skimmer and Seat the Gaskets
Position the new skimmer body in place and align it with the existing screw holes before you insert any fasteners. Set the gaskets between the skimmer body, wall, and faceplate exactly as the kit specifies, matching each piece to its designated surface. Insert the screws loosely at first so you can correct alignment before committing to final tightening. Check that every gasket seats flat, without folds or gaps that could break the seal. Install any extensions, throat pieces, or adapter components required by your skimmer style before you close the assembly. Tighten the fasteners in a balanced cross or star pattern to distribute pressure evenly, securing the skimmer firmly without overcompressing the gasket or distorting the faceplate.
Add Extensions, Throats, and Adapters
Add extensions, throats, and adapters to bridge the gap between the skimmer body and the pool’s specific wall thickness or plumbing configuration. Some skimmer styles require these additions, neck components, or connectors. Install these components before closing the assembly, matching each part to your skimmer model. Verify alignment marks and water-flow direction where applicable, then seat each piece so it mates flush with the skimmer body. Understanding pool system schematics is essential for troubleshooting and maintenance. A clear grasp of the layout will help you identify potential issues before they escalate. Always refer to the schematics when planning your installation to ensure accuracy and efficiency.
| Component | Function | Installation Check |
|---|---|---|
| Extension | Bridges wall thickness | Flush seating |
| Throat piece | Directs water flow | Directional alignment |
| Adapter | Matches plumbing | Secure fit |
Fit connectors onto plumbing ports without cross-threading. Confirm each connection holds firm before proceeding. Don’t force mismatched parts; incorrect components compromise the seal and reduce suction. Complete this step accurately to ensure proper skimmer operation.
Reconnect the Skimmer Plumbing and Seal It
Reconnect the skimmer plumbing by reattaching the hoses or fittings to the new unit’s plumbing ports with the skimmer body secured in the opening. Confirm each connection seats fully before proceeding, since a loose fit invites suction loss and air intrusion once the pump restarts. Apply sealant around the skimmer edges where the design specifies a watertight boundary, then tighten fasteners in a cross or star pattern to distribute pressure evenly across the gasket.
- Verify hose clamps or threaded fittings are snug without stripping the threads
- Check gasket alignment between the body, wall, and faceplate
- Apply silicone or plumber’s putty only where the kit requires it
- Tighten opposing screws incrementally to prevent distortion
- Clear leftover tools, gasket scraps, and debris from the work area
Refill, Restart, and Watch for Leaks
Refill the pool to at least the middle of the skimmer opening so the unit has enough water to draw from at startup, then turn the pump back on and watch the skimmer closely. Observe the faceplate, body, and plumbing connections for leaks, bubbles, or weak suction. Bubbles often signal an air leak at a fitting or gasket, while seepage points to an incomplete seal. If you spot a leak, tighten the screws in a balanced cross pattern or reposition the gasket until the seepage stops. Confirm water flows smoothly through the skimmer basket without gurgling. Adjust the water level so the skimmer operates efficiently, then verify there’s no visible seepage around the faceplate or body before finishing.
Fix a Pool Skimmer That Still Leaks
To fix a skimmer that still leaks, shut off the pump and relieve pressure in the plumbing lines, then lower the water below the faceplate and inspect each connection point methodically. Most persistent leaks trace back to gasket seating, uneven fastener pressure, or a compromised wall section you missed during installation. Cheap solutions for leaky pool repairs can often be found at local hardware stores or through online retailers specializing in pool maintenance. Investing in affordable repair kits can save you time and money in the long run. Additionally, many DIY resources are available to guide you through the repair process effectively.
- Reseat the gasket, confirming it lies flat between the body, wall, and faceplate without folds or gaps.
- Retighten screws in a cross pattern, avoiding overcompression that distorts the plate.
- Apply fresh silicone or plumber’s putty around the opening where the design calls for it.
- Check plumbing fittings for cross-threading or loose connections.
- Inspect the wall for hairline cracks and repair them before restarting.
Conclusion: Replacing a Skimmer
Replacing a pool skimmer is achievable for a determined DIYer, though the difficulty depends heavily on whether the pool is vinyl, concrete, or fiberglass. Vinyl liners are the most forgiving; concrete and fiberglass often call for a pro. Match the new skimmer to the old, seal it well, and the fix restores proper surface skimming and protects the pump from running dry.
Shop Quality Pool Plumbing Supplies Today
Fixing valve, plumbing, and skimmer issues starts with the right parts, and Prime Pool Market has everything you need. We offer reliable Pool Plumbing Supplies at discount prices delivered right to your door. Call (877) 650-7665 today or browse our shop and save on every purchase.
Frequently Asked Questions
How Much Does a Replacement Pool Skimmer Typically Cost?
The skimmer unit itself usually costs 30 to 100 dollars. A full DIY replacement stays near the low end, while hiring a pro, especially for a concrete pool, can push the total into the several hundreds because of the labor involved. The pool type drives most of that difference in the final price.
How Long Does a Pool Skimmer Usually Last?
A skimmer body often lasts ten to fifteen years or more, while the smaller parts like the basket, weir door, and lid wear out sooner and are cheap to swap. Sun and freezing weather age the plastic fastest. Cracks in the body or a leak behind the skimmer are what usually signal a full replacement.
Can I Replace a Skimmer on a Concrete Pool Myself?
It is possible but challenging. A concrete pool skimmer is set in the deck and pool wall, so replacement often means breaking out and repouring concrete, which is heavy, precise work. Many owners handle a vinyl skimmer themselves but hire a pro for concrete. Be honest about your skills before starting this one.
Do I Need a Professional or Permit for This Job?
A straightforward skimmer swap on a vinyl pool usually needs neither. More involved work on a concrete pool, or anything touching electrical or major plumbing, may require a permit depending on your local rules. Checking with your local building department before a bigger job avoids trouble, and a pro will know the requirements.
What Are Signs My Skimmer Needs Full Replacement?
Watch for cracks in the skimmer body, water leaking behind it, a warped or broken mouth, or the pump losing prime from air getting in. A basket or weir door that keeps failing is a cheap fix, but cracks in the housing itself mean the whole skimmer has reached the end of its service.