
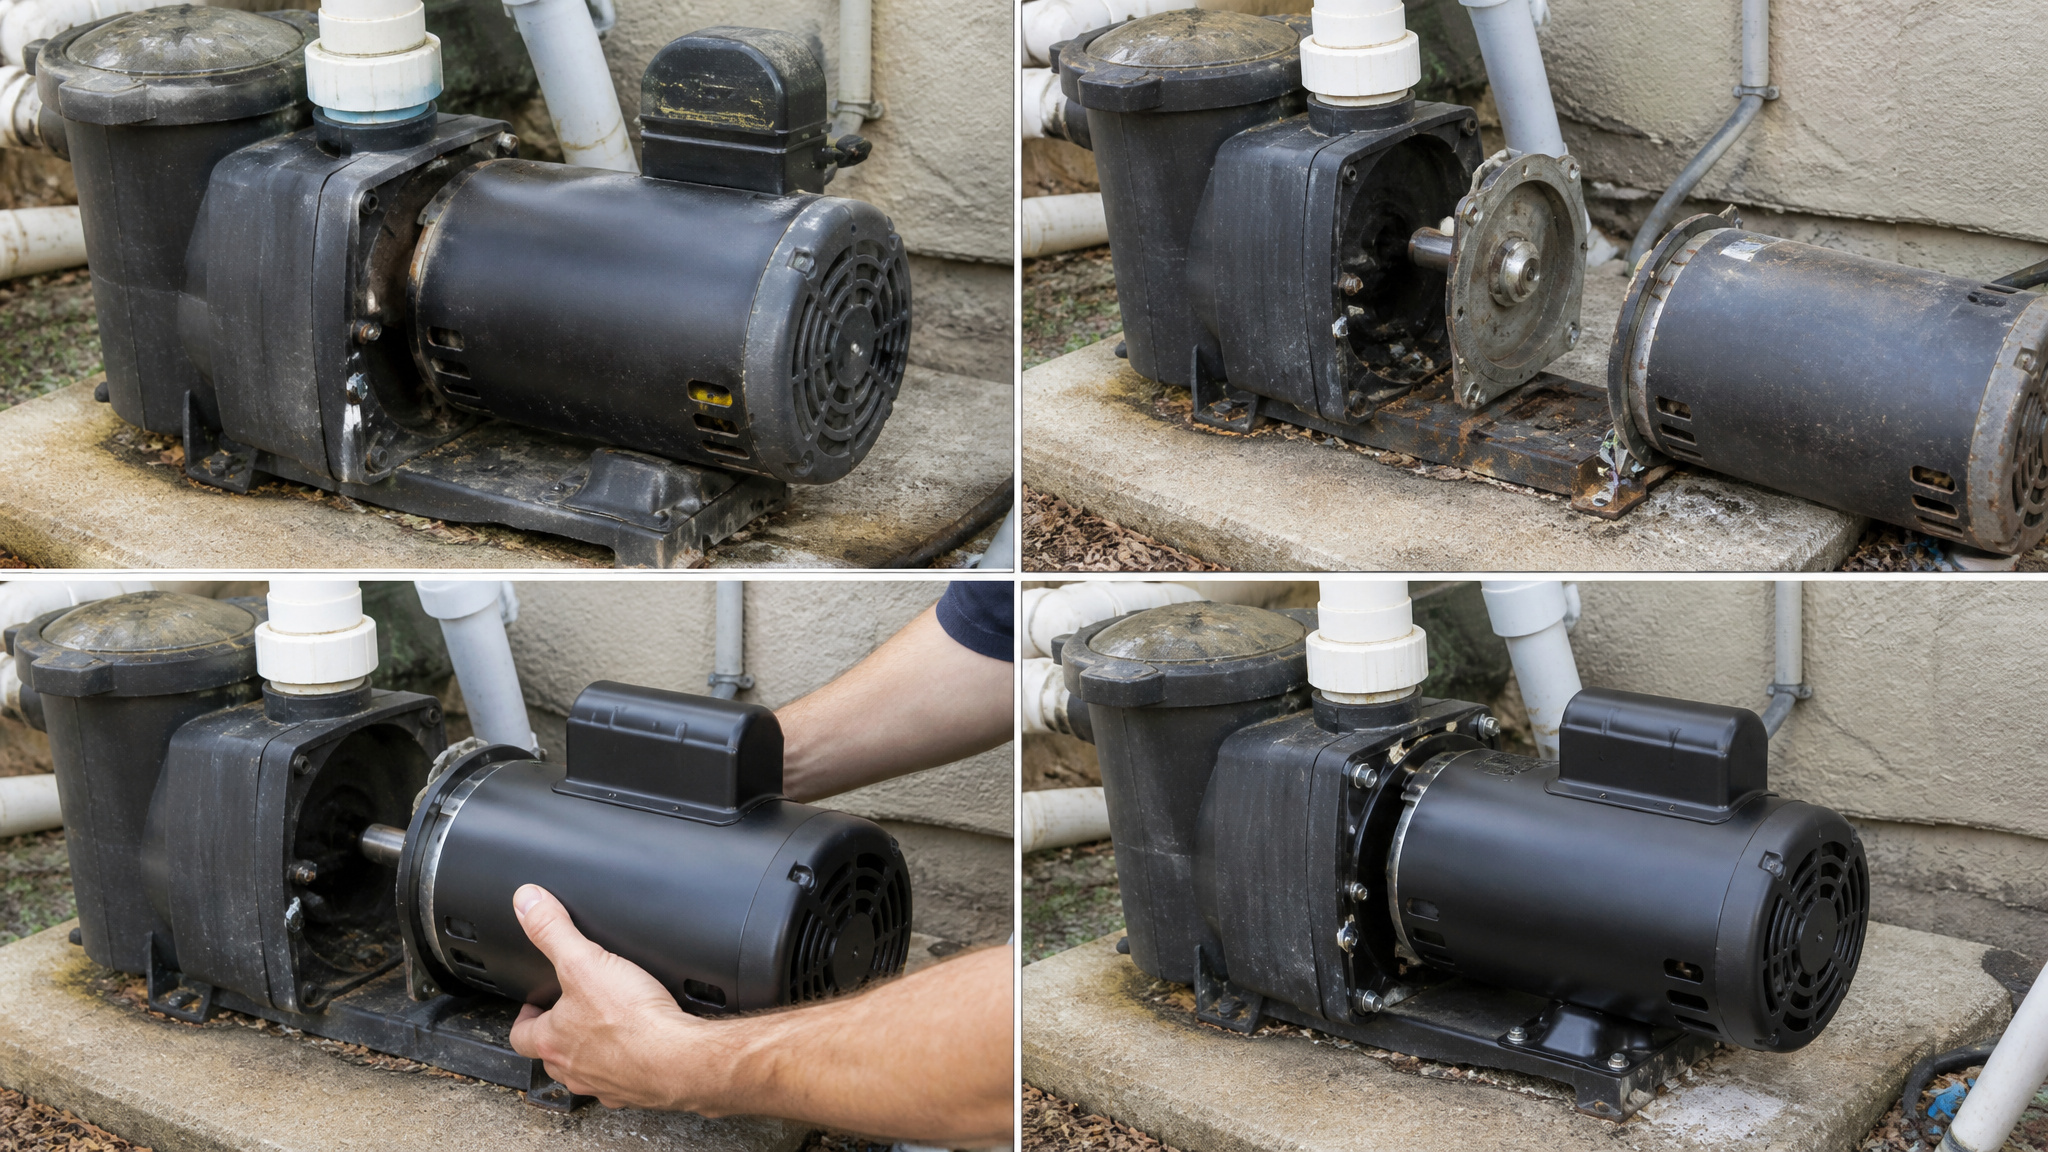
A leaking diverter valve almost always traces to one of five failures: worn O-rings, a torn spider gasket, a stuck handle, a cracked body, or debris fouling the internal seals. You’ll fix most leaks by shutting off the pump, relieving pressure, and replacing seals. Cracked bodies need full replacement; seal-only damage means a rebuild. Always clean sealing surfaces and apply light silicone lube. The specific fix depends on where your valve’s actually failing.
Key Takeaways
- External seal leaks at the valve body are fixed by inspecting and replacing worn O-rings, tightening fittings, and replacing cracked bodies.
- Water flowing to the wrong port usually stems from a failed spider gasket, fixed by replacing the gasket and cleaning the seat.
- Stiff or stuck handles are caused by trapped pressure, debris, or calcium, fixed by relieving pressure, flushing, or cleaning internal parts.
- Stem/shaft O-ring leaks weeping from the stem are fixed by removing the cover, swapping O-rings, and applying silicone pool lube.
- Rebuild for seal-only damage ($75, $250), but replace the valve when the body is cracked or internal wear is severe ($200, $500).
How to Fix a Leaking Diverter Valve Body

To fix a leaking diverter valve body, replace worn O-rings and gaskets, which are usually the culprit when a diverter valve leaks at the body or around the cover. Start your pool valve repair by shutting off the pump and relieving system pressure. Remove the cover and inspect the O-rings and gaskets for wear or cracking. Tighten any loose screws or fittings, since these cause minor leaks and often need nothing more. Clean the sealing surfaces thoroughly before installing new seals, then apply silicone or Teflon pool lubricant to the O-rings to support a proper seal. If you find a cracked valve body, no seal will fix it, so replace the whole valve. Addressing these pool diverter valve problems early prevents a leak at the valve body from worsening.
Why Is Water Leaking to the Wrong Port?
Water leaks to the wrong port most often because of a failed spider gasket in diverter valve pool setups. When this gasket wears or shifts, water sneaks past the diverter seat and flows to the wrong port, often leaking into the waste line during filter mode. Rule out simpler pool valve issues: check for incorrect valve position or handle misalignment, since these direct water to the wrong areas too.
When fixing diverter valve problems like this, replace the spider gasket first. If leaking persists, inspect the diverter seat and internal spring for wear. Clean the sealing surfaces before installing the new gasket, and apply silicone pool lube to support a lasting seal.
Replace a Failed Spider Gasket the Right Way

Before you swap the spider gasket, confirm it’s actually failed by checking for water bypassing to the waste line during filter mode and ruling out incorrect valve positioning. If the gasket’s damaged or displaced, you’ve found your culprit. Once you’ve pulled the old gasket, clean the seat and sealing surfaces thoroughly so the new gasket seats flush and holds.
Confirm Gasket Failure
A failed spider gasket is confirmed when water backwashes at the wrong time or leaks to the wrong port and no other cause explains it. But don’t swap parts before confirming the cause. First, rule out the simple stuff: check that the handle’s fully seated in its detent and that the valve position isn’t misaligned. Incorrect positioning sends water to the wrong areas without any gasket damage.
If the position’s correct and water still bypasses the intended path, shut off the pump and relieve system pressure. Remove the cover and inspect the spider gasket directly. Look for cracks, flattening, displacement, or sections lifted from the groove. Also check the diverter seat and internal spring. A gasket that’s torn or dislodged confirms your diagnosis. Now you’re ready to replace it.
Clean Before Installing
Clean the sealing surfaces before installing the new gasket. Pull out any remnants of the old spider gasket and scrape residual adhesive from the channel. Wipe the groove and surrounding diverter seat until they’re free of grit, calcium, and debris, since a dirty surface won’t let the new gasket seat properly and can cause the repair to fail early. Inspect the diverter seat and internal spring while you’re in there. Once everything’s clean and dry, apply a light film of silicone or Teflon pool lubricant to the new gasket, then press it evenly into the groove. A clean, well-seated gasket gives you the best shot at a lasting seal.
Free Up a Stiff or Stuck Valve Handle
To free up a stiff or stuck valve handle, diagnose the cause, whether trapped pressure, debris, or internal wear, then apply force only after relieving system pressure. Shut off the pump and relieve system pressure first. Forcing a handle under pressure can tear the spider gasket and crack the housing. Once pressure’s released, work the handle gently to free it.
- Turn off pump power and bleed off residual system pressure before touching the handle.
- Press down gently while rocking the handle side-to-side to break pressure binding.
- Flush minor debris by moving the handle after the pump’s off.
- Disassemble and clean out sand, grit, or calcium causing stiffness.
- Replace worn internal parts or the entire valve if it stays stuck.
Stop Stem and Shaft O-Ring Leaks for Good

Worn shaft O-rings are almost always the culprit when you spot water weeping from the stem. Shut off the pump and relieve system pressure before you start. Pull the handle pin, then remove the cover to expose the stem assembly. Slide off the old shaft O-rings and inspect the diverter surfaces, if they’re scored or worn, a new O-ring alone won’t stop the leak.
Clean the sealing surfaces thoroughly, then swap in fresh stem O-rings. Apply a light coat of silicone pool lube to reduce friction during installation and support a proper seal. Reassemble the cover and reset the handle pin. Once the cover is reassembled, it’s important to check for any leaks around the edges. If you notice any issues, consider using tools for replacing a pool skimmer to ensure everything is functioning correctly.
If seals, diverter parts, and internal surfaces are all worn, a full rebuild is your long-term fix.
Clear Debris and Calcium From the Valve
When debris or calcium fouls your valve, start by soaking removable parts in a water and muriatic acid solution, then rinse them thoroughly to strip the buildup. With the pump off, gently work the handle to flush out any loose debris blocking the internal channels. Once everything’s clean, inspect the gasket, diverter, and sealing surfaces for wear or damage before you reassemble.
Soak Away Calcium Buildup
Soak away calcium buildup by removing the affected valve parts and submerging them in a water and muriatic acid solution to dissolve the mineral deposits. Calcium buildup inside your valve prevents smooth handle movement and blocks proper sealing, so you’ll need to dissolve it before reassembly. Handle the acid carefully and follow safe mixing practices.
- Mix the solution in a well-ventilated area, adding acid to water, never the reverse
- Submerge only removable parts, keeping them fully covered until the deposits dissolve
- Watch for bubbling to stop, signaling the calcium has broken down
- Rinse each part thoroughly with clean water to neutralize any remaining acid
- Inspect the gasket, diverter, and sealing surfaces for wear once dry
After rinsing, confirm the parts are clean and ready for reassembly.
Flush Out Debris Blockage
Flush out debris blockage by shutting off the pump, relieving system pressure, and gently moving the handle back and forth to dislodge grit trapped in the internal channels. If minor debris is jamming your valve, you can often clear it without a full teardown. This quick flush can clear blockages that cause stiffness or poor sealing before you commit to a rebuild.
| Step | Action | Purpose |
|---|---|---|
| 1 | Shut off pump | Relieve pressure safely |
| 2 | Move handle gently | Dislodge trapped grit |
| 3 | Inspect gasket/diverter | Confirm sealing surfaces |
After flushing, inspect the gasket, diverter, and sealing surfaces for wear or damage. Reduce future buildup by backwashing frequently and running proper rinse cycles, which keep grit from entering the valve channels.
Inspect Sealing Surfaces After
Inspect every sealing surface after you’ve cleared debris and dissolved calcium buildup, before you reassemble the valve. Wear, scoring, and residual grit will undermine your seal even after a thorough cleaning, so check each component carefully under good light. Run a finger across the diverter seat and mating surfaces to feel for grooves or pitting you might miss visually.
- Inspect the spider gasket for tears, flattening, or displacement from its channel.
- Check O-rings for cracks, hardening, or loss of elasticity.
- Examine the diverter seat and internal surfaces for scoring or wear.
- Confirm sealing surfaces are clean, dry, and free of leftover calcium flakes.
- Verify the internal spring seats properly and isn’t corroded.
Replace any worn seals before reassembly to ensure a lasting repair.
When to Rebuild Versus Replace Your Valve
Rebuild your diverter valve when the damage is limited to seals, and replace it when the body is cracked or internal wear is too severe for fresh seals to fix. If the problem is worn O-rings, a failed spider gasket, or scored diverter surfaces, a rebuild makes sense. Swap in new spider gaskets and shaft O-rings, inspect the diverter assembly and internal spring, and clean the sealing surfaces before reassembly. Gasket-only repairs run about $75 to $250, so you’ll save money keeping the body.
Replace the valve when the body’s cracked or internal wear is too severe for fresh seals to fix. A cracked housing won’t hold pressure no matter how many O-rings you install. Full replacement costs roughly $200 to $500 installed, but it’s the right call once the core structure fails.
What a Diverter Valve Repair Costs
A diverter valve repair costs $75 to $500 depending on whether you need new seals or a full replacement. Pin down whether you’re dealing with worn seals or a cracked body, since that call drives your total cost. Here’s how the numbers typically break down:
Worn seals or cracked body? Nail that diagnosis first, because it decides whether you spend $75 or $500.
- Gasket-only repair: $75 to $250, covering the spider gasket and basic reassembly.
- Full valve replacement: $200 to $500 installed, when the body cracks or internal wear runs deep.
- O-ring and stem seals: usually bundled into a rebuild kit alongside the spider gasket.
- Pool lube: a minor add-on, silicone or Teflon, for proper seating.
- Labor: varies by access and whether you’re doing it yourself.
Diagnose accurately, then spend once.
Prevent Future Diverter Valve Problems
Prevent future diverter valve problems by adopting a few habits that keep grit, calcium, and pressure damage from forcing another teardown. Backwash and rinse regularly so grit doesn’t accumulate in the valve channels. Always shut off the pump and relieve system pressure before turning the handle, and move it gently and purposefully. Never force it. Forcing a handle under pressure tears the spider gasket and cracks the housing. Keep the valve oriented correctly and confirm each position before running the system, since misalignment sends water to the wrong port. During any service, clean sealing surfaces, inspect the diverter and gaskets for wear, and apply light silicone or Teflon pool lube to O-rings. Consistent cleaning and proper installation prevent most future problems. A simple pool plumbing diagram explained can be a valuable resource for understanding the layout and function of your pool’s plumbing system. By following such a diagram, you can easily identify potential problem areas and ensure your maintenance practices are effective.
Conclusion: Solving Diverter Valve Problems
Most diverter valve trouble comes down to a stiff handle, a leak, or poor flow direction, and nearly all of it traces back to worn O-rings or dried-out lubricant. These are cheap, fixable parts, and a little regular lubrication prevents most issues before they start. Keep the valve serviced and it directs your water reliably for years.
Get Discount Pool Parts Delivered Fast
From check valves to diverter valves and skimmer replacements, quality plumbing parts keep your pool running smoothly. Browse Prime Pool Market for premium Pool Plumbing Supplies with real value from real pool experts. Call (877) 650-7665 today and shop the parts your pool needs.
Frequently Asked Questions
How Long Does a Pool Diverter Valve Typically Last?
The valve body often lasts ten years or more, while the internal O-rings and seals wear out sooner and need occasional replacement. Sun exposure and lack of lubrication shorten the life of those seals. Keeping them lubricated is what lets the overall valve reach the long end of its lifespan without leaks or stiffness.
Can I Repair a Diverter Valve Myself Without a Professional?
Yes, most repairs are DIY-friendly. Replacing O-rings, lubricating the seals, or freeing a stiff handle are simple jobs with basic tools. The valve usually opens with a few screws to reach the internal parts. Only a cracked valve body glued into the plumbing really calls for a pro, and that failure is less common.
What Type of Pool Lubricant Should I Avoid on O-Rings?
Avoid petroleum-based products like Vaseline, which swell and degrade rubber O-rings over time. Use a silicone-based pool lubricant instead, since it is made to protect the seals and keep them supple. Using the wrong lubricant is a common reason O-rings fail early, so the right one genuinely extends their life.
How Often Should I Inspect My Pool Diverter Valve?
Check it a couple of times a year, and lubricate the O-rings during those checks. Look for leaks around the handle, stiffness when turning, and whether the water is actually diverting where it should. Catching a drying seal early and adding lubricant prevents the stiffness and leaks that come from letting it go too long.
Which Brands of Diverter Valves Are Most Reliable?
Jandy, Pentair, and Hayward are the names pool pros reach for most, valued for durable bodies and readily available replacement parts. The availability of rebuild kits matters as much as the brand, since it means you can refresh the seals instead of replacing the whole valve. Match the size to your plumbing when choosing.