
To convert your chlorine pool to saltwater, you’ll install a salt chlorine generator on your return line downstream of the filter and heater then add pool-grade salt to hit 3,200 ppm. After 24 hours of circulation, test salinity, balance your pH to 7.4 7.6, and set the generator output to 50%. Retest free chlorine after another 24 hours, targeting 1 3 ppm. Each step below covers the critical details you’ll need to get it right.
Calculate Your Pool Volume and Choose the Right Generator
Before purchasing a salt chlorine generator, you’ll need to calculate your pool’s exact volume in gallons this single number drives both your salt dosage and equipment sizing. For rectangular pools, apply length × width × average depth × 7.48. For circular pools, use 3.14 × r² × depth × 7.48. Average depth is derived from your shallow-end and deep-end measurements. Free-form pools require shape multipliers applied to longest length, widest width, and average depth.
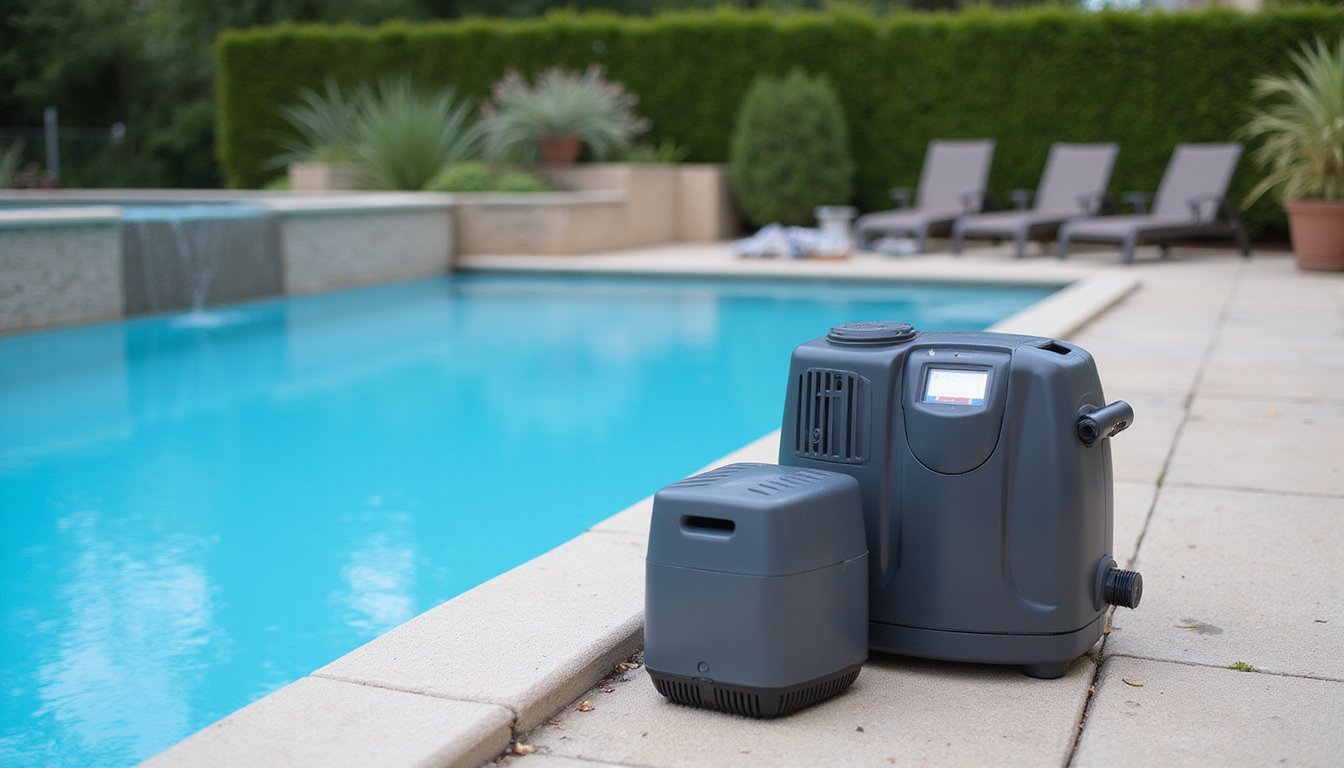
Once you calculate your pool volume and choose the right generator, verify the unit’s rated capacity matches or exceeds your actual gallonage ideally 1.5 to 2 times your pool’s volume for ideal chlorine output. Factor in flow rate and bather load, as higher swimmer usage increases chlorine demand and may justify upsizing your chlorinator.
Pick the Right Salt Level for Your Saltwater Pool
With your pool volume calculated and generator sized, your next step is dialing in the correct salt concentration. During saltwater pool setup, target 3,200 ppm the industry-standard sweet spot within the 2,700 3,400 ppm operating range. Always verify your manufacturer’s spec sheet, as it overrides generic guidelines.
| Parameter | Value |
|---|---|
| Minimum operating threshold | 2,700 ppm |
| Maximum operating threshold | 3,400 ppm |
| Recommended target | 3,200 ppm |
| Risk zone (low) | Below 2,700 ppm |
| Risk zone (high) | Above 4,500 ppm |
Test your current salinity before adding any salt. Use a dedicated salinity test kit or your generator’s onboard sensor to establish a baseline. Below 2,700 ppm, most cells won’t produce adequate chlorine. Above 4,500 ppm, you’ll accelerate cell degradation and require partial drain-down to correct. Keep in mind that sustained levels at 5,000 ppm or more can corrode metal equipment, so regular monitoring is essential to protect your investment.
Install the Salt Cell and Control Box on the Return Line
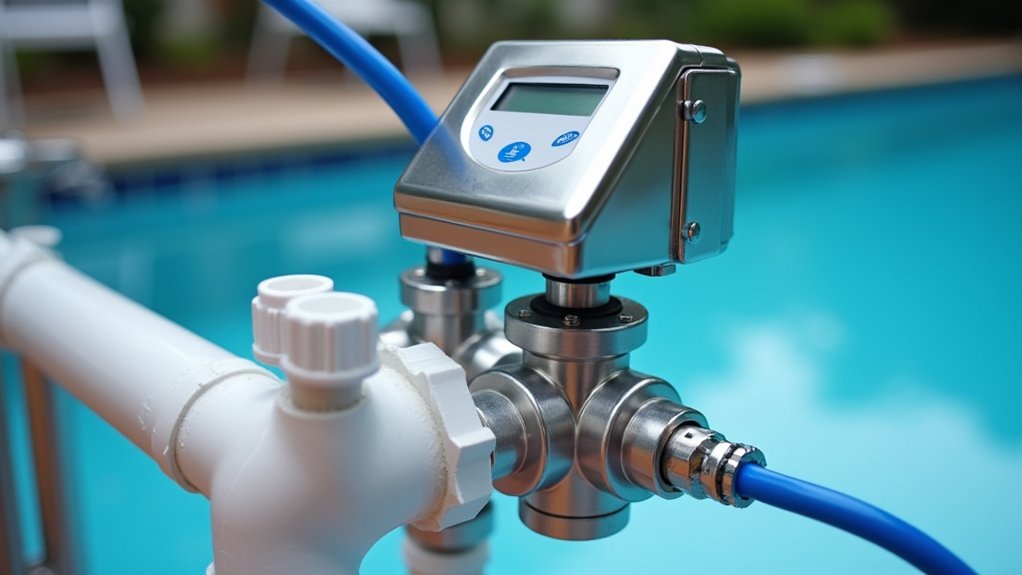
Mount the control box on a solid surface near your equipment pad, keeping it at least five feet horizontally from the pool’s water edge and within cable reach of the salt cell. Install the salt cell as the last component on the return line, downstream of the filter and heater, cutting the PVC to fit the cell and flow-switch assembly with approximately 2-1/2 inches less than their combined length to account for union connections. Prime and cement all PVC joints, confirm the flow switch arrow points in the direction of water flow, and orient the cell horizontally with the belly down to guarantee full water contact. Ensure the flow switch has 12 inches of straight pipe before it to allow for accurate flow detection.
Mount the Control Box
Position the salt cell on the return line as the last piece of equipment before water re-enters the pool after the pump, filter, and heater. This downstream placement protects upstream components from chlorinated water exposure during salt chlorinator installation.
Mount the control box vertically on a flat surface near your equipment pad, keeping it close to the pump timer. Confirm the cell cable reaches the enclosure without strain. Wire the control unit to the load side of the time clock so it energizes only when the pump runs. Complete electrical bonding to your pool’s bonding system using the manufacturer’s specified bare copper wire gauge.
Install isolation valves around the cell for service access. Verify the flow switch arrow aligns with the water direction, and confirm all unions are secure before powering up.
Connect the Cell
Cut into the return line downstream of the filter and heater to position the salt cell as the last component before water re-enters the pool. Measure the cell and flow switch assembly, then remove a PVC section sized slightly shorter to accommodate unions and fittings. Dry-fit all components before applying primer and cement.
When you connect the cell, follow these critical steps to guarantee a proper chlorine-to-saltwater pool conversion:
- Orient the flow switch arrow in the direction of water flow with 12 inches of straight pipe upstream
- Seat O-rings cleanly in union channels before assembly
- Hand-tighten union nuts only tools risk cracking plastic fittings
- Plug the cell cable into the control center until it clicks securely
Restore pump flow and inspect all joints for leaks.
Add Salt to Your Saltwater Pool the Right Way
With the salt cell and control box installed, you’ll need to calculate the correct amount of pool-grade salt based on your pool’s volume and current salinity reading typically targeting around 3,200 ppm. Turn off the chlorine generator, keep the pump running, and broadcast the salt into the deep end or along the perimeter while brushing any piles to prevent concentrated deposits on the pool floor. Allow up to 24 hours of continuous circulation for full dissolution, then retest salinity before powering the generator back on.
Dissolving Salt Efficiently
Immediately brush settled granules toward the main drains to accelerate breakdown. Fine-grain salt dissolves fastest, minimizing floor contact time.
For efficient dissolution, follow these operational priorities:
- Run circulation continuously until all visible salt disappears typically about one hour per 40 pounds
- Brush undissolved salt away from pool surfaces to prevent staining
- Pour near return jets to leverage water flow for faster dispersion
- Test salinity before activating the chlorinator cell
Correct Salt Quantity
Once the salt has fully dissolved and your circulation system confirms clear water, the next step is dialing in the correct salt quantity. Test your current salinity in ppm before dosing. The target range for most salt chlorination systems is 2,700 3,400 ppm, with 3,200 ppm as the ideal setpoint. Always defer to your manufacturer’s specified range.
Use this baseline: a 10,000-gallon pool at 0 ppm requires approximately 267 pounds of salt to reach 3,200 ppm roughly six to seven 40-pound bags. Starting at 1,000 ppm, that same pool needs four to five bags. Scale proportionally for larger volumes.
After dosing, retest salinity. If you’re below target, add measured increments. If you’ve overshot, dilute through partial water replacement to bring levels within spec.
Test Your Water and Turn On the Salt System
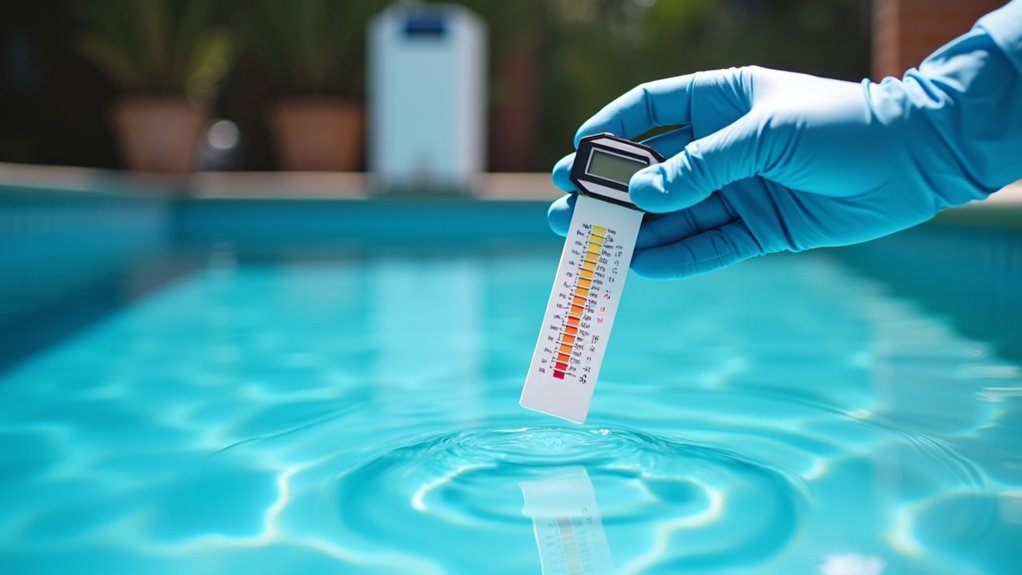
Before activating your salt chlorine generator, test all water chemistry parameters total alkalinity, pH, free chlorine, cyanuric acid (CYA), and calcium hardness using a reliable pool test kit. Correct imbalances one parameter at a time, retesting between adjustments. When you test your water thoroughly before startup, you prevent equipment damage and chemistry instability during your saltwater pool conversion.
Test and balance every water chemistry parameter before powering on your salt chlorine generator to protect your equipment.
Once salt has circulated for 24 hours, confirm salinity is within the manufacturer’s specified range. Then:
- Set initial chlorine output to 50% and run the system for 24 hours
- Retest free chlorine, targeting 1 3 ppm at startup
- Adjust output in 10% increments if levels fall outside range
- Verify the cell is actively producing chlorine before resuming normal operation
Don’t increase generator runtime until water chemistry stabilizes.
Monitor Salt Levels, pH, and Cell Health Long-Term
Your saltwater pool conversion doesn’t end at startup long-term system performance depends on consistent monitoring of salinity, pH, and salt cell condition. Test salinity monthly with independent strips to cross-check your pool salt system’s onboard sensor, targeting 2,500 3,500 ppm per manufacturer specs. Test pH weekly, maintaining 7.4 7.6 to prevent scaling and chlorine inefficiency.
| Parameter | Target Range | Test Frequency |
|---|---|---|
| Salinity | 2,500 3,500 ppm | Monthly (more after dilution events) |
| pH | 7.4 7.6 | Weekly |
| Free Chlorine | 1 3 ppm | Weekly |
Inspect your salt cell every 2 3 months for white, flaky scale deposits. Rinse light buildup immediately; use manufacturer-approved acid cleaning for stubborn mineralization. Neglecting cell maintenance reduces chlorine output and accelerates premature replacement.
Shop Saltwater Chlorination Systems
If you are switching to a saltwater pool or maintaining an existing system, Prime Pool Market has the equipment your setup needs. We carry top-rated Saltwater Chlorination systems and replacement salt cells at discount pricing from real pool guys. Browse our full catalog or contact us to find the right salt system for your pool today.
Frequently Asked Questions
Do I Need to Drain My Pool Before Converting to Saltwater?
No, you don’t need to drain your pool for a standard saltwater conversion. You’ll keep the existing water in place, balance your pH, alkalinity, and calcium hardness, then install the salt chlorine generator and cell into your plumbing loop. Add pool-grade salt to reach 3,000 3,500 ppm, circulate thoroughly, and retest salinity. Draining’s only necessary for separate repairs like liner replacement, not the conversion itself.
Will a Saltwater Pool Damage My Pool Heater or Metal Fixtures?
Saltwater can damage your heater and metal fixtures over time if you don’t manage water chemistry properly. You’ll want a cupro-nickel heat exchanger rather than standard copper for better corrosion resistance. Keep your pH balanced, maintain lower total alkalinity around 60 ppm, and use a saltwater-compatible scale inhibitor. Shut off your heater at least 10 minutes before stopping circulation to prevent scale buildup inside the heat exchanger.
Can I Convert a Newly Plastered Pool to Saltwater Right Away?
You shouldn’t convert a newly plastered pool to saltwater immediately. New plaster requires a 28-day startup period many professionals recommend waiting 30 60 days before adding salt. During curing, you’ll need to maintain tight control over pH, alkalinity, and calcium hardness while brushing plaster dust regularly. Introducing chloride ions too early can compromise the cure. Once the startup window closes and your water chemistry stabilizes, you can safely add salt to your target 3,000 ppm.
Does a Saltwater Pool Still Use Chlorine to Sanitize the Water?
Yes, your saltwater pool still relies on chlorine for sanitation. The salt chlorine generator electrolyzes dissolved salt (NaCl) to produce hypochlorous acid and sodium hypochlorite the same active sanitizers found in conventional chlorinated pools. You’re simply automating chlorine production rather than dosing manually. You’ll still need to monitor free chlorine levels, pH, alkalinity, and salinity regularly to maintain proper disinfection and balanced water chemistry throughout the system.
Will Converting to Saltwater Reduce the Chemical Smell Around My Pool?
A saltwater conversion can reduce harsh chemical odor because the salt chlorine generator maintains steadier free chlorine levels, which minimizes chloramine buildup the actual source of that strong “pool smell.” You’ll still have chlorine in the water, so you won’t eliminate odor entirely. You’ll get the best results by keeping free chlorine at 1 3 ppm, pH at 7.2 7.8, and ensuring proper circulation and turnover rates throughout the system.