
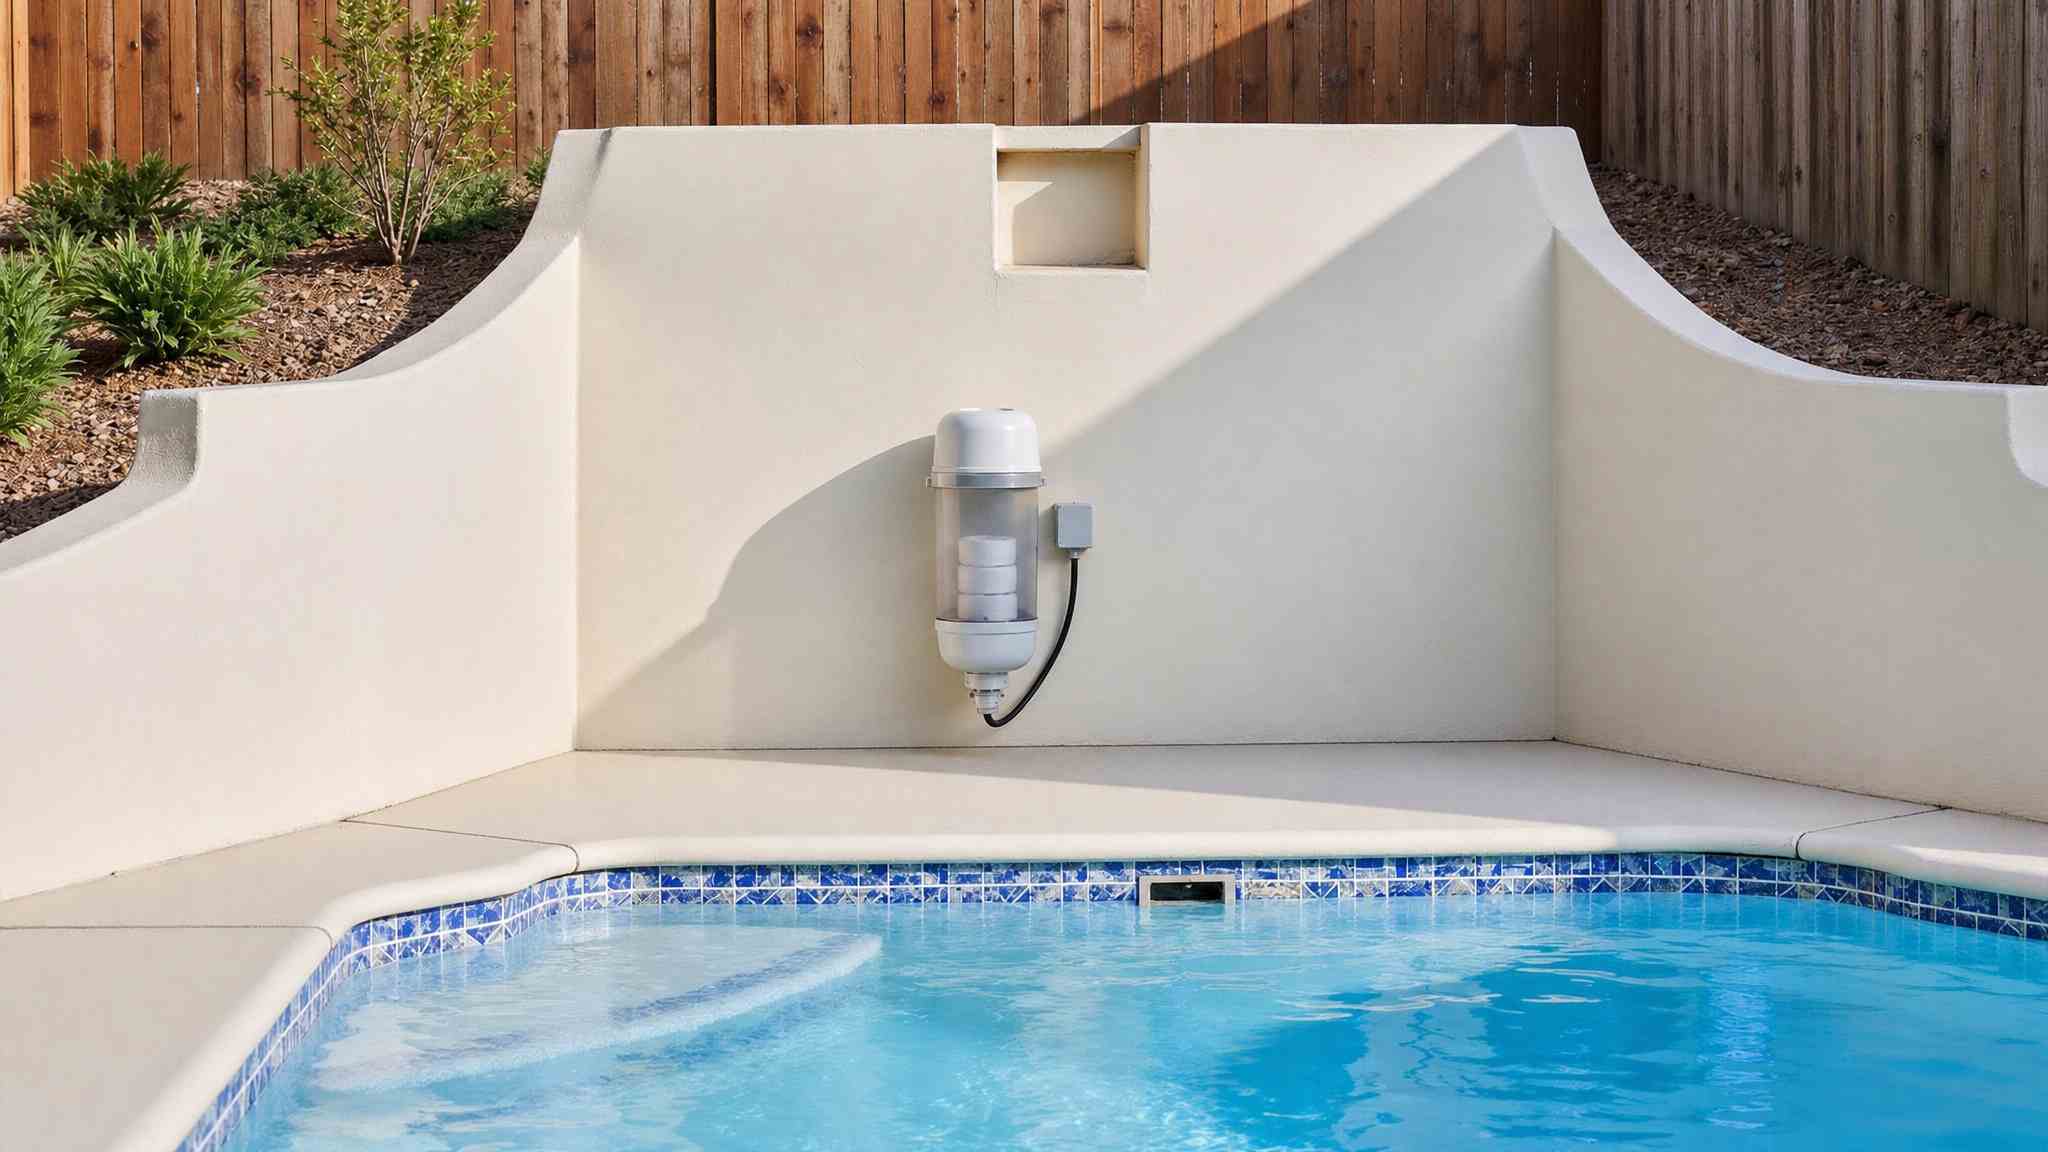
Start by deep cleaning your pool, skim, brush, and vacuum, then empty the baskets. Next, balance your water chemistry, keeping pH between 7.2 and 7.6 and alkalinity at 80 to 120 ppm. Shock the pool, wait for chlorine to normalize, then add polyquat algaecide. Lower the water below your skimmer based on cover type, blow out and plug the lines, and protect your heater. Finally, secure a properly sized cover. Let’s break down each step.
Key Takeaways
- Deep clean the pool by skimming debris, brushing walls, vacuuming the floor, and emptying skimmer and pump baskets before shutdown.
- Balance water chemistry to a pH of 7.2 to 7.6 and total alkalinity of 80 to 120 ppm for winter corrosion protection.
- Shock the pool first, wait for chlorine to normalize, then add polyquat algaecide, never combine them, and avoid copper products.
- Lower water below skimmer and return lines, remove drain plugs, and blow out equipment to prevent freeze damage.
- Install a tightly-fitted safety or winter cover, pad rough edges with foam, secure it taut, and monitor throughout the season.
Deep Clean Your Pool Before Closing

To deep clean your pool before closing, skim leaves, insects, and floating debris from the surface first. Then brush the walls, corners, and crevices to loosen any algae or buildup that’s clinging to the surfaces. Vacuum the floor to remove settled dirt and debris that skimming can’t reach. Empty the skimmer baskets and pump baskets before shutdown, and remove all toys, accessories, and loose items from the water. Debris left behind will stain surfaces and feed algae all winter long. These pool winterization steps set the foundation for winterizing your inground pool correctly, since balancing water chemistry works far better in clean, debris-free water without organic contaminants competing against your treatment.
Balance Your Water Chemistry for Winter
Balance your water chemistry for winter by testing pH and total alkalinity first, which give accurate readings on a clean pool. For proper inground pool winterization, keep pH between 7.2 and 7.6, and alkalinity between 80 and 120 ppm. These ranges protect surfaces and equipment from corrosion and scaling through the cold months.
Next, shock the pool and allow circulation time before you move on. Once chlorine normalizes back to your target closing range, add algaecide. Choose polyquat algaecide, and avoid copper-based products, which can stain your pool.
Don’t add shock and algaecide simultaneously, since that weakens both. When you winterize pool water this way, you prevent algae growth over winter. Balancing chemistry correctly is a critical step when closing inground pool systems for the season.
Time Your Winterizing Chemicals Right
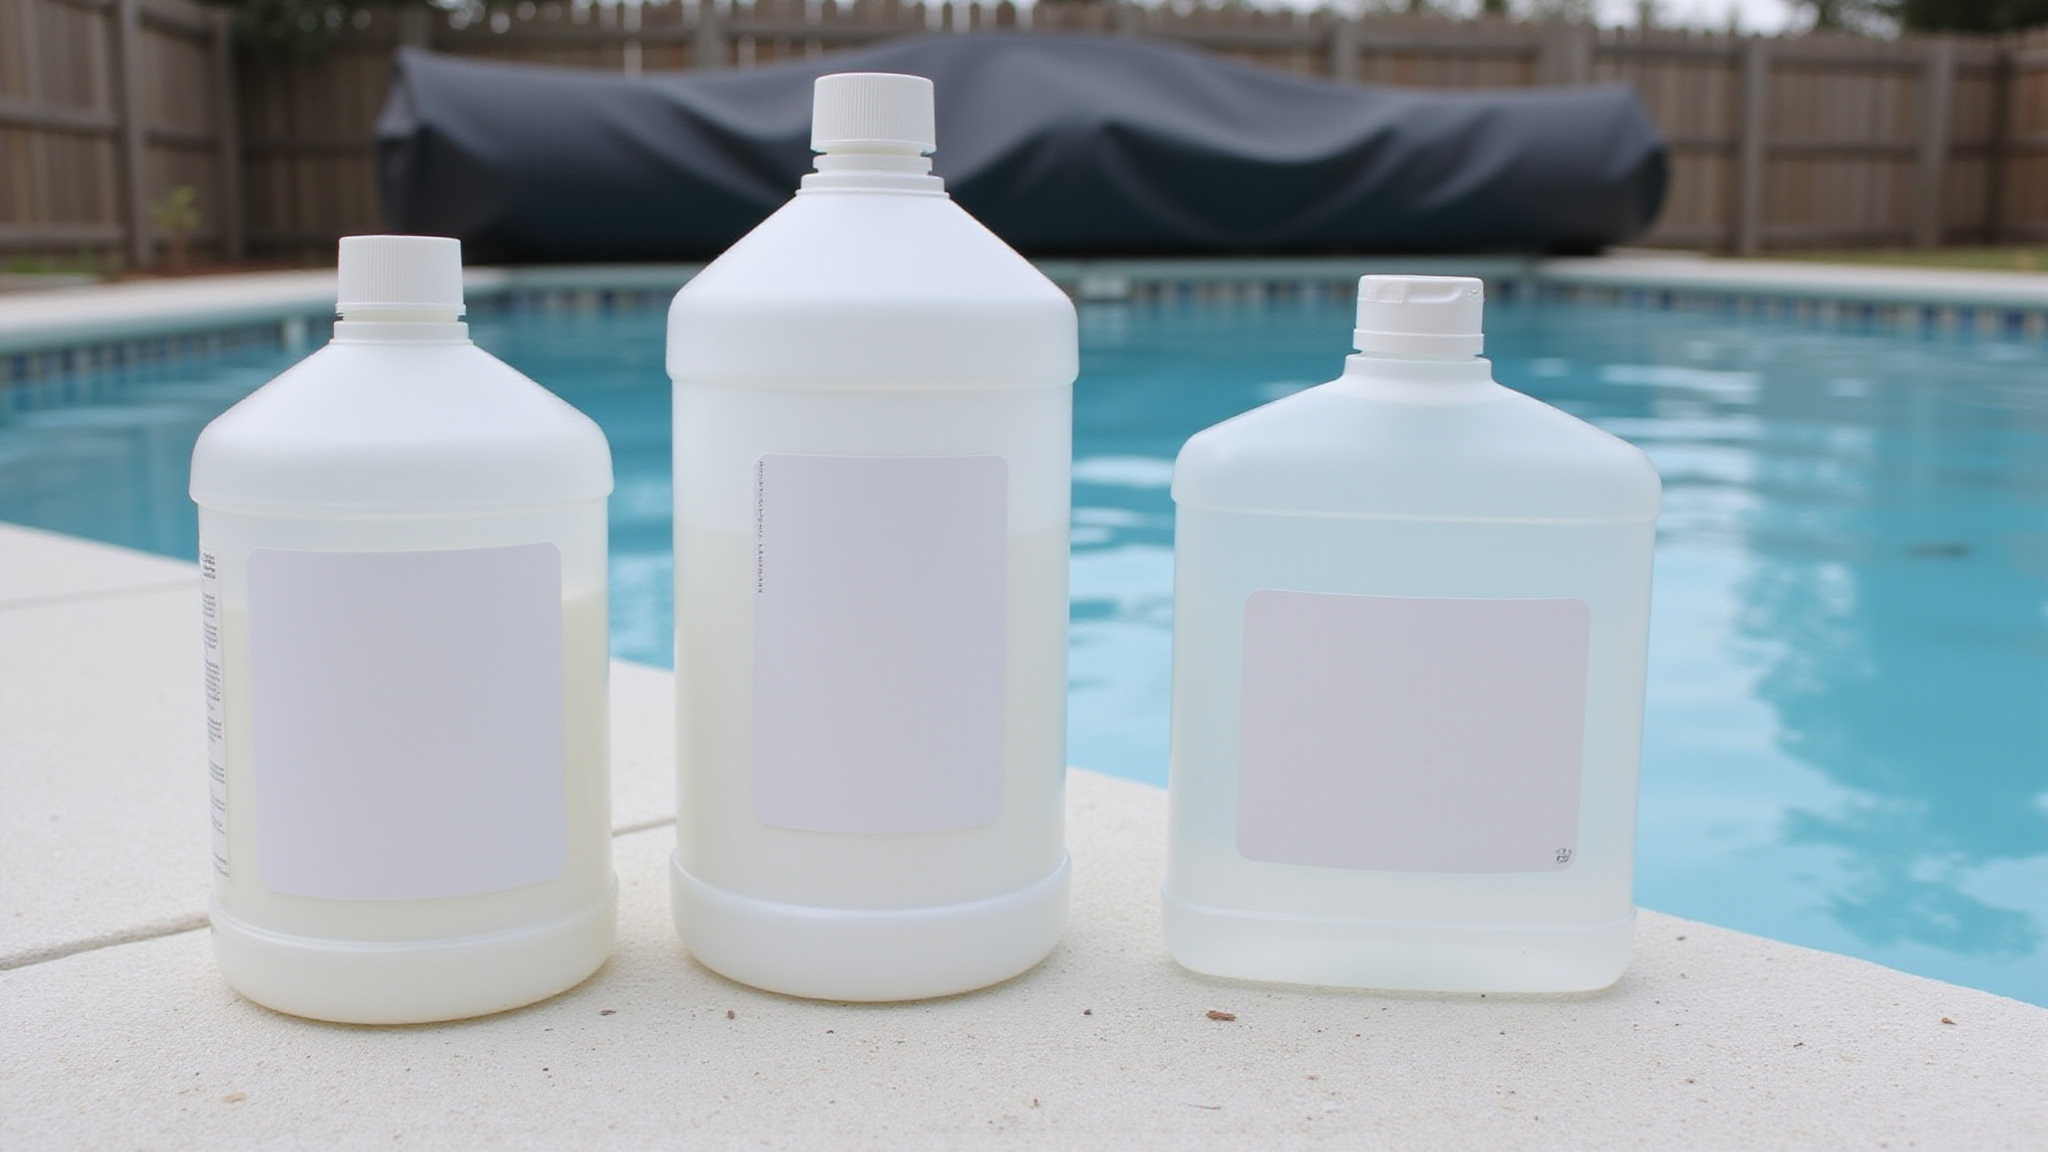
Time your winterizing chemicals by adding them several days before you seal the system, not on closing day, so they distribute fully and take effect. Run your pump long enough to circulate everything completely, anywhere from about eight hours to overnight, depending on your setup. After you shock the pool, wait until chlorine returns to your target closing range before moving to the next step. Never add shock and algaecide at the same time, since high chlorine deactivates algaecide. If you want extra protection, use a phosphate remover, because phosphates feed algae growth. Getting this sequence and timing right keeps your water clear and protected through the cold months. Determining pool closing dates annually can help you prepare for winter maintenance well in advance. Start by marking these dates on your calendar to ensure you have ample time for the necessary preparations.
Shock and Add Algaecide the Smart Way
Shock the pool first, then wait for chlorine to return to the closing range of about 7.2 to 7.6 pH before adding algaecide. When you shock the pool, you’re killing off bacteria and organic contaminants that could fuel algae growth over winter, so don’t skip this step. Don’t add shock and algaecide at the same time, high chlorine levels break down algaecide and waste it. After shocking, run the pump long enough to circulate fully, anywhere from 8 hours to overnight, so the treatment distributes evenly. Once chlorine normalizes, add your algaecide. Choose a polyquat algaecide for the best protection, and avoid copper-based products, which can stain your pool surfaces. If you’d like extra defense, use a phosphate remover to eliminate algae’s food source.
How Low Should You Drain the Water?
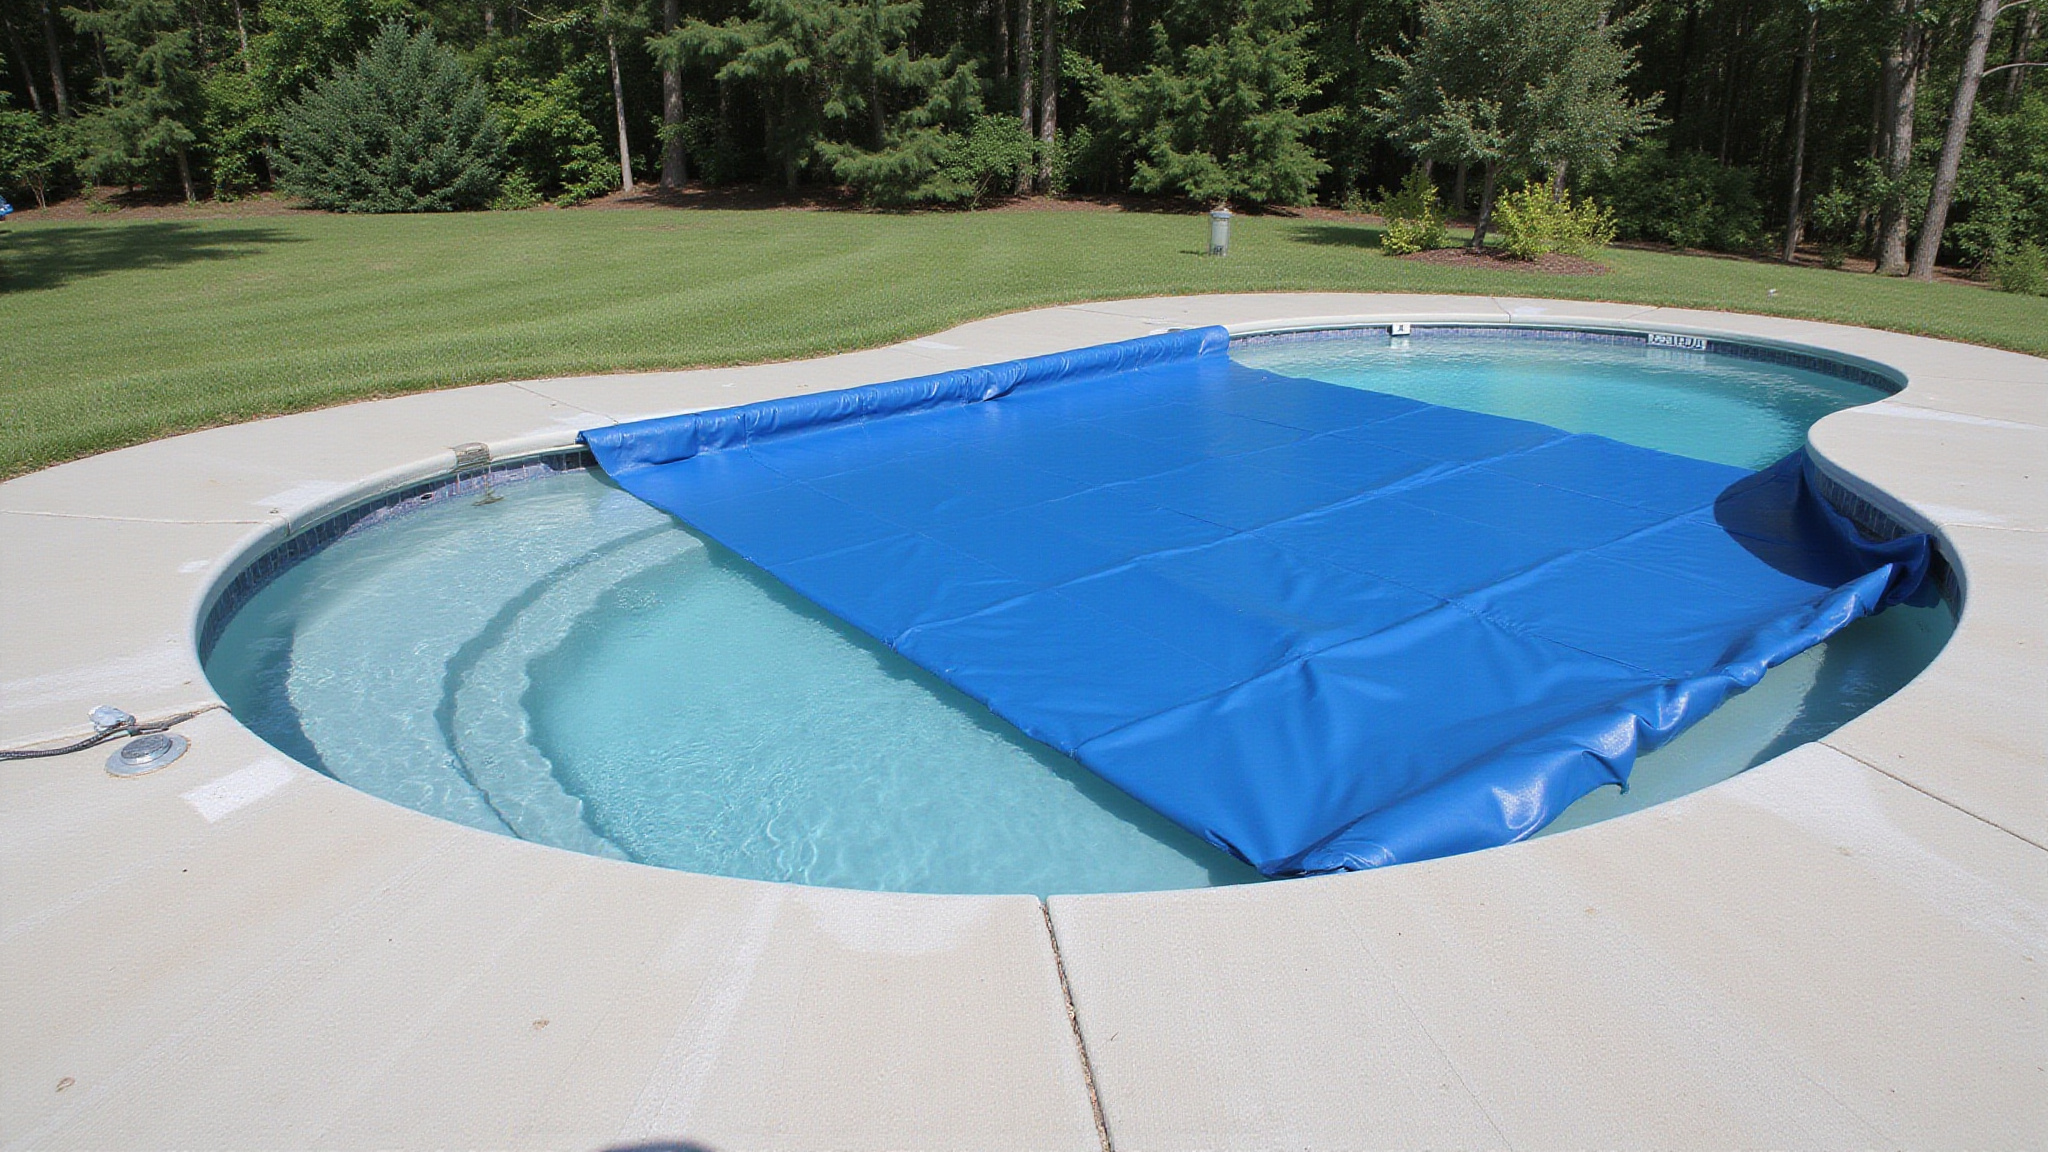
Before you seal the system, you’ll need to lower the water below the skimmer and return lines so trapped water can’t freeze and crack them. How far you drop it depends on your cover type: aim for about 12 to 18 inches below the skimmer opening for solid or mesh safety covers, but only around 6 inches for standard winter covers. If you’re running an automatic cover, follow a different target, such as roughly 2 inches below the skimmer throat.
Below Skimmer and Returns
Lower the pool below the skimmer and return openings before you seal the system, because standing water in these lines can freeze and crack them over winter. Your target depth depends on the cover you’re installing. For solid or mesh safety covers, drop the level about 12 to 18 inches below the skimmer opening. If you’re using a standard winter cover, a shallower drop of around 6 inches below the skimmer opening usually works. Automatic cover setups often call for roughly 2 inches below the skimmer throat instead. Some guides recommend lowering the water about 18 inches below the tile line. Match your level to the specific cover type, and never leave water sitting inside the skimmer or return lines.
Levels by Cover Type
Water levels depend on your cover type, so the type you’re installing directly determines how far you drain. Draining too much stresses the shell, while draining too little risks freeze damage to your skimmer and lines. Match your target to the cover you’re securing:
- Solid or mesh safety covers: Lower the water about 12 to 18 inches below the skimmer opening to accommodate cover tension and prevent overflow.
- Standard winter covers: Drain only about 6 inches below the skimmer opening, since these covers don’t anchor into the deck.
- Automatic cover setups: Drop the level about 2 inches below the skimmer throat to keep the mechanism functioning correctly.
Confirm your measurement at the tile line before you proceed.
Automatic Cover Considerations
With an automatic cover, drain the water to about 2 inches below the skimmer throat, much higher than the levels you’d target for safety or standard winter covers. This shallower level matters because automatic covers rely on the water beneath them for support and proper operation. Draining too low leaves the cover unsupported, which can stress the tracks, mechanism, and fabric during winter.
Confirm your specific manufacturer’s target before lowering the level, since setups vary. Keep the water high enough to maintain even pressure across the cover, but low enough to protect the skimmer from freeze damage.
After you set the level, verify that return lines and the skimmer are properly blown out and plugged so trapped water can’t freeze and crack components.
Winterize Your Pump and Filter Equipment
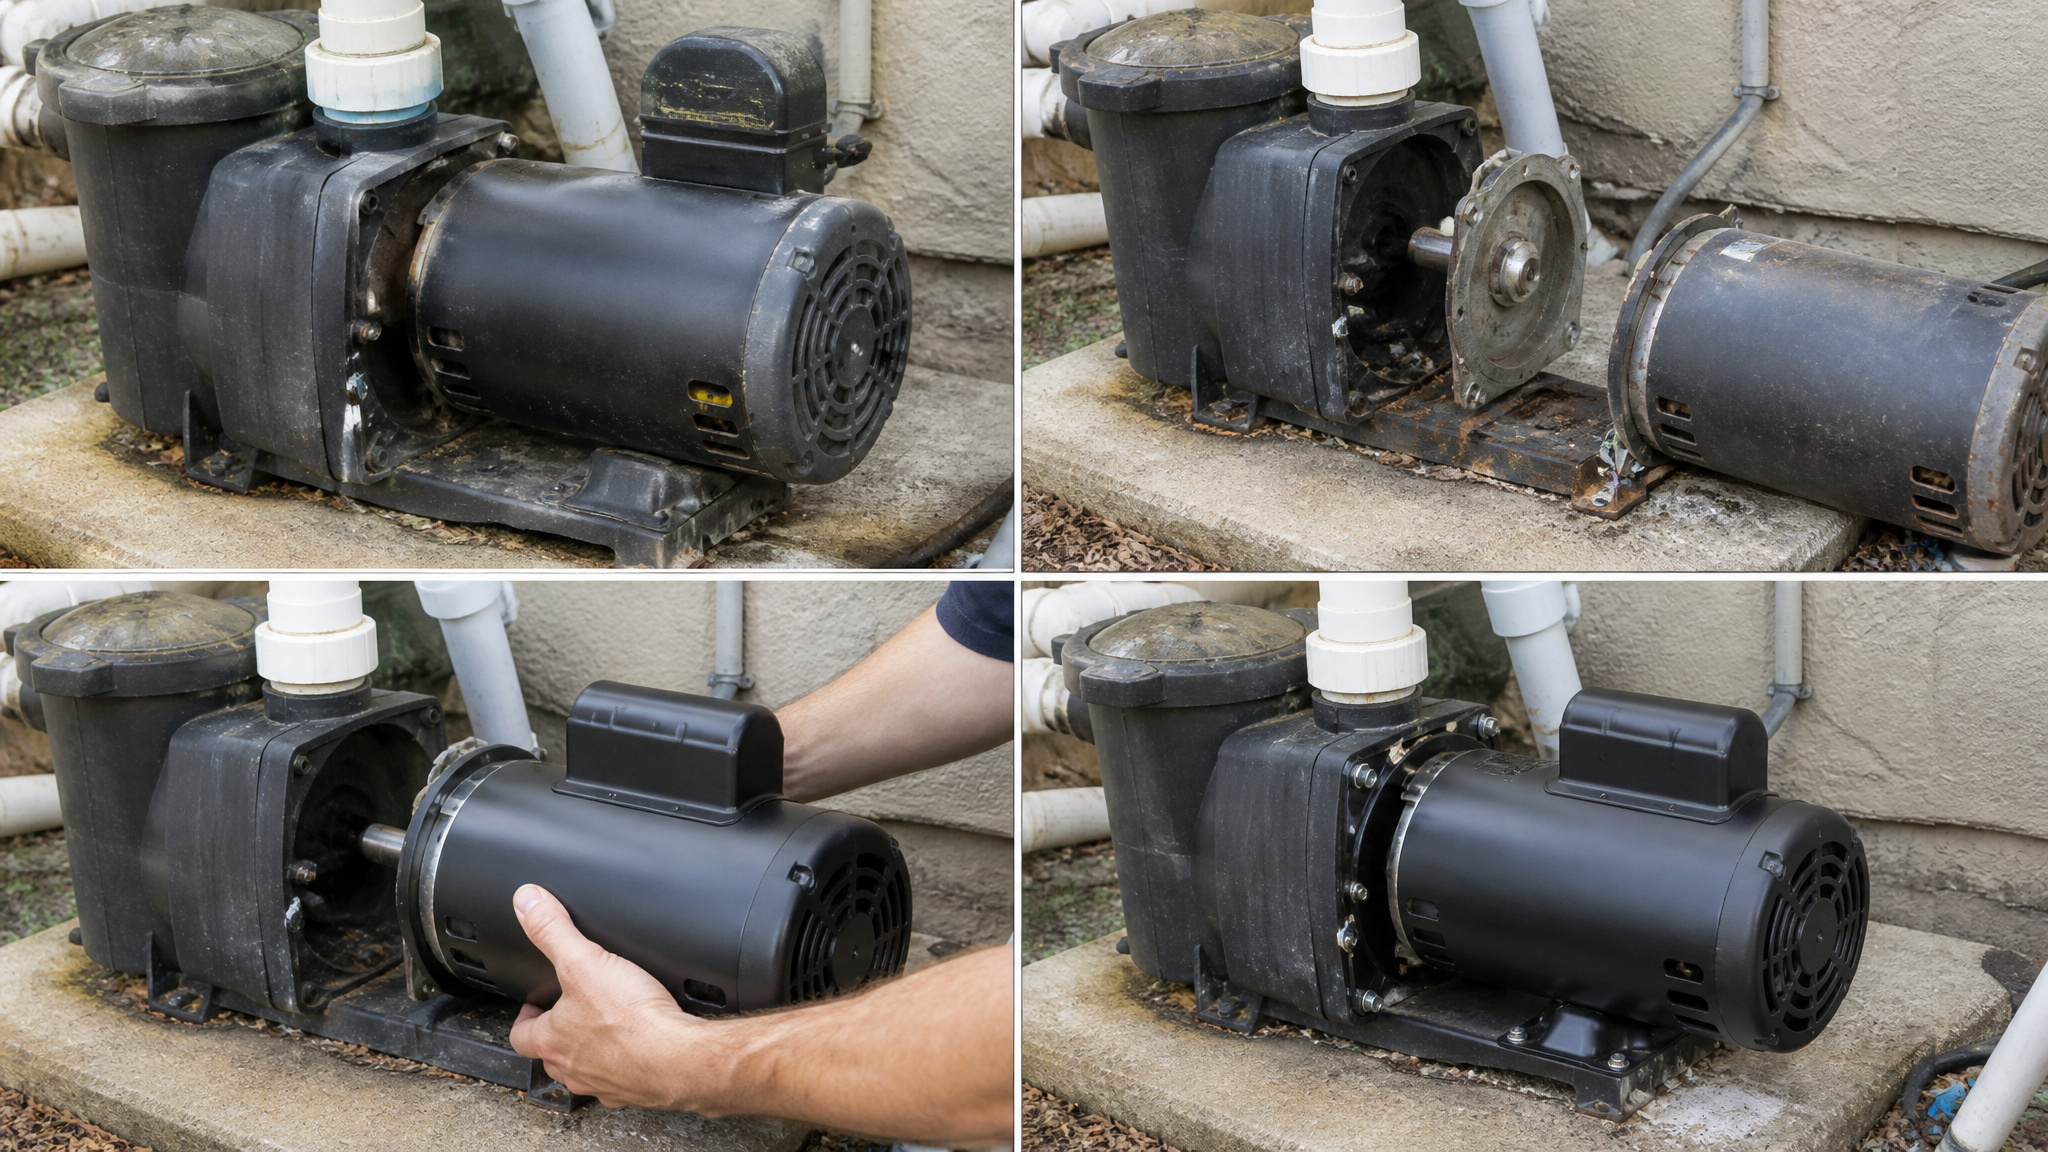
Winterize your pump and filter equipment by clearing every trace of standing water before winter sets in, since freezing water expands and cracks pumps, filters, and heaters. Start by cutting power to the pump, then work through the system methodically:
- Remove the drain plugs from the pump, filter, chlorinator, and heater so trapped water can’t freeze and crack the housings.
- Blow out the skimmer, return, and main drain lines using a shop vac or air compressor, then seal each line at the pool with expansion plugs.
- Shut off the gas or electric supply to the heater and let it cool completely before handling.
Blow Out and Plug the Pool Lines
Blow out and plug the pool lines by forcing every drop of water out before you seal the system, since standing water in your pool’s plumbing will freeze and crack the lines over winter. Grab a shop vac or air compressor and blow out the skimmer, return, and main drain lines until air pushes through cleanly and no water remains. Work one line at a time so you can confirm each is fully clear. As soon as a line’s empty, install an expansion plug at the pool to lock out water and seal against refreezing. Tighten each plug securely, since a loose fit lets water seep back in. Don’t skip the main drain, which often holds hidden water. Double-check every plug before you move on, because one missed line can crack expensive plumbing.
Protect Your Pool Heater From Freezing
Protect your pool heater from freezing by draining and isolating the unit completely, since it holds standing water that’ll freeze and crack its internal components if left untreated. Standing water inside the heat exchanger, header, and connecting pipes poses the greatest risk.
Standing water left in your heater’s heat exchanger, header, and pipes will freeze, expand, and crack components, drain it completely.
- Shut off the gas or electric supply to the heater and let it cool completely before you touch any components.
- Remove the drain plugs so all standing water evacuates the heat exchanger and internal passages.
- Blow out residual water with a shop vac or air compressor to clear low points the plugs can’t reach.
Store the plugs safely so you can reinstall them during spring startup.
Pick the Right Winter Pool Cover
Now that your equipment’s protected, you’ll need a properly sized safety or winter cover that fits tightly over the pool. Before you set it, pad any rough coping or deck edges with foam or soft material to prevent abrasion and tearing along the cover’s perimeter. Once it’s positioned, secure it according to its type, water bags, ropes, or anchors, so it stays taut and won’t shift throughout the season.
Choose Proper Cover Type
Choosing the proper cover type matters because the cover type you choose determines your water level target, securing method, and edge protection needs. Match your cover to your pool’s setup for maximum protection through freezing months.
Consider these three cover options:
- Safety covers (solid or mesh): Lower water about 12 to 18 inches below the skimmer opening, then anchor securely.
- Standard winter covers: Lower water around 6 inches below the skimmer opening, and secure with water bags or ropes.
- Automatic cover setups: Lower water about 2 inches below the skimmer throat.
Whatever type you select, size it tightly to your pool’s dimensions. Protect rough coping or deck edges with foam padding beneath the cover edge to prevent abrasion damage.
Pad Rough Edges
Pad rough edges by slipping foam strips, pool noodles, or purpose-made cushioning under the cover wherever the material crosses rough concrete, stone, or a chipped tile line. Beneath your cover’s edge, rough coping and sharp deck lips can abrade the fabric all winter, wearing through it exactly where it bears the most tension. You’ll want to pad those contact points before you tension the cover into place. Focus on corners and anchor points, since those carry the highest load and flex most as wind and snow shift the cover. Check that the padding stays put and doesn’t trap water against the fabric. This small step protects your investment, preventing tears that would otherwise open mid-season and let debris, sunlight, and contaminants reach your carefully balanced water.
Secure And Anchor
Secure the cover according to its type, since the anchoring method determines whether it stays put through winter storms. Match your fastening approach to the cover you’re using, because each design relies on a different retention system:
- Water bags: Fill and lay them along the deck perimeter for standard winter covers, keeping them adjacent to the edge to hold the cover taut.
- Ropes: Thread and tension them through the cover’s grommets, then tie off to fixed points.
- Anchors: Install deck anchors and hook the springs for safety covers, tightening until the surface stays flat.
Inspect every attachment point after installation, confirming nothing sits loose enough to let wind lift the cover.
Keep Your Pool Cover Secure All Winter
Check your pool cover regularly throughout winter to keep it doing its job, because winter weather can shift a cover in a single storm. Inspect it periodically throughout the season to confirm it remains taut and secure. Verify that water bags, ropes, or anchors still hold firm according to your cover type, and re-tension anything that’s loosened. Watch for tears or rips, and repair damage promptly before it worsens under snow or ice load. If you’re using foam or soft padding to protect rough coping or deck edges, check that it stays in place beneath the cover edge. After heavy storms, clear excess water, snow, or debris that could stress the fabric or displace anchors. Consistent monitoring keeps your pool protected until spring.
Conclusion: Winterizing an Inground Pool
Winterizing an inground pool comes down to a clear sequence: balance the water, lower the level, blow out and plug the lines, protect the equipment, and secure the cover. Each step guards against the freeze damage that makes for costly spring repairs. Follow them in order and the pool comes through winter safe and opens cleanly when the weather warms.
Get Everything You Need to Close Your Pool
From durable winter covers to complete closing kits, quality winterizing supplies protect your investment year after year. Browse Prime Pool Market for premium Winter Covers & Accessories with real value from real pool experts. Call (877) 650-7665 today and prep your pool for winter.
Frequently Asked Questions
When Is the Best Time of Year to Close My Pool?
Close in the fall when water temperatures drop below about 60 degrees but before the first hard freeze. Closing too early in warm water invites algae, while closing too late risks a freeze before the lines are cleared. That cool window ahead of the first freeze is the ideal time for nearly every inground pool.
How Much Does Professional Pool Winterization Typically Cost?
A professional inground closing usually runs 200 to 500 dollars, depending on pool size, features, and whether a line blow-out and cover install are included. Doing it yourself costs mainly the winterizing chemicals and plugs. Against the price of repairing a freeze-cracked pipe or pump, either option is inexpensive protection.
Can I Winterize My Inground Pool Myself or Hire a Pro?
Many owners winterize their own inground pool once they learn the steps, though clearing the lines fully is the critical part. In a hard-freeze climate, a pro with a proper blower removes the guesswork that a cracked pipe would punish. If you are confident the lines are completely clear, the DIY route works well.
Do I Need to Remove Pool Water Completely During Winter?
No, and you should not. The pool stays mostly full over winter, with the level lowered just below the skimmer and returns. Draining an inground pool completely can actually damage it, since the water pressure helps hold the shell in place against the surrounding ground. Lowering, not emptying, is the correct approach.
How Do I Safely Reopen My Pool in Spring?
Remove the cover, reinstall any plugs and fittings you took out, reconnect and prime the equipment, then top off and balance the water before shocking it. Run the filter until the water clears, usually a few days. Confirm the chemistry is balanced and the water is clear before anyone swims.