
You’ll stop your pool filter leak by first monitoring water loss and running bucket tests to pinpoint the source. Next, diagnose whether you’re dealing with structural tank damage or plumbing connection failures. Immediately shut down equipment and isolate affected lines using ball valves. Then plan your repair by identifying pipe materials and confirming replacement part compatibility. Execute the repair by replacing compromised O-rings, gaskets, and fittings. Finally, verify effectiveness by comparing pressure readings and observing water clarity. The methodical details of each step will reveal exactly how to tackle your specific leak.
Identify the Leak
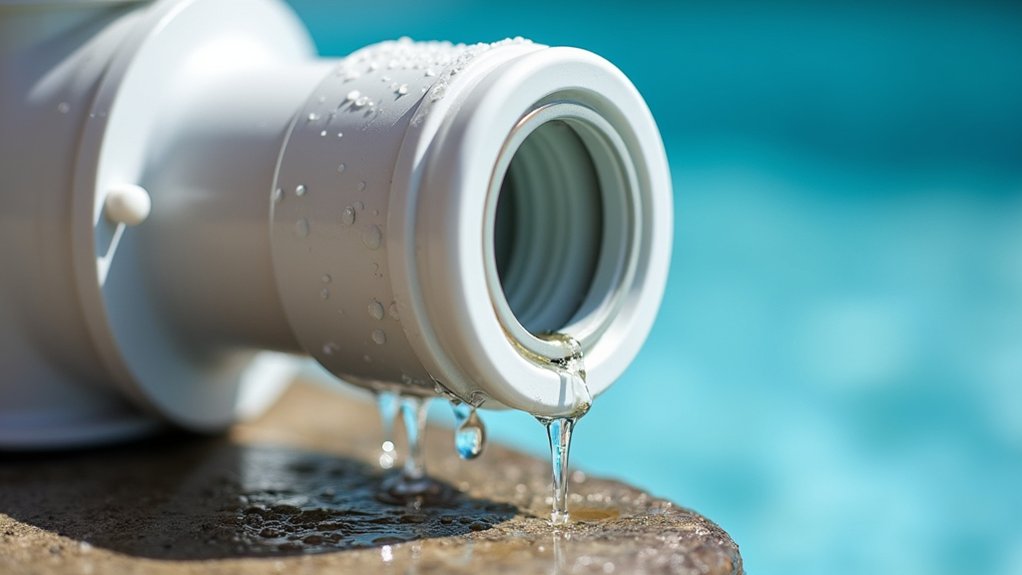
Before you can fix a leaking pool filter, you’ve got to pinpoint where the water’s escaping. Start by using water level monitoring to establish whether you’re losing more than 2 inches weekly, the threshold indicating a genuine leak. Run the bucket test over 24 48 hours with your pump off, then repeat with it running. This comparison reveals whether the leak originates in your circulation system or pool structure.
Next, inspect your filter perimeter, pump housing, and plumbing joints for visible drips or wet spots. Check the O-ring and connection points throughout your visible plumbing, as these are common leak sources. Equipment leaks are easy to detect as they involve noticeable water loss and wet equipment. Then conduct dye test near suspected areas, skimmer seams, returns, and valve connections, with all features shut down. Watch how the dye moves; it’ll draw directly toward any active breach. Mark confirmed leak sites with waterproof tape for accurate repair targeting. For pool pump systems specifically, use shaving cream foam spread over suspected leak points to identify the exact location where air or water is escaping.
Diagnose Source and Type of Leak
You’ll need to distinguish between two primary leak sources: structural damage to the filter tank itself and failures at plumbing connections. Tank damage, including hairline cracks in the housing, compromised seams, or fractures around flanges, typically manifests as persistent wet spots or pooling directly beneath the filter. Plumbing connection failures at bulkhead fittings, multi-port valves, and inlet/outlet ports usually stem from loose nuts, worn gaskets, or degraded O-rings, and you can often isolate these by observing whether water emerges from specific connection points. For models like the Jandy DEL60, the band clamp O-ring is a common failure point that should be inspected for flat edges or deterioration. Leaks at the inlet/outlet bulkhead fittings may require replacing gaskets and re-tightening the nut to restore a proper seal.
Filter Tank Structural Damage
When a filter tank develops structural damage, water loss accelerates and system failure becomes imminent, making prompt diagnosis essential. You’ll identify structural compromise through visible cracks, bulges, or localized sweating on the tank surface. Listen for hissing or water spray at seams and ports, which signal breaches in the tank wall.
Filter tank material composition drastically impacts vulnerability; cheaper thermoplastic tanks exhibit higher seam separation rates under prolonged pressure. Excessive filter tank pressurization from closed valves or malfunctioning relief systems initiates rupture or cracking. Freezing conditions further stress walls, especially in full tanks. Deadheading the filter by closing off valves on the return or backwash lines creates dangerous pressure buildup that can cause catastrophic tank rupture. Following manufacturer guidelines for servicing helps prevent the clamping mechanism failures that lead to filter separations. Two-piece tank designs with fasteners are particularly susceptible to explosive top detachment when pressure relief systems malfunction.
Inspect bulkhead connections carefully; these high-stress points frequently fail first. Check inlet and outlet ports for weeping or visible leakage. Unexplained pressure drops or consistent water loss confirm internal structural failure requiring immediate tank replacement.
Plumbing Connection Failures
Plumbing connection failures represent the most common leak source in pool circulation systems, yet they’re often the easiest to diagnose and repair. You’ll identify these leaks through visual inspection around joints and equipment, listening for hissing sounds, or performing pressure tests on individual lines. Ground movement impact and pipe joint degradation frequently cause underground leaks at elbows and tees.
Distinguishing suction-side from pressure-side leaks guides your repair approach. You’ll notice suction leaks cause air bubbles and priming issues, while pressure-side leaks intensify when your pump runs and create wet ground spots. Pressure testing reveals which section fails, a significant drop pinpoints the problem area. When the pump operates, pressurized return plumbing leaks typically discharge substantial volumes of water compared to suction-side failures. Ignoring these leaks can place strain on the equipment that circulates and filters the water, leading to costly damage over time.
You can tackle loose fittings by tightening or replacing them immediately. For corroded couplings or worn seals, replacement restores system integrity and prevents escalating water loss.
Stop Initial Water Loss

You’ll want to shut down your pool equipment immediately to stop the leak’s progression and prevent further water loss. Isolate the affected plumbing lines by closing isolation valves on both the suction and pressure sides of the compromised section. This containment strategy gives you time to assess the damage and plan repairs without additional water escaping through the failed component. Addressing the problem promptly can help you avoid excessive water loss that may result in costly municipal water bills or unnecessary strain on your well pump. A leaking filter also causes low pump pressure, which reduces the system’s ability to circulate water and maintain proper filtration.
Shut Down Equipment Immediately
Because a leaking pool filter can rapidly escalate water loss and compound equipment damage, your first action must be shutting down all electrical systems at the main circuit breaker. This immediately halts water circulation and prevents automatic restarting during repairs.
Next, you’ll want to:
- Disconnect power to the pump, filter, heater, and auxiliary systems to eliminate electrical hazards
- Locate and use labeled emergency shut-off switches designed to completely interrupt power supply
- Monitor system alarms to guarantee all failsafe features engage properly
Once power is secured, drain water from affected components by removing drain plugs and opening manual release valves counterclockwise. This prevents flooding and freeze damage. Blow out lines through skimmers to clear residual water. Contact a plumber for major leaks to assess structural damage and prevent costly water waste. If temperatures are dropping, consider that variable speed pool pumps often include freeze protection modes that can be activated after initial repairs are completed. Finally, restrict pool access and avoid operating the affected area until professionals assess the leak source and remove damaged components.
Isolate Affected Plumbing Lines
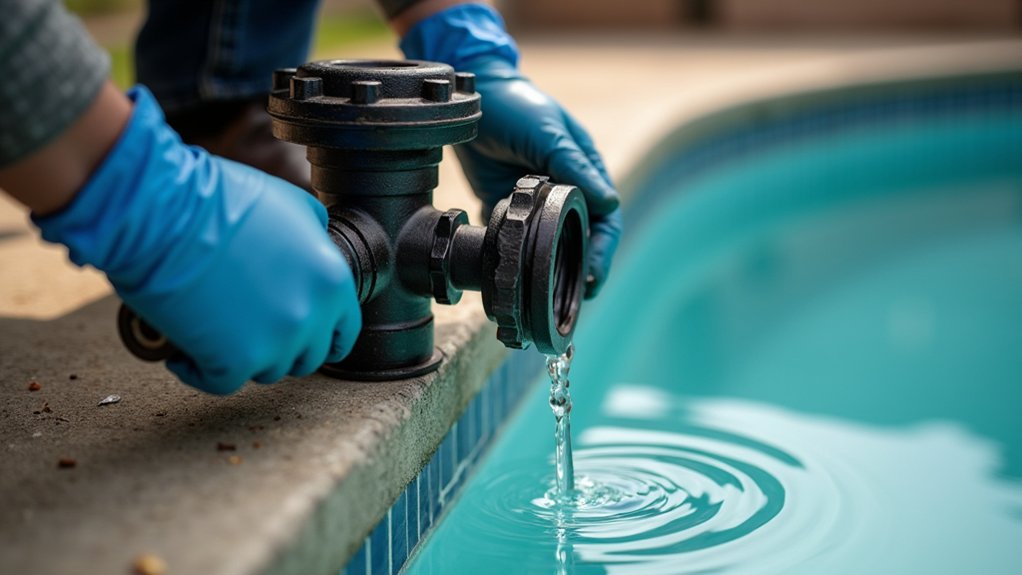
After shutting down electrical systems, your next critical step is isolating the compromised plumbing lines to halt water loss immediately. Locate the ball valves or shut-off valves at key valve locations throughout your system, typically near the equipment pad where main runs connect. Identify your pipe material types, whether rigid PVC for main lines or flexible hose on above-ground systems, as this determines your isolation approach.
Close valves on both supply and return branches feeding the leaking section. For multiport diverter valves, selectively shut off individual circuits like skimmers or main drains. If you’re uncertain about valve positioning, consult your pool’s plumbing schematic.
Monitor your pool water level post-isolation to confirm water loss has stopped. Pressure removal from leaking lines prevents additional pipe damage and expansion of the compromised zone. Understanding the pressure differential between your influent and effluent lines helps identify where leaks originate in the system.
Plan and Prepare for Repair
Before you’ll effectively address a leaking pool filter, you’ll conduct a thorough assessment of your system and gather the necessary resources. Prioritize repair budget: carefully evaluate costs for parts, tools, and potential professional services. Schedule repair timeline: allocate adequate time for troubleshooting and guarantee equipment availability.
- Verify filter compatibility with available replacement parts
- Confirm water shut-off valve accessibility and operation
- Assess power supply disconnect procedures and lockout requirements
Your preparation determines repair success. Test all equipment and safety measures before beginning work. Note specific repair requirements based on filter type, sand, cartridge, or D.E. systems require different approaches. Implement proper safety protocols and maintain a clean work environment. Document all findings and required repairs in your pool maintenance log.
Execute Repair and Replacement
With your preparation complete and safety measures verified, you’re ready to begin the actual repair work. Start by carefully extracting defective components and performing thorough cartridge inspection to identify damage or wear. Remove compromised O-rings and gaskets, setting them aside for replacement.
Install your new filter elements, ensuring proper alignment with central pipes. For cartridge filters, match the replacement exactly to original specifications. Wash all interior surfaces meticulously to eliminate residue and buildup.
Proceed with seal replacement by applying silicone lubricant to new O-rings before installation. Reattach the filter housing, tightening clamps per manufacturer guidelines. Reconnect all plumbing unions securely, avoiding over-tightening that could cause fractures. Double-check every connection point for proper fitment before moving forward.
Verify Repair Effectiveness
Once you’ve completed the repair work, you’ll need to systematically verify that your efforts have resolved the leaking filter and restored proper system function. Begin by comparing post-repair pressure readings to baseline data, confirming they fall within manufacturer specifications. Monitor your system across multiple operational cycles, documenting all measurements.
Conduct thorough inspections using these verification methods:
- Check for visible leaks around filter housing, joints, and fittings during operation
- Observe post-repair water clarity within 24-48 hours; turbidity should diminish considerably
- Perform backwashing cycles and assess normal function resumption without abnormal sounds
Track chemical stabilization and debris removal efficiency. Schedule repeated daily checks over several weeks to detect recurring issues. If pressure fluctuates, leaks persist, or cloudiness returns, consult a certified technician immediately. Maintain detailed performance logs for ongoing diagnostic reference and future maintenance planning.
Frequently Asked Questions
How Much Does It Cost to Repair or Replace a Leaking Pool Filter?
You’ll typically spend $250 $1,700 for filter replacement costs, though simple repairs run $80 $300. Labor averages $50 $250, depending on complexity. You can reduce expenses by attempting DIY filter repair tips, replacing gaskets or seals costs under $100. However, full housing replacements demand professional installation. Filter type, brand, and your pool’s system determine final pricing. In-ground pools cost more than above-ground units.
Can I Swim in My Pool While the Filter Is Leaking and Being Repaired?
You shouldn’t swim in your pool while the filter’s leaking and being repaired. You’ll face a significant risk of contamination since your filter can’t maintain proper circulation and chemical balance during outages. Wait until filter repairs are complete and the system’s been professionally tested. Even minor leaks compromise water clarity and sanitizer effectiveness, creating health hazards. Always prioritize water quality and safety before allowing pool use.
How Often Should I Perform Routine Maintenance to Prevent Filter Leaks?
You’ll prevent filter leaks by performing scheduled filter cleanings every 3-4 months for cartridge filters and every 6-8 weeks for sand filters. Conduct periodic gasket inspections monthly during peak season, checking for deterioration or improper seating. Monitor pressure gauges consistently; rising pressure indicates maintenance needs. You’ll also need to document all maintenance activity and replace worn components promptly. This methodical approach addresses potential leak sources before they develop into significant problems.
What Is the Typical Lifespan of Pool Filter Gaskets and Seals Before Replacement?
You’ll typically get 1 3 years from EPDM/FKM gaskets with proper filter gasket installation techniques and regular maintenance. However, you shouldn’t expect nitrile seals to last beyond one pool season in chlorinated water. Your original equipment seals may reach 18+ months, while replacements sometimes degrade faster. Regular filter component inspection during cartridge changes helps you catch deterioration early, preventing costly leaks and extending overall seal performance considerably.
Should I Call a Professional or Attempt to Repair the Leak Myself?
You should call a professional. Your filter’s location and installation requirements demand specialized expertise you likely don’t possess. Professionals use advanced diagnostics to pinpoint leaks accurately, while DIY attempts often misidentify problems, causing costlier damage. They’ll guarantee proper reinstallation maintains manufacturer warranties and utility rebates. You’ll receive documented work, liability coverage, and peace of mind, critical safeguards that DIY repairs can’t provide for complex filtration systems.