
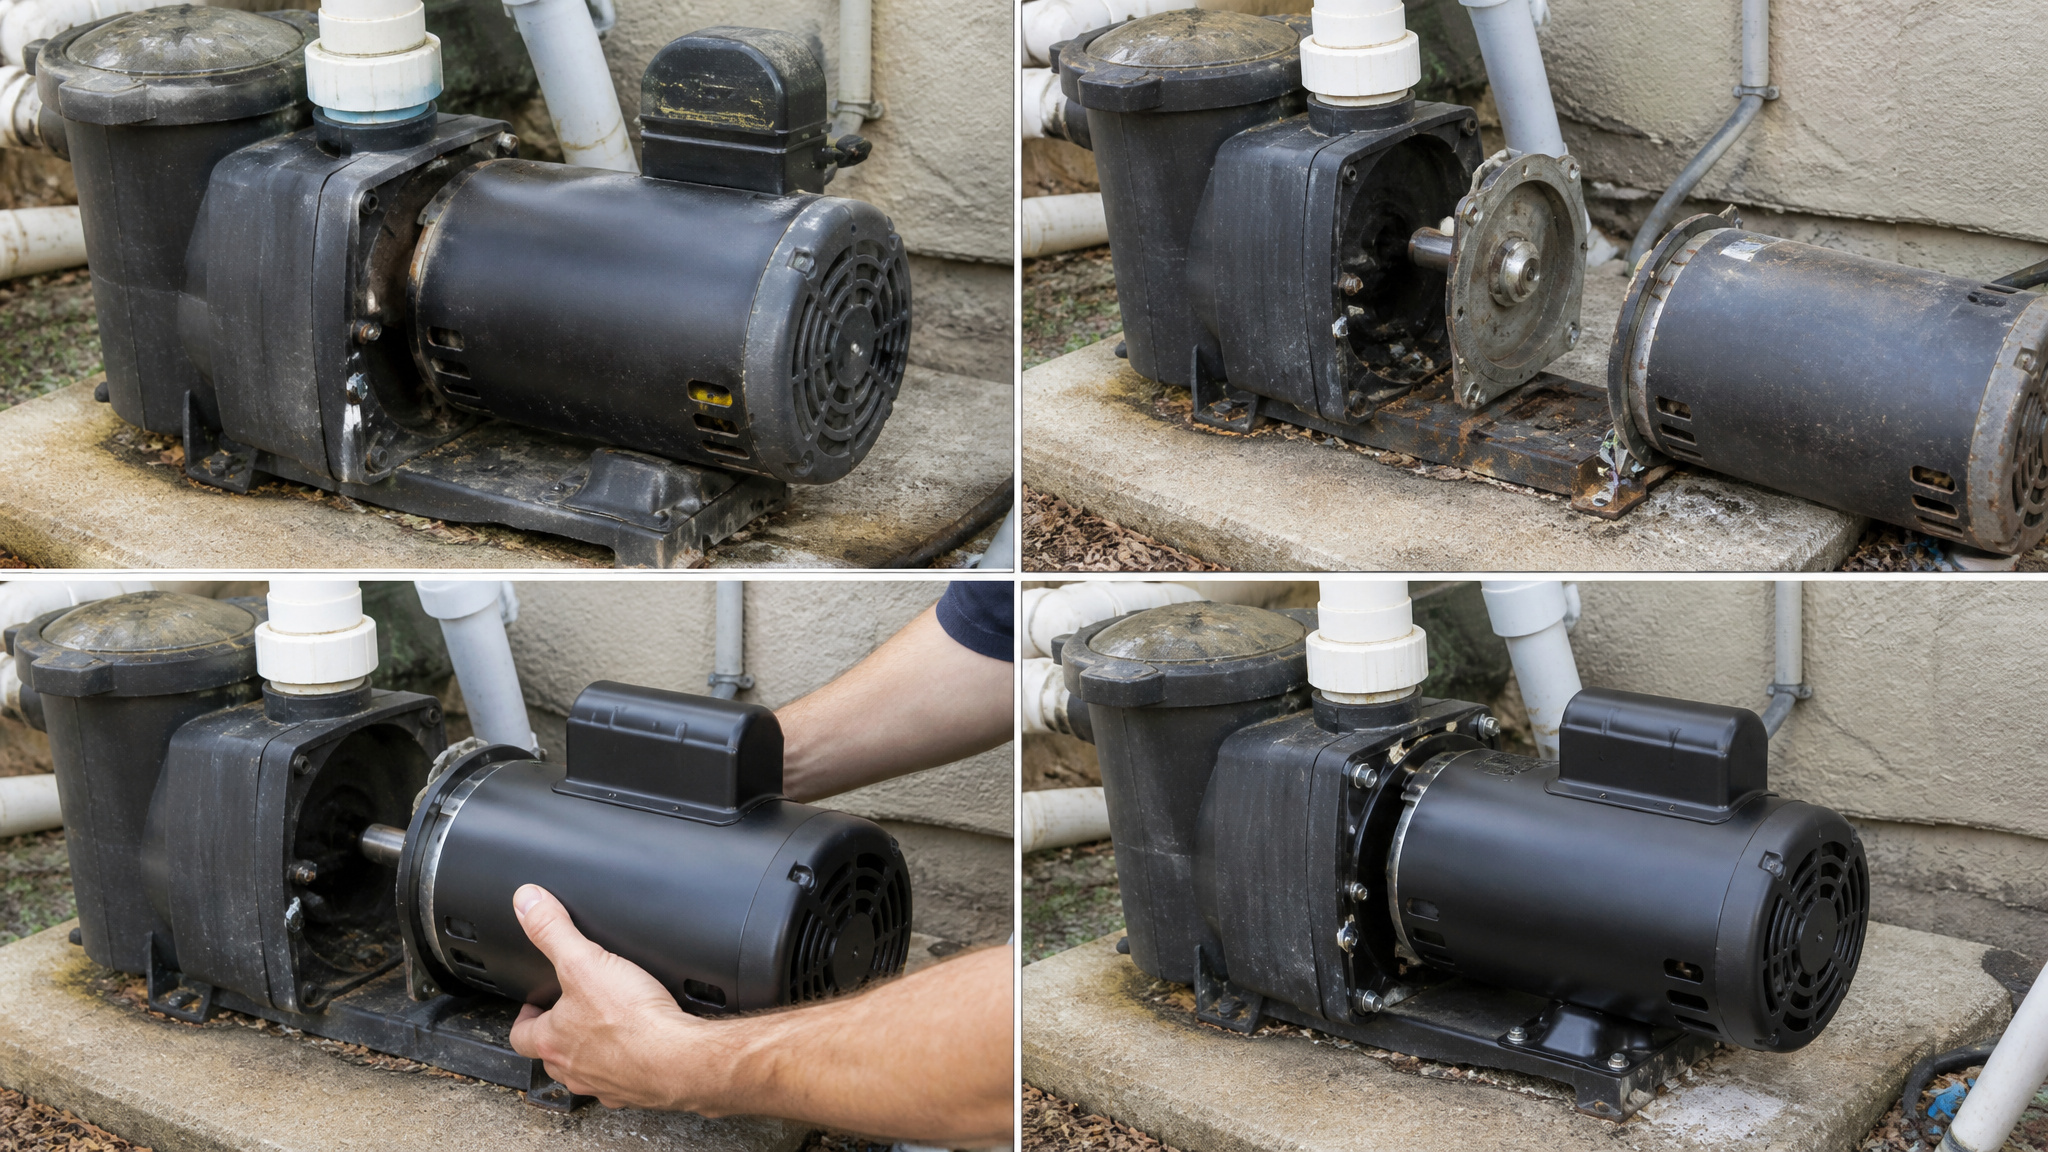
Replace your pool check valve fast when it won’t hold prime overnight, backflows after pump shutdown, or drains the suction line with a rushing sound at the skimmer. Swap it immediately if you spot a cracked, corroded, or UV-embrittled body, or if it sticks open and won’t close fully. Units past 8 to 10 years with recurring failures need replacement too. Below, you’ll find the exact signs, repair options, and safe swap steps.
Key Takeaways
- Replace fast when backflow after pump shutdown, overnight loss of prime, or reverse-flow sounds at the skimmer confirm the valve isn’t holding.
- Replace immediately if the valve body is cracked, corroded, scored, or UV-embrittled, since these damages cannot be patched reliably.
- Replace units older than 8 to 10 years that show recurring failures or persistent symptoms after prior repairs.
- Replace when springs, seats, or flappers are worn and non-serviceable, or the valve won’t close fully or hold reliably.
- Repair first only if the body is structurally sound and the issue is a gasket, O-ring, or a cleanable stuck valve.
Signs Your Check Valve Is Failing

Your check valve is failing when you see backflow after pump shutdown, which means your pool check valve isn’t holding. If you lose prime overnight or between cycles, that’s a common sign of failure. Water draining from the suction line after shutdown confirms a bad pool check valve, and you’ll often hear an immediate rushing sound at the skimmer as reverse flow occurs. A valve that sticks open or won’t close fully should be replaced promptly.
Turn off pump power and relieve system pressure for safety before inspecting. If you’ve got a transparent valve, check for stuck flaps or balls first. Sometimes pool valve repair solves the problem, but persistent symptoms after prior fixes point toward replacement.
Repair or Replace Your Check Valve
You’ll replace the valve when the body’s cracked, corroded, or UV-embrittled, when failures keep recurring on units older than 8 to 10 years, or when non-serviceable springs and seats have worn out. Repair makes sense when the body’s structurally sound and the fault is limited to a gasket, O-ring, or debris on accessible internal surfaces. Match the fix to the failure, and don’t return a valve to service that won’t hold reliably.
When To Replace
Replace your pool check valve when it keeps failing after repeated repairs, since replacement usually makes more sense than another fix. Consider a pool check valve replacement when the body is cracked, badly corroded, scored, or UV-embrittled, since these damaged surfaces can’t be reliably rebuilt. Valves older than 8 to 10 years with recurring problems warrant replacement too, especially when non-serviceable springs or seats have worn out. Watch for performance symptoms: backflow after pump shutdown, loss of prime overnight, water draining from the suction line, or a rushing sound at the skimmer. Each points to a check valve that won’t hold. If a valve sticks open or won’t close fully, replace pool check valve hardware promptly and remove the failing unit from service to protect your system. Understanding pool plumbing components is essential for maintaining a healthy swimming environment. Familiarity with these parts can help you identify issues before they escalate into costly repairs.
Repair-First Conditions
Repair the valve first whenever the valve body is structurally sound, because a solid body often means you can repair instead of replace. When the failure is limited to a gasket or O-ring, replace that seal rather than the whole valve. A stuck valve with clean internal surfaces usually responds to cleaning and lubrication, restoring proper closure without part swaps. Rebuilding makes sense when the manufacturer still supplies springs, seats, or flappers, and the internal parts remain accessible. Minor debris or seal wear is often serviceable, so inspect before deciding. Confirm the body shows no cracks, scoring, or corrosion first. If it passes, prioritize repair to save cost and time, but shut off pump power and relieve pressure before you open anything.
Damage That Demands a New Check Valve

Certain damage leaves you no choice but to install a new check valve. A cracked valve body can’t be patched reliably, so replace it. Badly corroded or scored internal surfaces compromise sealing and warrant replacement, as do UV-embrittled bodies weakened by sun exposure. If the mounting unions are damaged beyond repair, swap the whole valve rather than risk a failing connection. Watch for associated PVC piping damage at the connections; that may require a licensed plumber and permit review before you proceed. When you see these structural failures, don’t waste time on rebuild kits. Turn off pump power, relieve pressure, and match the flow arrow to system direction when you install the replacement.
Is Your Check Valve Too Old to Fix?
Once your check valve passes the 8 to 10 year mark and keeps causing problems, replacement usually costs less than another round of repairs. Watch for recurring failures after prior fixes, since they often point to incompatible materials or a poor-quality valve design that won’t hold up. If you’re servicing the same valve repeatedly, treat that pattern as a clear signal to remove it from service and install a new one.
Age Threshold Signs
A check valve at the 8 to 10 year mark that shows recurring problems usually warrants replacement over another repair. Repeated failures after prior fixes signal that you’re throwing money at a losing cause. Older valves often suffer from worn springs, hardened seats, or degraded internal parts that can’t be rebuilt reliably, especially in non-serviceable designs.
Watch for patterns: a valve that keeps losing prime, backflows after pump shutdown, or won’t hold consistently points to a failing assembly. Frequent failures can also indicate incompatible materials or poor original design. If your aging valve no longer holds dependably, remove it from service quickly and install a new one.
Recurring Failure Patterns
Recurring failure patterns tell you when to stop repairing and start replacing. When a valve keeps failing after you’ve already repaired it, that repetition is the diagnosis: replacement is now the more cost-effective path. Track the pattern. If you’ve rebuilt seats, swapped O-rings, or cleared debris and the valve still won’t hold, you’re chasing a losing problem. A valve that keeps losing prime points to a failing check valve assembly that repairs can’t correct.
Recurring failures often signal deeper causes: incompatible materials or poor-quality valve design that no rebuild will fix. When a valve no longer holds reliably, remove it from service quickly to protect prime and prevent backflow damage.
Weigh cumulative repair costs against a single replacement. If you’ve serviced the same valve repeatedly, replacing it delivers reliability that another repair simply won’t.
Check Valve Repairs Worth Trying First

Many check valve failures are repairable when the valve body is structurally sound, so a targeted fix often makes more sense than a full replacement. Start by inspecting the body for cracks, scoring, or corrosion; if it’s intact, you’re a candidate for repair. Failed O-rings or gaskets are commonly serviceable when the rest of the valve remains sound. A stuck valve with clean internal surfaces often responds to cleaning and lubrication. Worn flappers or balls can be rebuilt if the body stays intact and the manufacturer supplies parts. Debris-related sticking is repairable when internal parts are accessible. Before any work, turn off pump power and relieve pressure. Confirm parts availability first, then rebuild and leak-test before returning to service.
How to Swap Your Check Valve Safely
Swap your check valve safely by turning off pump power and relieving system pressure before you touch a single fitting. Skipping either step risks injury and uncontrolled water release.
Inspect any transparent valve for stuck flaps or balls to verify your diagnosis before removal. Then confirm the new valve’s flow arrow matches your system’s flow direction. Reversed installation defeats the check function entirely.
| Step | Requirement |
|---|---|
| Prep | Power off, pressure relieved |
| Orientation | Flow arrow matches flow |
| Joints | Primed, cemented, cured |
Cut in the new valve, prime and cement each PVC joint, then let it cure fully. Leak-test before returning the system to service. Rushing the cure invites joint failure under pressure.
Conclusion: Replacing a Worn Check Valve
A failing check valve lets water flow backward when the pump shuts off, which strains equipment and can drain the pump’s prime. The signs are water running back, loss of prime, and a flapper that no longer seats. Swapping it out is an inexpensive, mostly straightforward job, and doing it promptly protects the rest of the pool system from the extra wear.
Shop Quality Pool Plumbing Supplies Today
Fixing valve, plumbing, and skimmer issues starts with the right parts, and Prime Pool Market has everything you need. We offer reliable Pool Plumbing Supplies at discount prices delivered right to your door. Call (877) 650-7665 today or browse our shop and save on every purchase.
Frequently Asked Questions
How Much Does a New Pool Check Valve Typically Cost?
Most residential check valves run 20 to 60 dollars depending on size and type. Installing it yourself keeps the cost there, while a pro adds labor. Because the part is inexpensive and its failure strains the whole system, replacing a worn valve is one of the more cost-effective repairs a pool owner can make.
Where Is the Check Valve Located in My Pool System?
It usually sits on the plumbing between the pump and features like a heater, chlorinator, or water feature, wherever backflow needs to be stopped. Many pools have one on the suction or return line near the equipment pad. Following the pipes from the pump helps you spot it, often marked with a flow-direction arrow.
Can I Install a Check Valve Myself or Hire a Pro?
A handy owner can often do it, since many valves use union fittings that unscrew without cutting pipe. If yours is glued into the plumbing, replacement means cutting and re-gluing PVC, which some prefer to leave to a pro. Match the new valve’s size and flow direction to the old one either way.
How Often Should Check Valves Be Inspected for Wear?
A look once or twice a year is enough for most pools. Check that the flapper seats properly and that water is not running backward when the pump stops. Catching a weak flapper early prevents loss of prime and the extra strain backflow puts on the pump and heater, which are costlier to fix.
What Brands Make the Most Reliable Pool Check Valves?
Established names like Jandy, Pentair, and Hayward are widely trusted for durable check valves with replaceable internal parts. Rather than focusing only on brand, match the valve to your pipe size and flow needs, and choose one with a serviceable flapper so future upkeep means swapping a part instead of the whole valve.