
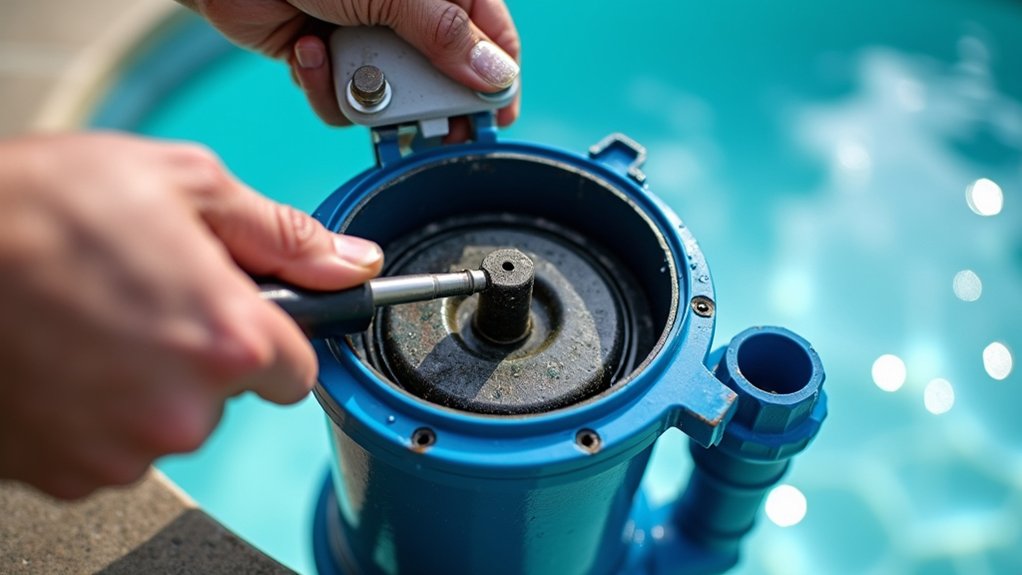
Your pool pump motor overheats and shuts down because a thermal overload switch cuts power to protect it from a real problem. Either an electrical fault, like low voltage, loose connections, or a failing capacitor, forces excess current draw, or mechanical strain from clogged baskets, a dragging impeller, worn bearings, or blocked cooling vents raises the load. Both push current past the trip threshold. Pinpointing your exact cause is easier than you’d think.
Key Takeaways
- Thermal overload protection shuts down the motor to prevent permanent damage when overheating occurs from electrical or mechanical stress.
- Electrical issues like incorrect voltage, loose connections, undersized wiring, or a failing capacitor increase current draw and heat.
- Clogged impellers, dirty baskets, and dirty filters restrict flow, raising motor workload until thermal overload trips.
- Worn bearings, a dragging impeller, or shaft play create internal friction that generates heat and triggers shutdown.
- Blocked cooling vents, dirty fins, direct sunlight, or tight enclosures trap heat and push the motor past its shutdown threshold.
What Makes a Pool Pump Overheat and Shut Off?
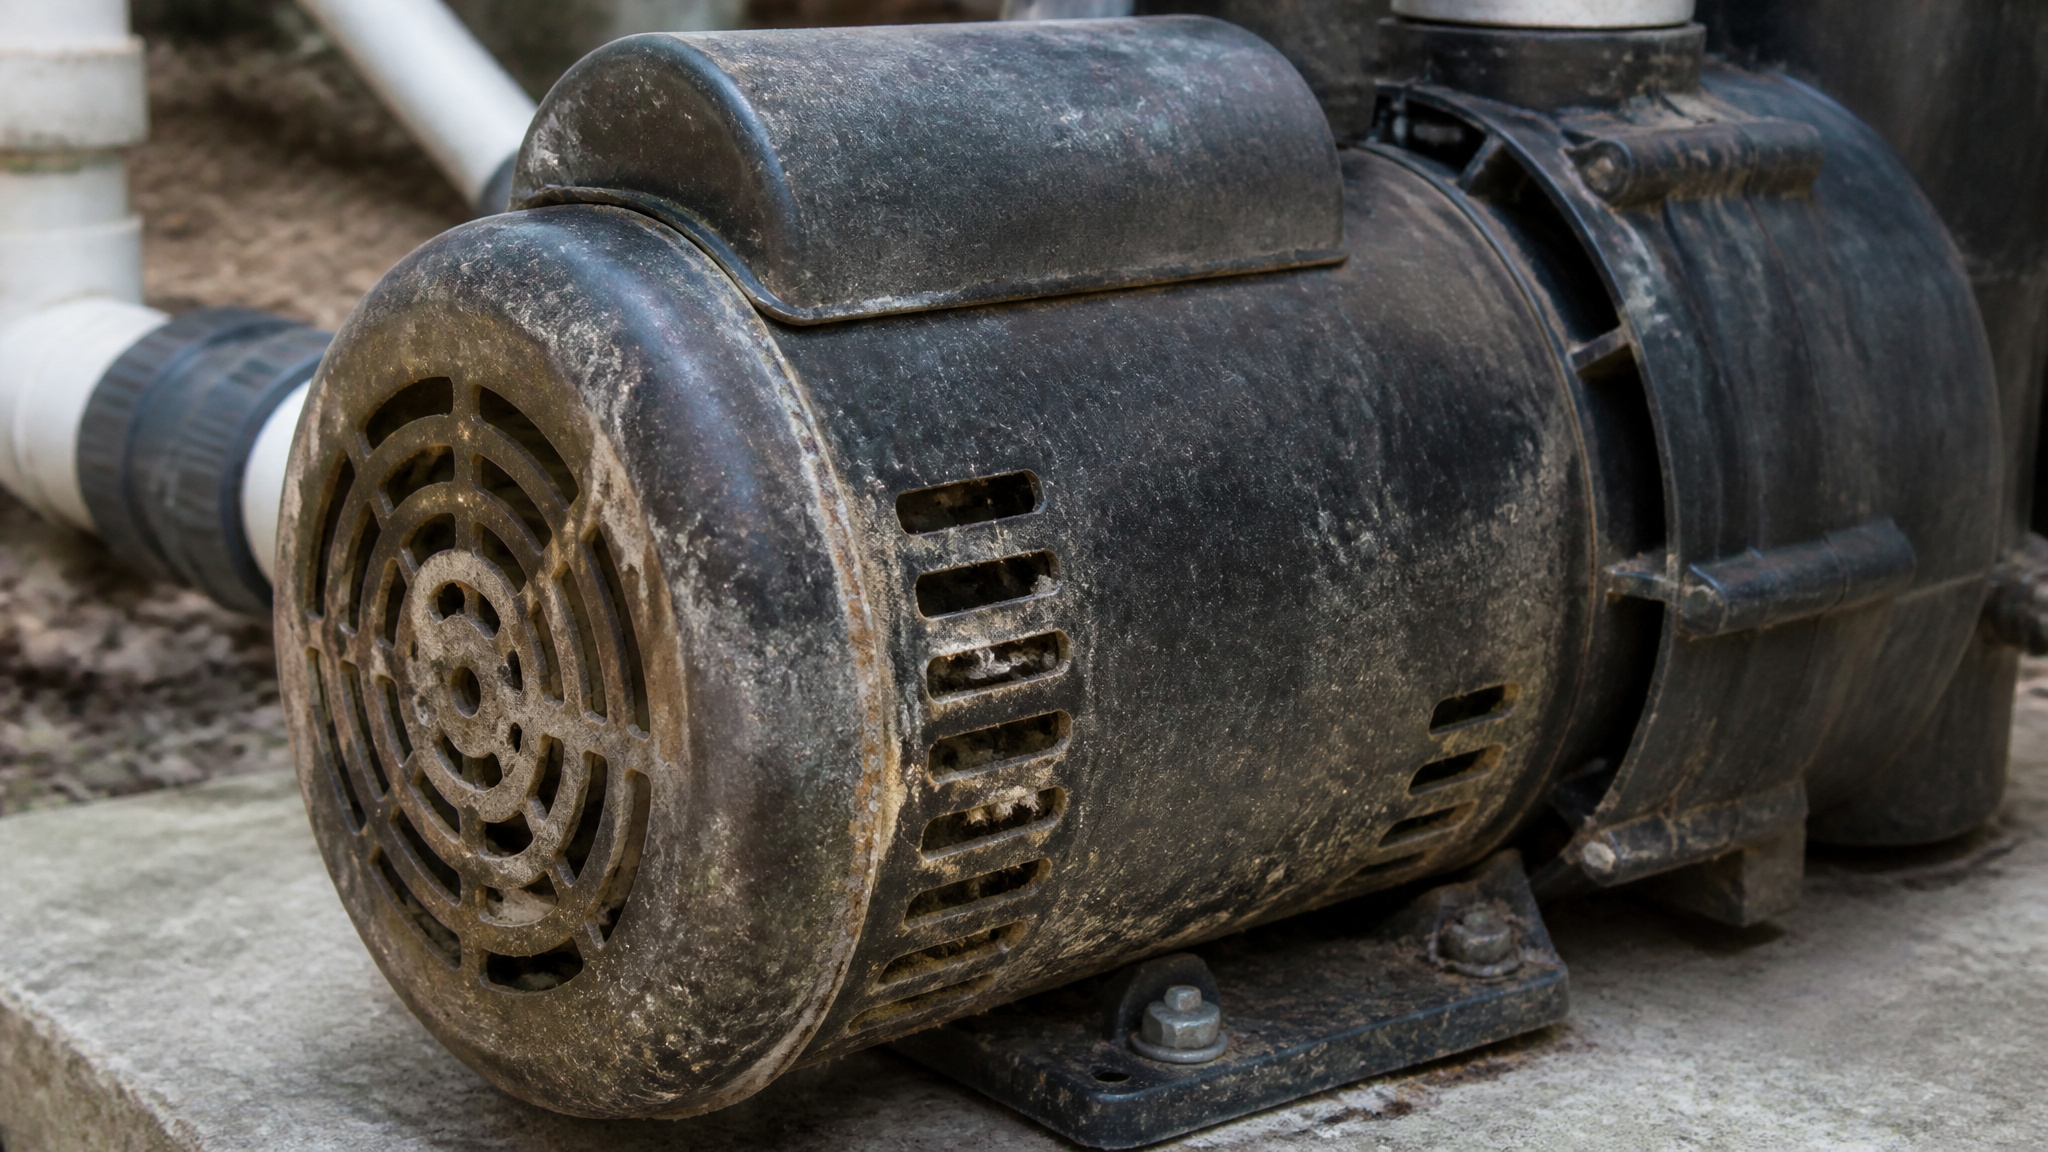
A pool pump overheats and shuts off because its motor gets too hot, tripping the built-in thermal overload protection so the pump shuts off before permanent damage occurs. You’re not dealing with a random failure, you’re seeing a symptom. Heat builds through two broad pathways: electrical problems and mechanical or hydraulic resistance. Incorrect voltage, loose connections, or a failing capacitor raise current draw and temperature. Restricted airflow, dirty vents, or trapped heat around the motor block cooling. Clogged impellers, dirty baskets, and closed valves force the motor to work harder. Low water level starves the system of flow. An overheating pool pump usually points to one of these causes, and identifying which one lets you fix it fast. Optimal pump run time suggestions can help prevent overheating and extend the lifespan of the equipment. Understanding the specific conditions that affect pump performance is crucial for maintaining efficiency.
The Two Main Reasons Pool Pump Motors Overheat
Pool pump motors overheat for one of two reasons: electrical problems or internal friction. Understanding these pathways helps you diagnose pool pump overheating quickly and target the right fix.
On the electrical side, incorrect voltage, loose connections, undersized wiring, a failing capacitor, or aging components force the motor to draw excess current. That extra current raises the motor’s temperature and trips the thermal overload protection.
On the mechanical side, internal friction does the damage. Worn bearings, a seized or dragging impeller, and shaft play increase load and generate heat until the motor shuts down.
Most pool pump problems fall into one of these two categories, so start there. Isolate the pathway, then work toward the specific fault. Easy fixes for leaking pool equipment can help you save time and money in the long run. Start by examining the seals and fittings, as these are common areas for leaks. If you notice any cracks or wear, replacing these parts promptly can prevent further damage.
How Low or Wrong Voltage Cooks Your Pump Motor
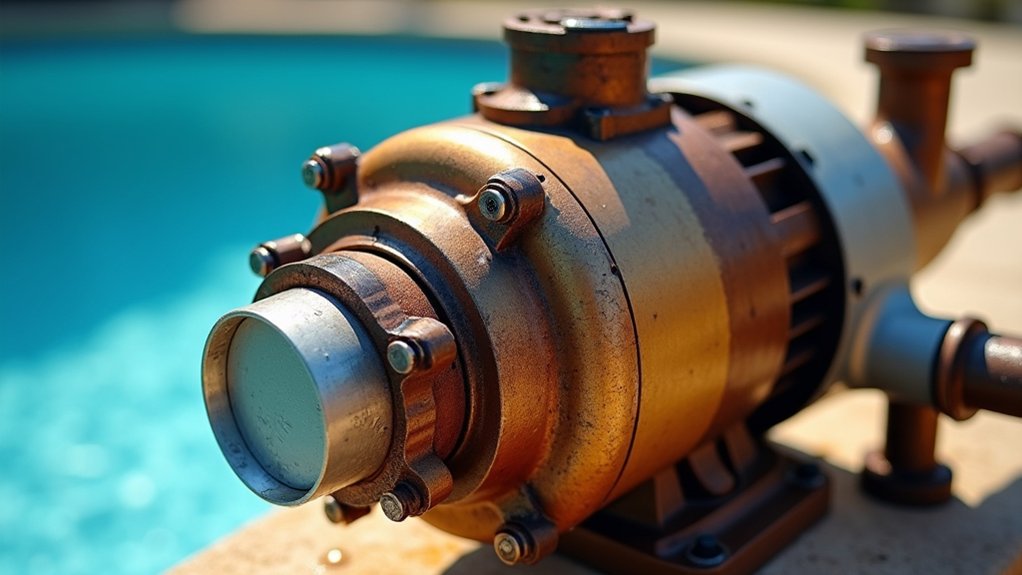
Your motor’s rated voltage matters more than you’d think, and input that strays outside about 10% of that rating pushes it toward overheating. When voltage runs low, the motor compensates by drawing more current, which raises its temperature and can trip the thermal overload. Loose connections make this worse by adding resistance and heat right inside the circuit, so check both your supply voltage and every connection point.
Voltage Threshold Basics
The voltage threshold marks the point where a reading falls outside roughly 10% of the motor’s rated voltage, and crossing it likely explains overheating. Because voltage sits at the root of many overheating cases, it’s the first thing you should check when your pump motor trips its thermal protection. Grab a multimeter and measure the input voltage while the pump runs. Compare that reading against the motor’s rated voltage stamped on its nameplate. If your measurement falls outside roughly 10% of the rating, you’ve likely found your culprit. Low voltage forces the motor to draw more current, driving up temperature until thermal overload cuts power.
- Check the nameplate rating before testing
- Measure input voltage under load, not at rest
- Flag any reading beyond the 10% threshold
- Watch for low voltage spiking current draw
Confirm this baseline first, then move deeper into the circuit for connection or component faults.
Low Voltage Overheating
Low voltage overheats your motor by forcing it to draw more current to maintain output. When incoming voltage drops below the motor’s rating, that extra current raises the motor’s temperature, and if it climbs high enough, the thermal overload protection trips and shuts your pump down.
Check your input voltage against the motor’s nameplate rating. If it’s more than 10% below spec, you’ve found a likely culprit. Watch for contributing factors too: loose connections, undersized wiring, or a failing relay add resistance that starves the motor and generates heat. A weak capacitor can also skew current draw. Tighten connections, correct wiring gauge, and confirm your supply voltage before you condemn the motor itself.
Loose Connections Danger
Loose connections quietly cook your motor by adding resistance right where current flows heaviest. That resistance converts electrical energy into heat, raising terminal temperatures until thermal overload protection trips. Undersized wiring and a failing relay compound the problem, creating hotspots that degrade insulation and accelerate component aging over time.
Inspect and correct these failure points:
- Terminal screws: Tighten loose lugs at the motor and breaker to eliminate high-resistance junctions.
- Wire gauge: Verify conductors match the motor’s amperage draw; undersized wiring overheats under load.
- Relay condition: Test for pitted or worn contacts that add resistance and interrupt clean current flow.
- Corrosion: Clean oxidized connections that restrict conductivity and generate localized heat.
Addressing these keeps current flowing cleanly and your motor cool.
Loose Wires, Bad Relays, and Failing Capacitors
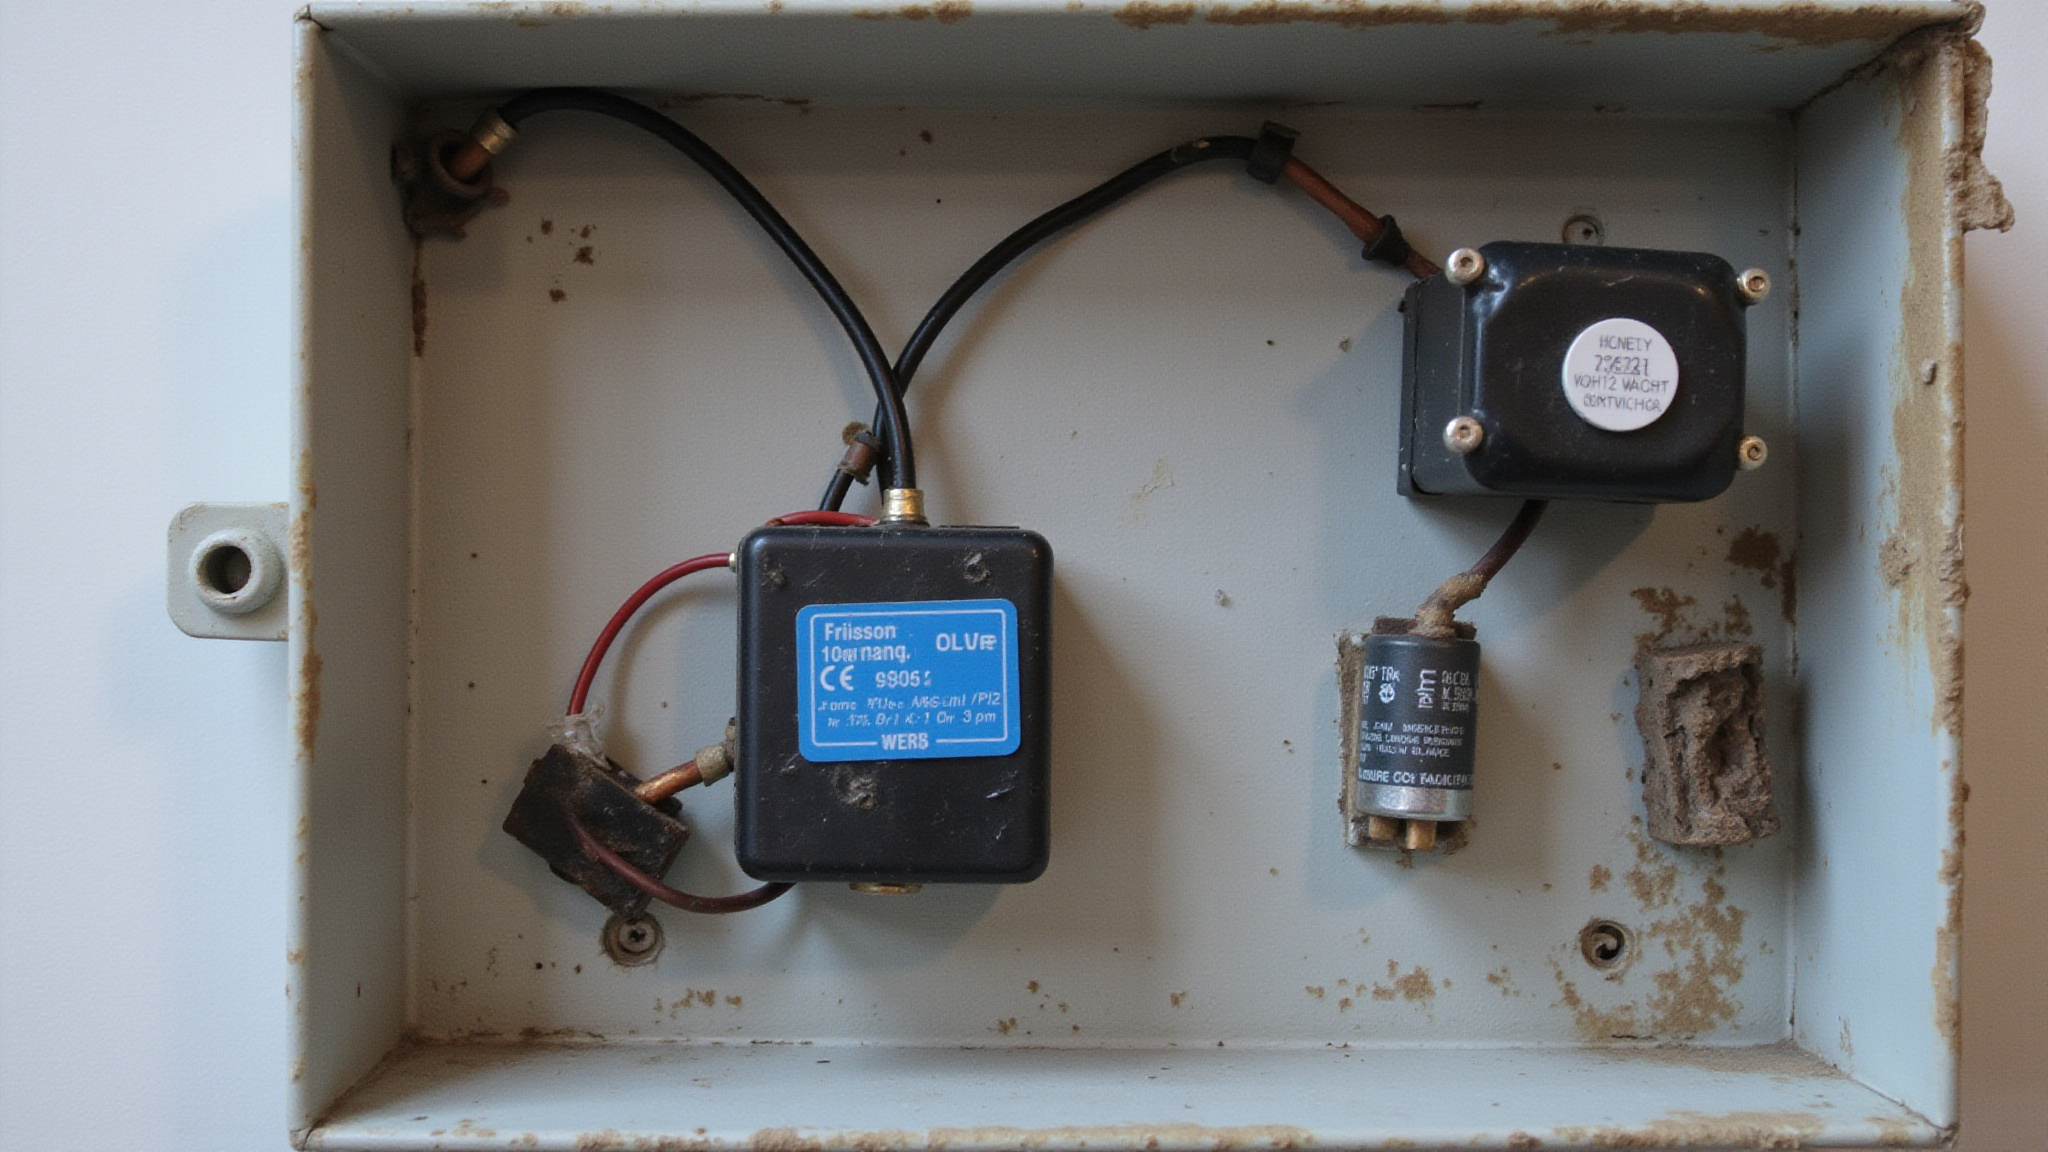
If your voltage checks out but the motor still overheats, look inside the circuit for resistance and abnormal current draw. Loose connections, a failing relay, or a bad capacitor can each generate heat and push current past the thermal overload threshold. Start by tightening loose connections, then test the relay and capacitor to pinpoint which component’s dragging your motor down.
Tightening Loose Connections
Tighten loose connections by killing the power and inspecting every connection along the circuit. Inside your pump’s electrical connections, resistance is the enemy. Loose terminals create resistance, and resistance generates heat right inside the motor circuit. That heat builds until your thermal overload trips and shuts the motor down. You’re hunting for wires that have backed out, corroded lugs, or terminals that feel warm after a run.
- Cut power at the breaker before touching any wiring
- Check each terminal for looseness, discoloration, or corrosion
- Tighten connections to the motor’s specified torque, not by feel
- Replace any wire showing burnt insulation or melted lugs
Restore power and monitor the motor’s temperature during operation to confirm you’ve eliminated the fault.
Testing Failing Relays
Test a failing relay by listening for chattering or clicking when the pump cycles, that’s a warning sign the contacts are worn. A failing relay can create internal resistance and heat, disrupting the current the motor needs to run cool. Kill the power, then test the relay with a multimeter. Check continuity across the contacts in both the open and closed states. If you read resistance where you should read a clean path, the relay’s degrading and adding heat to the circuit. Replace it with a unit matching the original’s voltage and amperage rating. A fresh relay restores clean switching and keeps current draw within normal range.
Replacing Bad Capacitors
Replacing a bad capacitor restores steady current and cooler operation. A failing capacitor throws off the motor’s current draw, driving up heat until the thermal overload trips. You’ll often find a bulged, leaking, or discolored capacitor when you open the motor’s end cap. Cut power and discharge the capacitor with an insulated screwdriver across its terminals, stored voltage can shock you. Match the replacement to the original’s microfarad (µF) and voltage rating exactly; a mismatch won’t fix the abnormal current draw.
- Discharge safely: Short the terminals before removing the old capacitor.
- Verify ratings: Match µF and voltage to the nameplate specs.
- Inspect terminals: Clean corrosion and tighten loose connections.
- Test afterward: Confirm normal current draw and stable running temperature.
A correct capacitor restores steady current and cooler operation.
When Blocked Airflow Traps Heat Around the Pump
Blocked airflow traps heat around the pump when debris chokes the cooling vents or when the motor sits in a cramped, unventilated space. Your pump motor depends on constant airflow to shed the heat it generates while running. When that airflow gets blocked, temperatures climb fast, and the thermal overload trips to protect the windings.
Start by inspecting the cooling vents at the rear of the motor. Dirt, grass clippings, insect nests, and debris pack into these openings and choke the fan’s intake. Clear them, then check the cooling fins for buildup that traps heat against the housing.
Next, look at the motor’s surroundings. A cramped equipment pad, tight corners, or an enclosure without ventilation lets heat pool around the motor. Direct sunlight makes it worse.
Give the motor open clearance, shade it if needed, and airflow will carry heat away.
Why Sunlight and Tight Spaces Make It Worse
When your pump sits in direct sunlight, the added radiant heat raises the ambient temperature around the motor housing and works against its cooling system. Tight corners and enclosed equipment pads make it worse by trapping that heat with nowhere to escape. Together, these conditions push the motor closer to its thermal limit, so you’ll see shutdowns happen faster on hot, sunny days.
Direct Sunlight Exposure
Direct sunlight exposure pushes pool pump motors toward their thermal shutdown threshold by warming the air they rely on for cooling. Because these motors depend on air cooling to stay within safe operating temperatures, their surrounding environment matters just as much as their internal condition. Direct sunlight raises the ambient heat around the motor housing, so the cooling air the fan pulls in is already warmer than it should be. That reduces the temperature differential the motor relies on to shed heat, pushing it closer to its thermal shutdown threshold, especially during peak afternoon hours.
- Check whether the motor sits in full, unshaded sun for extended periods
- Note if shutdowns cluster around the hottest part of the day
- Add shade that still allows open airflow around the housing
- Avoid enclosures that trap radiant heat against the motor
Reposition or shade the motor to restore effective cooling.
Trapped Heat Buildup
Trapped heat builds up when a motor has no room to shed the warmth it generates. Tight spaces make the problem worse by trapping the heat the motor is already trying to shed. Your pump relies on air cooling, so it needs open clearance to vent heat away from the housing. When you install it in an enclosed equipment pad, a tight corner, or against a wall, that heat has nowhere to go. It pools around the motor, raising the ambient temperature the cooling fan works against. The result is a feedback loop: the motor runs hotter, draws more current, and trips its thermal overload. Check clearance on all sides, remove nearby obstructions, and add ventilation to the enclosure. Give the motor room to breathe, and you’ll cut heat buildup substantially.
Clogged Impellers and the Load They Create
A clogged impeller creates load by forcing your pump motor to work harder than it should, and that extra effort turns directly into heat. When debris packs the impeller vanes, flow drops and load climbs, pushing current draw upward until thermal overload protection trips. You’ll often notice the pump running fine at first, then shutting down as resistance builds. Don’t overlook upstream restrictions either, since they feed the same problem.
Check these load-related sources when diagnosing overheating:
- Debris lodged in the impeller vanes, choking flow and raising motor strain
- Dirty skimmer, pump baskets, or filters reducing circulation efficiency
- Closed valves or blocked lines creating overload and thermal shutdown
- Suction- and pressure-side clogs cutting flow below safe cooling levels
Clear these restrictions to restore proper circulation.
Dirty Baskets and Filters That Choke Flow
When your skimmer and pump baskets fill with debris, they choke suction-side flow and force the motor to work harder against the restriction. Dirty filters compound the problem, raising system resistance and increasing the load until thermal overload trips the motor. Check and clean these components first, since restricted flow is one of the quickest paths to overheating.
Clogged Baskets Reduce Flow
Clogged baskets reduce flow by choking the suction your motor depends on. Inside your skimmer and pump baskets, debris builds up and restricts the flow. As leaves, hair, and grit accumulate, they restrict suction-side flow and force the motor to work harder against rising resistance. That added load raises current draw and heat, eventually tripping thermal overload protection and shutting the pump down.
You’ll often notice the pump running fine at first, then overheating as restriction increases. Check these points during troubleshooting:
- Skimmer basket for trapped leaves, twigs, and debris
- Pump basket for accumulated grit and clogging material
- Basket condition for cracks that let debris bypass into the impeller
- Flow rate at returns, watching for weak or reduced circulation
Clear each basket to restore flow and lower motor temperature.
Dirty Filters Increase Load
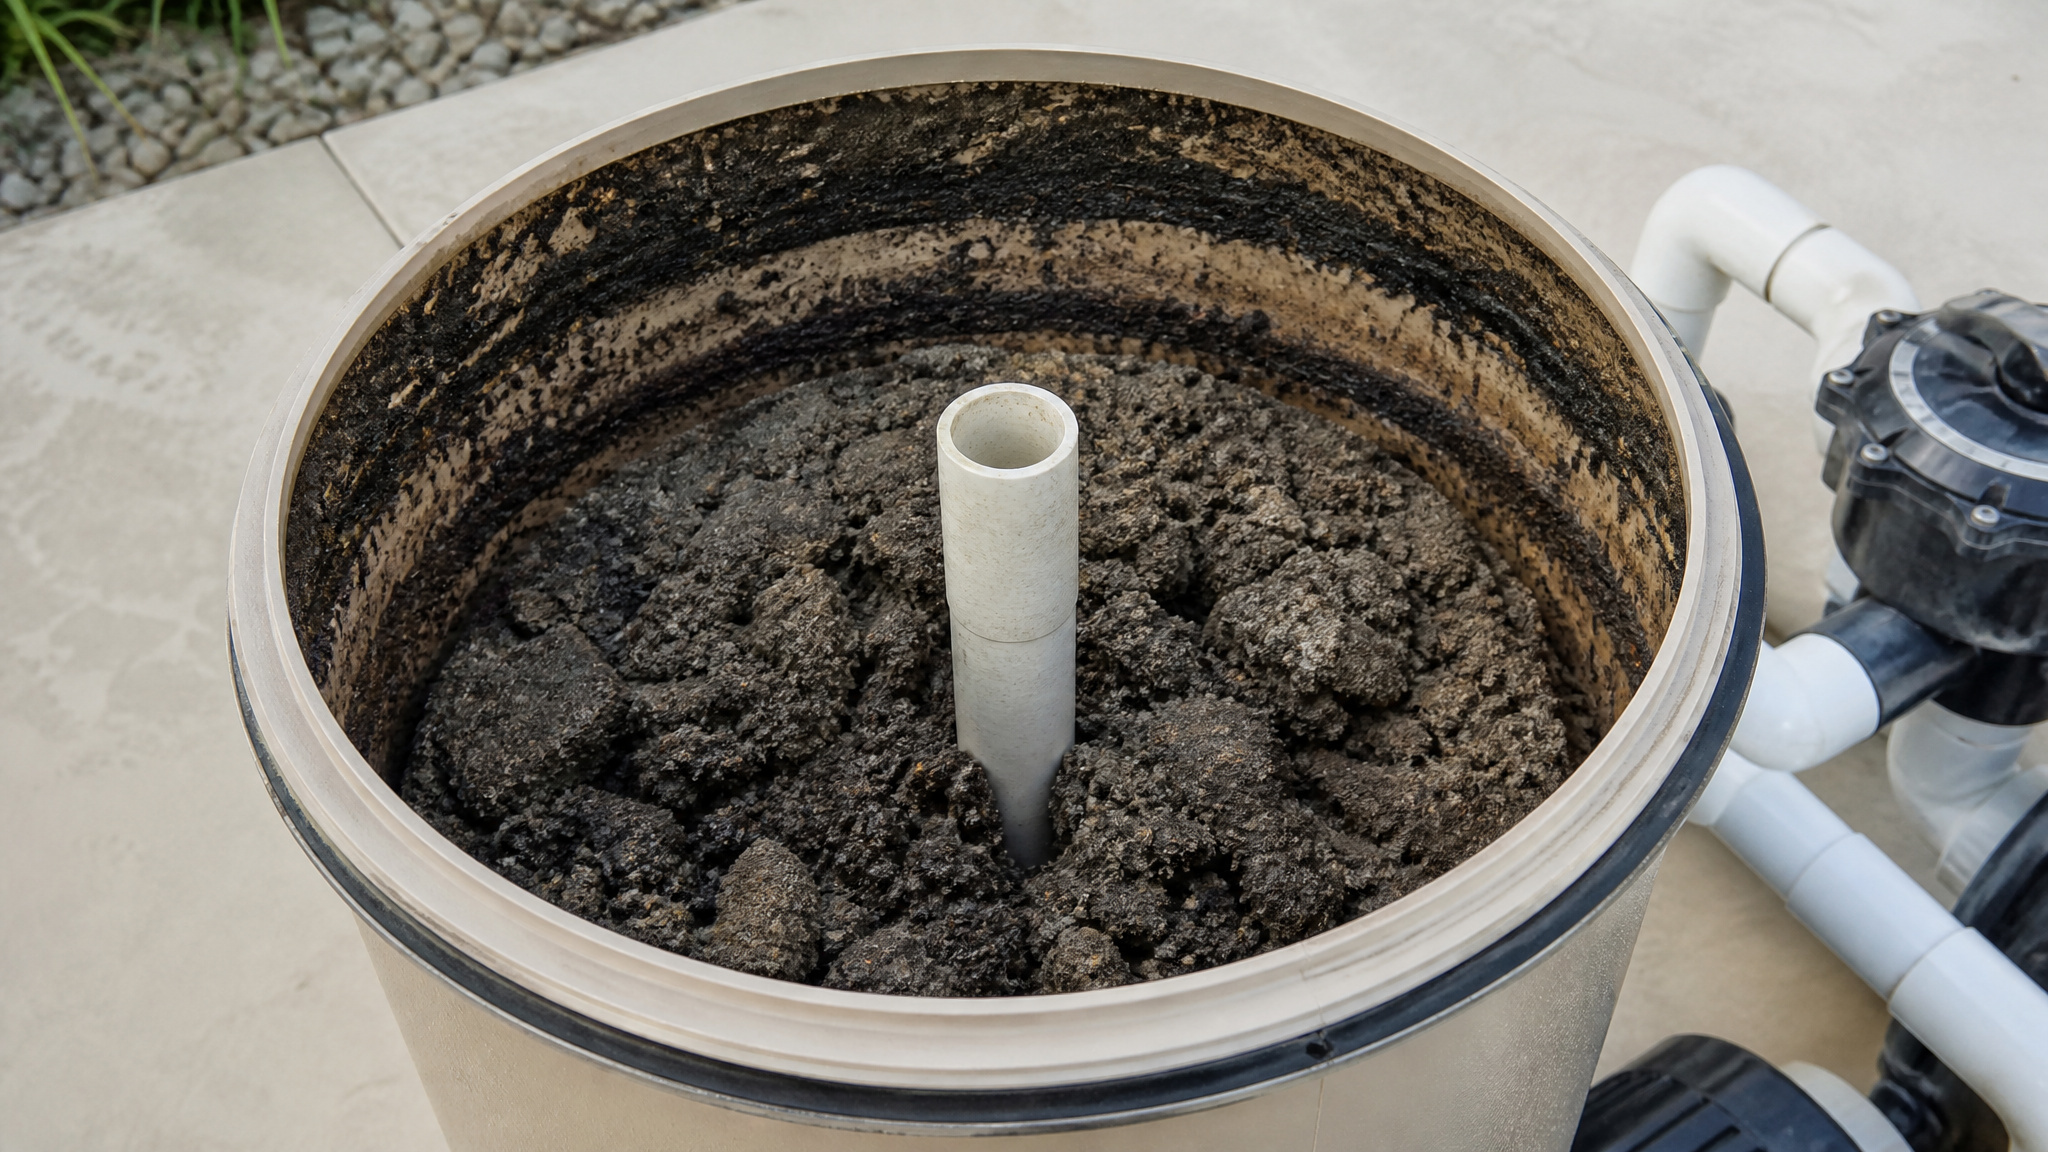
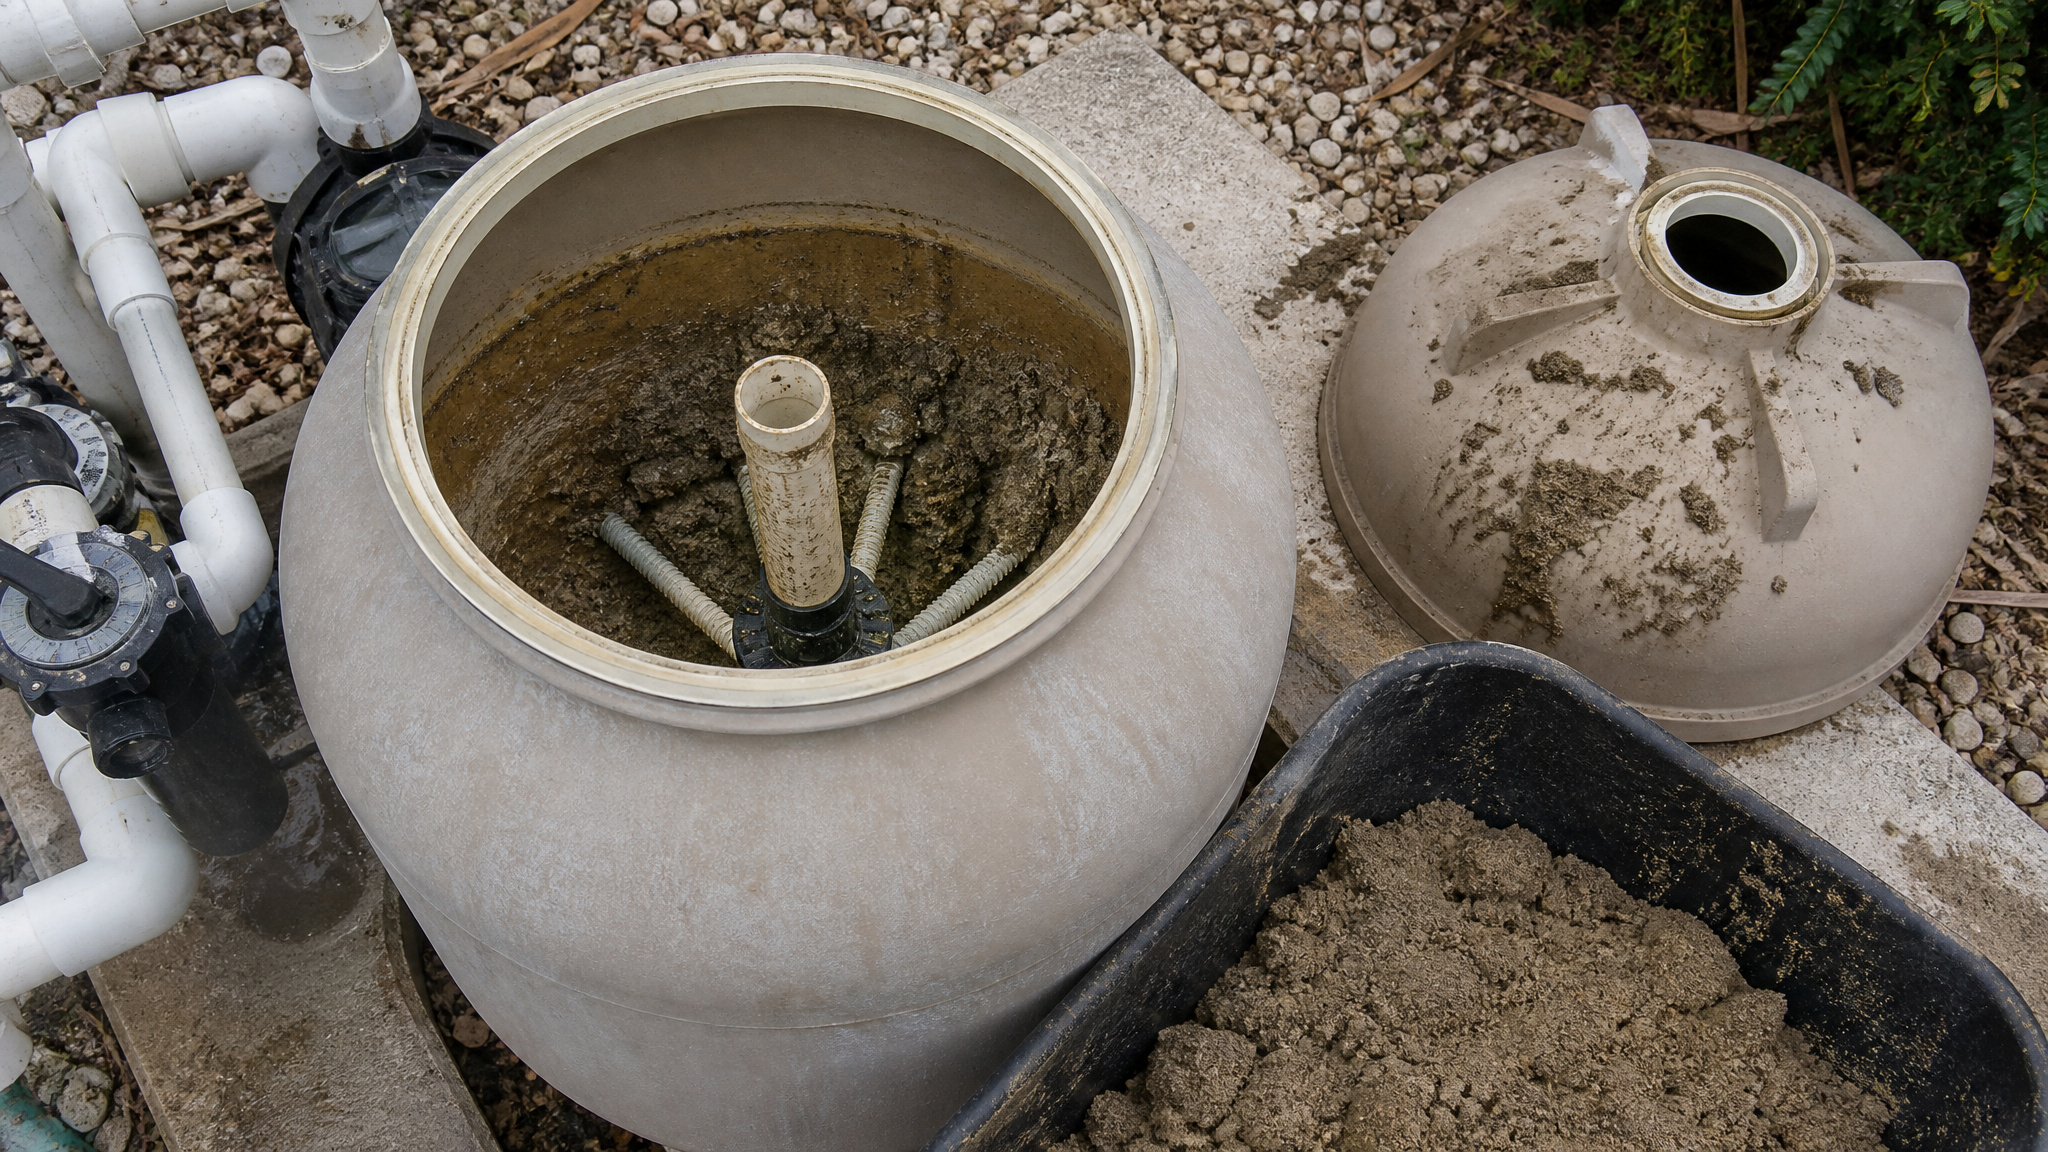
A dirty filter increases motor load by choking flow just as effectively as clogged baskets. As debris packs the media, resistance climbs, flow drops, and your motor works harder to move less water. That added load raises current draw and temperature until the thermal overload trips.
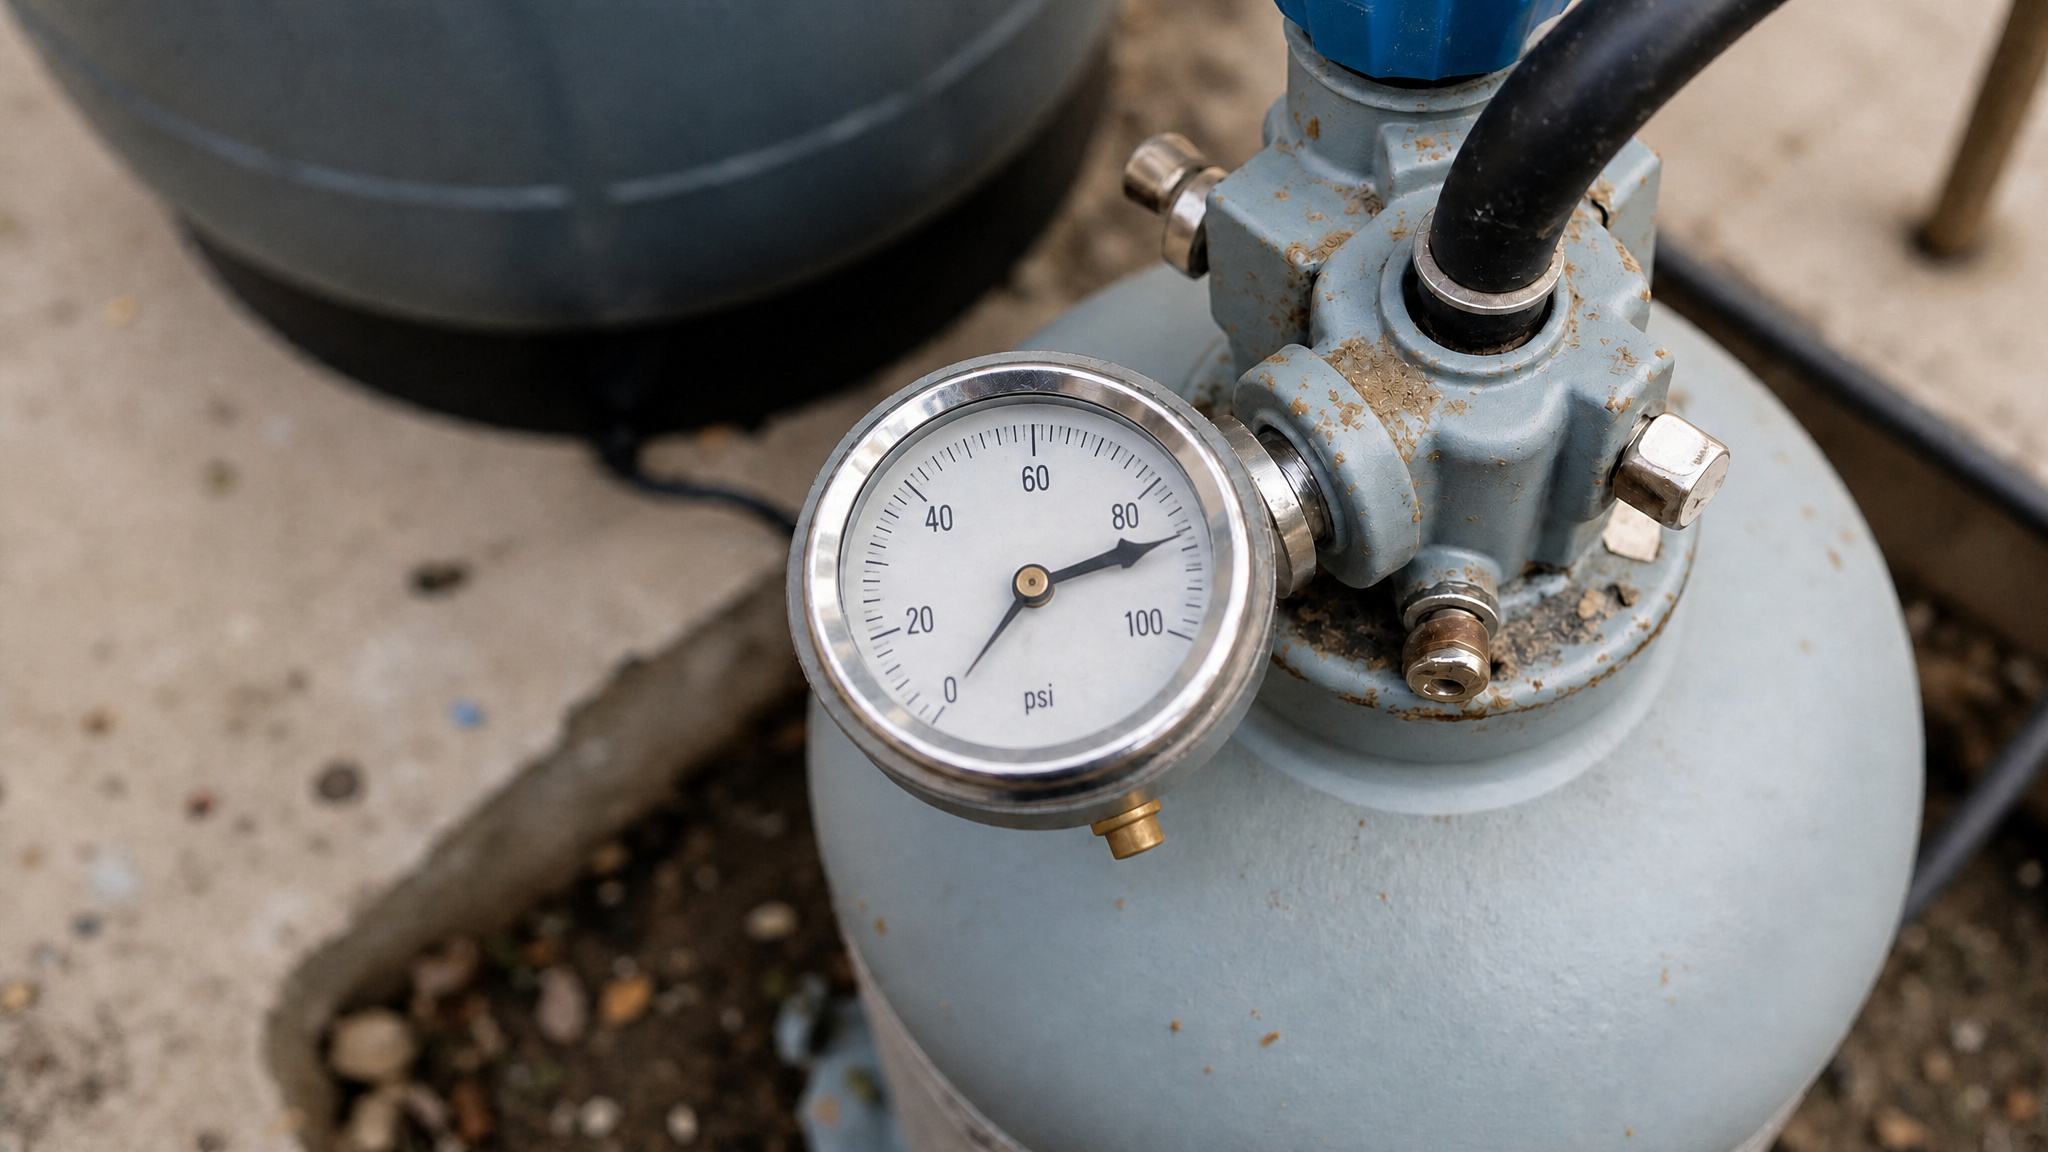
Check your filter’s pressure gauge. A reading roughly 8 to 10 psi above the clean baseline signals it’s time to clean or backwash. Cartridge filters need rinsing or replacement; sand and DE filters need backwashing and recharging.
Don’t ignore a slow, steady pressure rise. It’s telling you flow is degrading. Restore it, and you’ll cut the motor’s workload, lower operating temperature, and stop the shutdown cycle before it damages your pump’s seals or bearings.
Closed Valves and Hidden Suction-Side Clogs
Closed valves and hidden suction-side clogs rank among the trickiest causes of overheating to diagnose because a pump can look like it’s running fine while it’s actually starving for water. A partially or fully closed valve chokes flow, forcing the motor to work harder and generate excess heat until thermal protection trips. Suction-side clogs hide inside lines, skimmers, and pump baskets, quietly restricting circulation while the motor overloads.
Work through these checks to find the restriction:
- Confirm every suction and return valve is fully open along the flow path.
- Inspect skimmer and pump baskets for debris packing them tight.
- Probe suction lines for hidden obstructions reducing draw.
- Watch for weak flow that worsens as resistance builds and heat climbs.
How Low Water Levels Cause Loss of Prime
Low water levels cause loss of prime because when your pool’s water level drops below the skimmer’s intake, the pump starts pulling air instead of water. Once air enters the suction side, the pump can’t maintain the water column it needs to circulate flow. Without that flow, the motor loses its primary cooling source and temperatures climb fast.
Check the water level first. It should sit at least halfway up the skimmer opening. If it’s lower, top it off and watch whether prime returns.
Running the pump dry compounds the damage, cooking the seals and stressing the motor windings. When you see air bubbles in the pump basket or hear the motor straining, shut it down and restore the water level before restarting. One of the common causes of grinding noise in pumps is a misalignment of the motor and the pump shaft. Another possible cause could be wear and tear on the bearings, which can lead to increased friction and noise.
Air Leaks, Cracked Lids, and Running Dry
Air leaks into the suction side through cracked lids, worn gaskets, or loose fittings, even when your water level sits where it should. Once air enters, it displaces water and reduces the cooling flow your motor depends on, driving temperatures upward until thermal overload trips.
Watch for these warning signs:
- Air bubbles collecting inside the pump basket or returning to the pool
- A cracked or warped lid that won’t seal tightly against its gasket
- Dried, brittle, or missing O-rings on the pump and valve fittings
- The pump losing prime and running dry within minutes of startup
Inspect the lid, replace worn gaskets, and tighten every suction-side connection. Never let the pump run dry. Doing so quickly destroys seals and overheats the motor.
Worn Bearings and a Dragging Impeller
Worn bearings and a dragging impeller both add friction and mechanical load that force the motor to run hotter and push it toward thermal shutdown. Worn bearings grind against the motor shaft, adding friction that converts directly into heat and pushes the motor toward thermal shutdown. Listen for grinding, humming, or high-pitched noise, and check for excessive vibration or shaft play. These are your clearest warning signs of bearing failure. Spin the motor shaft by hand with the power off; if it drags, catches, or feels rough, the bearings are failing.
A dragging impeller adds mechanical load the same way. Debris lodged in the impeller, or an impeller rubbing its housing, forces the motor to work harder and run hotter. Remove the pump basket and inspect the impeller for obstructions, then clear them. If bearings are shot, replace them promptly, since continued operation raises current draw and accelerates motor damage.
Is Your Pump the Wrong Size for the Job?
Yes, your pump may be the wrong size for the job. When the impeller and motor capacity don’t align, the motor works against a load it wasn’t built to handle, and heat builds until thermal protection trips. This mismatch often shows up after a replacement, especially when you swap an uprated motor for a full-rated one, or the reverse, without matching the impeller.
Check these common sizing and stress factors:
- Impeller mismatch from an uprated versus full-rated motor swap
- Oversized pump overloading the motor beyond its capacity
- Excessive runtime, particularly during the hottest hours
- Continuous operation that adds cumulative heat and stress
Fix the mismatch by matching impeller to motor rating and trimming runtime to reduce overload.
How to Diagnose and Fix an Overheating Pump
To diagnose and fix an overheating pump, use a systematic approach to isolate the actual cause before you start replacing parts. Start with the water side: check the water level, empty the skimmer and pump baskets, and inspect the impeller for clogs. Next, verify airflow by clearing debris from the cooling fins and vents, and confirm open clearance around the motor housing. Then test the electrical supply. Measure input voltage; if it’s more than 10% off the motor’s rating, you’ve found a problem. Inspect for loose connections, undersized wiring, and a failing capacitor. Finally, spin the motor shaft by hand to detect worn bearings or a dragging impeller. Address each finding in order, then retest before assuming the motor’s failed.
Conclusion: Stopping the Overheat Cycle
A pump that overheats and shuts off is protecting itself, and the cause is usually restricted airflow, poor water flow, or a motor nearing the end of its life. Clear the vents, check for clogs and low water, and give it time to cool before restarting. Address the root cause instead of just resetting it, and the pump stops tripping and lasts longer.
Shop Reliable Pool Pumps at Discount Prices
Whether you’re replacing an old pump or upgrading to a more energy-efficient model, quality matters for lasting performance. Shop Prime Pool Market for reliable Pool Pumps at discount prices delivered right to your door. Call (877) 650-7665 today or browse our shop and save on every purchase.
Frequently Asked Questions
How Long Should I Let an Overheated Pump Cool Before Restarting?
Give it at least 30 to 60 minutes to cool fully before trying again. Restarting a hot motor too soon just trips it again and adds wear. While it cools, look for the reason it overheated, such as blocked vents, a clogged impeller, or low water, so you fix the cause rather than repeating the cycle.
Can I Run My Pool Pump in the Rain?
Light rain is fine, since pumps are built for outdoor use. The real risks are flooding that submerges the motor and electrical hazards during a storm. If water rises around the equipment pad or lightning is nearby, shut the pump off. Keeping the motor up off the ground and under a cover helps in wet weather.
Does a Variable-Speed Pump Overheat Less Than a Single-Speed Pump?
Generally yes. Variable-speed pumps run cooler because they operate at lower speeds most of the time, producing less heat and strain. They also tend to have more efficient motors. A single-speed pump running full-out for long hours in the heat is more prone to overheating, especially as the motor ages.
How Often Should I Replace My Pool Pump Motor?
There is no fixed interval; you replace it when it fails or becomes unreliable. Most motors last eight to twelve years with good care. Repeated overheating, loud bearings, or frequent tripping are signs it is wearing out. Fixing small issues early, like clearing vents and replacing a weak capacitor, helps the motor reach its full lifespan.
Will Overheating Void My Pool Pump’s Warranty?
Occasional overheating from a fixable cause usually will not, but damage from neglect or improper installation can. Warranties often exclude problems owners could have prevented, like running the pump dry or blocking its airflow. Keeping up with basic maintenance and following the install instructions protects both the pump and its coverage.