
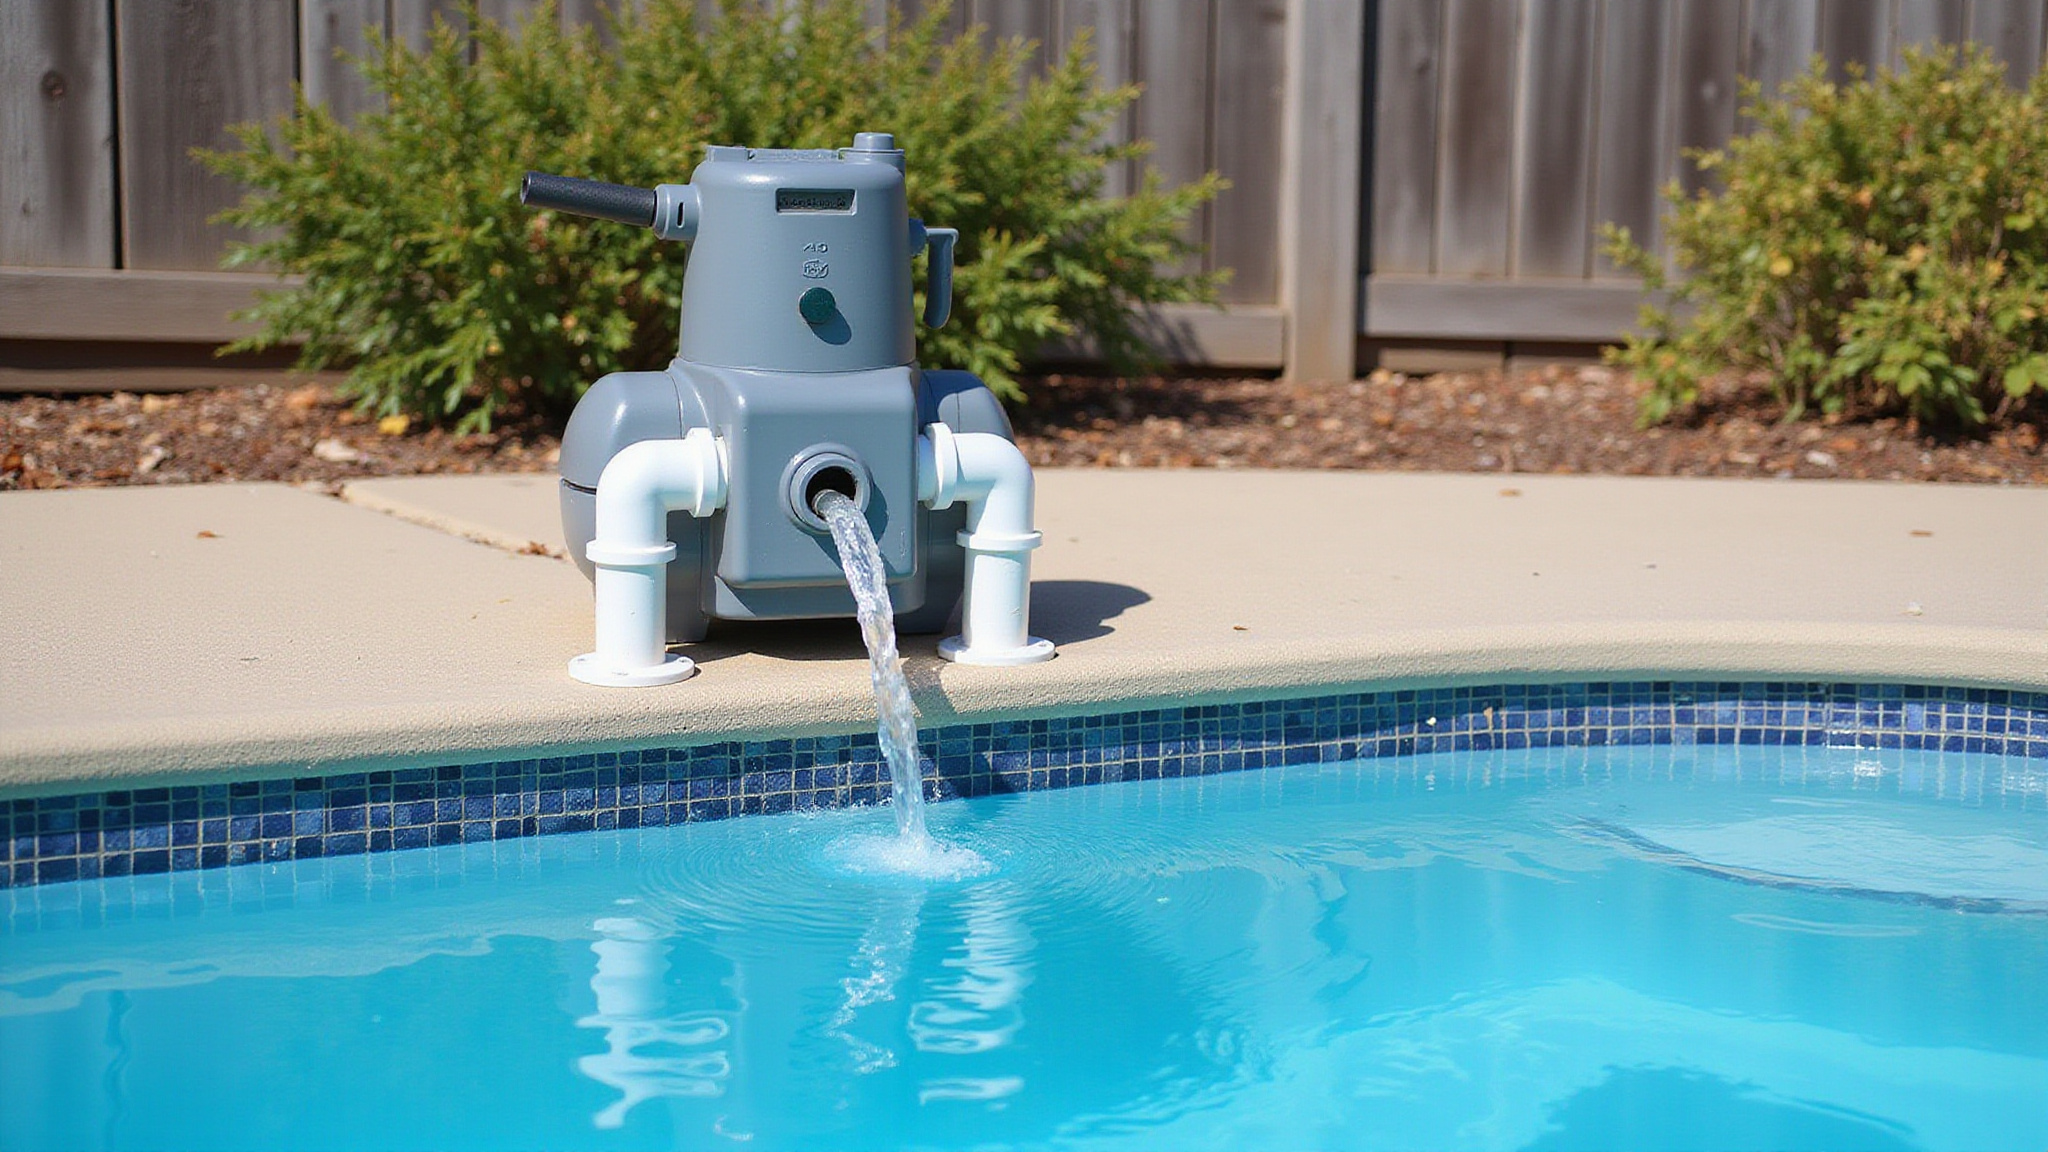
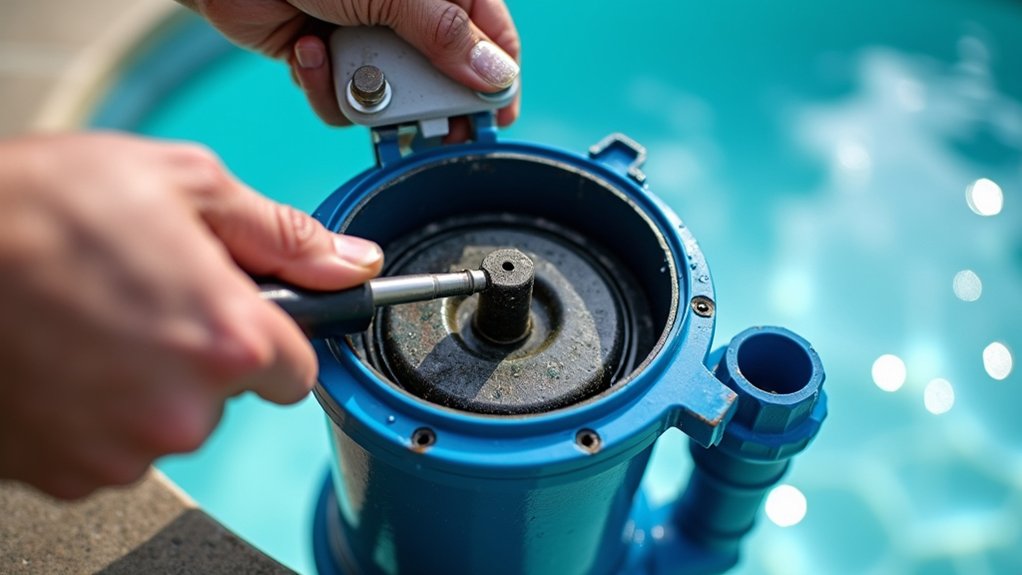
If your pool pump’s leaking from the bottom, you’re most likely dealing with a failed mechanical shaft seal, a worn drain plug O-ring, or a cracked housing. Loose PVC unions and damaged lid gaskets can also send water downward. To pinpoint the source, shut off power, dry the pump completely, then run it briefly and watch where water reappears first. Below, you’ll find exact diagnostic steps and repair fixes for each cause.
Key Takeaways
- A failed mechanical shaft seal is the most common cause of bottom leaks, releasing water through the weep hole or shaft.
- Worn drain plug O-rings drip steadily from the base and should be replaced immediately with exact-match seals.
- Identify the leak safely by shutting off power, drying the pump, running briefly, and inspecting with a flashlight.
- A cracked pump housing requires full replacement, since patches fail under pressure and the leak returns.
- Maintain balanced chemistry (pH 7.4 to 7.6, alkalinity 80 to 120 ppm, chlorine 1 to 3 ppm) to extend seal and O-ring life.
What Makes a Pool Pump Leak From the Bottom?
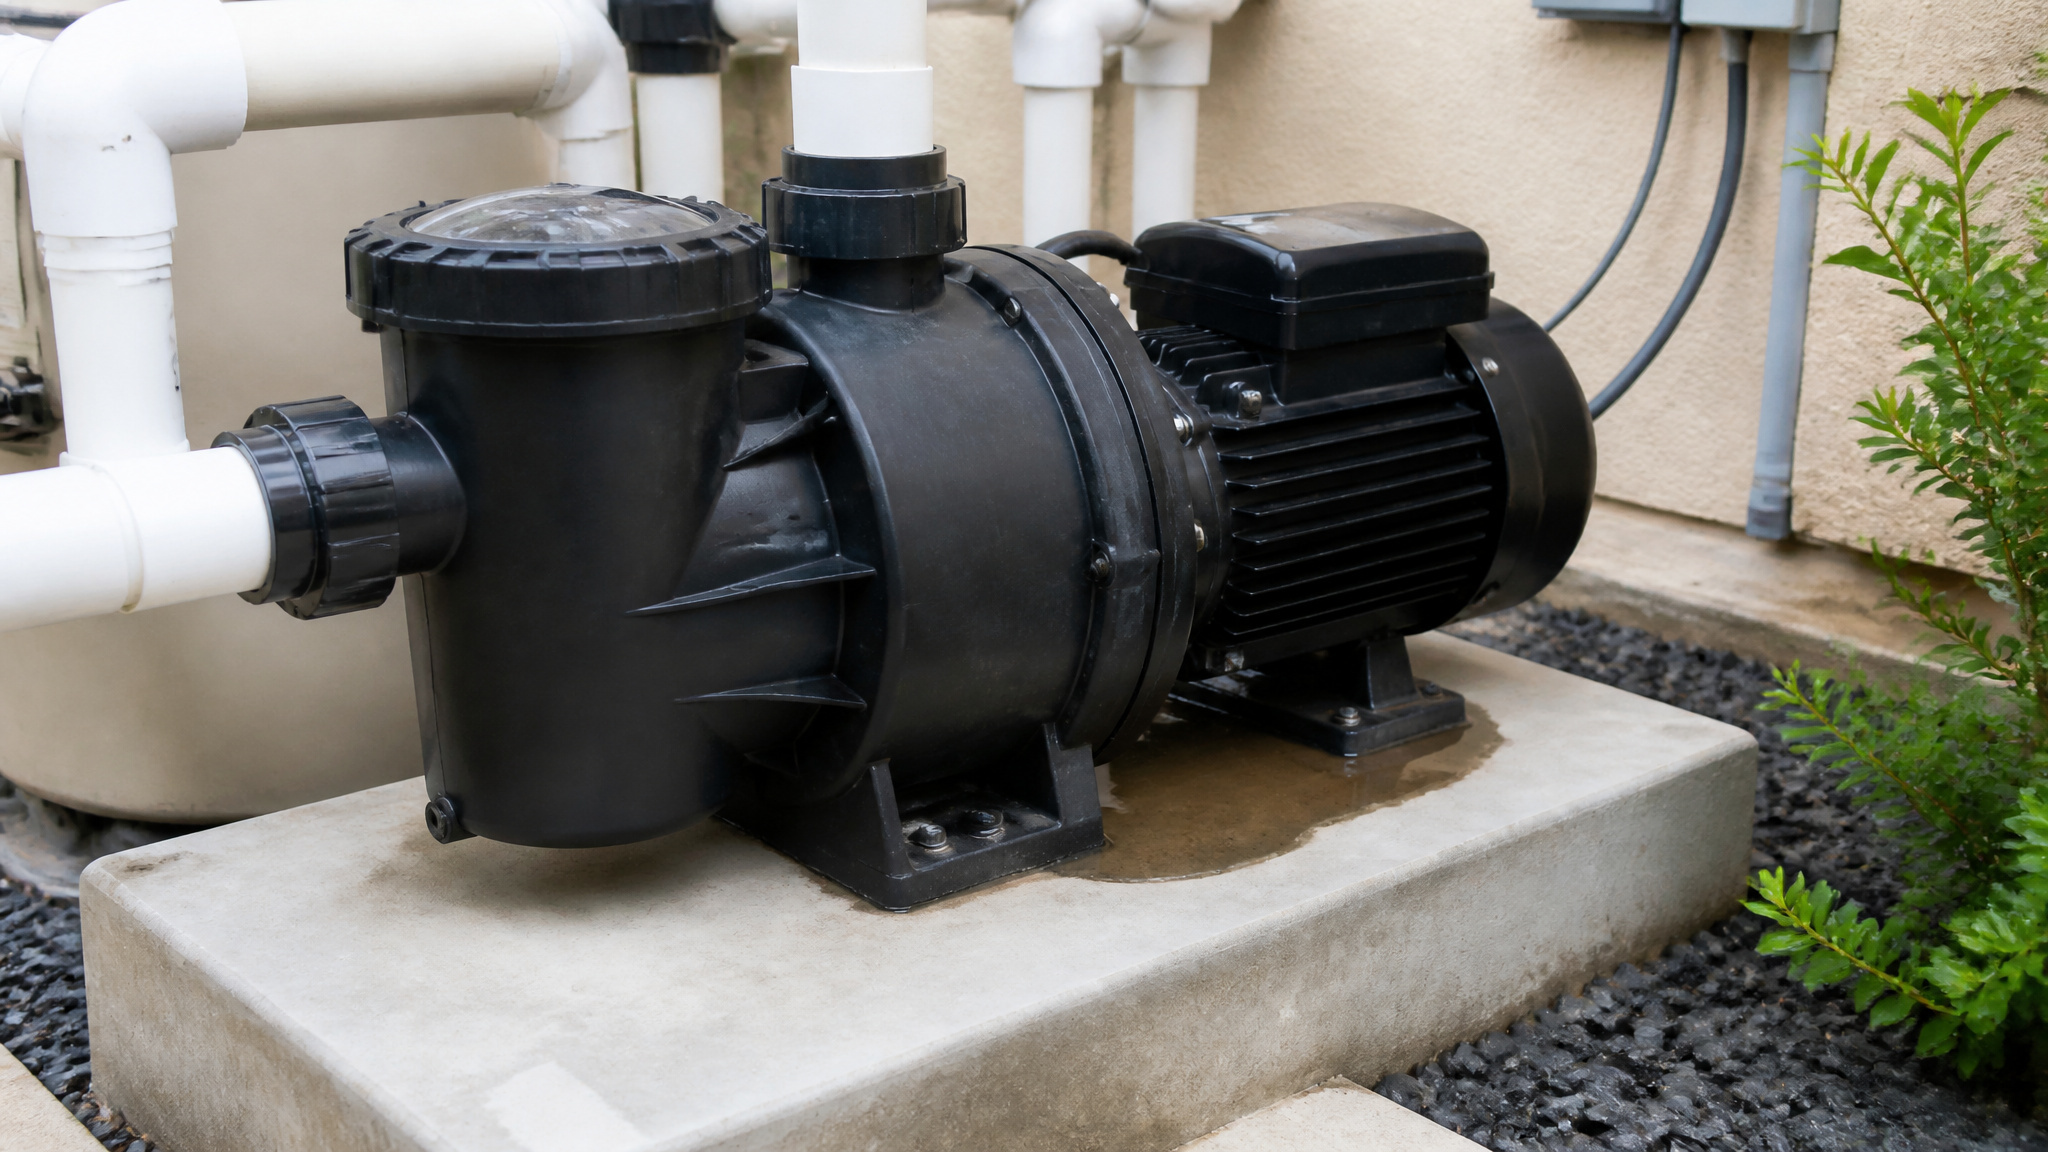
A pool pump leaks from the bottom due to one of five culprits. The most common source of a pool pump leaking from bottom is a failed mechanical shaft seal, which lets pressurized water escape where the motor meets the wet end. A loose, missing, or worn drain plug O-ring produces steady leakage at the base. A cracked pump housing, often from freeze damage, pressure spikes, dry running, or age-related brittleness, creates a persistent bottom leak. Loose or poorly sealed PVC unions and threaded fittings send water downward, mimicking a pool pump leak lower in the assembly. Finally, damaged lid O-rings, gaskets, or impellers can contribute. Identifying the exact culprit is your first step toward fixing pool pump leak issues correctly.
Why a Failed Shaft Seal Causes Most Bottom Leaks
A failed shaft seal causes most bottom leaks because it sits directly between the pump housing and the motor, carrying the entire burden of blocking pressurized water from breaching the motor assembly. When this seal fails, water escapes through the weep hole or travels along the motor shaft, producing the classic bottom drip you’ll see with a pool pump leaking. Heat, chemical imbalance, and age break the seal down over time, so a minor drip steadily worsens.
| Failure Factor | Diagnostic Sign |
|---|---|
| Excessive heat | Drip at weep hole |
| Chemical imbalance | Water along shaft |
| Age-related wear | Heavier flow over time |
Ignore it, and water reaches the motor windings, forcing total motor failure. Prompt pool pump repair replaces the seal before that damage occurs.
How to Find the Exact Leak Point Safely
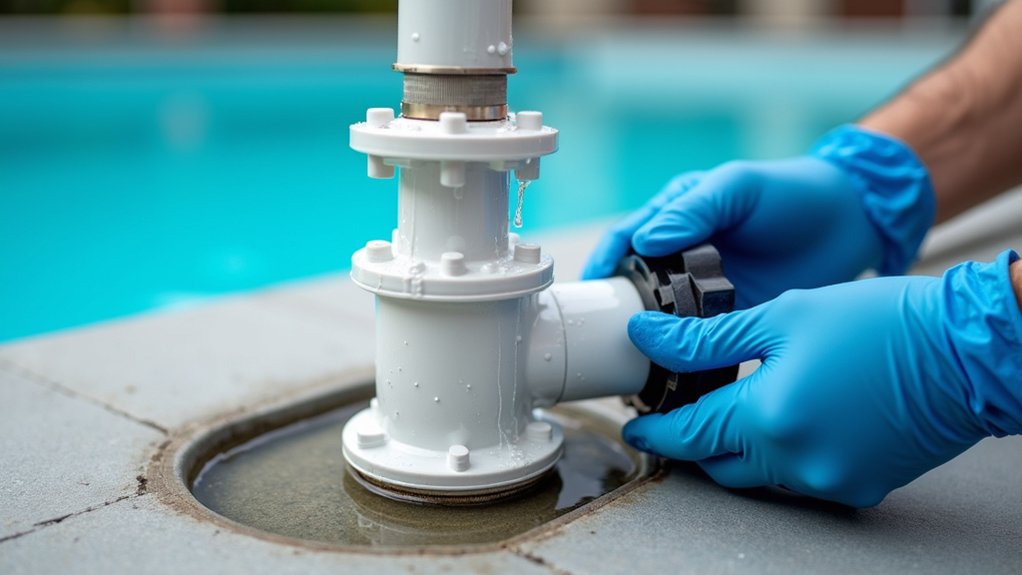
Find the exact leak point by shutting off power at the breaker to eliminate any risk of electrical shock while you work near the motor. With power off, dry the entire pump area completely so any fresh moisture pinpoints the active leak. Then run the pump briefly and observe where water reappears first. Overheating issues in pool pumps can lead to significant damage if not addressed promptly. Regular maintenance and inspection of the pump’s components can help prevent these problems.
- Grab a flashlight and inspect the motor bottom, drain plugs, lid, and pipe connections for beading or dripping water.
- Wrap suspected joints and threaded fittings with dry paper towel, then watch which section dampens first.
- Check the strainer basket for air bubbles, which signal a suction-side leak rather than a bottom seal failure.
Trace the water to its origin, not where it pools. That distinction determines your correct repair.
Replace a Leaking Mechanical Shaft Seal
A failed mechanical shaft seal is the most common source of bottom leaks in the motor-to-wet-end area. This seal sits between the pump housing and motor, blocking pressurized water from reaching the motor assembly. Shut off power first. Disassemble the wet end, separating the motor from the housing to expose the impeller and seal. Remove the impeller, then extract both seal halves, the spring-loaded portion pressed against the shaft and the ceramic seat set in the housing. Clean the surfaces, then press in the new seal without touching the polished faces, since oils and debris cause premature failure. Reassemble evenly, avoiding over-tightening that cracks plastic. Replace a worn shaft seal promptly to prevent total motor failure.
Fix Drain Plug, O-Ring, and Fitting Leaks
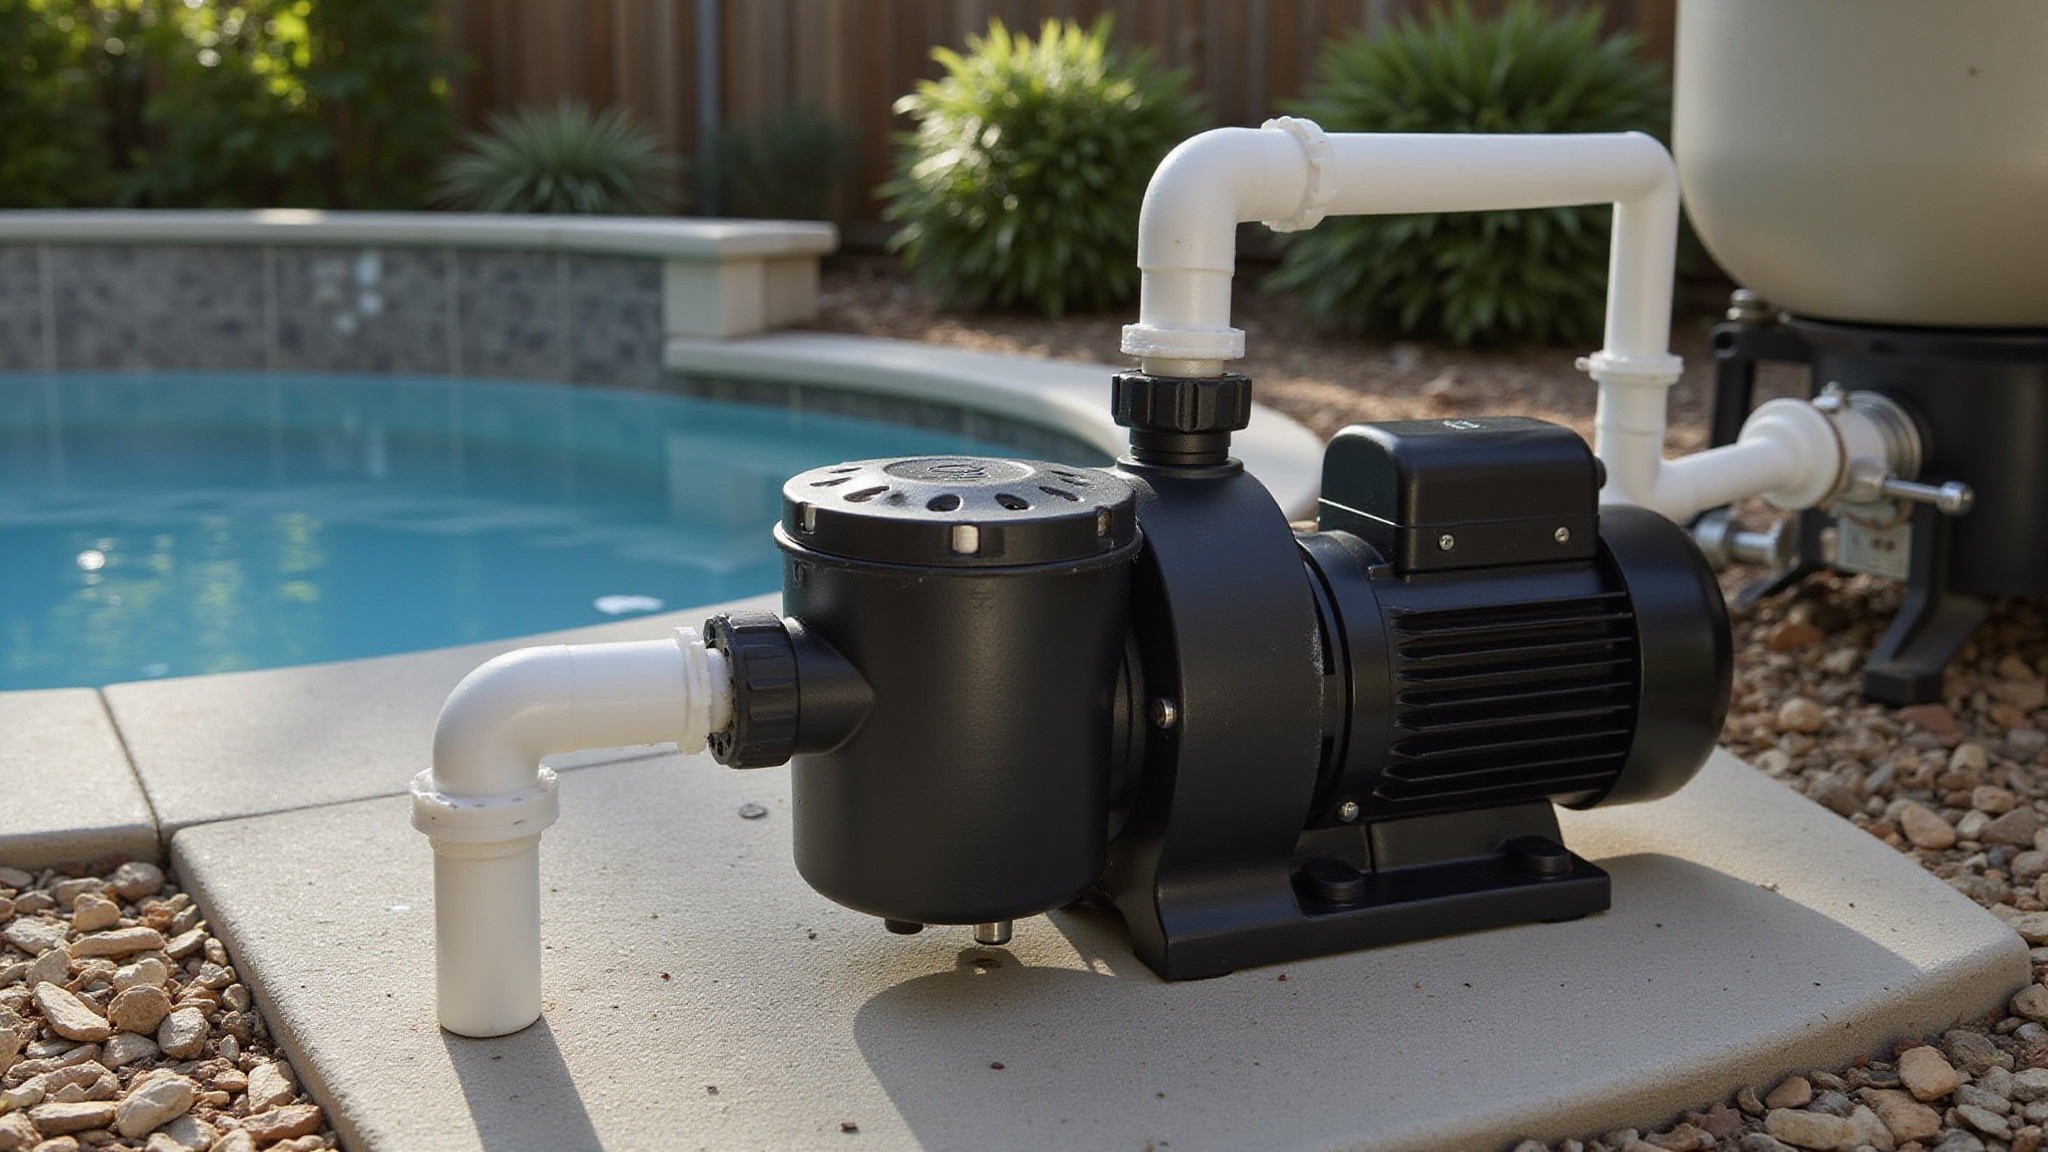
Not every bottom leak traces back to the shaft seal, so you’ll want to inspect the drain plugs, O-rings, and threaded fittings next. Start by resealing threaded connections with fresh plumbing tape or pipe dope, then replace any drain plug O-ring that’s worn, flattened, or missing. Tighten all connections evenly to seat the seals properly, but stop short of over-tightening, which can crack plastic threads and create new leaks.
Reseal Threaded Fittings
Reseal a threaded fitting by disconnecting it, stripping the old sealant, and applying fresh tape or pipe dope before reconnecting. Threaded connections are a frequent culprit when water tracks down the pump and pools at the base, mimicking a shaft seal leak. When you trace the leak to a threaded PVC fitting, you’ll need to strip the old sealant and reseal the joint properly.
- Disconnect the fitting and remove all old plumbing tape or pipe dope, cleaning the threads until they’re dry and debris-free.
- Apply fresh plumbing tape in the direction of the threads, or use pipe dope for a more durable seal on larger connections.
- Reconnect and tighten evenly, stopping before you overstress the plastic.
If the threads or adapter are cracked from prior over-tightening, sealant won’t hold. Replace the damaged part instead of resealing a compromised connection.
Replace Drain Plug O-Ring
Replace the drain plug O-ring by shutting off power, draining the pump, and installing an exact-match seal. A worn, loose, or missing drain plug O-ring causes steady leakage at the base of the pump, and it’s one of the easiest bottom leaks to fix. Remove the drain plug and inspect the O-ring closely for flattening, cracks, or brittleness. If it’s damaged or missing, replace it with an exact match, size matters for a proper seal. Clean the plug threads and seat before reinstalling. Apply a thin coat of silicone-based lubricant to the O-ring if it’s still usable, which helps it seat evenly and resist wear. Thread the plug back in and hand-tighten firmly, but don’t over-tighten, since excessive force cracks plastic threads. Run the pump briefly and confirm the leak’s gone.
Tighten Connections Evenly
Tighten every connection evenly to stop leaks at drain plugs, O-rings, and fittings, because uneven pressure warps seals and cracks plastic. Work methodically and apply consistent force so no single point bears excess load. Over-tightening cracks plastic threads. Under-tightening leaves gaps that let water escape downward.
- Hand-tighten first, then snug drain plugs and unions a quarter turn. Never force them with tools that overstress plastic.
- Alternate across the connection, tightening opposing sides in stages so the O-ring or gasket seats flat and uniform.
- Verify the seal by running the pump briefly and checking each joint with dry tissue for reappearing moisture.
If leaks persist after even tightening, inspect for cracked adapters or damaged threads that fresh sealant won’t fix.
What to Do About a Cracked Pump Housing
Replace a cracked pump housing outright, matching the part to your pump’s make and model, because patches fail under pressure and the leak returns. A cracked pump housing creates a bottom leak that you can’t fix with sealant or tape, so you’ll need to confirm the crack before committing to a repair. Shut off power, dry the housing, then run the pump briefly and watch the base with a flashlight. Freeze damage, pressure spikes, dry running, and age-related brittleness all produce these cracks. If the crack extends into critical mounting points or the wet end, replacement of that section is more practical than repair. When disassembly exceeds your skill level, call a professional to prevent motor damage.
Stop Seals and Gaskets From Leaking Again
Once you’ve replaced a leaking seal or gasket, you’ll want to prevent the same failure from recurring. Start by balancing your water chemistry, since improper pH and chemical levels accelerate seal wear and shorten component life. Then replace aging O-rings before they turn brittle or flatten, because a compromised O-ring won’t hold a seal no matter how well you tighten the surrounding parts.
Balance Water Chemistry
Balancing your pool’s water chemistry protects the very seals and gaskets you just replaced. Aggressive water accelerates seal wear, hardens rubber, and breaks down the mechanical shaft seal that protects your motor. You can prevent this deterioration by monitoring key parameters and correcting imbalances before they compromise your components. Regular maintenance of your pool equipment involves monitoring the recommended running times for pumps. This ensures that they operate efficiently and helps to extend their lifespan.
Test and adjust these values regularly:
- pH, Keep it between 7.4 and 7.6 to prevent corrosive or scale-forming water that degrades seals.
- Total alkalinity, Maintain 80 to 120 ppm to stabilize pH and reduce chemical swings.
- Sanitizer levels, Hold chlorine at 1 to 3 ppm, since excess concentration attacks rubber gaskets.
Balanced chemistry extends seal life and protects your pump’s internal assembly.
Replace Aging O-Rings
Replace aging seals before they fail again, because even balanced water can’t save an O-ring that’s already brittle, flattened, or cracked. Start with the housing O-ring, since it’s the most common bottom-leak culprit. Remove it, clean the groove, and inspect for hardening, splits, or a permanent flattened profile. If it’s still pliable and intact, apply a silicone-based lubricant and reseat it. If it isn’t, replace it with the correct size. Don’t stretch or force a mismatched ring.
Check the drain plug O-rings next; these fail quietly and drip steadily from the base. Swap worn ones immediately.
Match every replacement to your pump’s specifications. A properly seated, correctly sized O-ring restores the seal and stops recurring leaks at their source.
When Pump Leak Repair Needs a Pro
Pump leak repair needs a pro when the damage exceeds a simple O-ring swap or a fresh wrap of plumbing tape. Certain failures signal that you should stop and call a professional before you risk further damage. Watch for these warning signs:
- Recurring leaks from multiple points, indicating widespread wear across seals, fittings, and internal parts that DIY fixes won’t resolve.
- A cracked pump housing, which often requires precise part replacement rather than a patch.
- Shaft seal or impeller removal that exceeds your comfort with disassembly and reassembly.
When water sits near the motor, treat it as urgent. A pro brings the right tools, protects your electrical components, and prevents costly total motor failure.
Conclusion: Fixing a Bottom Leak
Water dripping from the bottom of a pool pump usually traces back to a worn shaft seal, though a cracked housing or loose fitting can be the source too. A shaft seal is an inexpensive part, and catching the leak early keeps water from reaching the motor and causing costlier damage. Track down the exact point of the drip and the repair is usually straightforward.
Shop Reliable Pool Pumps at Discount Prices
Whether you’re replacing an old pump or upgrading to a more energy-efficient model, quality matters for lasting performance. Shop Prime Pool Market for reliable Pool Pumps at discount prices delivered right to your door. Call (877) 650-7665 today or browse our shop and save on every purchase.
Frequently Asked Questions
How Much Does It Cost to Replace a Pool Pump Shaft Seal?
The seal itself is cheap, usually 10 to 25 dollars. Doing the job yourself keeps the cost there, while hiring a pro adds labor and can bring the total to 100 to 200 dollars. Since the part is inexpensive, the main decision is whether you are comfortable opening the pump or would rather have it done.
Can I Run My Pool Pump While It’s Leaking?
It is best not to for long. A small leak can worsen and let water reach the motor, which risks a far more expensive failure. Running a leaking pump also tends to lose prime and strain the motor. Shut it off and address the leak promptly rather than pushing through a full swim season with it.
How Long Does a Typical Pool Pump Shaft Seal Last?
A shaft seal generally lasts three to five years, though running the pump dry, even briefly, can destroy it much sooner. Good water chemistry and keeping the pump properly primed help it reach the upper end of that range. When a bottom leak appears, the seal is usually the first part to suspect.
Will a Leaking Pump Increase My Electricity or Water Bills?
It can. A leak that causes the pump to lose prime makes the motor work harder and run less efficiently, nudging up the power bill. You also lose water steadily through the drip. Neither adds up fast, but a leak left for weeks quietly wastes both, which is another reason to fix it sooner.
Should I Repair or Just Replace an Old Leaking Pump?
It depends on the pump’s age and condition. If it is only a few years old and otherwise runs well, a cheap seal repair makes sense. If the pump is near the end of its life, noisy, or inefficient, putting money into an old unit is often throwing good after bad, and a new energy-efficient pump pays off.