
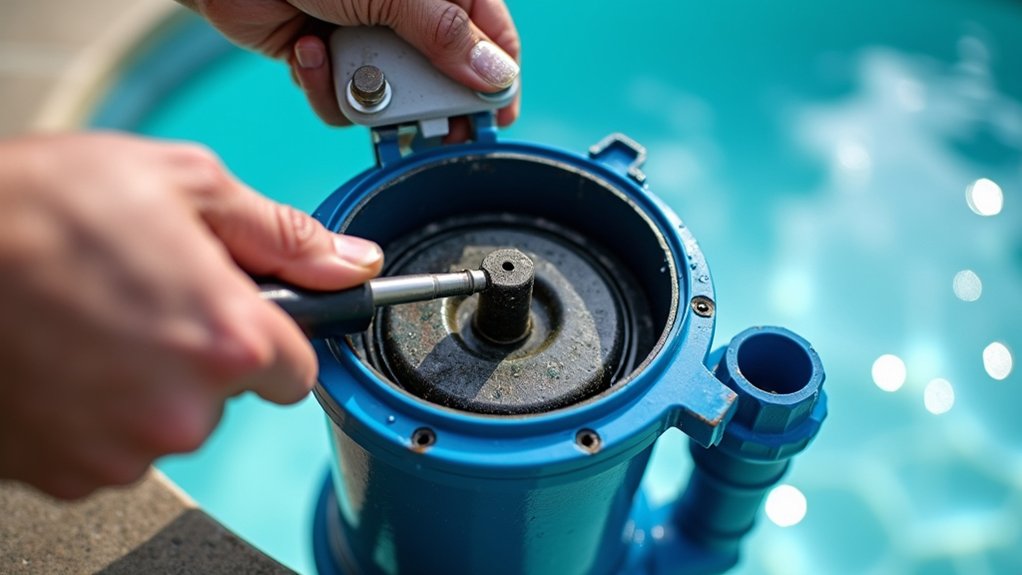
When your pool pump hums but won’t spin, cut power and start diagnosing. First, reset the breaker and confirm voltage at the motor terminals, expect 220 to 240V across hot legs on 240V systems. Next, clear debris from the basket and spin the impeller by hand to rule out a jam. If it rotates freely, test the start capacitor with your multimeter. Each check narrows the cause, and the details below show you exactly how.
Key Takeaways
- A humming pump that won’t spin often points to a failed start capacitor, seized shaft, or jammed impeller.
- Reset the breaker fully off then on, and check GFCI outlets on 120V systems before deeper diagnosis.
- Measure voltage at motor terminals: expect 220 to 240V across hot legs (240V) or 110 to 120V leg-to-ground (120V).
- With power off, remove the lid and basket, clear debris, and spin the impeller to confirm free rotation.
- Discharge and test the capacitor in µF mode, replacing it if readings fall 20% or more below rated value.
Why Your Pool Pump Hums but Won’t Start
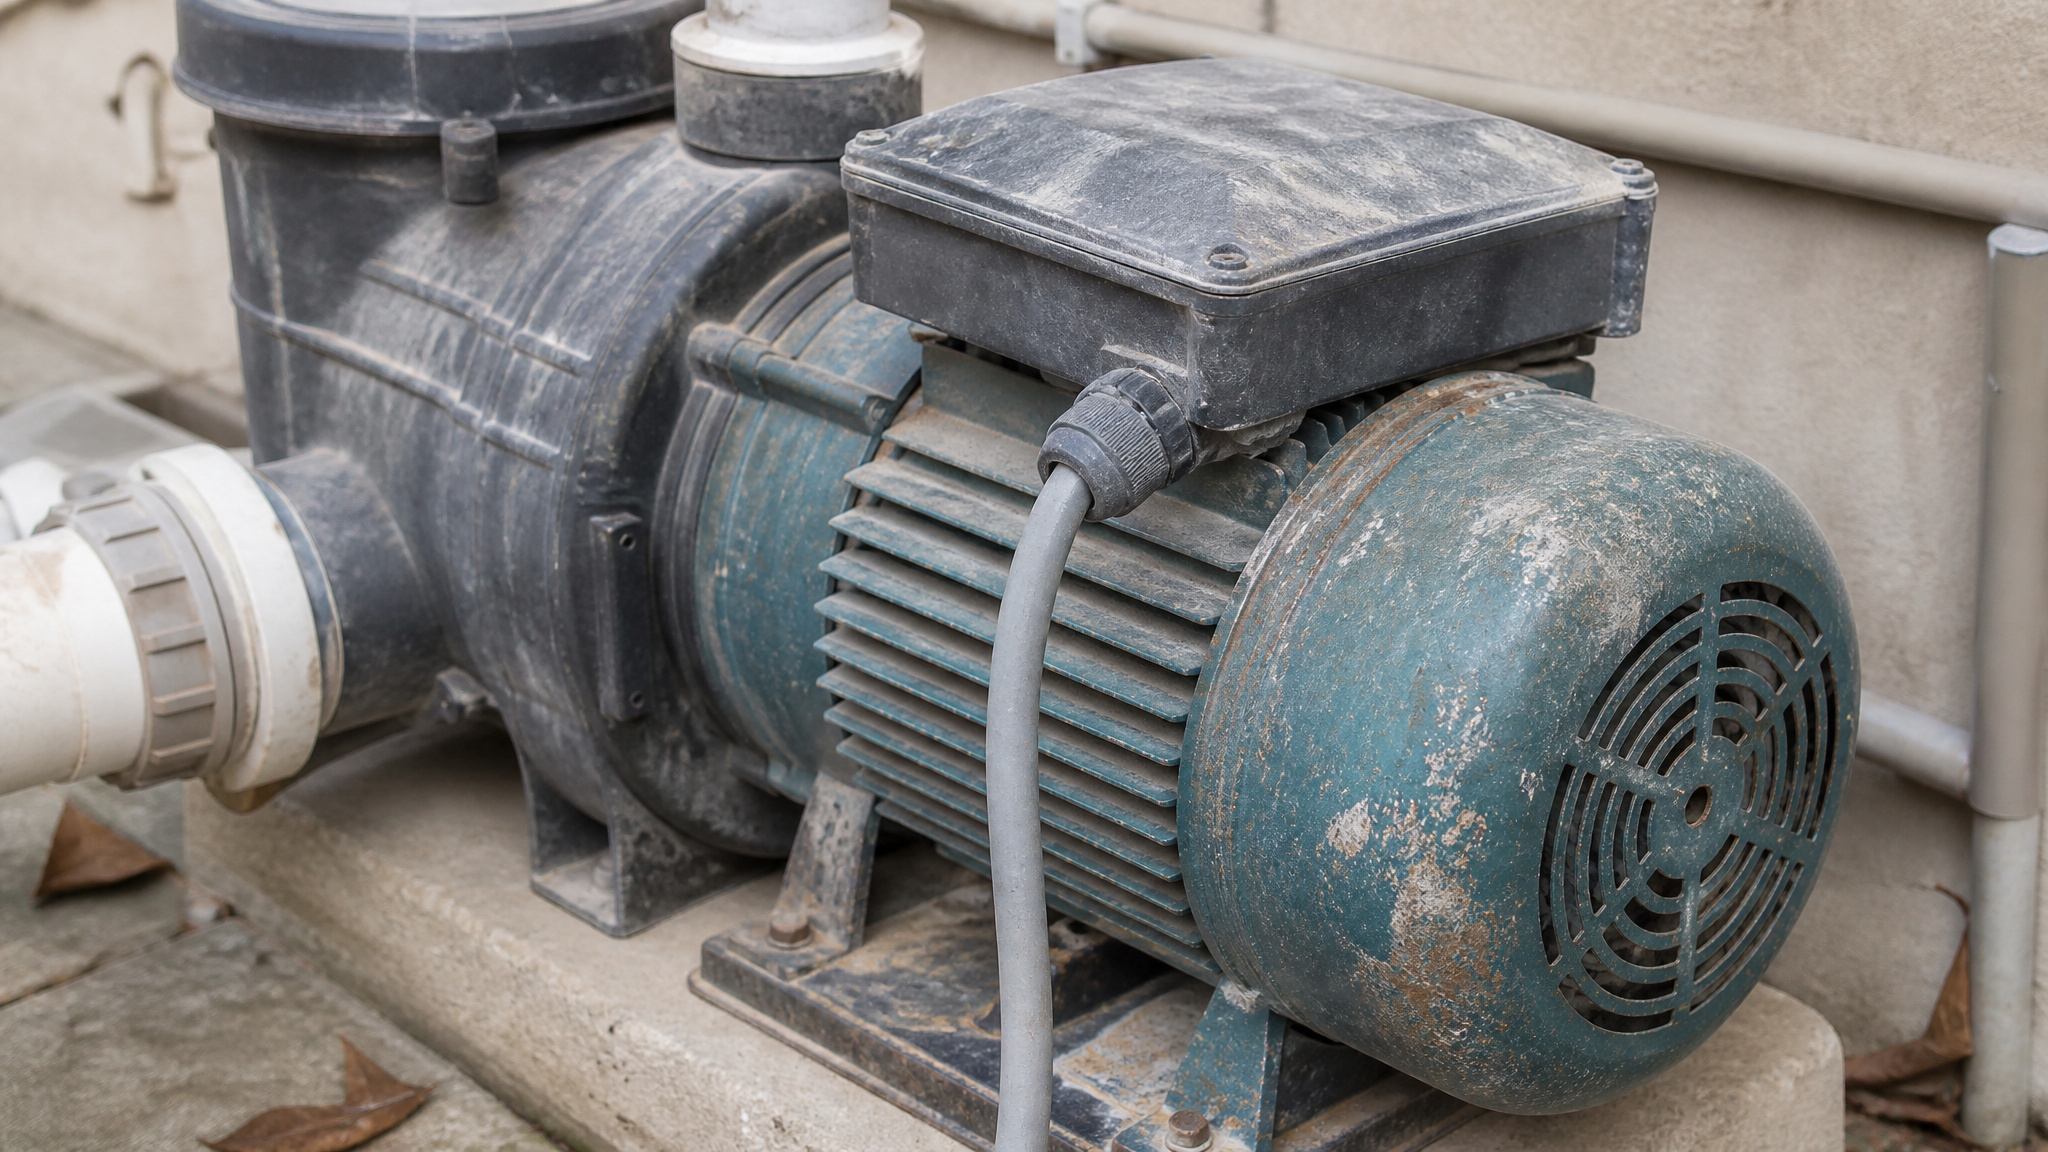
Your pool pump hums but won’t start because power reaches the motor while something blocks rotation. A humming pool pump usually points to three culprits: a failed start capacitor, a seized impeller or shaft, or insufficient amperage from a voltage drop.
The capacitor delivers the initial torque burst the motor needs to spin. When it fails, the motor energizes and hums but can’t start. Alternatively, debris, such as hair, pebbles, and leaves, can jam the impeller, locking the shaft mechanically.
Your pool pump won’t start because power’s present, but torque or free rotation isn’t. Diagnosing this correctly means isolating electrical faults from mechanical lockups, so you target the actual failure instead of guessing. Establishing an optimal pump schedule for summer is essential for maintaining pool clarity and efficiency. Adjusting pump times can significantly reduce energy costs while ensuring proper water circulation.
Reset the Breaker and Check Power First
Before you touch the motor, reset the circuit breaker by switching it fully off, then back on, since a tripped breaker is a common cause of a humming pump that won’t start. On 120V systems, inspect the GFCI outlet and press its reset button if it’s equipped. If the pump still hums, measure voltage at the motor terminals, you should read roughly 220 to 240V between hot legs on a 240V pump, or 110 to 120V from each hot leg to ground.
Reset the Breaker
Reset the breaker by heading to your electrical panel and locating the breaker serving the pool pump. Switch it fully off, then back on. A partial reset won’t clear the trip. This full cycle restores power and often resolves a pool pump humming not starting condition without any further intervention. On 120V systems, also press the reset button on the GFCI outlet if your setup includes one. Confirm the pump switch sits in the ON position before assuming deeper faults. If the breaker trips again immediately, stop here. Repeated tripping signals a pool pump not working due to an electrical fault requiring professional diagnosis.
Inspect GFCI Outlet
Inspect the GFCI outlet by locating it, pressing the reset button firmly until it clicks, and confirming the pump runs again. On 120V systems, the GFCI outlet often cuts power before you ever suspect it. This ground-fault protection trips at the first hint of leakage current, killing power to the pump even when the breaker looks fine. Locate the outlet feeding your pump and press the reset button firmly until it clicks. If it won’t reset or trips again immediately, you’re likely dealing with a genuine ground fault, moisture intrusion, damaged wiring, or a failing motor winding, not a nuisance trip.
After resetting, confirm the pump still hums before proceeding. A restored GFCI that holds means power’s flowing again, so you can rule out this stage. Repeated tripping signals a deeper electrical fault, and you’ll want an electrician to test insulation resistance before continuing your diagnostics.
Measure Motor Voltage
Measure motor voltage by setting your multimeter to AC voltage, then probe the motor terminals directly. With the GFCI holding and the pump still humming, you need to confirm the motor’s actually getting the voltage it demands. A hum with correct voltage points away from supply issues and toward the capacitor or a mechanical lockup.
- 240V systems: You should read roughly 220 to 240V between the two hot legs.
- 120V systems: Expect 110 to 120V from each hot leg to ground.
- Low or missing voltage: Check for blown fuses, loose connections, or damaged wiring feeding the motor.
- Insect intrusion: Inspect terminals for nests or corrosion that can interrupt delivery.
If readings sit outside these ranges, stop here and bring in an electrician before testing internal components.
Test Voltage at the Pool Pump Motor
Test voltage at the pool pump motor by placing your multimeter directly on the motor terminals. On a 240V pump, you should read roughly 220 to 240V between the two hot legs. On a 120V system, measure 110 to 120V from each hot leg to ground.
A pump often hums instead of spins when there’s inadequate voltage reaching the motor, even after the breaker’s reset and the switch is on. If your readings fall short, you’re dealing with a voltage drop, a loose connection, or an insufficient current supply from the panel. Inspect the terminals for damaged wiring or insect intrusion that could disrupt electrical delivery. A hum with correct voltage points toward a capacitor or mechanical issue instead. When voltage reads abnormally low, call an electrician to verify your panel and feed.
Clear Debris Stuck in the Pump Basket
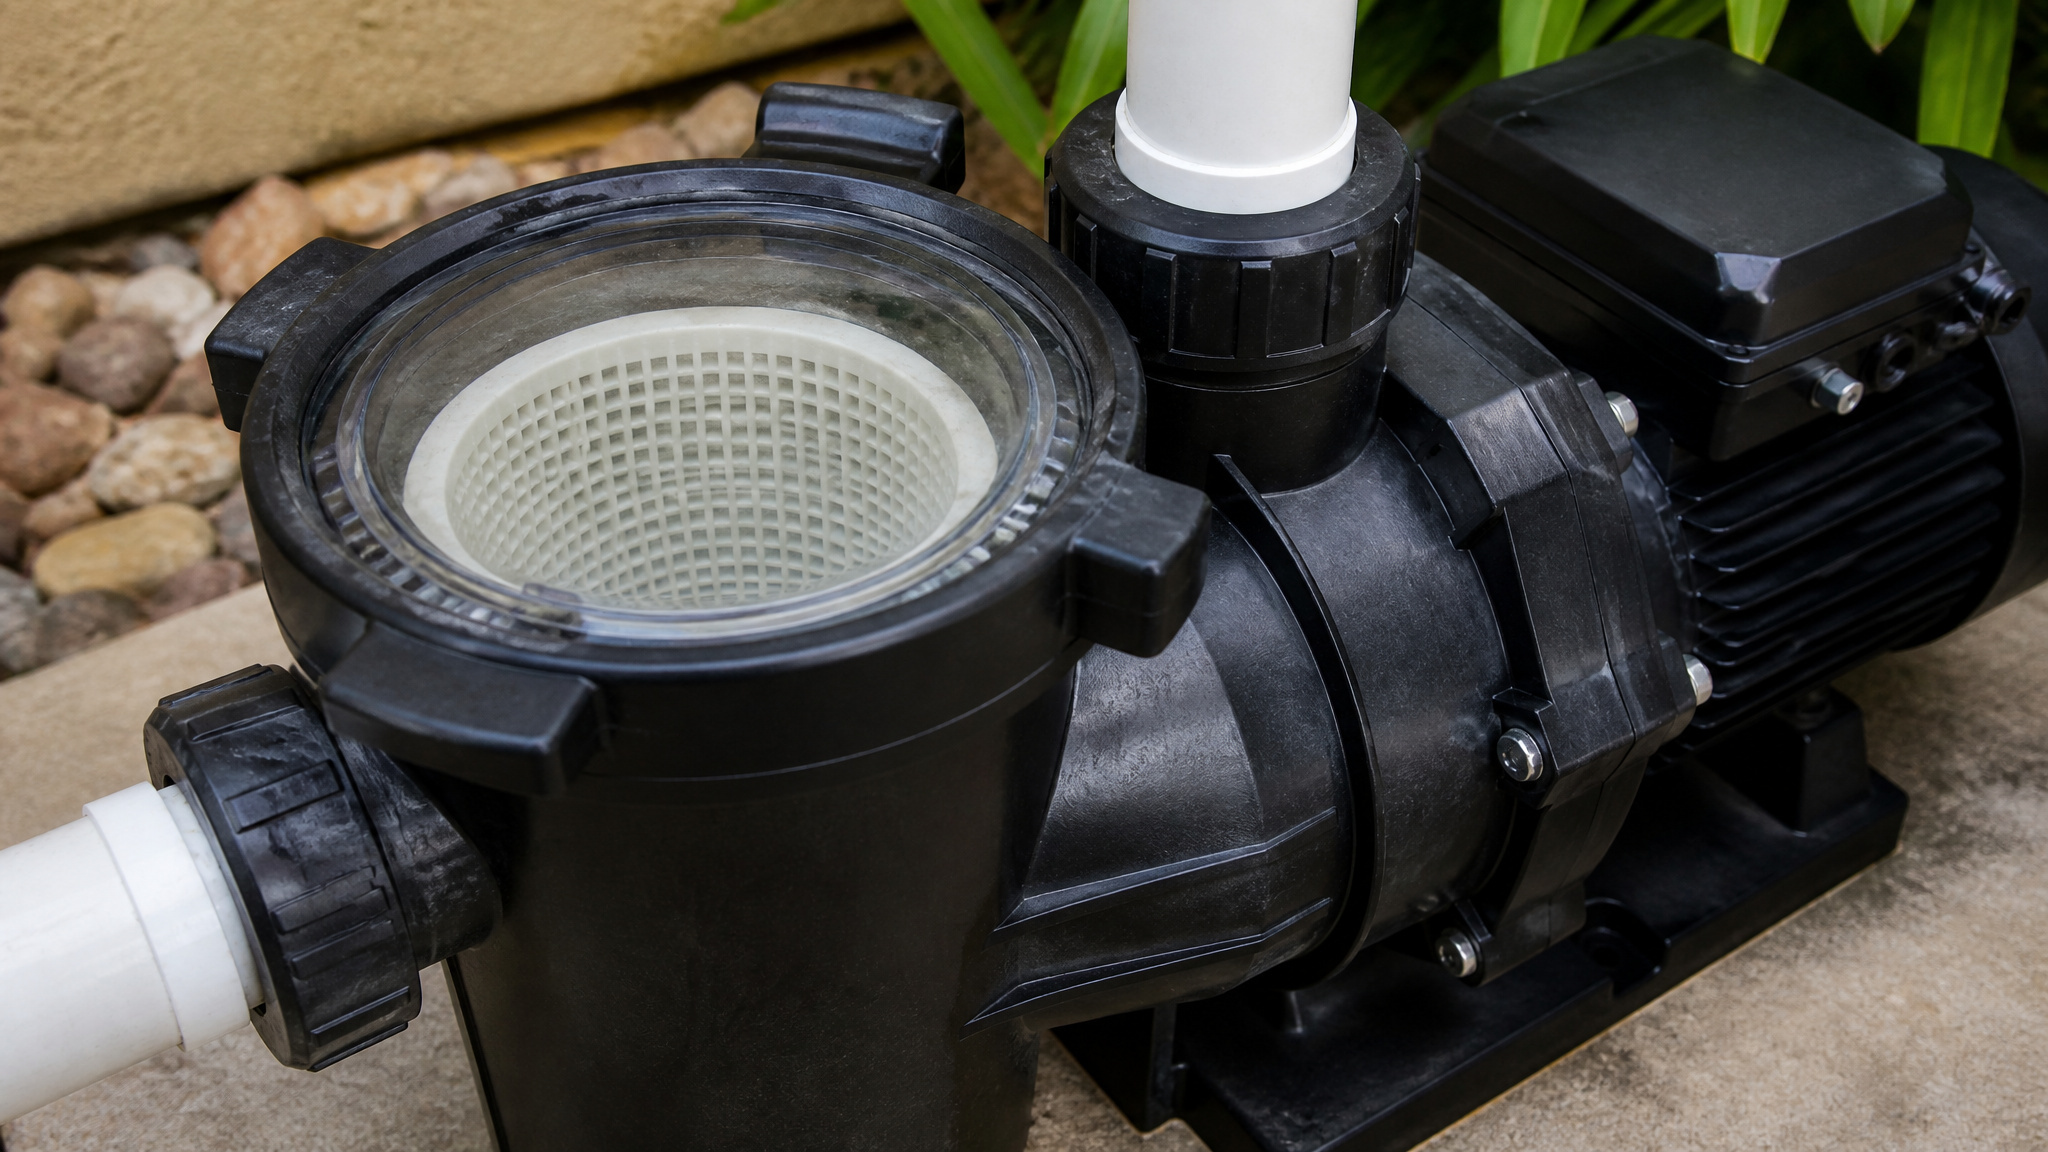
Clear debris stuck in the pump basket by turning off the power and removing the pump lid and basket to inspect the impeller area. Debris jamming the impeller stops startup while the motor keeps humming. Reach into the volute or the rear motor access point and try rotating the shaft or impeller by hand. If it won’t budge, a mechanical lockup is likely.
- Inspect for common culprits: hair, pebbles, leaves, or basket overflow lodged in the impeller vanes.
- Spin the shaft: a stiff shaft that breaks free suggests light corrosion or a temporary seize.
- Tap gently: use a rubber mallet as a temporary kick-start if the motor’s stuck.
- Clear the volute: remove any obstruction before restoring power and restarting.
Spin the Impeller to Rule Out a Jam
With power off, remove the pump lid and basket, then reach into the volute or rear motor access point to grab the shaft. Try spinning the impeller by hand, if it feels stiff and then breaks free, you’re dealing with light corrosion or a temporary seizure, but if it won’t budge, a jam is likely. Clear any hair, pebbles, or leaves lodged in the impeller before restoring power to confirm whether the mechanical lockup was the cause.
Access The Impeller
Access the impeller by opening the pump to reach it directly, which means clearing the strainer assembly and exposing the volute so you can inspect and rotate the shaft. Cut power at the breaker and confirm the pump can’t energize while your hands are near the impeller. Verify the circuit is dead before you continue.
- Remove the pump lid and lift out the strainer basket, checking for hair, pebbles, or leaves that overflowed the basket.
- Inspect the volute opening for debris packed against the impeller vanes.
- Locate the rear motor access point if the front approach is obstructed.
- Confirm no residual water pressure remains before reaching inside.
With the impeller accessible, you’re ready to test rotation manually.
Spin The Shaft
Spin the shaft by reaching into the volute or rear motor access point and try to rotate the shaft or impeller by hand. If it spins freely, you’ve ruled out a mechanical lockup, and you can move on to testing the capacitor. If the shaft feels stiff and then breaks free, you’re likely dealing with light corrosion or a temporarily seized motor. Feel for debris, hair, pebbles, leaves, or basket overflow can jam the impeller and stop startup completely. Clear anything you find before restarting.
When the shaft won’t budge, try a soft tap with a rubber mallet as a temporary kick-start method. This can free a stuck motor long enough to confirm the diagnosis. If it still won’t turn, suspect internal binding or bearing failure.
Clear Jamming Debris
Clear jamming debris by hunting down whatever’s obstructing the impeller. With power off, remove the pump lid and strainer basket to expose the volute. Reach into the impeller area and clear anything obstructing the vanes. Basket overflow often lets debris bypass into the impeller, so inspect thoroughly.
- Hair and fibrous debris, Wrap-around material binds the impeller vanes; pull it free by hand.
- Pebbles and grit, Small stones lodge between vanes and the volute wall, locking rotation.
- Leaves and organic matter, Compacted debris jams the intake path and stalls startup.
- Basket fragments, Broken or overflowed basket pieces migrate into the impeller housing.
After clearing, retry spinning the shaft to confirm free rotation.
Is Your Start Capacitor the Problem?
Your start capacitor may be the problem if your motor hums but refuses to spin. It provides the initial torque to get the motor turning, so when it dies, the motor hums but can’t start.
First, cut power and safely discharge the capacitor before handling it. Set your multimeter to µF mode and test the capacitance. Compare your reading against the value printed on the label. One source recommends replacement when readings fall 20% or more below the rating; another flags anything more than 10% off.
Don’t ignore physical evidence. Bulging, leaking, or burn marks all confirm a bad capacitor. If your shaft spins freely but the motor still won’t start, the capacitor’s your most likely suspect.
Test and Replace the Capacitor
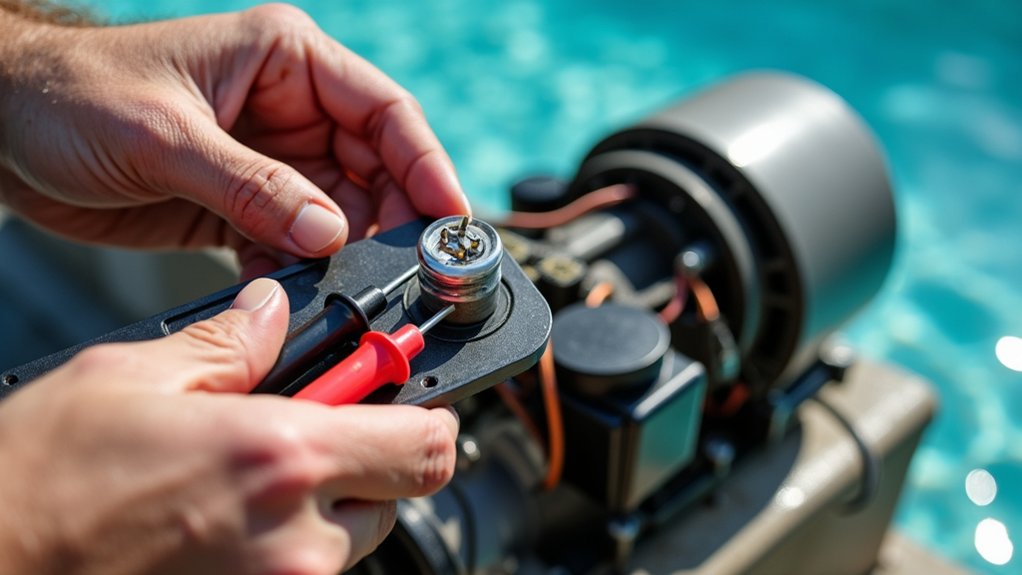
To test and replace a capacitor, kill power at the breaker, discharge the component, then set a multimeter to µF mode and read the capacitance directly. Compare that reading against the printed rating on the capacitor’s label to gauge whether it’s still within spec.
- Set your multimeter to µF mode and probe the discharged capacitor’s terminals.
- Record the reading and compare it to the rated value on the label.
- Replace it if the reading falls 20% or more below rated capacitance; some sources flag anything more than 10% off.
- Inspect for bulging, leaking, or burn marks that confirm failure.
If the numbers or physical signs point to failure, swap in a matching replacement.
Re-Prime a Pool Pump That Lost Suction
To re-prime a pool pump that lost suction, remove the pump lid and fill the strainer housing completely with water. This purges air from the basket and volute, restoring the flow path. A pool pump that’s lost prime often hums without moving water, since it can’t pull suction against an air-filled housing. Check the water level first; if it’s below the skimmer, trapped air keeps the pump from priming. Confirm the diverter or main drain valve position before restarting, since a misaligned valve blocks suction. Reseat the lid with a properly seated O-ring to prevent air intrusion. Restart the pump and watch for water returning to the strainer box and relief valve. After you see steady flow, close the valve and confirm the pump holds prime under normal operation.
Check Motor Windings With an Ohmmeter
Check motor windings with an ohmmeter to evaluate the internal circuitry when capacitor and power checks don’t resolve the hum. A defective winding often explains why a motor draws power yet only hums instead of starting. Kill power at the breaker and discharge any capacitor.
- Set your multimeter to ohms and probe the motor terminals to read winding resistance across each circuit.
- Compare readings against the motor’s specifications; wildly high or infinite values suggest an open winding.
- Check for continuity to the motor frame, which indicates a shorted or grounded winding.
- Inspect terminals for insect intrusion or damaged connections that skew results.
If tests confirm internal failure, plan for motor repair or replacement.
When to Call an Electrician or Pro
Call an electrician or pump technician when winding tests reveal open, shorted, or grounded circuits, since these push the job past routine field fixes and into professional territory. If your ohmmeter flags defective motor circuitry, stop and call a pump technician. That motor likely needs repair or replacement, not another field attempt. Bring in a licensed electrician when the breaker trips repeatedly, since recurring trips signal a fault beyond a single reset. Abnormal voltage readings warrant the same call. If you’re not measuring roughly 220 to 240V between hot legs, or 110 to 120V per leg to ground, the panel or utility feed needs professional verification. An electrician can confirm whether the pump’s drawing adequate current or suffering a voltage drop. When power checks, capacitor tests, and winding measurements all point inward, hand it off.
Conclusion: A Humming, No-Start Pump
A pump that hums but will not spin is almost always telling you the motor is getting power but cannot turn, and a failed start capacitor is the usual culprit. Shut it off quickly so the humming does not cook the motor, then check the capacitor, the shaft, and for debris. Catch it early and the fix is often a cheap part rather than a whole new motor.
Shop Reliable Pool Pumps at Discount Prices
Whether you’re replacing an old pump or upgrading to a more energy-efficient model, quality matters for lasting performance. Shop Prime Pool Market for reliable Pool Pumps at discount prices delivered right to your door. Call (877) 650-7665 today or browse our shop and save on every purchase.
Frequently Asked Questions
How Long Can a Pool Pump Safely Hum Before Damage Occurs?
Only a few seconds. A humming motor is drawing power but not turning, which builds heat fast and can burn out the windings. Switch it off right away rather than letting it strain. Leaving it humming for even a minute or two risks turning a cheap capacitor repair into a full motor replacement.
How Much Does It Cost to Replace a Pool Pump Motor?
A replacement motor typically runs 150 to 400 dollars for the part, plus labor if you hire it out, which can bring the total to 400 or more. Often the real issue is just the start capacitor, a much cheaper fix. Diagnosing the exact cause first can save you from replacing the whole motor unnecessarily.
Can I Run My Pool Pump in Cold or Freezing Weather?
In mild climates a pump runs fine in cold weather, and running it actually helps prevent freezing in the pipes. In hard freezes the concern is water freezing inside the pump housing, which can crack it. If a real freeze is coming, either keep the water moving or properly winterize the equipment.
How Often Should I Replace My Pool Pump’s Start Capacitor?
There is no set schedule; you replace it when it fails. Capacitors commonly last five to ten years, and heat is their main enemy. A pump that hums, struggles to start, or trips out is often signaling a worn capacitor. Since it is an inexpensive part, replacing it at the first sign of trouble is worthwhile.
What Is the Average Lifespan of a Pool Pump Motor?
A well-maintained pool pump motor generally lasts eight to twelve years. Good water chemistry, protection from the elements, and prompt repair of small issues like a weak capacitor all extend its life. Motors that run hot, sit in standing water, or get neglected tend to fail earlier, sometimes well before that range.