
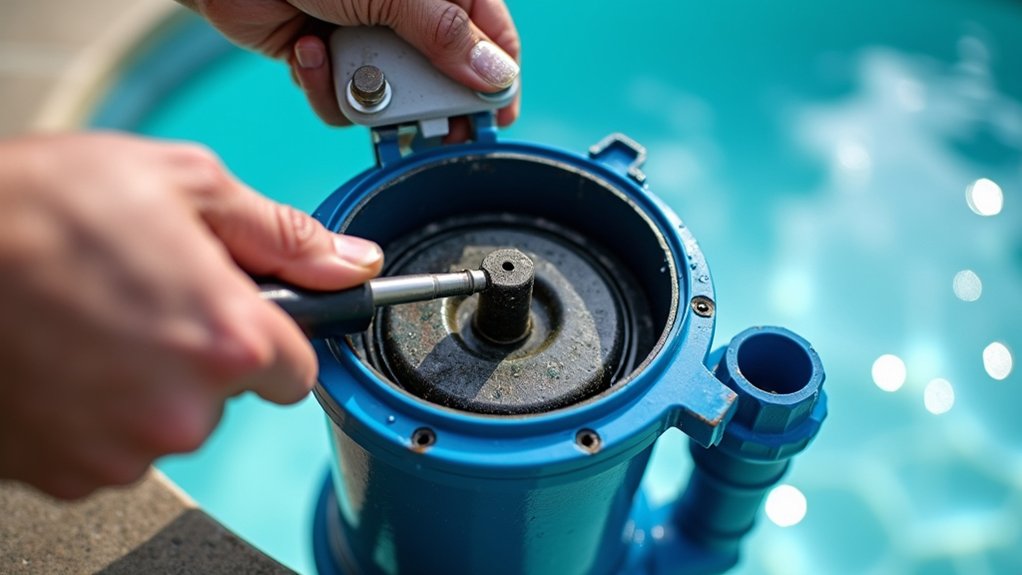
To change your pool filter sand properly, first cut power at the breaker and relieve pressure until the gauge reads zero. Drain the tank, then remove the top assembly or multiport valve. Scoop out old sand gently with cups or a shop vac to protect the laterals. Inspect laterals, standpipe, and tank for cracks. Pour new sand evenly, reassemble, then backwash and rinse. Below, you’ll find each step explained in full detail.
Key Takeaways
- Recognize failure signs like persistently cloudy water, rising clean pressure, or shortened backwash cycles before deciding to change the sand.
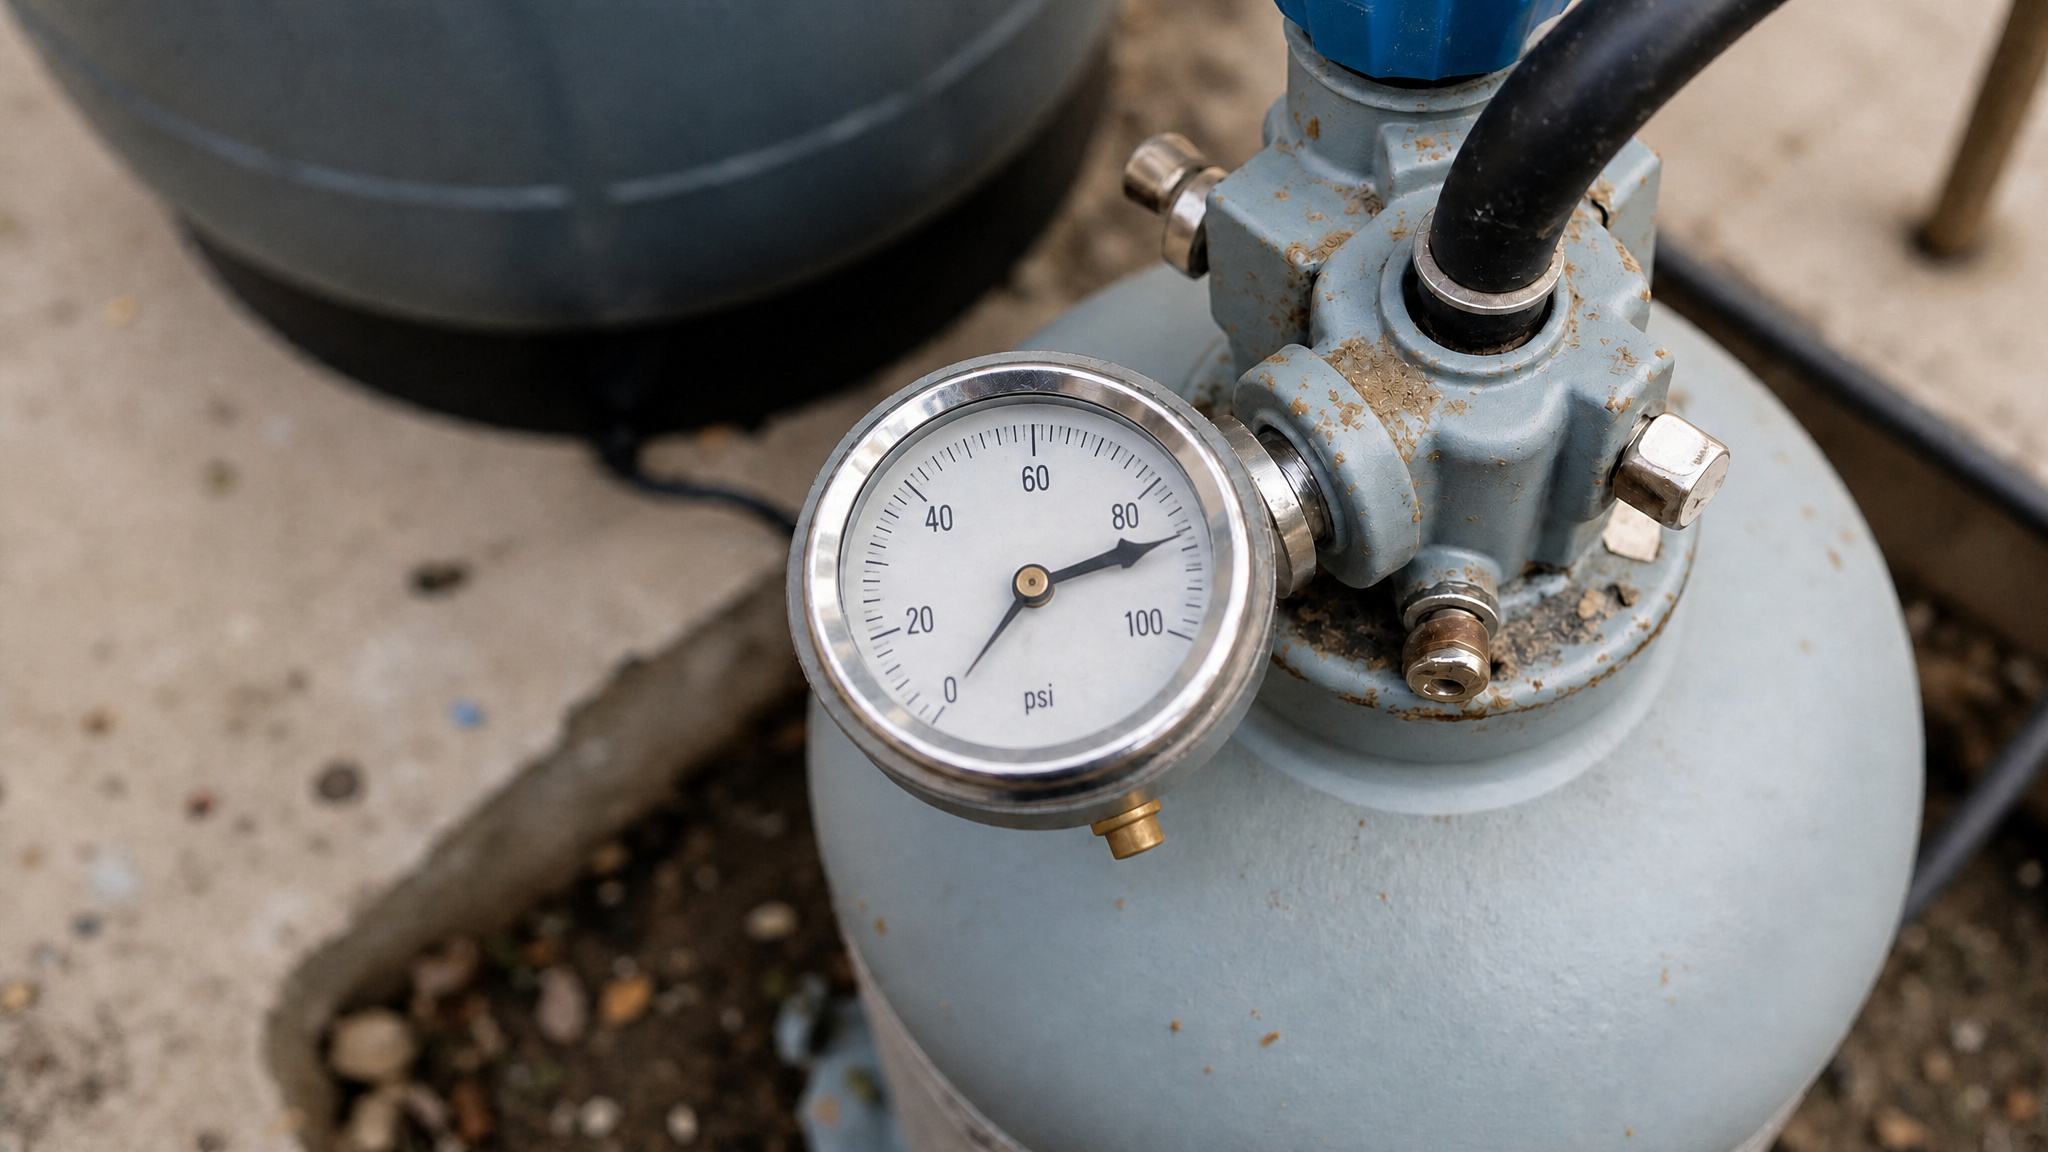
- Shut off the pump, disconnect power at the breaker, relieve pressure, and confirm the gauge reads zero before opening the filter.
- Drain the tank, remove the top assembly, and vacuum out old sand gradually to protect the laterals from damage.
- Inspect laterals, standpipe, hub, and tank walls for cracks, then pour new sand slowly around a centered standpipe.
- Reassemble carefully, backwash then rinse until water runs clear, return to Filter, and record the clean starting pressure.
Spot the Signs Your Filter Sand Is Failing
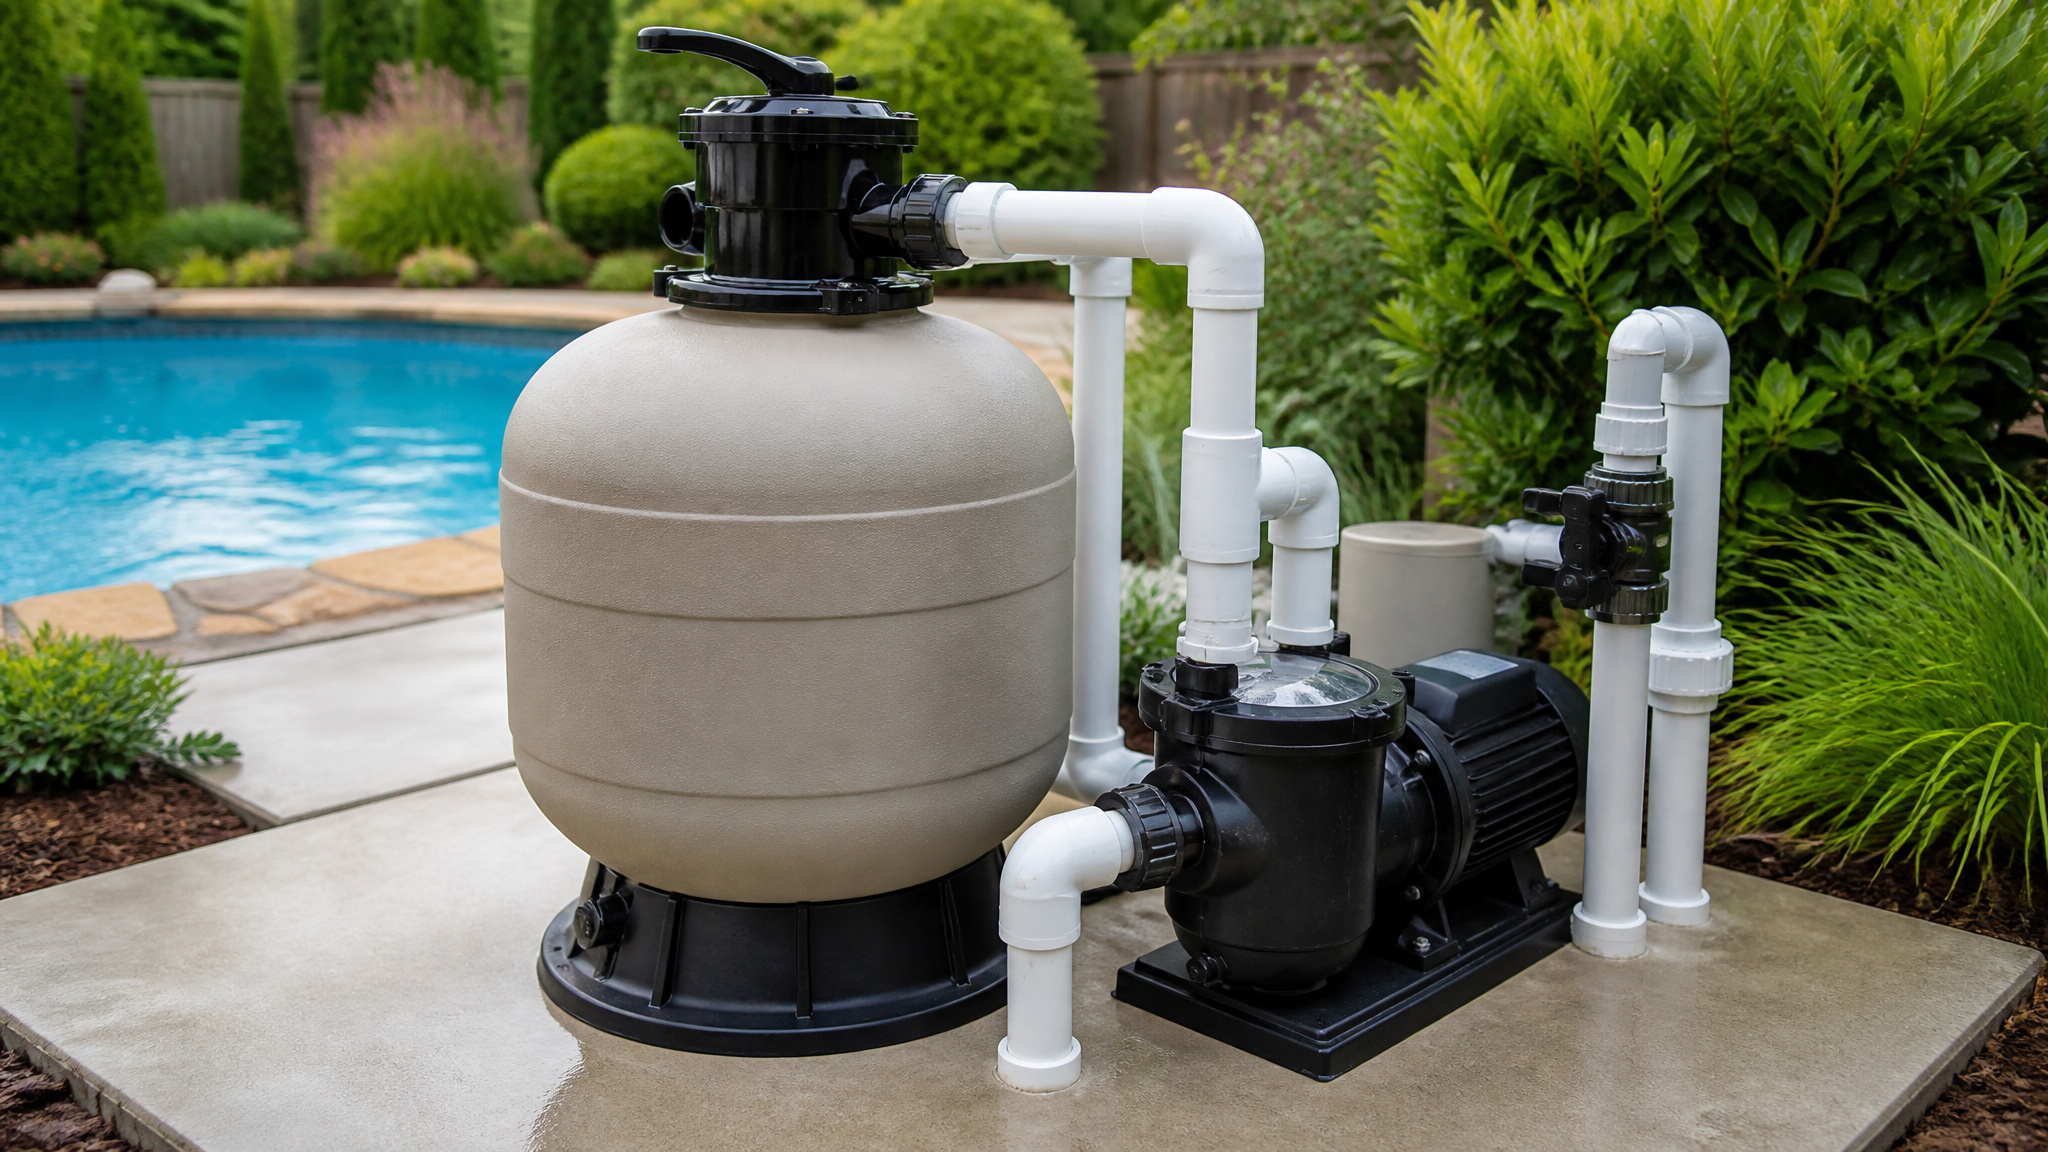
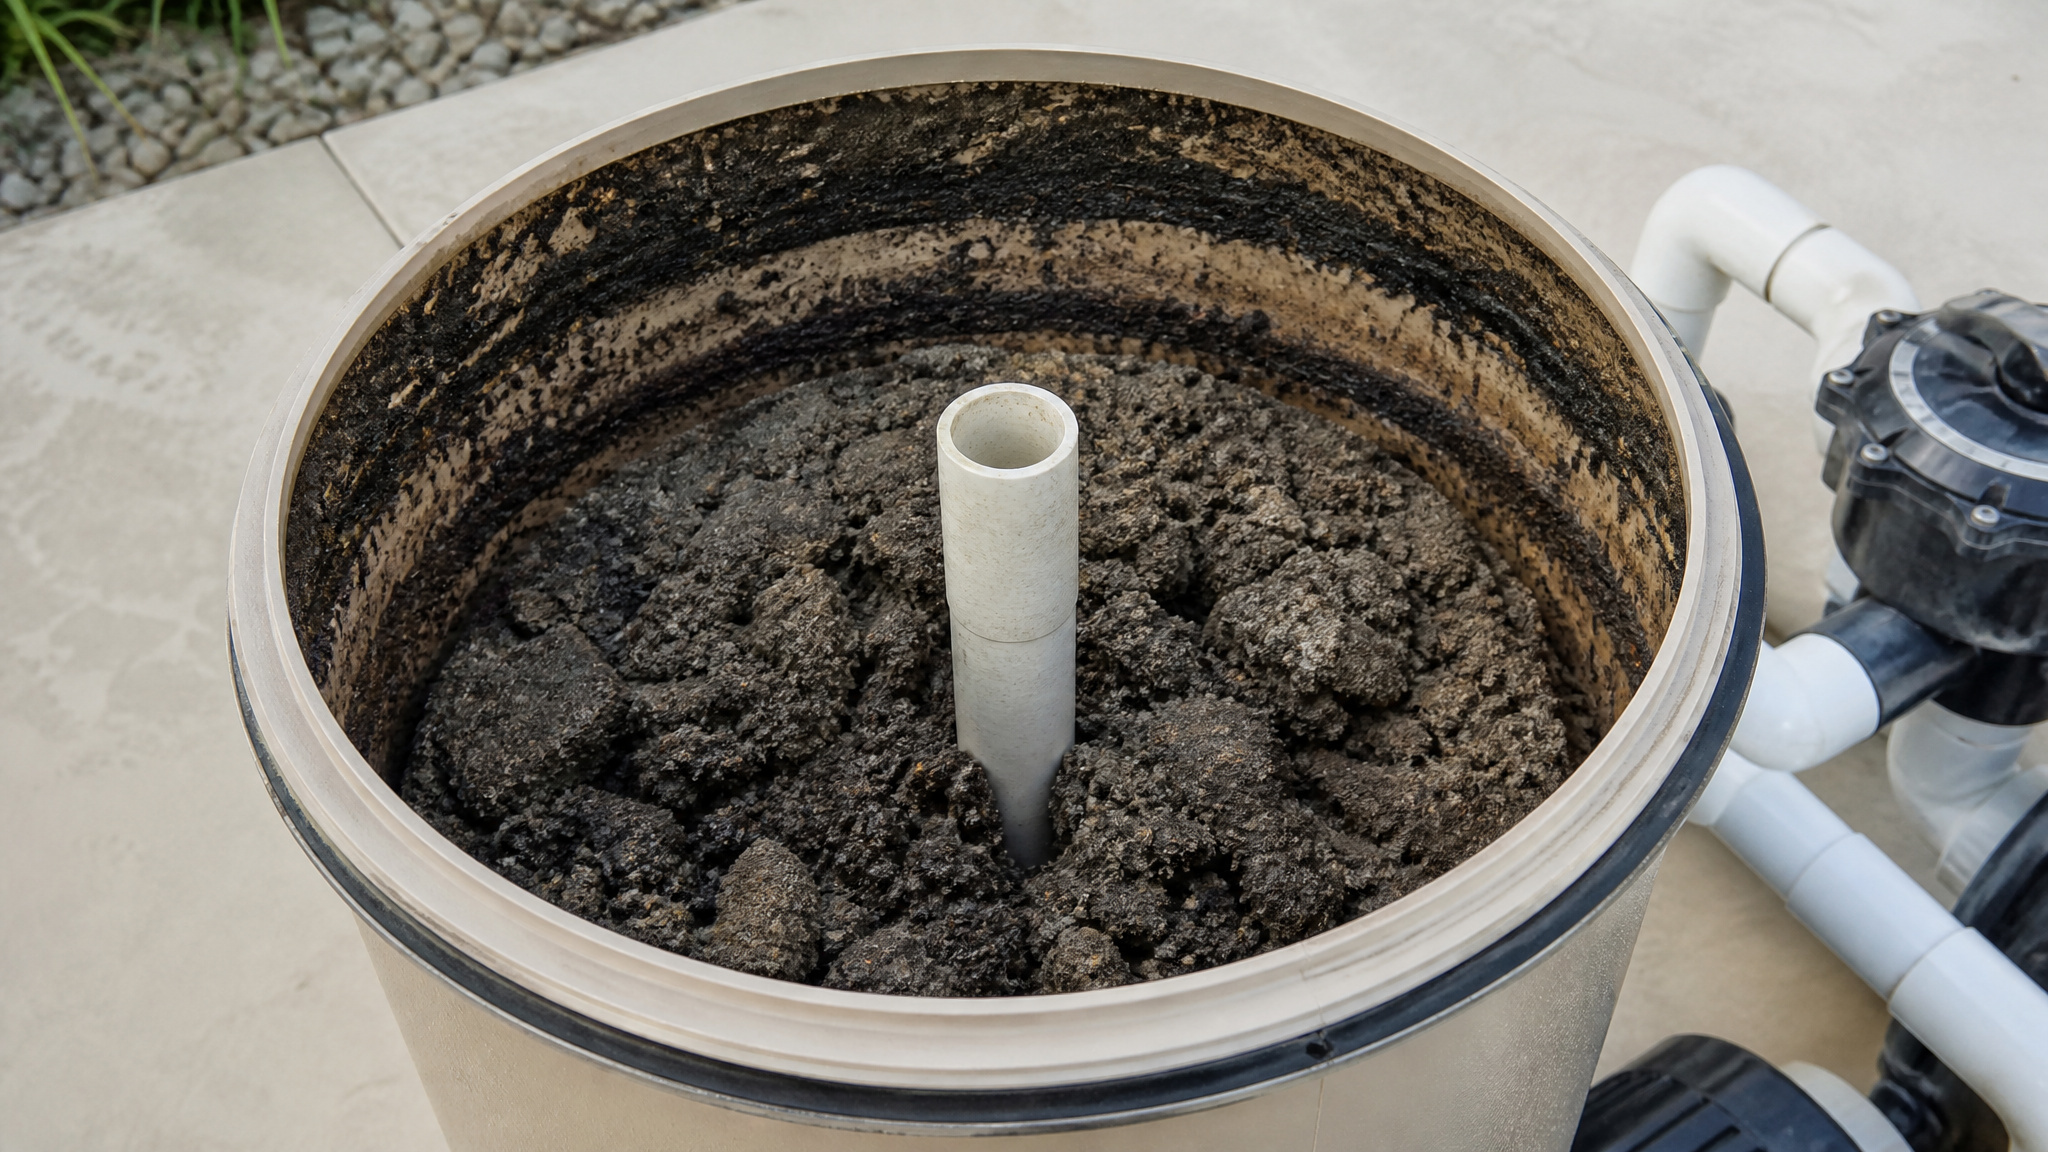
Filter sand fails when sharp grains wear smooth and lose their ability to trap debris, forcing you to schedule a pool filter sand replacement. Watch for cloudy water that won’t clear despite balanced chemistry, since that’s a primary indicator. Track your pressure gauge during pool filter maintenance: if the clean starting pressure climbs and backwashing no longer restores normal flow, the media has channeled or clogged. Notice sand blowing back into the pool, which signals cracked laterals alongside spent media. Shortened cycles between backwashes also point to a needed sand filter change. Typically, you’ll perform this every three to five years, depending on usage and water conditions.
Shut Off the Pump and Relieve Filter Pressure Safely
Shut off the pump and disconnect electrical power at the breaker, not just the timer or switch, to relieve filter pressure safely. This prevents accidental startup while you change pool filter sand.
Next, relieve internal pressure. Open the air relief valve or drain the tank before loosening any parts. Confirm the pressure gauge reads zero, then close the inlet and outlet valves to isolate the filter from the circulation system.
| Safety Step | Purpose |
|---|---|
| Kill breaker power | Prevents accidental pump startup |
| Open air relief | Releases trapped internal pressure |
| Verify gauge at zero | Confirms safe opening |
These precautions protect you before replacing pool filter sand safely and correctly.
Drain the Tank and Open Your Sand Filter
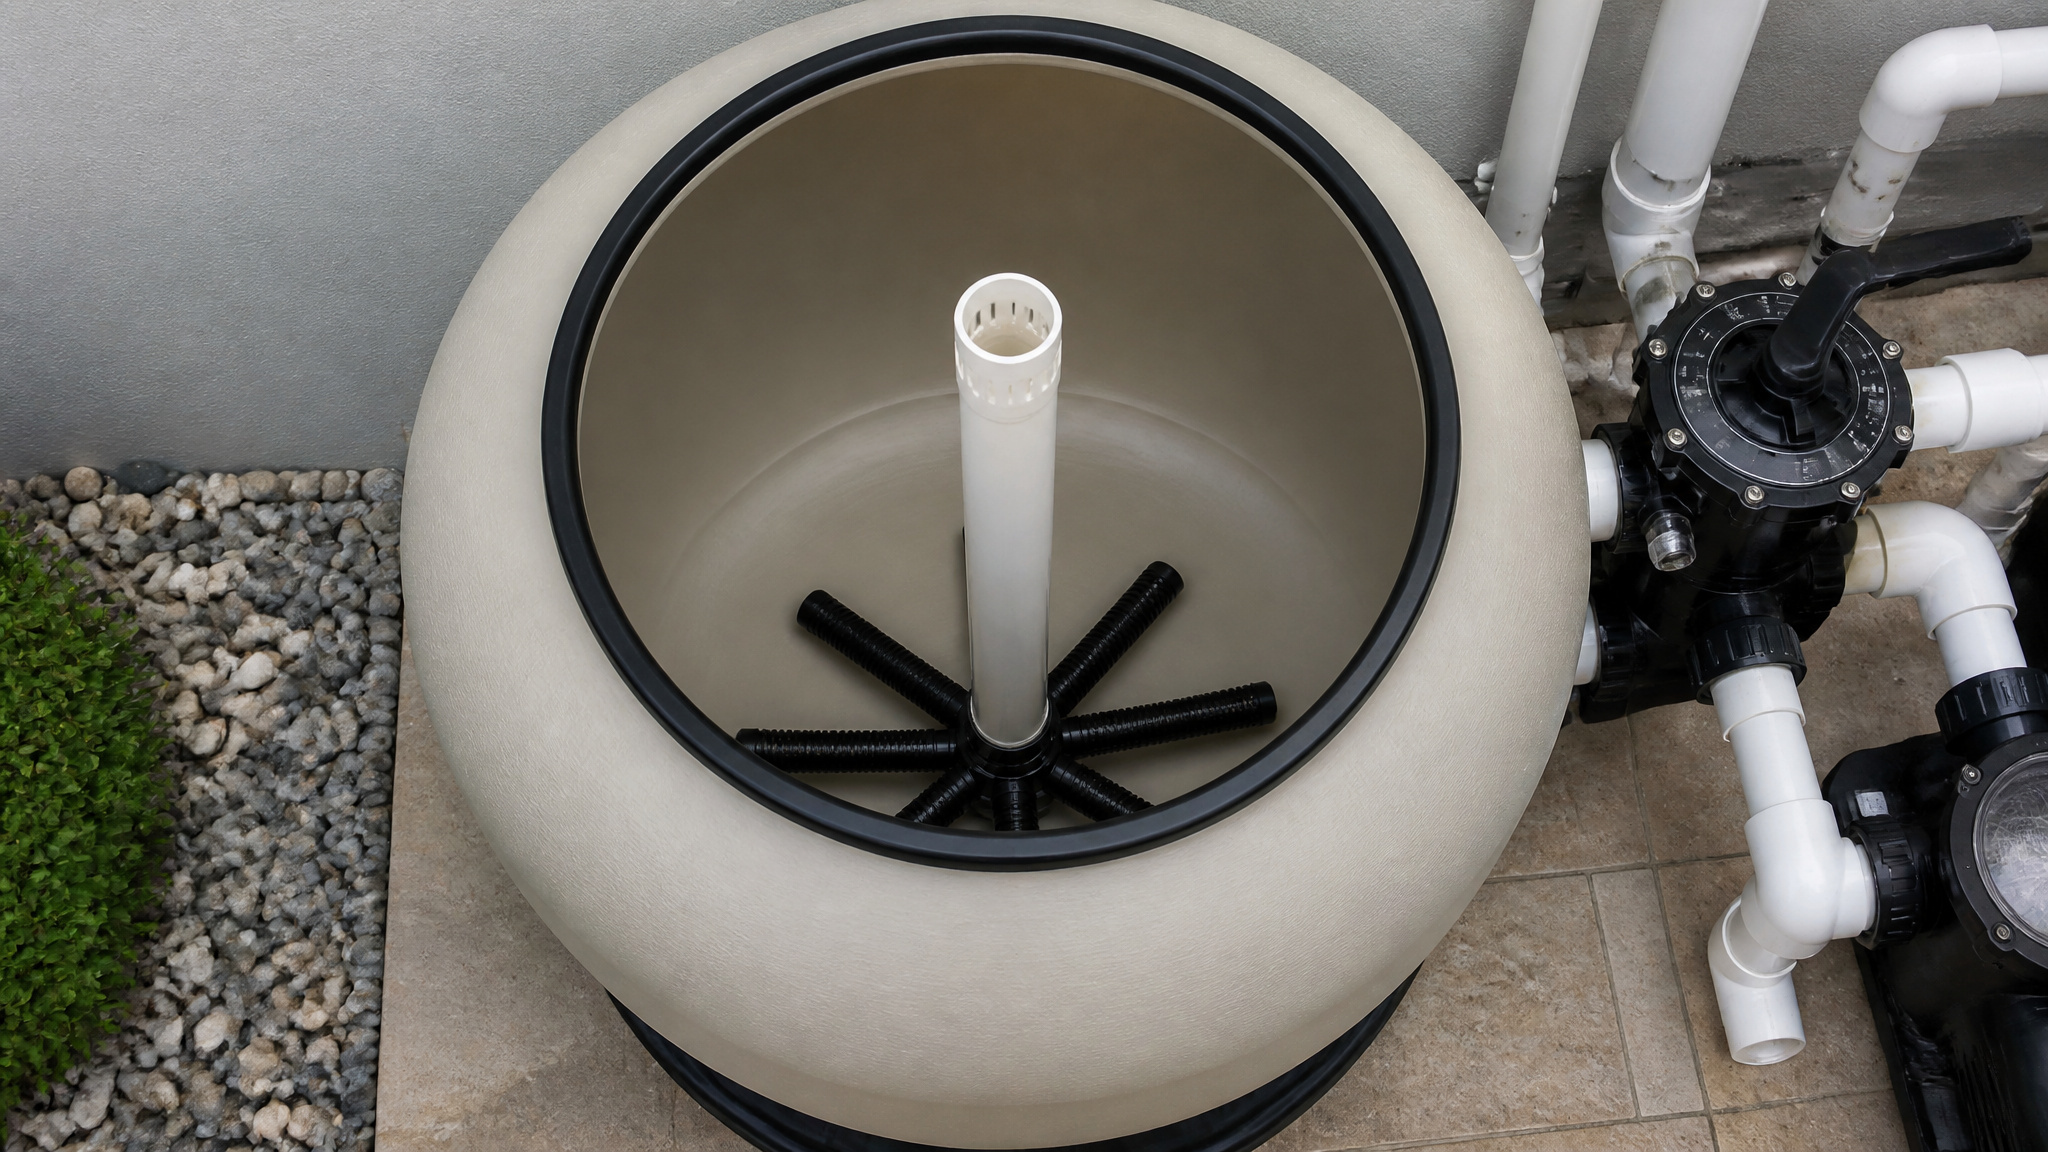
To drain the tank and open your sand filter, turn off the power, relieve the pressure, and remove the bottom drain cap or plug to allow water to exit the tank. Expect a brief release of air pressure as the cap loosens, so stand clear and let the flow settle. Once the tank drains, remove the filter cover, top assembly, or multiport valve according to your filter’s design. Work methodically, and keep track of gaskets, seals, and drain parts as you disassemble; losing or misplacing them complicates reassembly.
Inspect each component as you go. If you find a cracked drain cap or worn seal, set it aside and replace it before you rebuild the filter. Handling disassembly carefully now prevents leaks later and ensures every part seats correctly when you reassemble the tank.
Scoop Out Old Sand Without Cracking Laterals
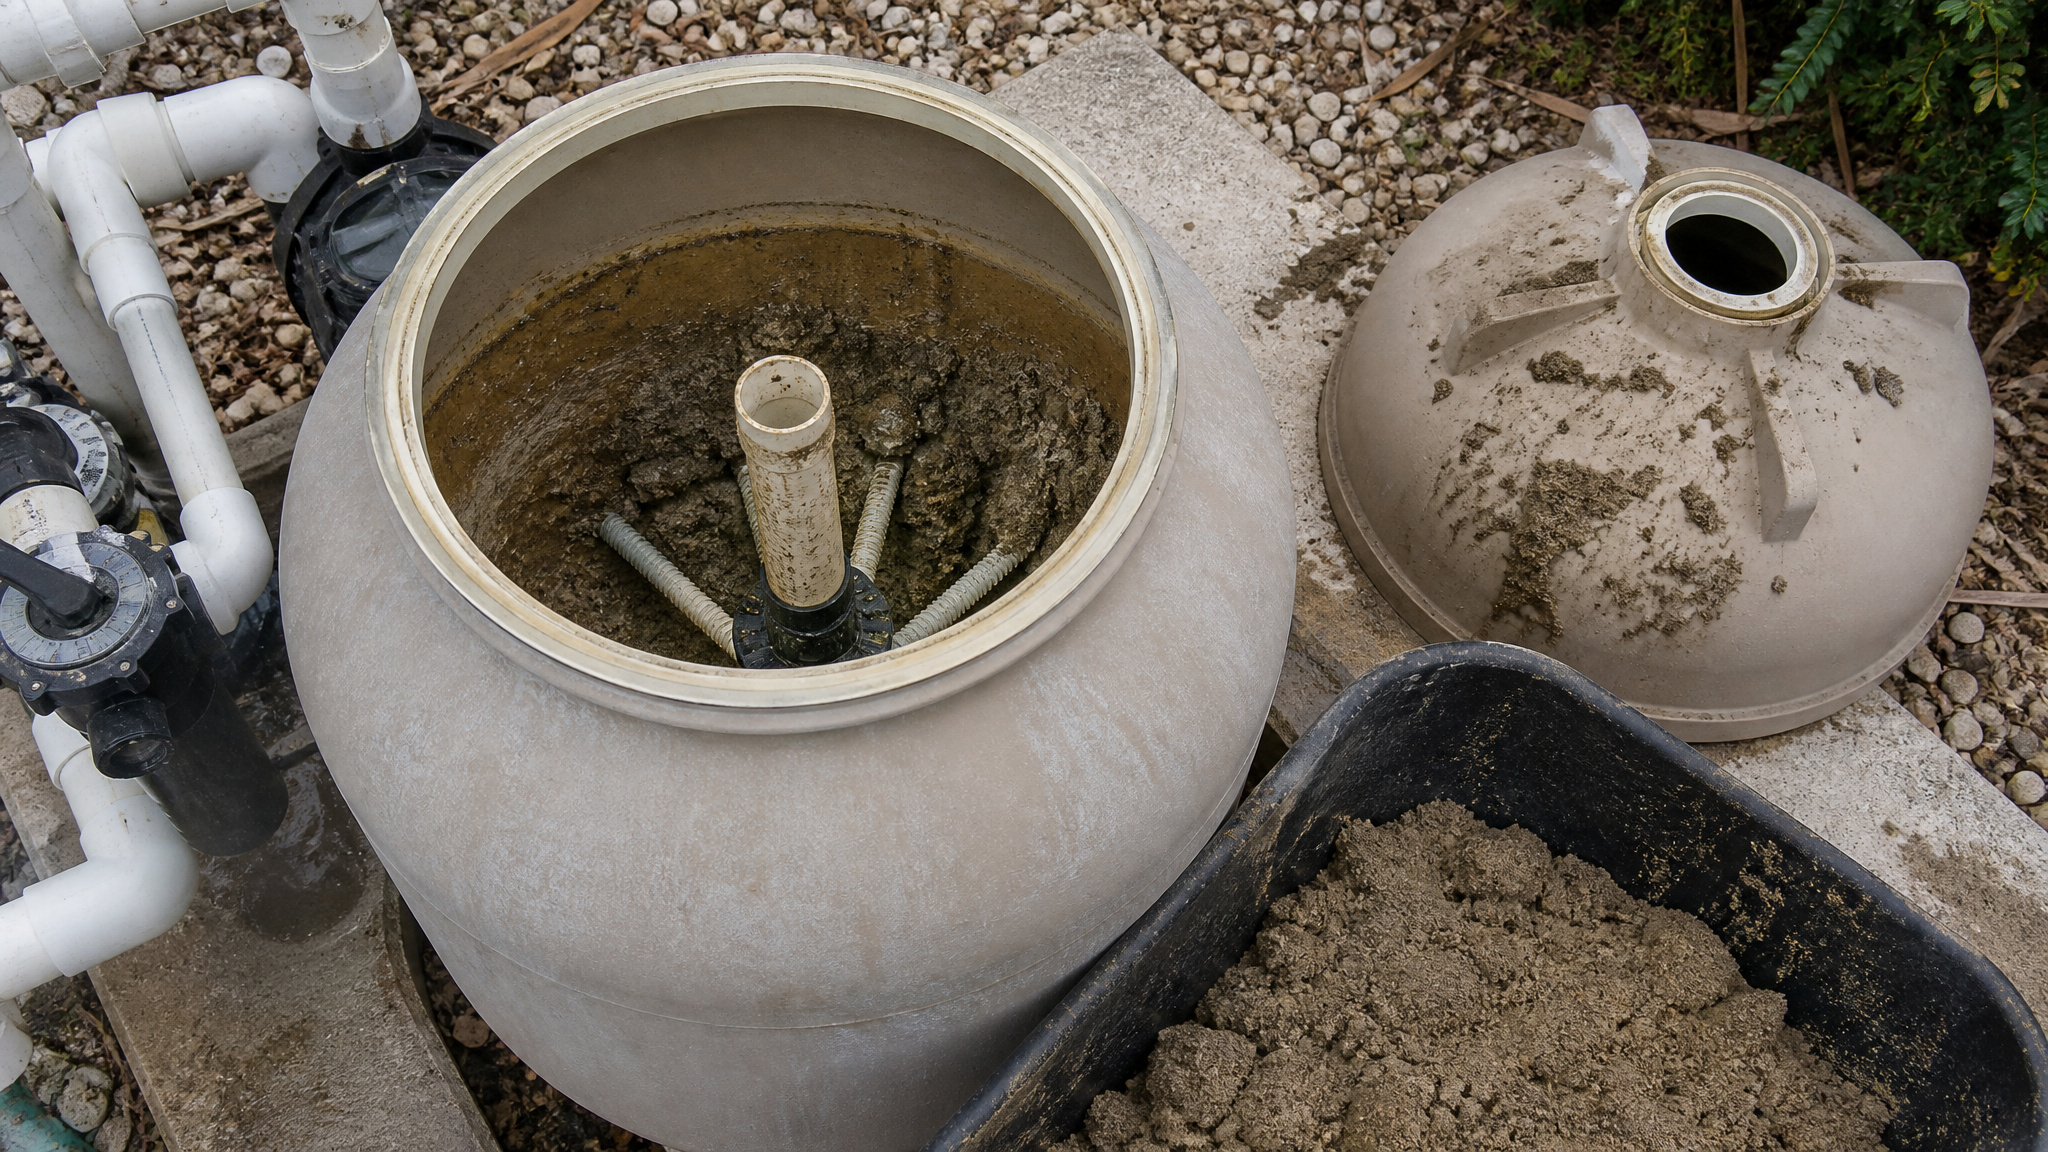
With the tank open, remove all old sand using a plastic cup, scoop, or wet/dry vacuum, since these gentle tools won’t crack the fragile laterals at the bottom. Work carefully as you clear the media, gradually exposing the laterals as you approach the base of the tank. Once they’re visible, protect them from impact and continue removing residue without prying or striking the standpipe or hub.
Gentle Sand Removal Tools
Gentle sand removal tools include a plastic cup or scoop and a wet/dry vacuum or shop vac. Because the laterals sitting at the bottom of the tank crack easily under impact, you’ll want to reach for these gentle removal tools rather than anything rigid or sharp. Start with a plastic cup or scoop to lift out the bulk of the old sand. These flexible tools won’t gouge or fracture the laterals the way a metal shovel or trowel would. After you’ve removed most of the sand, switch to a wet/dry vacuum or shop vac to pull the remaining media from around the laterals. Work slowly and keep the nozzle clear of the lateral arms. Your goal is to expose the laterals at the bottom of the tank fully, so you can inspect them for cracks before cleaning finishes.
Exposing And Protecting Laterals
Expose the laterals by clearing the remaining sand gently after you’ve removed the bulk of the old sand with your scoop and vacuum. The laterals branch out from the hub at the bottom of the tank, and you must work carefully here, because these thin, slotted arms crack easily under impact from a scoop’s edge. Clear the remaining sand gently until you fully expose each lateral, then rinse the inside walls to flush away residue. With the laterals visible, inspect them along with the standpipe, hub, and tank for cracks or damage, and replace any broken laterals before you go further. Next, protect the standpipe by covering it with tape or a cap so sand can’t fall inside during refilling. Keep the standpipe centered, which supports even sand distribution and shields the laterals from direct impact.
Inspect the Laterals, Standpipe, and Tank
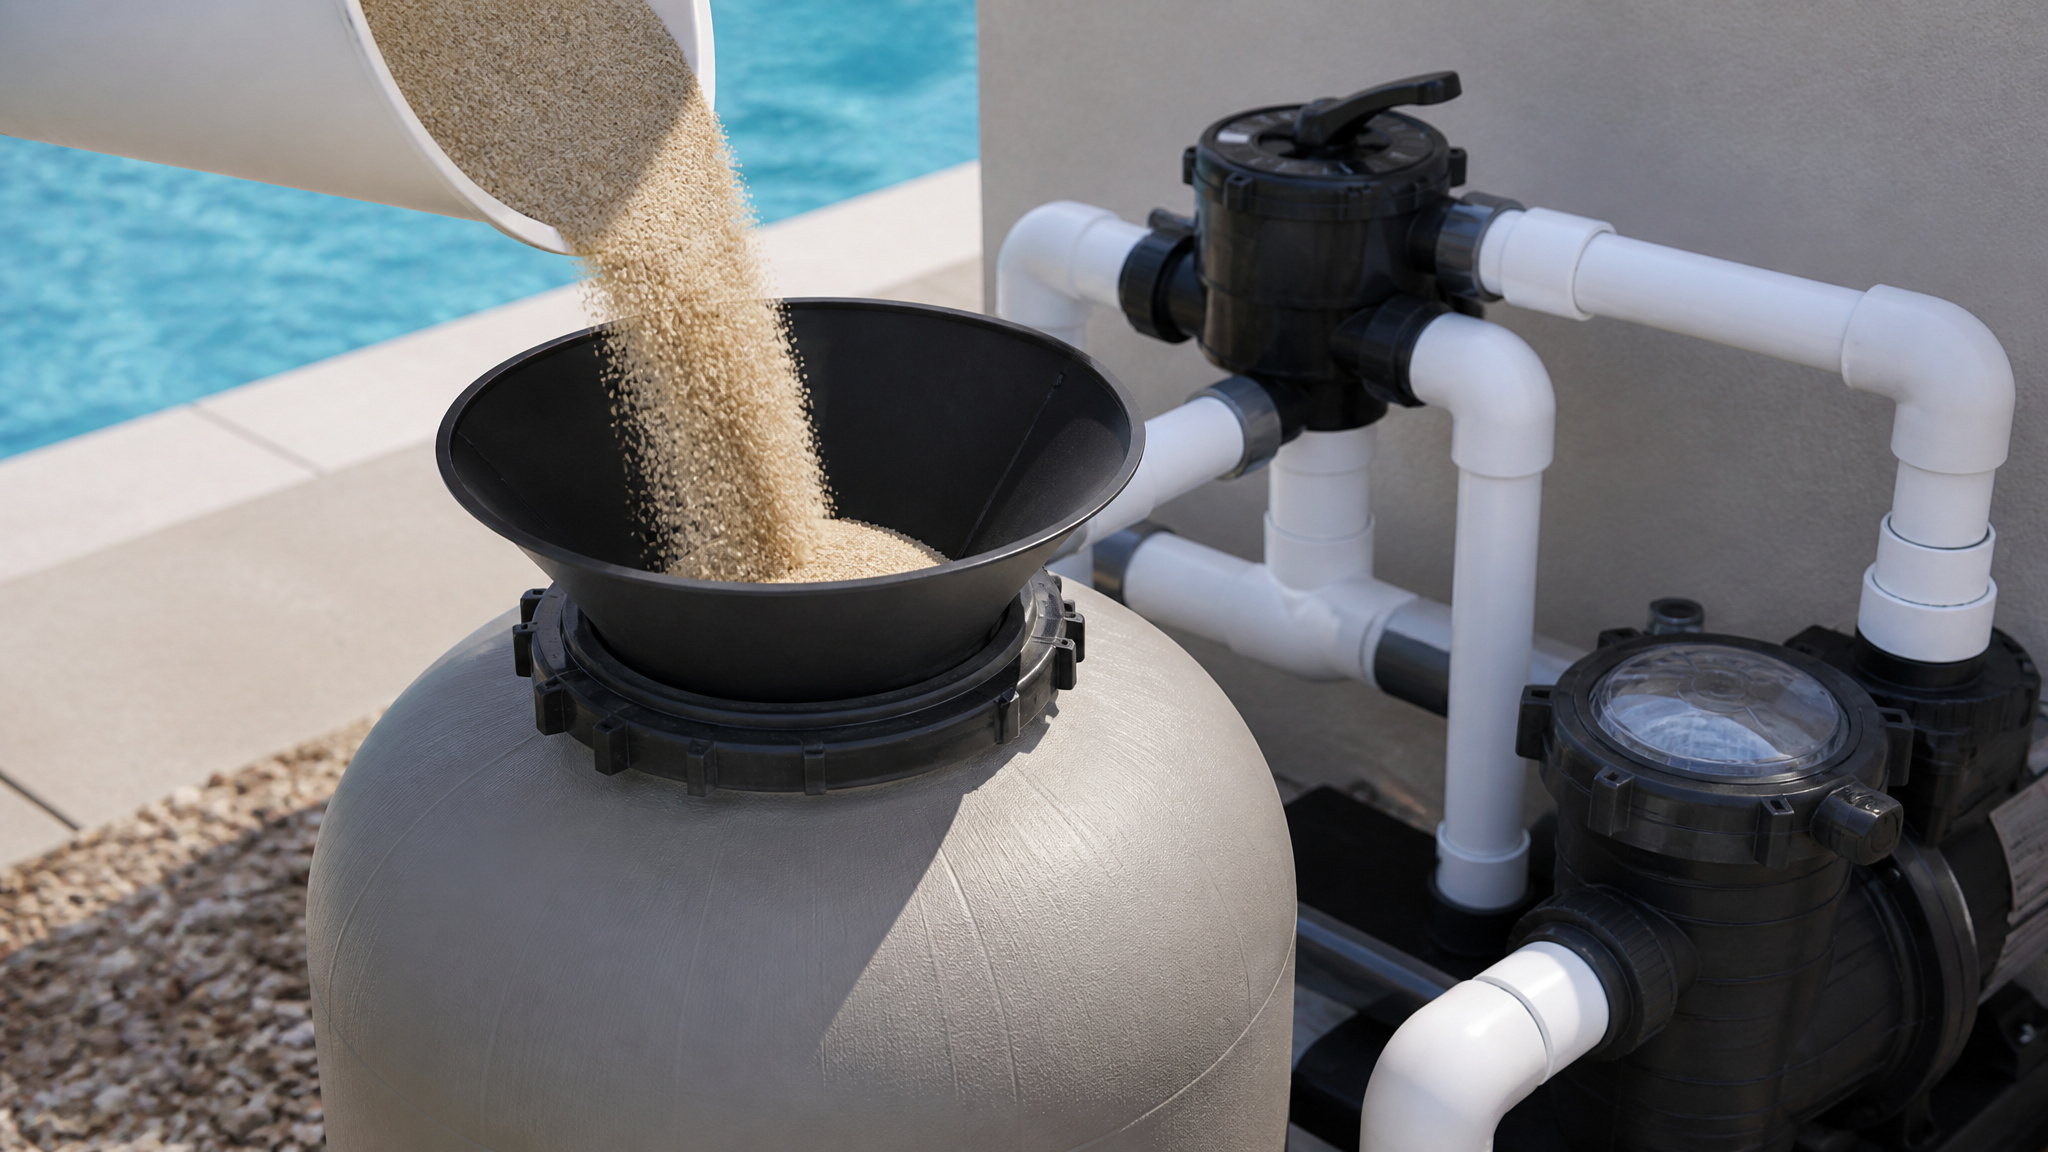
Once you’ve exposed the laterals at the bottom of the tank, inspect them along with the standpipe, hub, and tank walls for cracks or damage. Check each lateral closely, since fine hairline cracks can let sand pass through and cloud your pool water. Replace any damaged laterals before you add new sand, because it’s far easier to swap them now than after the tank’s refilled.
Checking for Cracks
Check for cracks, splits, or worn threads that compromise filtration by inspecting every internal component before you add fresh media. Examine the laterals, standpipe, hub, and tank walls closely. Replace any damaged laterals before you proceed.
| Component | What to Check For |
|---|---|
| Laterals | Cracks, splits, clogged slots |
| Standpipe | Fractures, loose fit at hub |
| Hub | Stripped threads, breakage |
| Tank Walls | Hairline cracks, residue buildup |
| Drain Cap | Cracks, worn seals |
Run your fingers along each surface to detect fine cracks you might miss visually. Damaged parts let sand pass into your pool, so replace them now to guarantee clean, reliable performance.
Replacing Damaged Laterals
Replace cracked or split laterals before adding new media. After you’ve exposed the laterals at the bottom of the tank, examine each one for hairline cracks, splits, or clogged slots. Inspect the standpipe, hub, and tank walls for damage too. Replace any damaged laterals with parts matching your filter’s make and model, since mismatched components won’t seat correctly or filter properly. Thread or snap each replacement into the hub securely, confirming it sits tight without wobble. Check that the standpipe stays centered and undamaged, because it supports even sand distribution later. Don’t skip this step, faulty laterals let sand escape into your pool once you return the filter to service.
Which Pool Filter Sand Should You Buy?
You should buy pool-filter-grade silica sand, commonly cited as #20, 45 to 55 grade. The media size determines how effectively your filter traps debris. This specification ensures the grains are sized correctly to capture particles without passing through the laterals or clogging flow.
Avoid generic sand. Inaccurate media can reduce filtration performance, allowing fine debris to recirculate or restricting water movement through the tank. Playground or construction sand won’t match the required grade and often contains contaminants.
Check your filter manufacturer’s specifications before buying. Each tank requires a specific quantity, so confirm the recommended amount along with the correct grade. Matching both the media type and volume keeps your filter operating at peak efficiency and protects the internal components.
Pour New Filter Sand Around the Laterals
Pour the sand slowly and evenly around the laterals, working your way around the tank to build up the media in balanced layers. Keep the water cushion in place beneath the sand to absorb impact and protect the laterals from cracking. Confirm the standpipe stays centered as you fill, since an off-center pipe causes uneven distribution and poor filtration. Verify the standpipe cover or tape remains sealed so no sand enters the pipe. Add only the amount your filter manufacturer specifies. Overfilling restricts flow, while underfilling reduces filtration efficiency. Distribute the sand around the laterals rather than dumping it in one spot, which can bury some laterals and expose others. After you’ve added the full charge, level the surface before reassembling the top.
Reassemble the Multiport Valve and Top Assembly
Reassemble the multiport valve and top assembly by first removing the tape or cap from the standpipe so the pipe seats correctly against the valve. Clear any sand from the tank’s sealing surface and threads, since stray grains prevent a proper seal. Set the multiport valve or top assembly onto the standpipe, guiding the pipe into its port without forcing it. Verify the gasket or O-ring is seated and undamaged before tightening. Align the valve’s ports with the inlet and outlet connections, then secure the clamp band or flange bolts evenly to distribute pressure. Hand-tighten fittings, then snug them without overtorquing. Reconnect the plumbing lines, air relief, and pressure gauge. Confirm every seal sits flush before you reopen the isolation valves.
Backwash, Rinse, and Check Starting Pressure
Set the valve to Backwash and run the pump for a few minutes to flush the new media before returning the filter to normal service. This clears fine sand particles and manufacturing dust from the new media, preventing them from reaching your pool. Next, switch the valve to Rinse and run the pump for about 1 to 2 minutes, watching the sight glass until the water runs clear. Once it’s clear, return the valve to Filter to resume normal circulation. After startup, check the pressure gauge, inspect for leaks, and confirm proper flow. Finally, record this clean starting pressure. You’ll use it as your baseline to decide when future backwashing is necessary.
Conclusion: Changing the Sand the Right Way
A proper sand change is methodical more than difficult: power down, drain the tank, clear out the old sand, protect the laterals, and refill to the fill line before starting back up. Take your time on each step and the filter comes back running like new. Rushed or skipped steps are what turn a simple job into a repair.
Get Discount Pool Filter Supplies Delivered
From filter sand alternatives to complete replacement systems, expert-selected filters keep your pool water clean and clear. Browse Prime Pool Market for premium Pool Filters with real value from real pool experts. Call (877) 650-7665 today and upgrade your filtration system.
Frequently Asked Questions
How Often Should Pool Filter Sand Be Replaced?
Most filter sand lasts about five to seven years before the grains wear too smooth to trap debris well. Heavy use or poor water chemistry can shorten that. The clearer signals are rising pressure, cloudy water, and backwashing that no longer helps, which tell you the sand is spent regardless of its exact age.
Can I Use Glass Media Instead of Sand?
Yes. Glass media works in the same tank and filters finer particles than sand while lasting noticeably longer. You use less by weight since it is lighter, so check the recommended amount for your filter. Many owners switching from worn sand choose glass for the better clarity and reduced backwashing it offers.
How Much Does a Professional Sand Change Cost?
Expect roughly 150 to 300 dollars for a professional sand change, covering the new media and labor, with the exact figure depending on filter size and local rates. Upgrading to glass adds to the media cost but is often worth it. A local quote pins down your number, since pricing shifts by area.
Can I Reuse Old Filter Sand After Cleaning It?
It is not worth it. The problem with old sand is not surface dirt but grains that have worn round and lost their filtering edge, and rinsing does not fix that. Once the sand reaches the end of its life, replacing it is the only real solution. Fresh media restores the filter far better than cleaned sand.
How Long Does a Complete Sand Change Take?
Plan on about two to four hours for a typical residential filter. Most of the time goes to scooping out the old sand and carefully pouring in the new without damaging the laterals. Larger tanks or hard-to-reach equipment take longer. Working without rushing protects the internal parts and gets a cleaner result.