
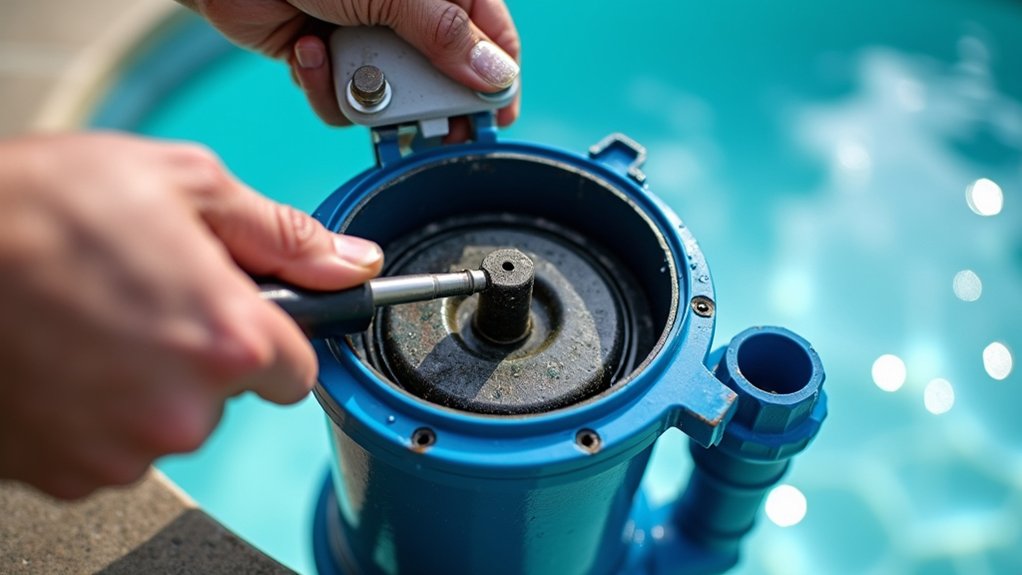
Start by switching off the breaker feeding your pool pump, don’t rely on the timer or pump switch alone. Use a non-contact voltage tester to confirm the circuit’s dead, then put on gloves and grab insulated tools. Open the motor housing, discharge the capacitor by bridging its terminals with an insulated screwdriver, and photograph the wiring before disconnecting. Swap in a matching capacitor, reconnect, and test. There’s more you’ll want to know first.
Key Takeaways
- Switch off the breaker feeding the pump and verify wiring is de-energized using a non-contact voltage tester before handling.
- Remove the two or three screws securing the access panel to locate the cylindrical capacitor mounted in its bracket.
- Photograph and label all wiring before disconnecting spade connectors with needle-nose pliers, then remove the old capacitor from its clamp.
- Discharge the capacitor by bridging both terminals with an insulated screwdriver for five to ten seconds until fully drained.
- Install a matching capacitor by µF and voltage, reconnect wires using photos, replace the cover, then restore power and test startup.
Cut the Power and Confirm the Circuit Is Dead
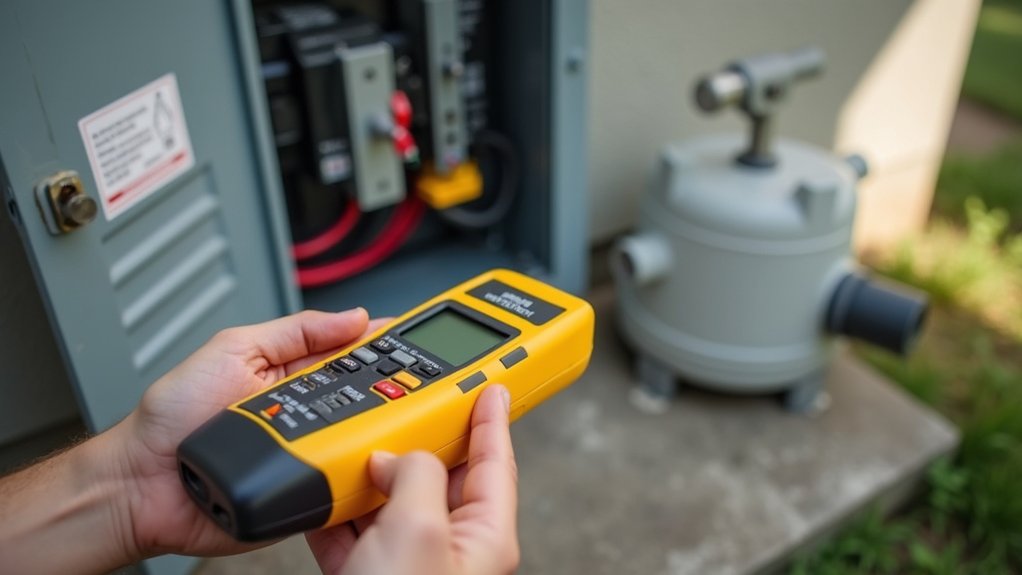
To cut the power and confirm the circuit is dead, head to the breaker panel and switch off the circuit feeding your pool pump. Turning off only the timer or pump switch isn’t enough, because the circuit can still be energized. If your setup includes a local isolator switch, flip that off too for a second layer of isolation. Any diy pool pump repair starts with confirming the power’s actually dead, don’t assume. Grab a non-contact voltage tester and check the wiring at the pool pump motor before handling anything. Put on gloves and use insulated-handled tools throughout. This step matters for every pool pump capacitor replacement, since capacitors store charge even after shutdown. Verify zero voltage before you move on to accessing the capacitor. Optimal pool maintenance for hot weather is crucial to prevent algae growth and ensure clear water. Regularly testing the chemical levels and adjusting them promptly can make a significant difference in the pool’s overall health.
Find the Pump Capacitor Behind the Motor Cover
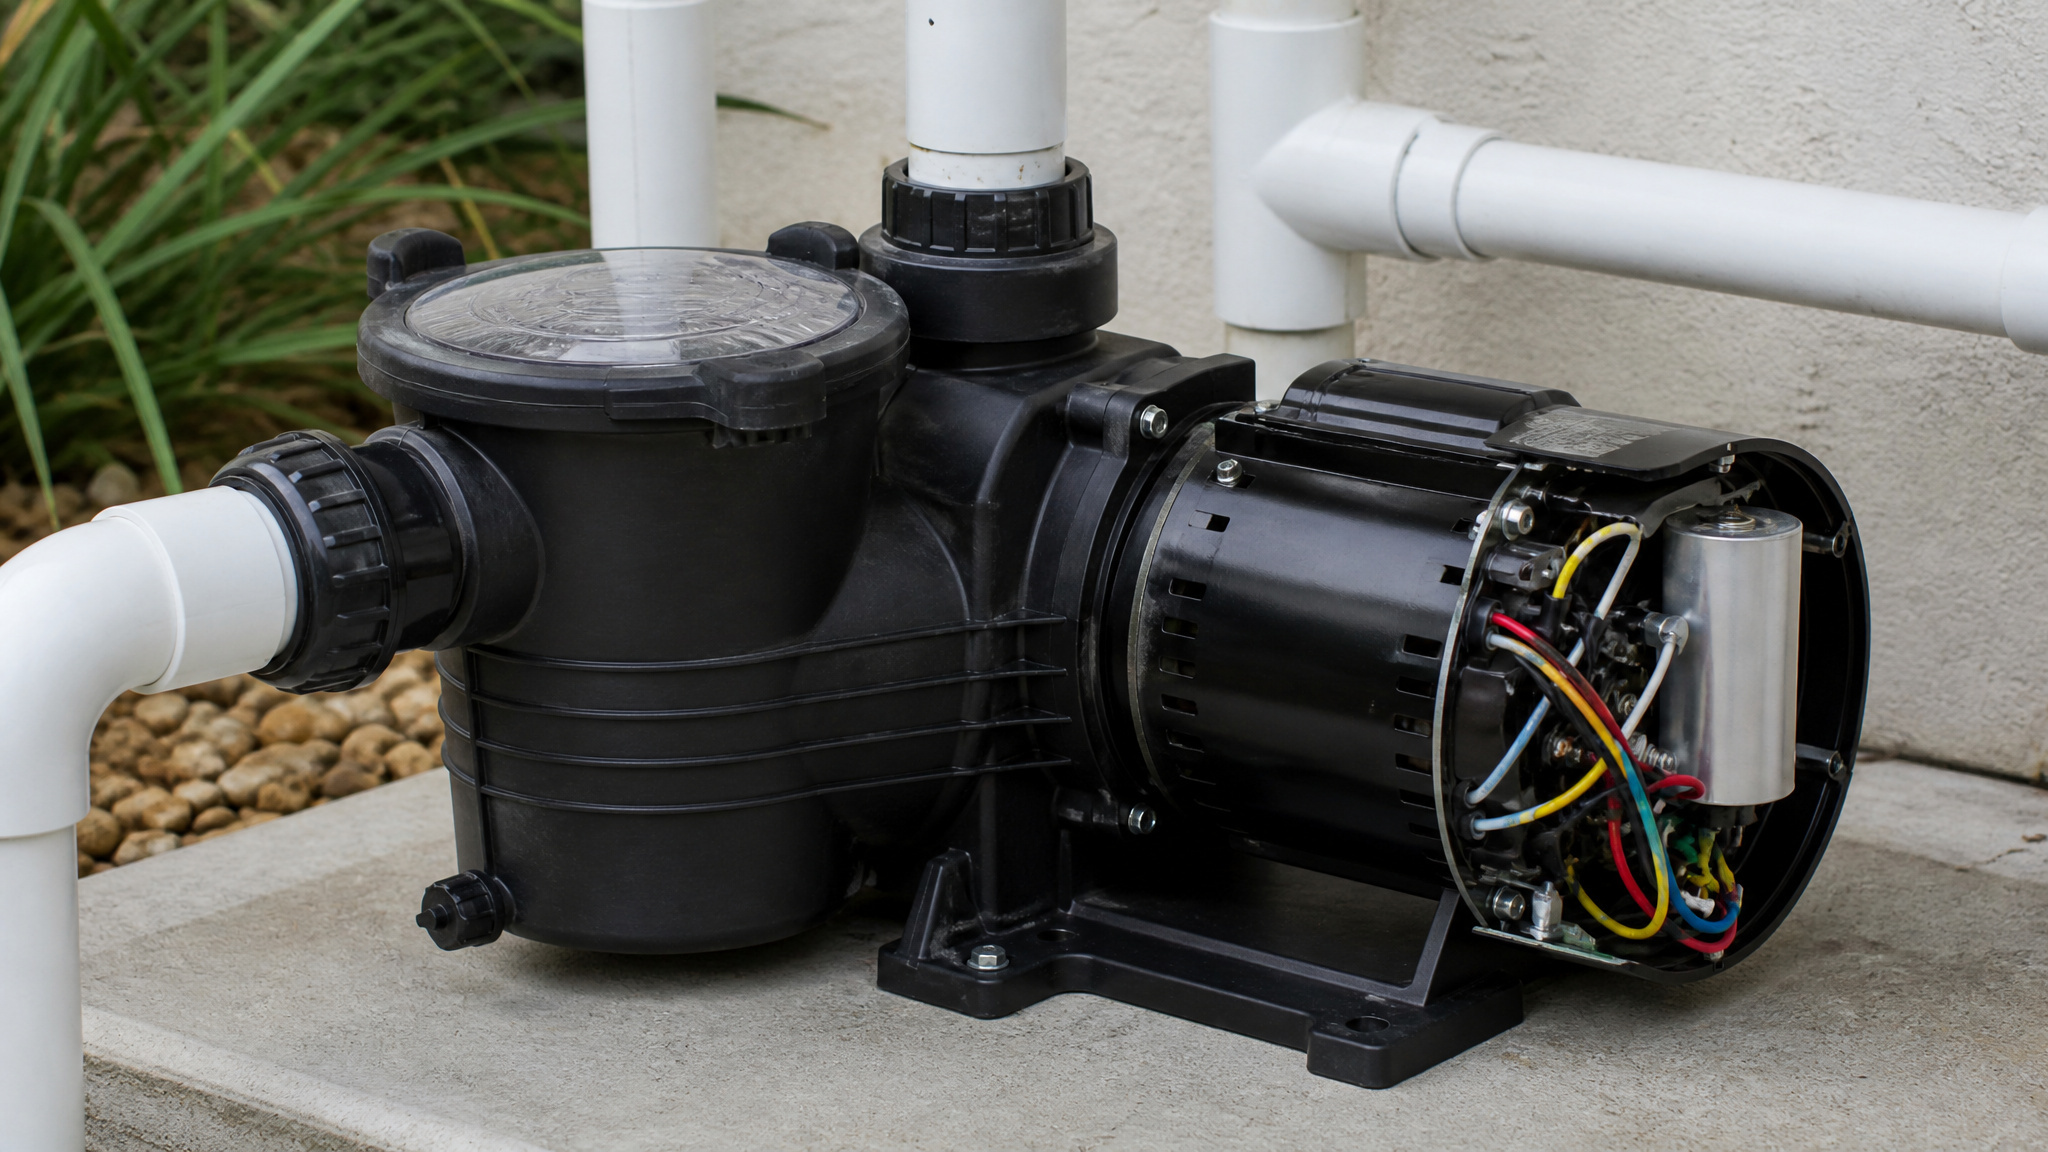
With the circuit confirmed dead, you’ll find the capacitor behind a rear access panel, end cap, or terminal box on the motor housing, some models mount it on top instead. Look for a cylindrical component with two wire terminals, often held in a metal bracket or clamp near the windings. Most covers are secured by two or three screws, so grab a screwdriver and remove them to expose the capacitor.
Common Capacitor Locations
Capacitors are commonly located behind a rear access panel, end cap, or terminal box on the motor housing. You’ll find the capacitor tucked in one of these spots after you’ve confirmed the circuit is dead. To replace pool pump capacitor components, you’ll need to know exactly where to look, since designs vary between models.
Some units mount the pool pump capacitor on top of the motor, while others rear-mount it near the windings inside a metal bracket or clamp. Most covers are held by two or three screws, so grab a screwdriver and remove them carefully.
After you open the housing, you’ll expose a cylindrical component with two wire terminals. That’s your target. Don’t touch the terminals yet, discharge comes next. Confirm you’ve located the right part before proceeding with any handling.
Removing Cover Screws
Removing the cover screws requires a standard screwdriver and takes just a few minutes. Most pump covers are held by two or three screws and come off with a standard screwdriver. Work methodically, keeping the removed hardware organized so reassembly stays straightforward.
- Confirm the breaker and any local isolator switch are still off before touching the housing.
- Match your screwdriver to the screw heads to avoid stripping them.
- Loosen and remove each screw, setting them aside in a container so none get lost.
- Lift the rear access panel, end cap, or terminal box away carefully.
Once open, you should see the cylindrical capacitor with two wire terminals mounted inside its bracket or clamp.
Discharge the Capacitor Before Touching It
Before you touch any terminal, discharge the capacitor by bridging its two terminals with an insulated screwdriver. You’ll likely see a small spark or hear a pop, which confirms residual charge is releasing. Hold the short across the terminals for five to ten seconds to fully drain the stored energy.
Standard Screwdriver Bridging Method
The screwdriver bridging method discharges the capacitor by shorting its two terminals together, releasing any stored charge. Grab an insulated-handled screwdriver and lay the metal shaft across both terminals at once. Expect a small spark or pop, which confirms residual energy is releasing. Hold the short in place, and repeat if you’re unsure the charge is fully gone.
- Wear insulated gloves and use only insulated-handled tools throughout the process.
- Bridge both terminals simultaneously, holding the contact for 5 to 10 seconds.
- Repeat the discharge a second time to confirm no charge remains.
- Keep your fingers off the terminals until the discharge is complete.
Don’t touch the terminals directly until you’ve verified the capacitor is dead.
Watch For Spark
Watch for that spark, because it tells you the discharge is actually working. When you bridge the two terminals with an insulated screwdriver, a small spark or pop signals that residual energy is releasing from the capacitor. Don’t be alarmed by it. That visible discharge confirms stored charge is draining safely rather than waiting to reach your hand.
Hold the short across the terminals for 5 to 10 seconds to fully release the charge. If you’re unsure, repeat the discharge more than once. Stored charge can persist for hours after power-off, so treat this step as required, not optional.
Never touch the terminals directly before you’ve confirmed the discharge is complete. Keep your insulated tools in contact until you’re certain no residual energy remains in the unit.
Hold Five To Ten Seconds
Hold that short in place for a full 5 to 10 seconds so the capacitor drains completely. A single quick tap often leaves residual charge behind, so keep steady contact and don’t rush. Stored energy can persist for hours after power-off, which is why this step isn’t optional.
- Keep the insulated screwdriver or pliers firmly across both terminals for the entire interval.
- Watch and listen for a small spark or pop confirming energy release.
- Repeat the discharge a second time to clear any lingering charge.
- Keep your gloves on and grip only insulated handles throughout.
After holding the short, treat the terminals as dead only once you’ve verified them with your non-contact voltage tester.
Photograph the Capacitor Wiring Before You Disconnect
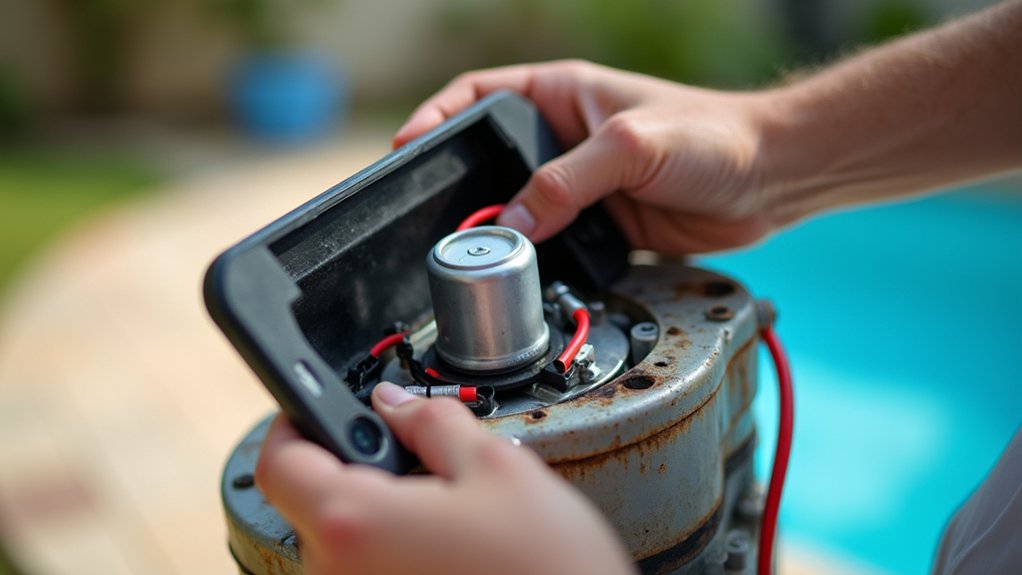
Photograph the capacitor wiring by grabbing your phone and taking a clear, well-lit photo of every connection on the capacitor. This photo becomes your reference for reconnecting each wire to the correct terminal during reassembly. Wire positions matter, especially on dual-run capacitors, where mixing connections can cause motor failure.
Snap a clear photo of every capacitor connection first, it’s your foolproof guide for reconnecting each wire correctly during reassembly.
Capture every spade connector and its exact terminal so nothing’s left to memory. If your capacitor has multiple terminals, angle the shot to show each one distinctly.
For added insurance, mark or label the wires with masking tape before you disconnect anything. Then use needle-nose pliers to remove each spade connector cleanly from its terminal.
With your photo saved and wires labeled, you can disconnect confidently, restoring every connection exactly where it belongs.
Swap the Old Capacitor for the New One
Free the old capacitor from its mounting by loosening the bracket, clamp, or clip that holds the unit, then lift the old capacitor straight out. Before fitting the replacement, confirm it matches the original specifications.
- Check that the new capacitor’s printed µF rating and voltage match the old unit exactly.
- Note the insulating strip or spacer position, and return it to the same spot to prevent shorts.
- Set the new capacitor into the bracket in the same orientation as the original.
- Secure it snugly without over-tightening, since excessive force can crack the case.
Once the replacement sits firmly in its mounting, you’re ready to reconnect the wires using your photo reference.
Reconnect the Wires and Test the Pump
Reconnect each wire to the exact terminal it came from by pulling up the photo you took earlier. Precision matters here. On dual-run capacitors, mixed connections can cause motor failure. Use needle-nose pliers to press each spade connector firmly onto its terminal. Once every wire matches the reference photo, replace the cover and fasten it with the original screws.
Restore power at the breaker and start the pump for a test run. A properly working pump starts promptly, without sustained humming, buzzing, or smoke. If you hear any of these warning signs, shut off the breaker immediately. Should the pump still fail to start, the capacitor may not be the only fault, and further diagnosis is needed.
Conclusion: Replacing the Capacitor
A capacitor swap is one of the few pool pump repairs a careful owner can handle, and it often revives a pump that only hums or struggles to start. The keys are discharging the old capacitor safely, matching the µF and voltage exactly, and wiring it back the same way it came off. Done right, it is a cheap fix that saves a whole new motor.
Get Discount Pool Pumps Delivered Fast
From replacement capacitors to complete pump systems, quality pool pumps keep your water moving smoothly all season. Browse Prime Pool Market for premium Pool Pumps with real value from real pool experts. Call (877) 650-7665 today and shop the pumps your pool needs.
Frequently Asked Questions
How Do I Know if the Capacitor Is Actually the Problem?
The classic sign is a pump that hums but will not spin, or one that needs a nudge to get going. A capacitor may also look swollen or leak on top. A multimeter with a capacitance setting confirms it by reading whether the part still holds its rated charge. Those symptoms together point strongly to the capacitor.
How Much Does a Replacement Pool Pump Capacitor Cost?
Capacitors are inexpensive, usually 10 to 30 dollars depending on the size and where you buy. That low cost is exactly why replacing one yourself is so worthwhile compared to a service call or a new motor. Just be sure to match the rating, since the right part matters far more than saving a few dollars.
How Long Do Pool Pump Capacitors Typically Last?
Most last five to ten years, though heat shortens that. A pump mounted in direct sun or a hot enclosure tends to wear its capacitor out sooner. Because the part is cheap and easy to swap, many owners simply replace it at the first sign of hard starting rather than waiting for it to fail completely.
Can I Use a Capacitor With a Slightly Different µF Rating?
It is best to match the µF rating closely, within about five percent. The capacitance is tuned to the motor, and a value that is off can make the motor run rough, overheat, or fail to start. The voltage rating can be equal or higher, but never lower. When in doubt, match the original exactly.
Where Can I Buy a Compatible Replacement Capacitor?
Pool supply stores, electrical suppliers, and online retailers all carry them. Bring or note the old capacitor’s µF and voltage ratings, printed on its side, so you get an exact match. Motor manufacturers also list the correct part number. Matching those specs matters far more than the brand or where you buy it.