
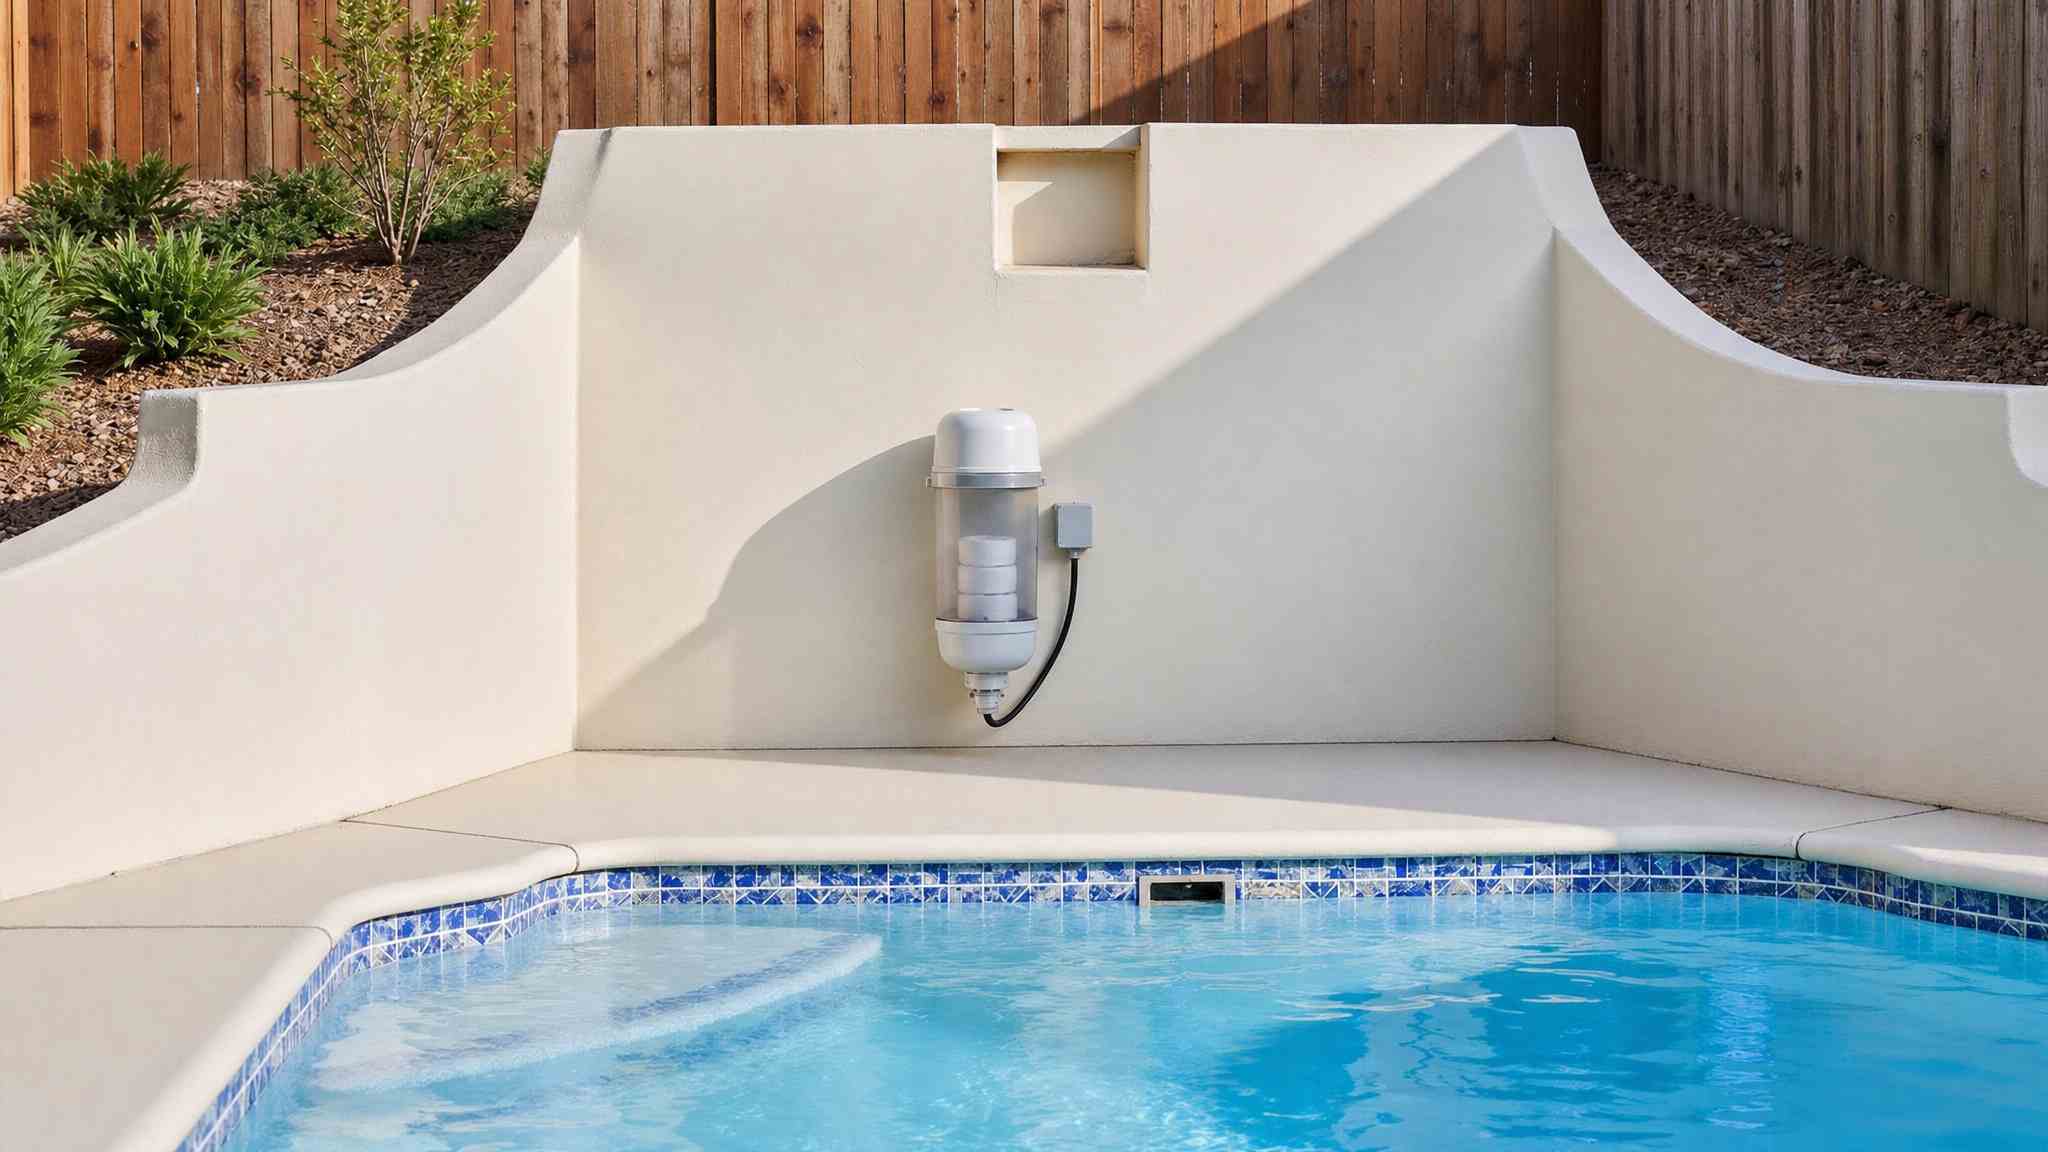
Winterize your saltwater pool once water temperatures stay consistently below 65°F, not by a calendar date, and before the first hard freeze. Balance your chemistry first: alkalinity to 80 to 120 ppm, pH to 7.2 to 7.6, calcium hardness at 200 to 400 ppm, salt at 2,700 to 3,400 ppm, and CYA at 30 to 50 ppm. Then shock, add sequestrant and saltwater-specific algaecide, lower the water level, blow out lines, and store the salt cell indoors. Here’s how each step works.
Key Takeaways
- Winterize when water temperatures stay consistently below 65°F, before the first hard freeze, typically late September through early November.
- Balance chemistry before closing: alkalinity 80 to 120 ppm, pH 7.2 to 7.6, calcium hardness 200 to 400 ppm, CYA 30 to 50 ppm, salt 2,700 to 3,400 ppm.
- Shock the pool, circulate 8 to 12 hours, then add saltwater-specific algaecide and scale-and-stain sequestrant to prevent cold-weather buildup.
- Lower water level 4 to 6 inches below the skimmer, then drain pumps, filters, and heaters completely to prevent freeze damage.
- Blow out and plug plumbing lines, protect the skimmer with a plug or pool-rated antifreeze, and install a secure winter cover.
When Should You Winterize Your Saltwater Pool?

Winterize your saltwater pool once water temperatures stay consistently below 65°F, not by the calendar. At that point biological activity slows and sanitizer demand drops, making it the ideal trigger for saltwater pool winter shutdown. Because timing directly affects freeze protection, you’ll want to winterize before the first hard freeze hits your area.
Plan your pool winter prep for the typical window of late September through early November, adjusting for your local climate. Don’t wait until a freeze threatens equipment, since draining lines and protecting the salt cell require time.
Monitor daily temperature trends as fall progresses. If readings hold below 65°F and no warm spells are forecast, begin closing procedures immediately. Acting early prevents freeze damage to plumbing, pumps, and fittings.
Balance Your Saltwater Pool Chemistry
Before you close the pool, test and adjust your water chemistry so it’s stable through winter: aim for a pH of 7.2 to 7.6, total alkalinity of 80 to 120 ppm, calcium hardness of 200 to 400 ppm, and CYA of 30 to 50 ppm. Confirm your salt level sits within your system’s required range, typically 2,700 to 3,400 ppm. Once levels are balanced, add your winterizing chemicals, shock, a saltwater-specific algaecide, and a scale and stain sequestrant, then circulate them for 8 to 12 hours.
Test and Adjust Levels
Test and adjust every level before you close, because balanced water protects your pool through months of dormancy. Proper saltwater pool winterization starts with an accurate reading from a fresh test kit or digital meter. Test in this order to avoid rework, since each adjustment shifts the next:
- Alkalinity first: Adjust to 80 to 120 ppm, because it buffers and stabilizes pH before you touch anything else.
- pH next: Set it to 7.2 to 7.6, then verify calcium hardness lands at 200 to 400 ppm.
- Salt and CYA last: Confirm 2,700 to 3,400 ppm salt and 30 to 50 ppm stabilizer.
When you winterize a saltwater pool, retest after each dose. Closing a saltwater pool with precise numbers prevents scale, corrosion, and off-season drift.
Add Winterizing Chemicals
Add winterizing chemicals in sequence to protect the pool through dormancy after your water’s balanced. Start with a shock treatment, applying chlorine shock or a non-chlorine oxidizer to eliminate remaining contaminants. Run the pump for 8 to 12 hours to circulate it fully; some guides recommend 24 to 48 hours for complete distribution. After circulation, add a winter-specific algaecide formulated for saltwater systems to prevent cold-weather growth. Next, add a scale and stain sequestrant to reduce mineral buildup and staining during the dormant months. If your routine calls for it, add a slow-acting enzyme to break down organic residue over winter. Apply each product separately, allowing circulation between additions to avoid chemical interactions. This sequence keeps your water clear and protected until spring reopening.
Get the Salt and Stabilizer Levels Right
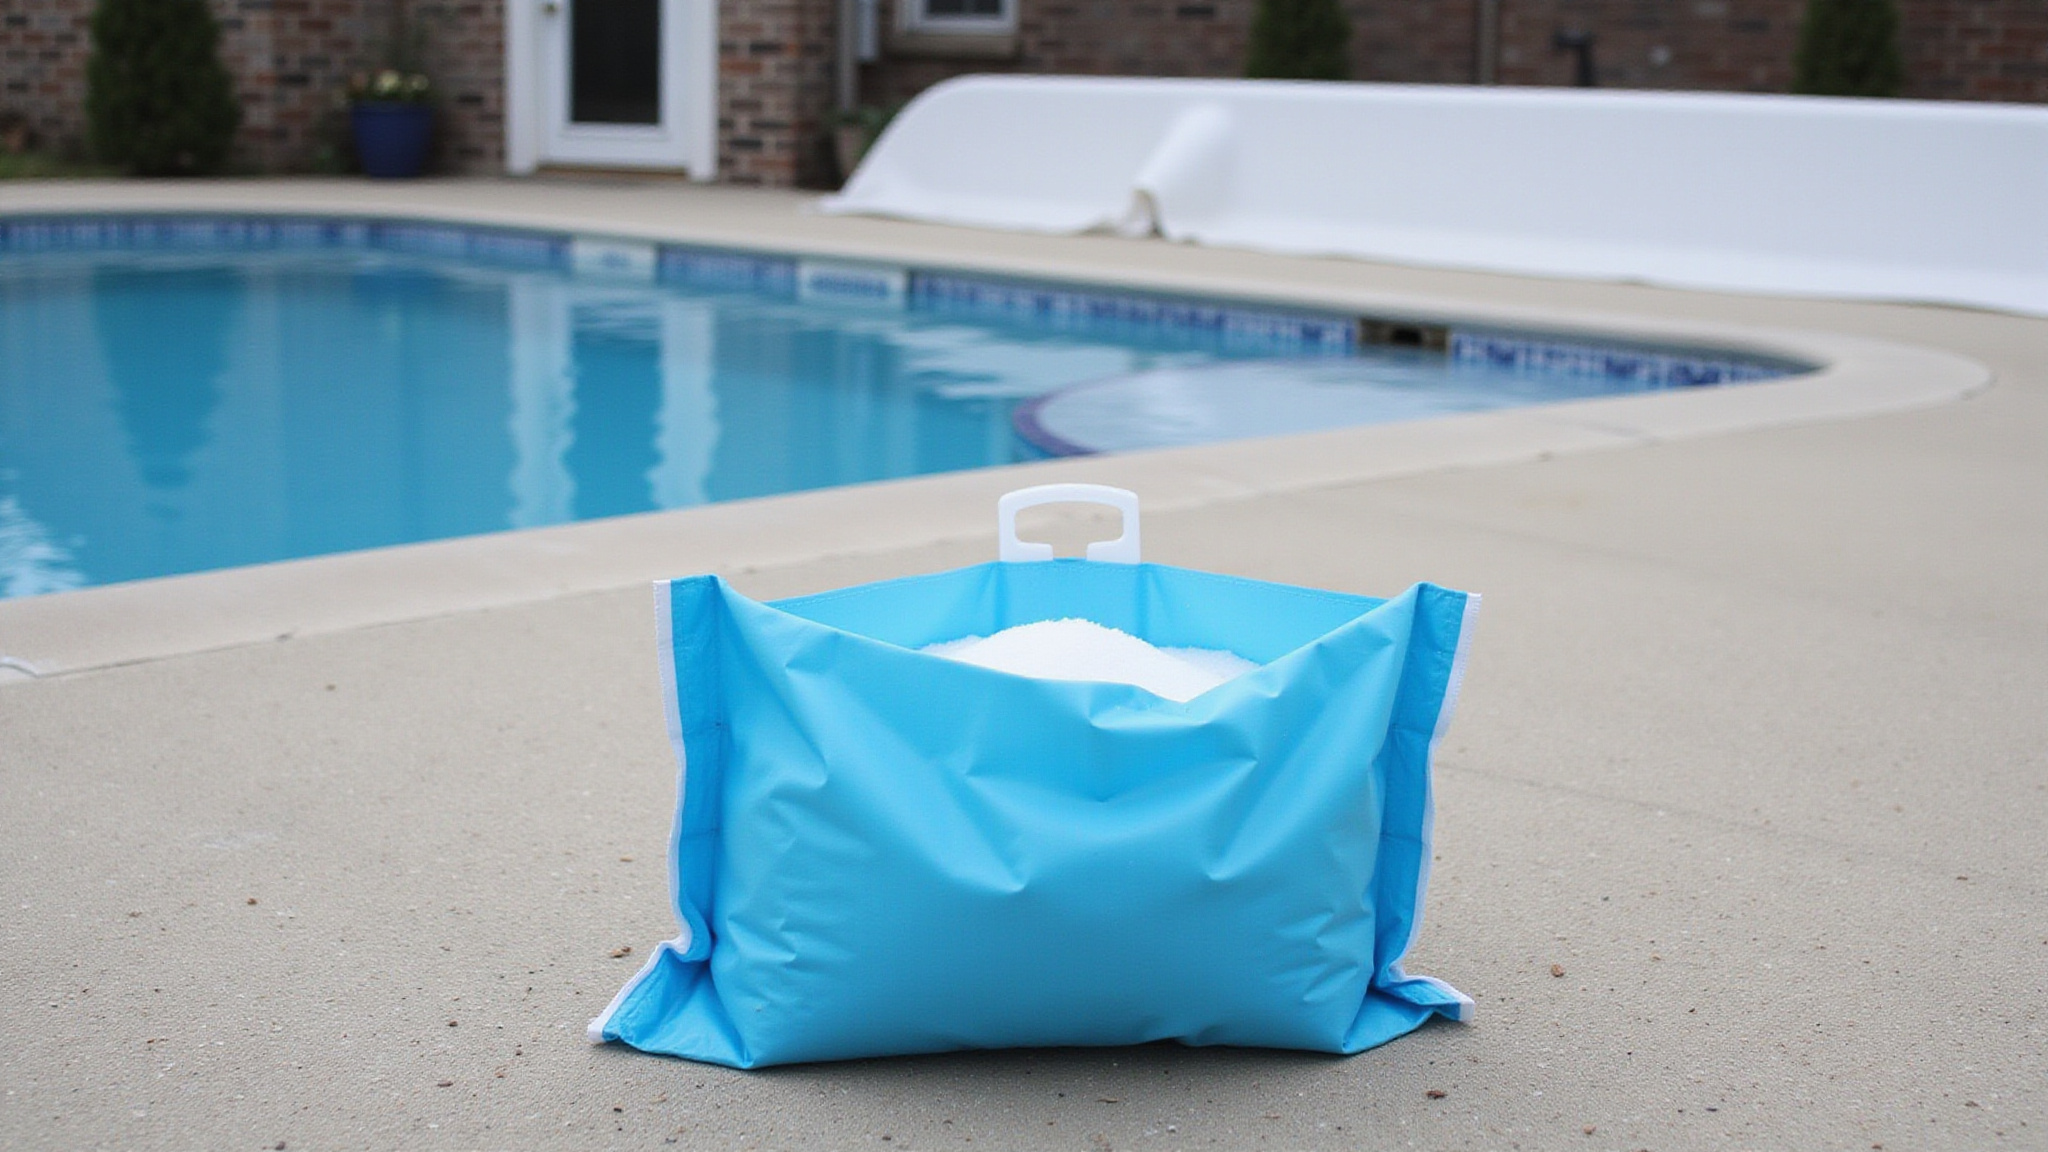
Dial in your salt level to 2,700 to 3,400 ppm, or up to 4,500 ppm if your system requires it, so the chlorinator can operate correctly through the off-season. Balance your stabilizer (CYA) to 30 to 50 ppm to protect residual chlorine from sun-driven loss during warm winter days. Test both levels before closing and correct any deviations, since you won’t easily adjust them once the pool is sealed.
Dial In Salt Levels
Dial in your salt level by testing it first, since it anchors your entire saltwater system’s performance heading into winter. Use fresh test strips or a digital meter for accuracy, then compare your reading against your system’s specifications. Most saltwater pools operate within a defined range, though some units require higher concentrations.
Target these benchmarks before you close:
- Standard range: Maintain 2,700 to 3,400 ppm for typical residential saltwater systems.
- High-demand systems: Allow up to 4,500 ppm if your generator specifies it.
- Adjustment method: Add salt gradually, then circulate before retesting to confirm dissolution.
Add salt directly to the pool, never through the skimmer, and let it circulate fully. Retest after several hours to verify you’ve hit your target before proceeding.
Balance Stabilizer for Sun
Stabilizer (cyanuric acid) shields free chlorine from UV degradation throughout any warm, sunny stretches your pool faces before spring. Test your current CYA and target 30 to 50 ppm for outdoor saltwater pools. Too little, and sunlight burns off your chlorine fast. Too much, and you’ll suppress sanitizer effectiveness.
| Parameter | Target |
|---|---|
| CYA range | 30 to 50 ppm |
| Low-end risk | Rapid UV chlorine loss |
| High-end risk | Reduced sanitizer activity |
| Best for | Outdoor, sun-exposed pools |
| Adjust before | Closing and circulation |
Add stabilizer slowly through the skimmer, then run circulation to dissolve it fully. Recheck the level before you close, and correct any deviation while your pump’s still running.
Test Before Closing
Test your salt and stabilizer levels to confirm they sit within spec, because both directly affect how well your pool holds sanitizer through winter. Salt drives your chlorine generator, and stabilizer protects that chlorine from breaking down. If either drifts out of range, your sanitizer fails faster during the dormant months, opening the door to algae and staining.
Test with fresh strips or a reliable digital reader, then adjust before your final circulation cycle:
- Salt: Confirm 2,700 to 3,400 ppm, or up to 4,500 ppm if your system requires it.
- Stabilizer (CYA): Target 30 to 50 ppm for outdoor saltwater pools.
- Retest: Recheck after circulating chemicals to confirm both levels stabilized.
Lock these numbers in before draining or plugging anything.
Brush, Vacuum, and Clear Out Debris
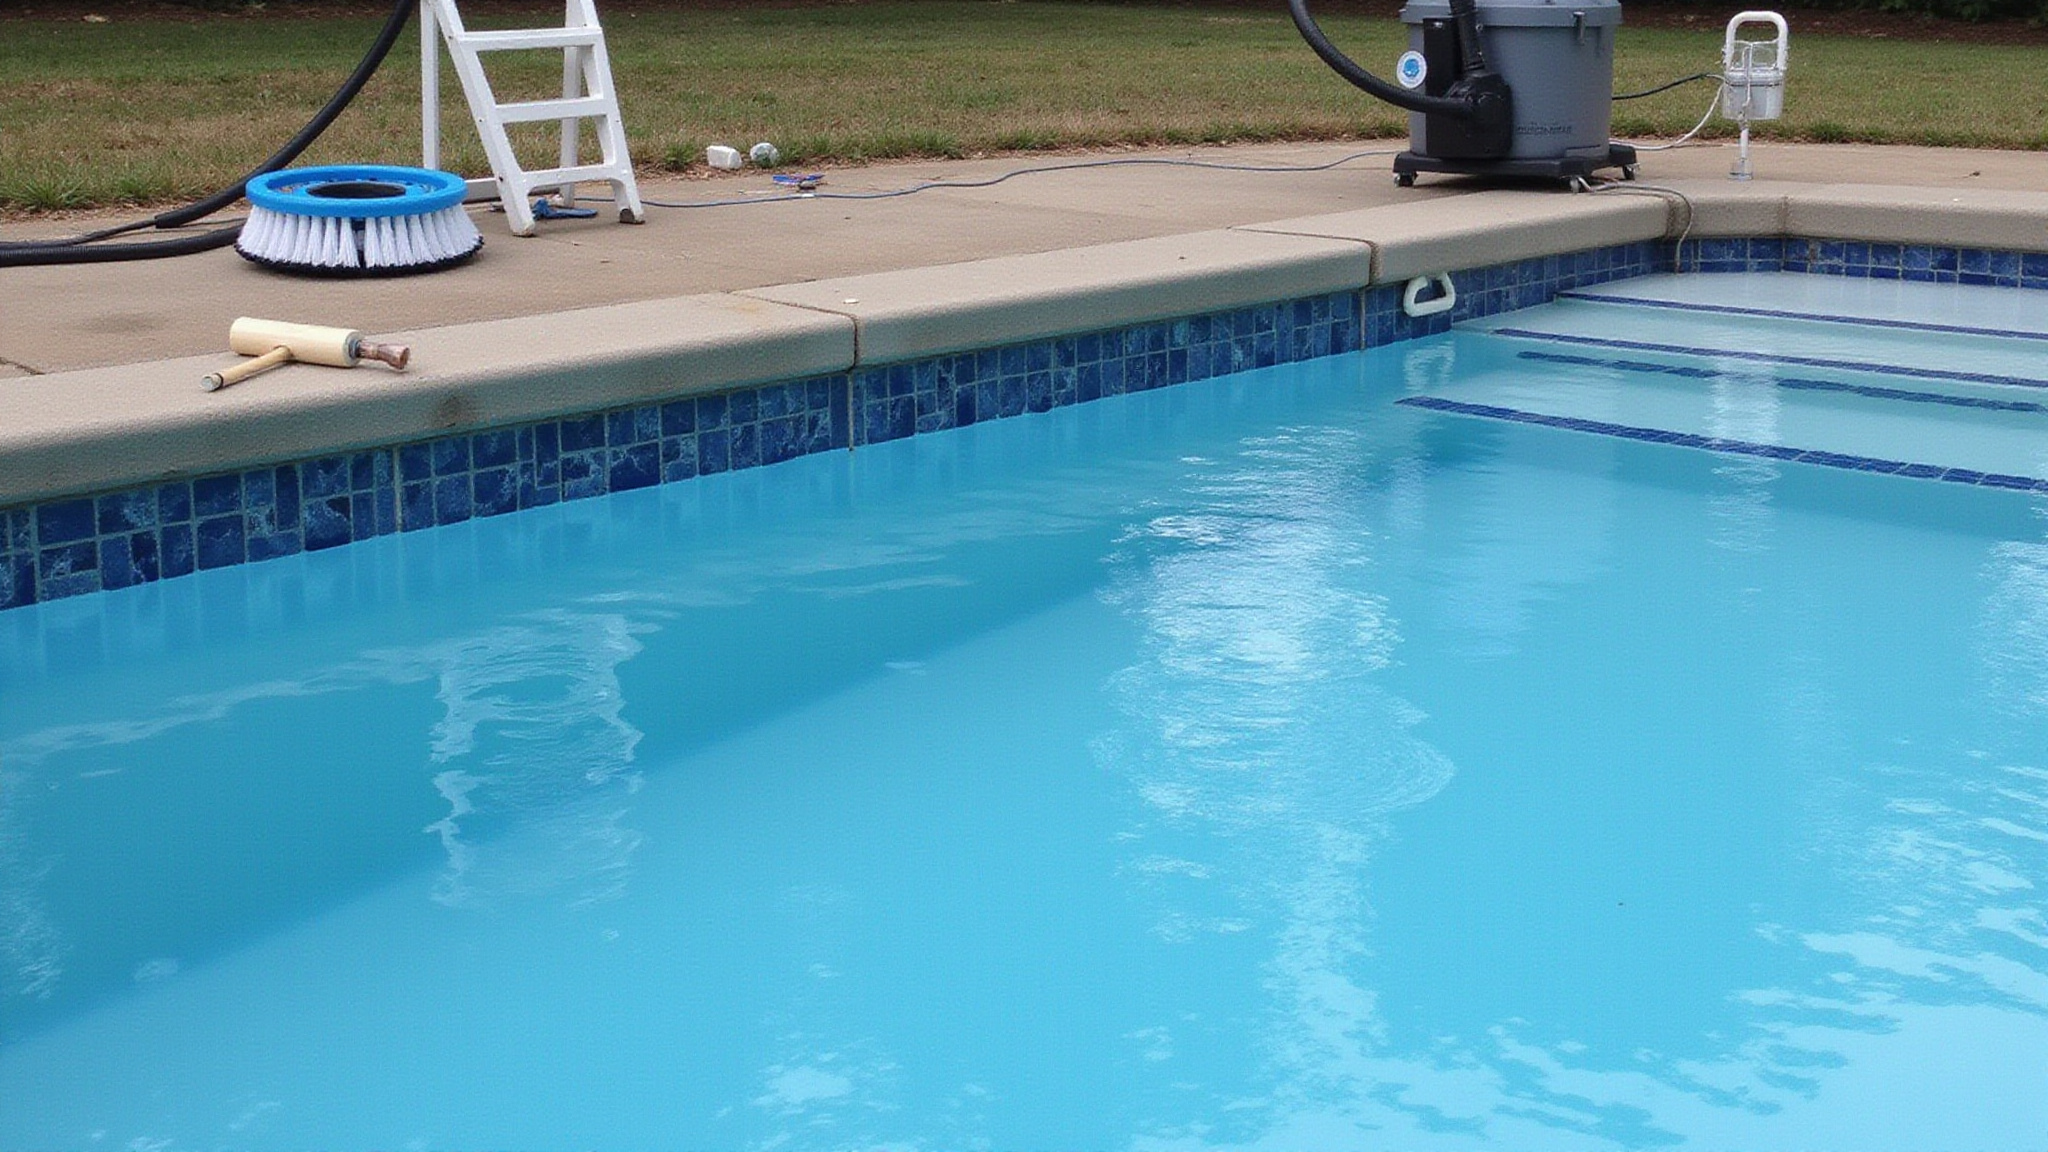
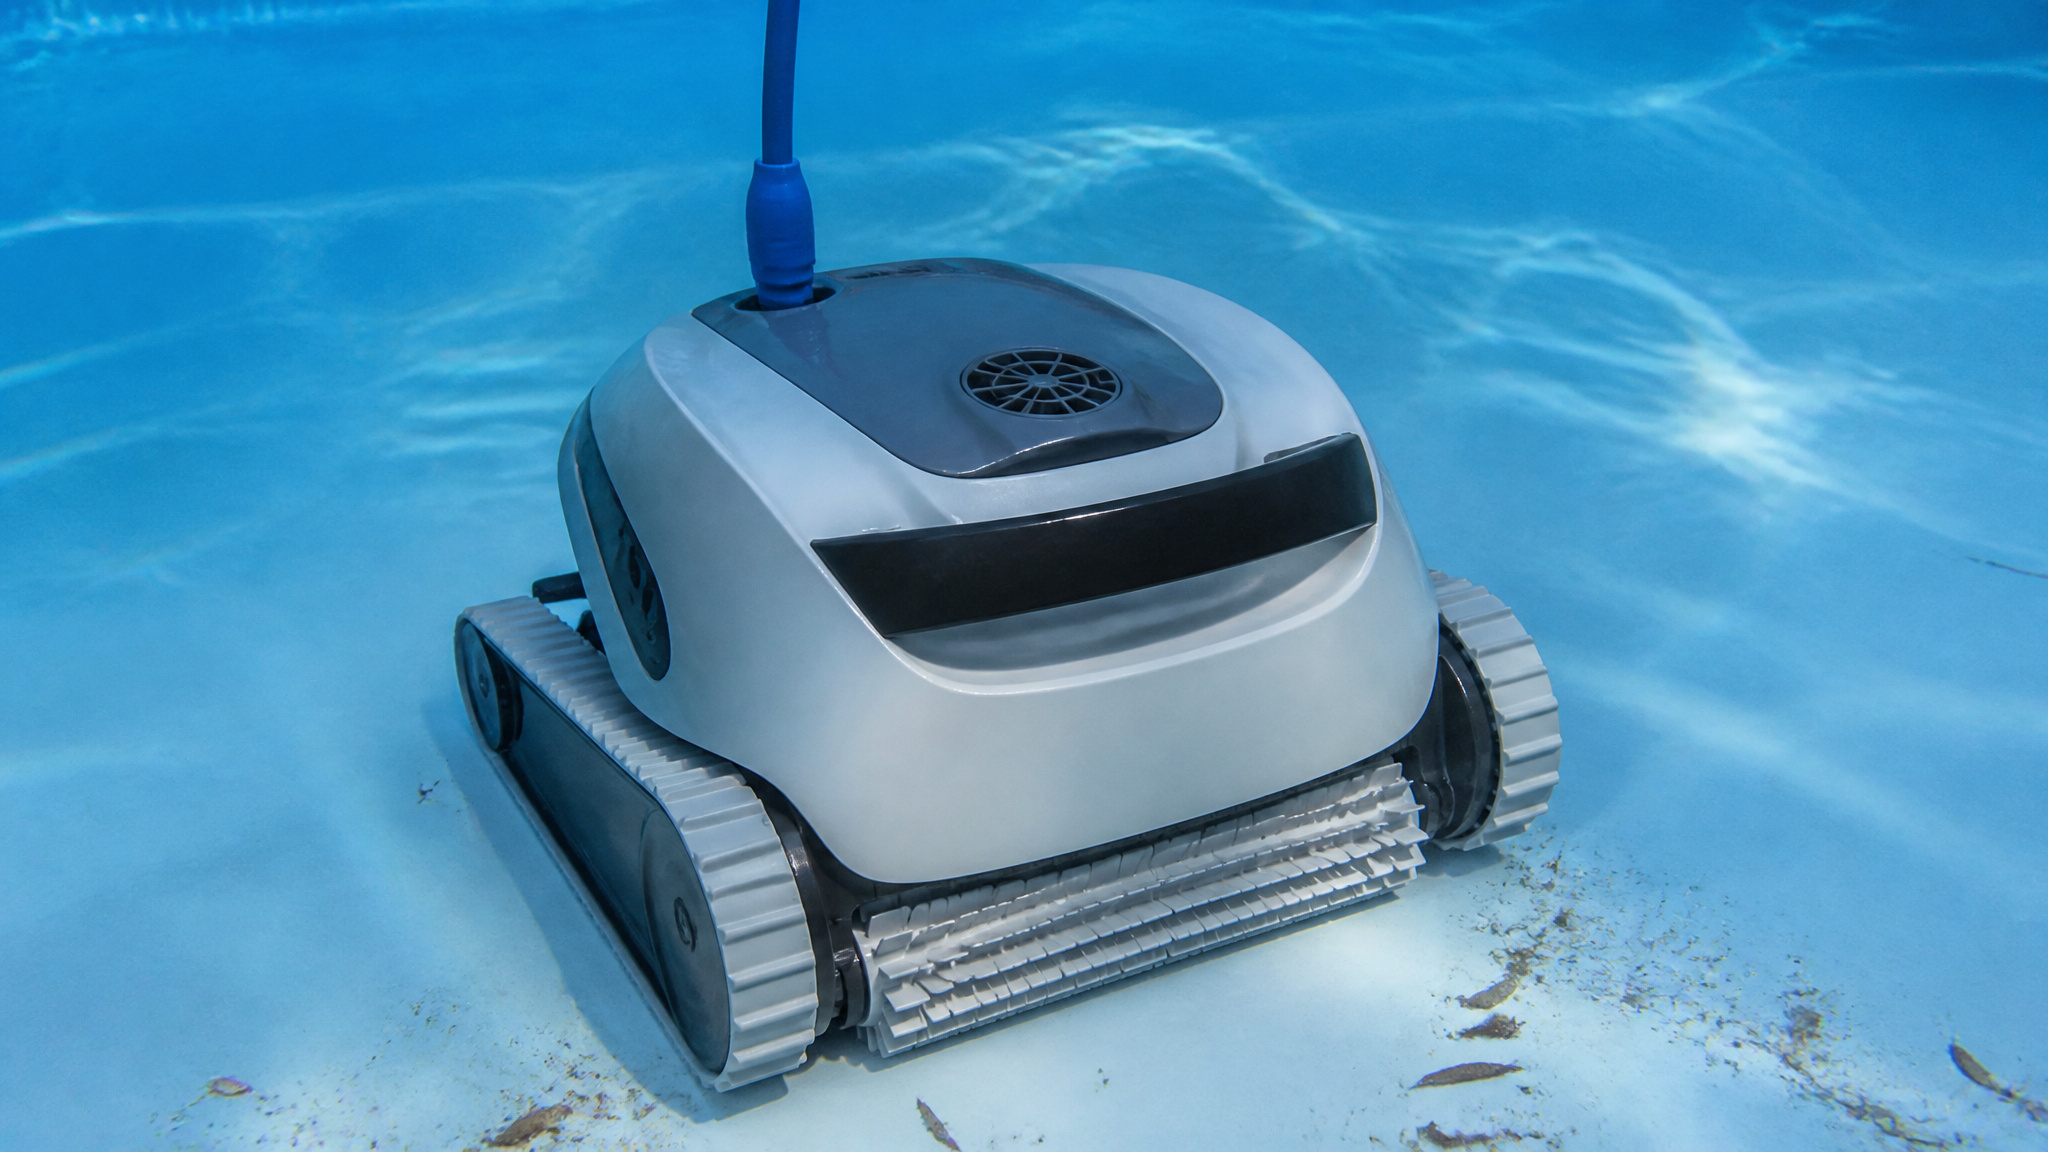
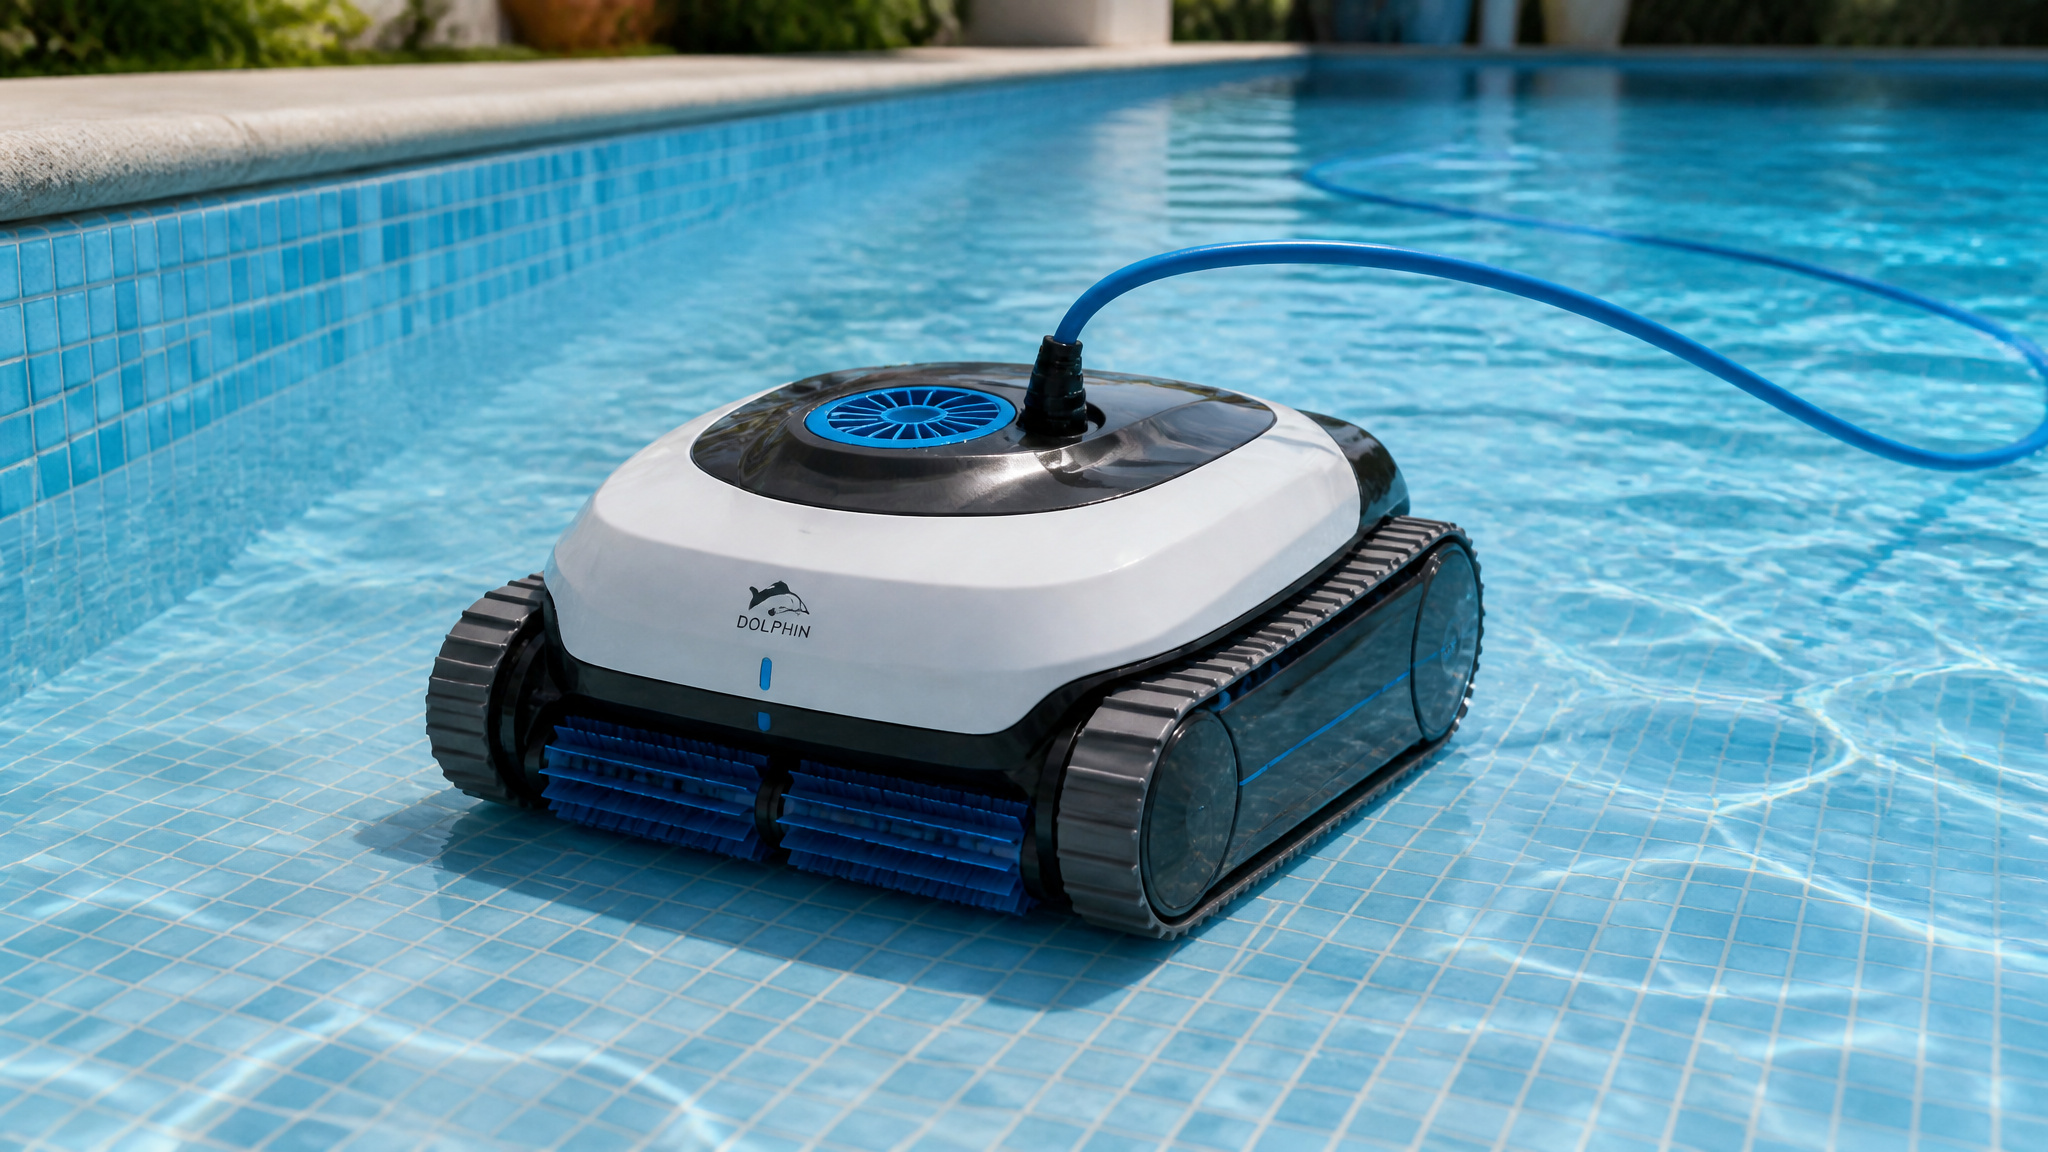
Brush, vacuum, and clear out debris by scrubbing the pool’s walls, floor, and steps with a nylon or soft-bristle brush to dislodge algae and settled grime. Work systematically from the shallow end toward the deep end, driving debris toward the main drain. Next, vacuum the bottom to remove loosened dirt and settled particles. Empty the skimmer and pump baskets, then remove ladders, steps, cleaners, and other accessories. Finish by cleaning the filter media through backwashing or rinsing.
| Task | Tool | Purpose |
|---|---|---|
| Brush surfaces | Nylon brush | Dislodge algae |
| Vacuum floor | Pool vacuum | Remove debris |
| Empty baskets | Hands | Clear obstructions |
| Clean filter | Backwash/rinse | Restore flow |
Completing these steps ensures a clean, debris-free pool that’s ready for chemical treatment and shutdown.
Shock the Water Before You Close
Shock the water before you close to eliminate any remaining contaminants once your pool’s clean and free of debris. Apply a chlorine shock or non-chlorine oxidizer to break down organic waste, bacteria, and lingering residues before you seal everything for winter. Precise application and adequate circulation determine how effectively the treatment protects your water through the off-season.
Follow this procedure:
- Apply the shock: Distribute chlorine shock or a non-chlorine oxidizer evenly across the pool surface, matching dosage to your pool’s volume.
- Circulate thoroughly: Run the pump 8 to 12 hours, or 24 to 48 hours if your guide recommends extended mixing, to disperse chemicals fully.
- Verify readiness: Confirm chlorine levels stabilize before adding winter algaecide, sequestrant, or enzymes.
Add Sequestrant and Winter Algaecide
After shocking, you’ll add two chemicals that protect your pool through the off-season. A scale and stain sequestrant binds dissolved minerals, reducing buildup on surfaces and inside plumbing while the water sits stagnant. Follow it with a winter-specific algaecide formulated for saltwater systems to prevent algae growth during the months your circulation is off.
Sequestrant for Scale Prevention
A scale and stain sequestrant binds dissolved minerals and prevents them from depositing on pool surfaces over winter. Sequestrants chelate calcium, iron, copper, and manganese, keeping them suspended in solution rather than crystallizing on plaster, fittings, or your salt cell. This matters most in saltwater systems, where increased calcium hardness and mineral concentration accelerate scale formation during stagnant, cold months.
Follow these steps for proper application:
- Verify chemistry first: Confirm calcium hardness sits within 200 to 400 ppm before dosing.
- Dose per label: Measure the sequestrant according to your pool’s gallonage.
- Circulate thoroughly: Run the pump 8 to 12 hours to distribute the product evenly.
After circulation completes, you’re ready to add your winter algaecide next.
Choosing Winter Algaecide
Choose a winter-specific algaecide formula designed for saltwater systems, since standard algaecides can react poorly with high salt concentrations. This gives your saltwater pool a final line of defense against algae blooms during the months your sanitizer sits idle. Add the algaecide only after you’ve applied your shock treatment and let chlorine levels drop back toward normal, because high chlorine breaks down active ingredients and wastes product. Run the pump for the full circulation window, 8 to 12 hours, or up to 48 hours per your guide’s recommendation, so the algaecide distributes evenly throughout the water and plumbing. Pair it with your sequestrant application to lock out both mineral buildup and algae growth. Complete this step before you lower the water level and blow out the lines.
Lower the Water to the Right Level
Lower the water to about 4 to 6 inches below the skimmer opening, or below both the skimmer and return fittings if you’re plugging them. After you’ve balanced the chemistry and cleaned the pool, drain the water to the correct level to prevent freeze damage over winter. This keeps trapped water out of vulnerable plumbing and reduces ice pressure against pool walls.
Use these methods to drain efficiently:
- Submersible pump: Position it on the pool floor to draw water down quickly and evenly.
- Filter drain setting: Route through the multiport valve’s waste line to bypass the filter media.
- Level check: Measure against the skimmer throat, confirming you’ve hit the target range before stopping.
Don’t over-drain, since excess loss risks structural damage.
Drain Pumps, Filters, and Heaters
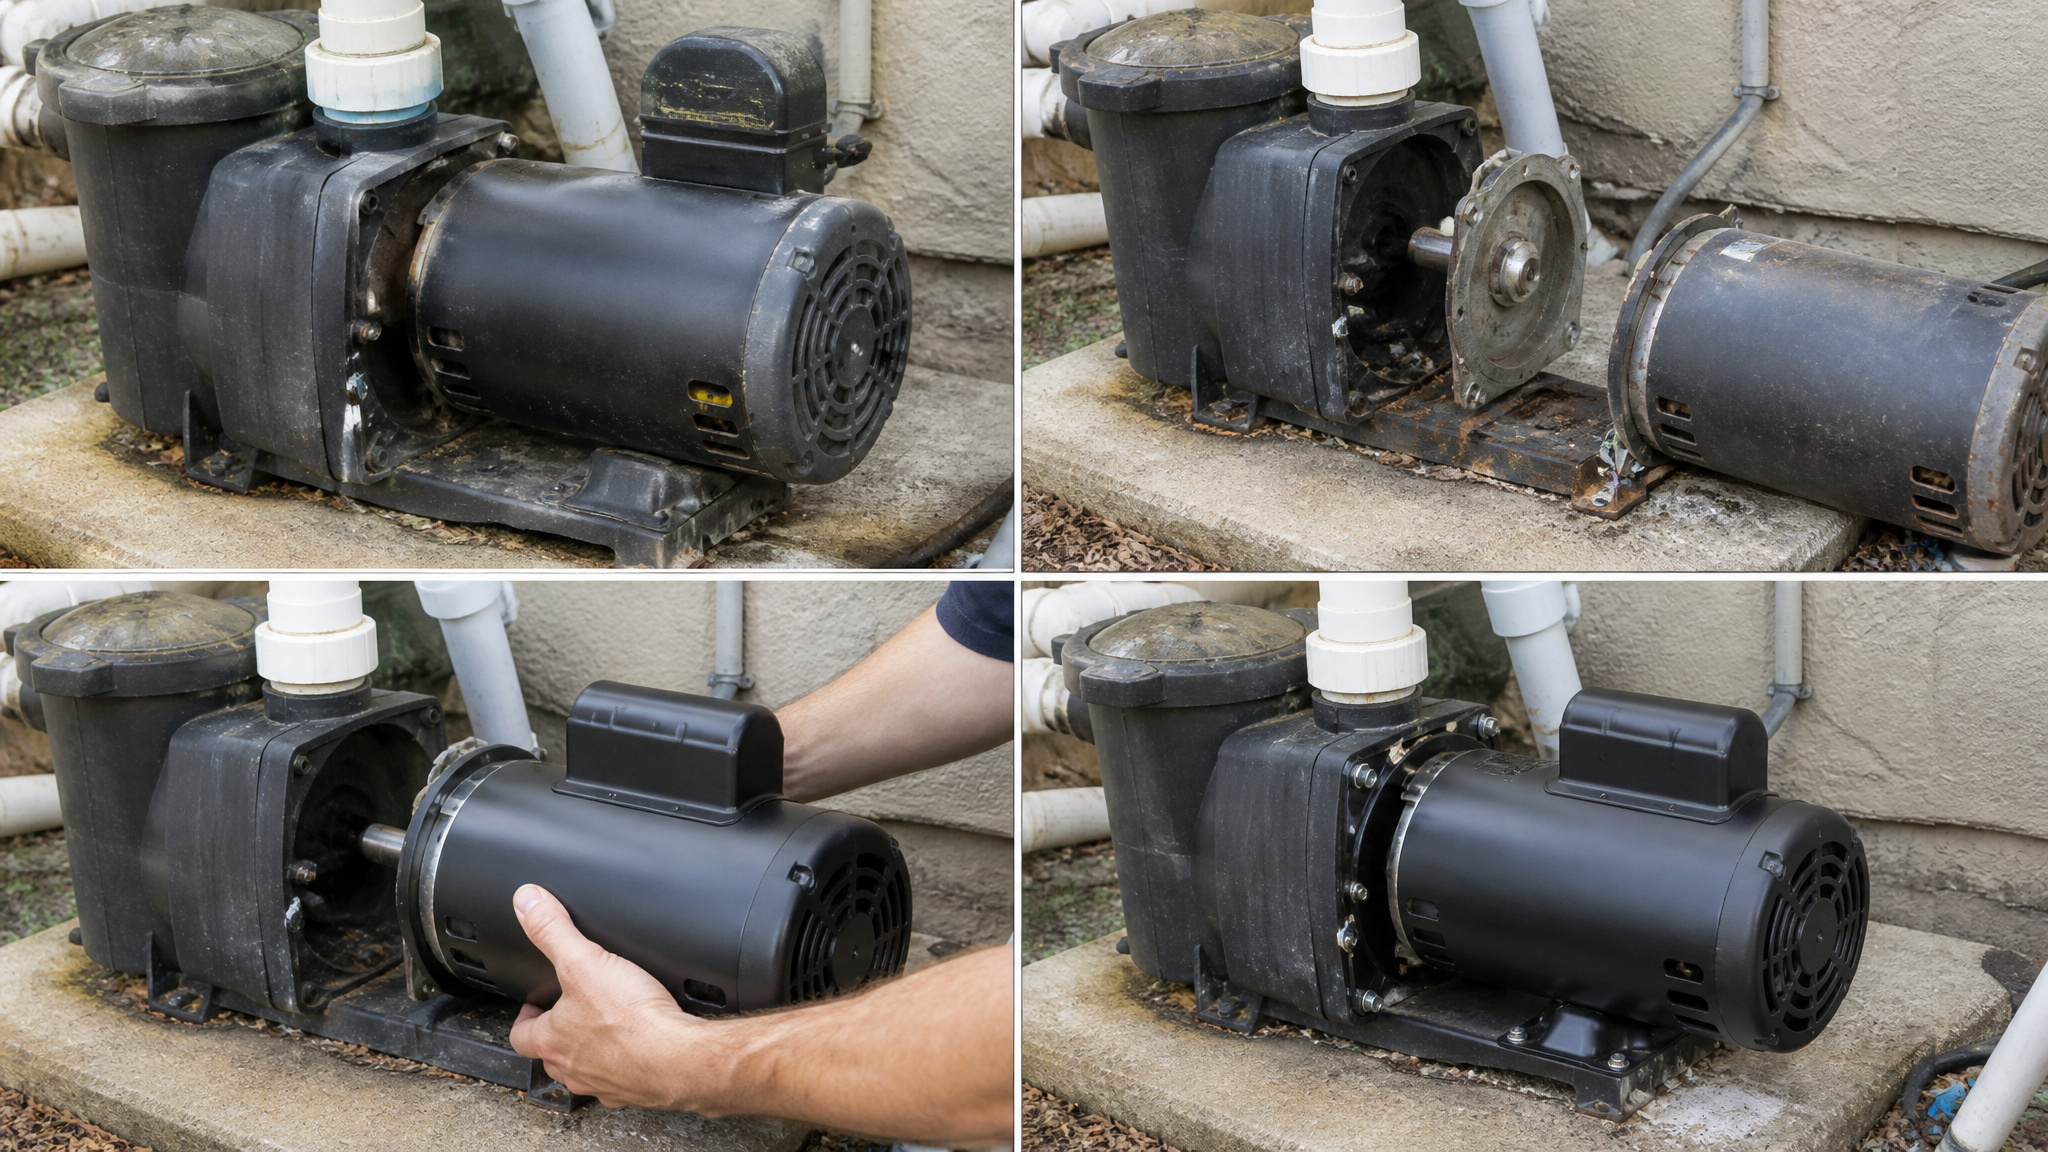
Drain pumps, filters, and heaters completely, since standing water expands as it freezes and cracks housings, tanks, and internal components. Open the drain plugs on your pump, filter, and heater, then remove them completely so residual water escapes. Tip the pump slightly to clear the volute and impeller housing. For a sand or DE filter, open the backwash valve and remove the drain cap at the tank base. Drain the heater’s header and exchanger through its dedicated ports. Store all plugs together in a labeled bag or the pump basket so you’ll find them at reopening. Once everything’s drained, blow out the lines to force remaining water from plumbing before installing your winter plugs.
Blow Out and Plug the Plumbing Lines
Blow out and plug the plumbing lines by clearing every line of water before winter, since trapped water freezes, expands, and cracks pipes and fittings. Use a blower, air compressor, shop vac, or wet/dry vacuum to force residual water from the plumbing. Work systematically through each line until only air discharges from the return and skimmer ports.
Clear every plumbing line before winter, because trapped water freezes, expands, and cracks pipes and fittings.
- Blow out the lines: Connect your air source and push air through each return, skimmer, and main drain line until bubbles clear.
- Install winter plugs: Insert winter, expansion, or freeze plugs into return fittings and skimmers to seal out water.
- Protect the skimmer: Add a skimmer plug or antifreeze rated for pools to prevent freeze damage.
Verify each fitting seats tightly, then confirm no water reenters the cleared lines.
Remove and Store the Salt Cell
Remove the salt cell before storing your pool for winter, because it is vulnerable to scale buildup and freeze damage. After you’ve blown out and plugged the plumbing lines, disconnect the cell from its housing. Inspect the interior plates for scale. If you find deposits, clean them with a manufacturer-approved cell cleaning solution or a diluted acid mix, then rinse thoroughly with fresh water. Let the cell dry completely before storage.
Store the cell indoors, where temperatures stay above freezing, to prevent cracked plates and damaged connections. Install a dummy cell or a spacer coupling in the housing to keep the plumbing sealed. Label the cell and its fittings so reinstallation goes smoothly when you reopen the pool next season.
Cover and Secure Your Saltwater Pool
Install a winter cover to shield your saltwater pool from debris, sunlight, and freeze damage after you’ve sealed the plumbing and secured the salt cell indoors. Choose a tight-fitting solid safety cover or heavy-duty winter tarp sized to your pool’s dimensions. Before fastening, position air pillows beneath the cover to absorb ice expansion and distribute snow load, preventing structural stress on the walls.
- Secure the cover: Fasten with cables, winches, clips, or weight bags to eliminate wind lift and maintain a taut seal.
- Clear the surface: Remove accumulated debris and standing water routinely to prevent sagging and contamination.
- Monitor water level: Track for leaks or water loss that could compromise the walls or cover tension.
Inspect fasteners periodically throughout winter.
Check Your Pool Through the Cold Months
Check your pool through the cold months by monitoring it regularly to catch problems early, even after the cover is fastened. Recheck your water chemistry every 6 to 8 weeks whenever conditions allow. Confirm that pH stays within 7.2 to 7.6, alkalinity holds at 80 to 120 ppm, and calcium hardness remains between 200 to 400 ppm. If warm, fluctuating temperatures accelerate sanitizer loss, add chemicals as needed to maintain protection. Keep the cover clear by removing debris and standing water, which reduces strain and prevents contamination. Monitor the water level throughout the season, watching for leaks or loss that could damage the walls or cover. Inspect cover fasteners and air pillows after storms, resecuring anything that’s shifted. Consistent checks like these keep your pool stable until spring reopening.
Conclusion: Winterizing a Saltwater Pool
A saltwater pool needs the same winter prep as any other, plus one extra step: protecting the salt cell. Balance the water, lower the level, blow out and plug the lines, and remove or store the cell per the maker’s instructions. Handle those basics well and the system comes through winter intact, ready to fire back up cleanly in spring.
Shop Winter Pool Covers & Winterizing Kits
Protecting your pool through winter takes the right cover, antifreeze, and closing chemicals for a stress-free spring reopening. Shop Prime Pool Market for reliable Winter Covers & Accessories at discount prices delivered right to your door. Call (877) 650-7665 today or browse our shop and save on every purchase.
Frequently Asked Questions
Can I Leave My Saltwater Pool Open Year-Round in Mild Climates?
In warm regions like the South, yes, and many owners do. Instead of full winterizing, you keep the pump running on a reduced schedule to prevent freezing and maintain the water. The salt cell keeps working as long as the water stays above the temperature where it shuts off, usually around the low 60s Fahrenheit.
How Much Does It Cost to Winterize a Saltwater Pool?
A professional saltwater winterization typically runs 200 to 500 dollars, a bit more than a standard pool because of the extra care for the salt cell. Doing it yourself costs only the winterizing chemicals and plugs. The salt cell itself is the pricey component, so protecting it properly is where the real savings come from.
Should I Hire a Professional or Winterize the Pool Myself?
Many owners winterize their own saltwater pool once they know the steps, especially protecting or removing the cell. A pro is worth it if you have a complex system, are new to saltwater, or want the blow-out done with proper equipment. The salt cell is the main thing you do not want handled carelessly.
Can I Use Antifreeze in My Saltwater Pool Plumbing Lines?
Only pool-grade, non-toxic antifreeze, never the automotive kind, which is poisonous and will ruin the water. Pool antifreeze adds protection after the lines are blown out, not instead of it. Many mild-climate owners skip antifreeze entirely and rely on a good blow-out, but where hard freezes hit, the pool-safe product is a sensible backup.
How Do I Reopen My Saltwater Pool in Spring?
Reinstall the salt cell, remove the plugs, reconnect and prime the equipment, then top off and balance the water. Once it is balanced, check the salt level and restart the generator. From there it runs like any spring opening, just with the added step of getting the cell and salt reading back where they belong.