
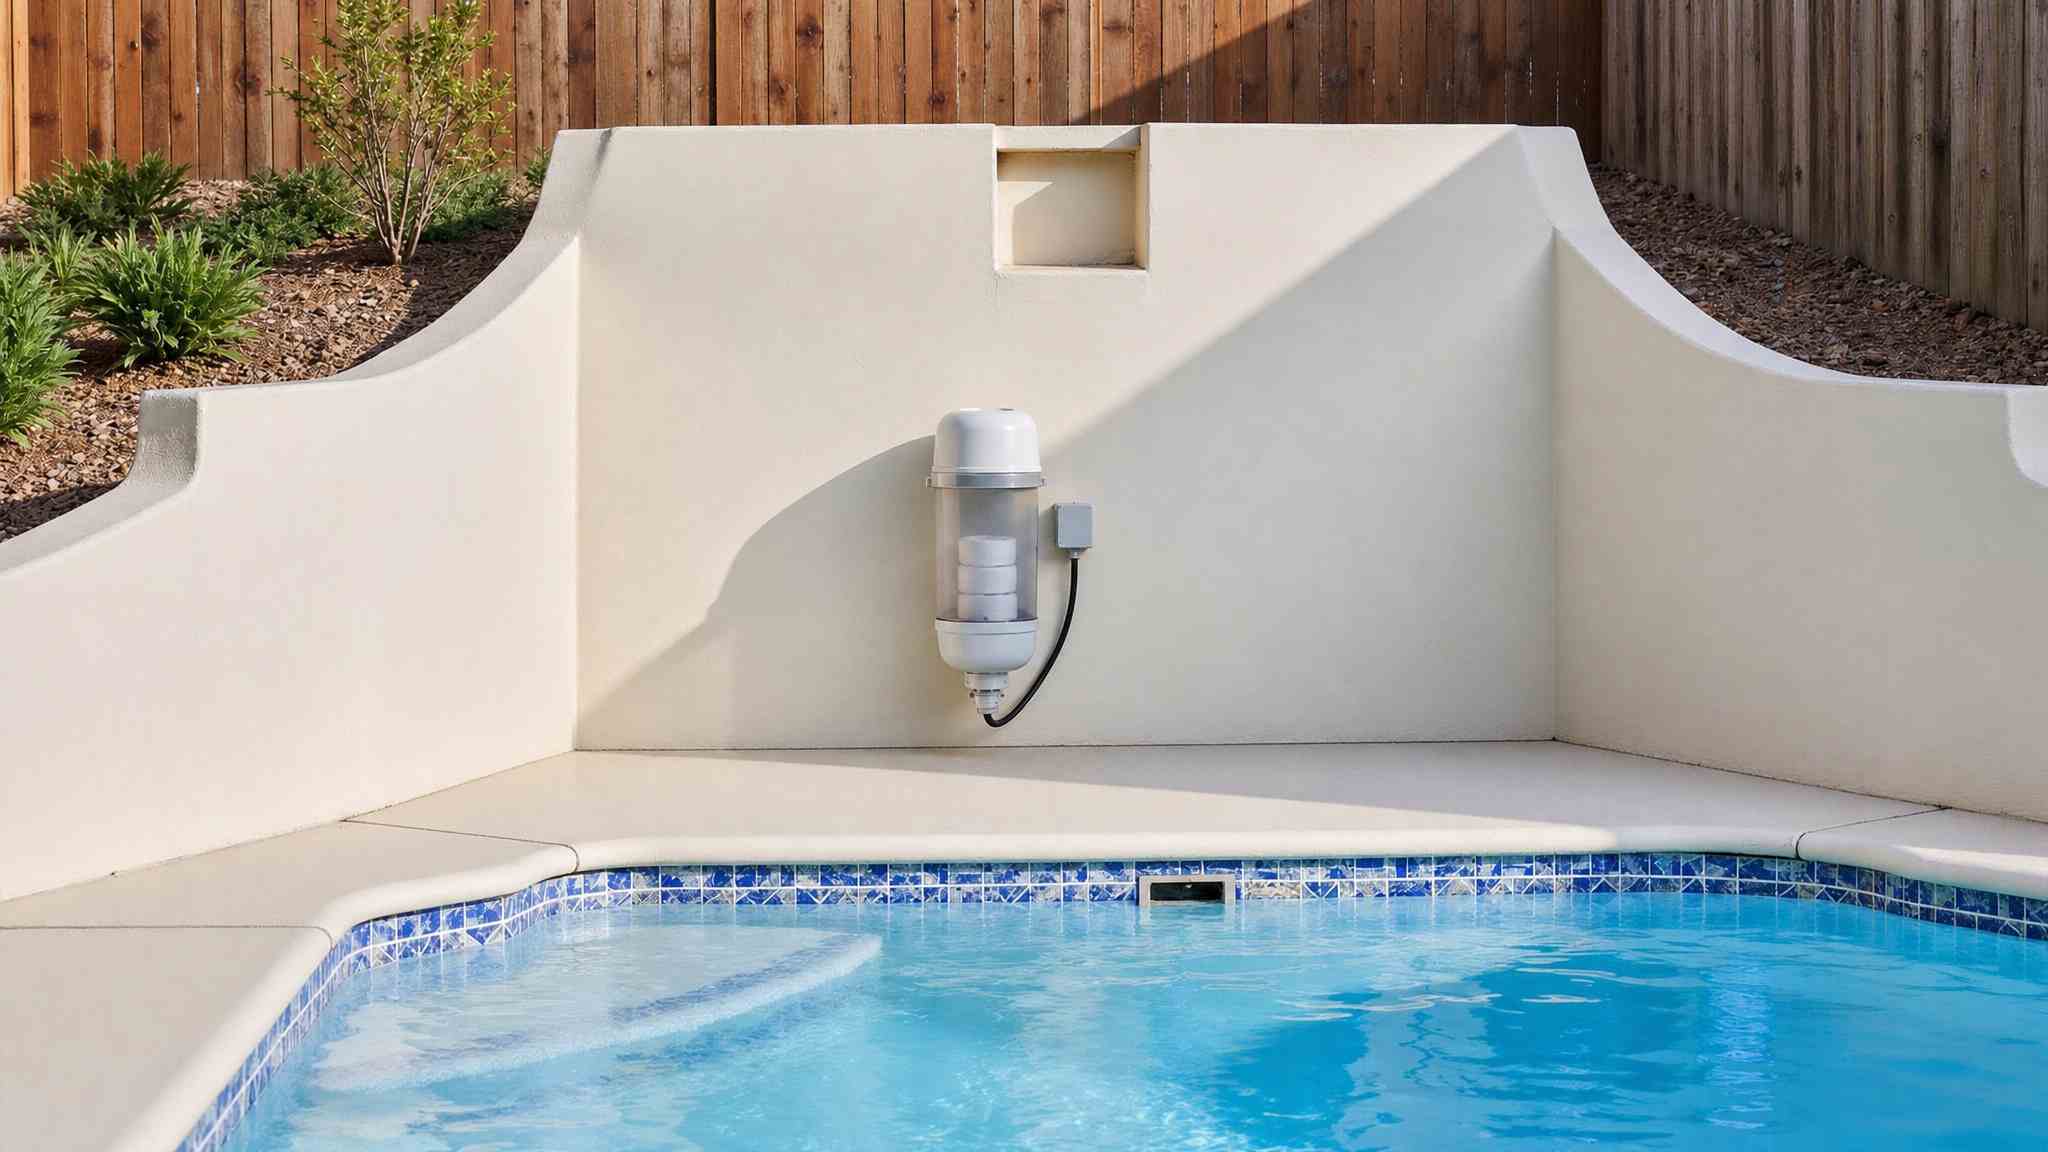
Reopening your above ground pool takes six clear steps. First, pump off cover water, then remove and store the cover clean and dry. Reinstall winterizing plugs, reconnect hoses, and prime your pump before filling to mid-skimmer. Inspect fittings and O-rings for leaks during startup. Balance chemistry in order, alkalinity, pH, then calcium hardness, before shocking and adding algaecide. Confirm chlorine hits 1 to 3 ppm before swimming. Each step below reveals critical timing details you’ll want.
Key Takeaways
- Pump water off the winter cover, clear debris, then remove, rinse, dry, and store it properly.
- Reinstall winterizing plugs, reattach hoses, tighten connections, and prime the pump before filling to the skimmer’s midpoint.
- Inspect all hose connections, O-rings, and fittings for leaks, tightening clamps and replacing damaged seals immediately.
- Brush walls, floor, and waterline top to bottom, then vacuum debris with overlapping passes.
- Run the pump continuously for 24 hours, then test and balance alkalinity, pH, calcium, and shock.
Gather Your Pool Opening Supplies First

Gather a cover pump, skimmer net, pool brush, winterizing plugs, hoses, clamps, replacement O-rings, a reliable test kit, total alkalinity increaser, pH adjusters, calcium hardness increaser, shock, algaecide, a vacuum, filter cleaner, and safety gear before you touch the cover. A smooth spring pool opening depends on having each tool within reach so you don’t interrupt the process midway. Stage a cover pump, skimmer net, and pool brush for debris removal and surface cleaning. Keep your winterizing plugs, hoses, clamps, and replacement O-rings ready to restore circulation. Gather a reliable test kit, total alkalinity increaser, pH adjusters, calcium hardness increaser, shock, and algaecide to complete the chemical pool opening steps safely. Have a vacuum, filter cleaner, and safety gear on hand for inspection. Organizing these items before your above ground pool opening prevents delays, reduces safety risks, and keeps each step precise, controlled, and efficient from start to finish.
Remove the Winter Cover Without the Mess
Before you touch the cover, pump off the standing water so you don’t dump stagnant water and debris into the pool. Once it’s drained, lift the cover carefully and clear any leaves and sludge with a skimmer net. Then clean and dry the cover completely, and store it in a rodent- and insect-free location until next season.
Pump Off Cover Water
Pump off cover water using a cover pump or submersible pump, which removes standing water efficiently so it doesn’t spill into your clean pool when you lift the cover. That stagnant water and rotting debris can pour straight into your pool if you’re not careful, so remove the accumulated water sitting on top first.
Opening above ground pool systems each spring, you’ll find months of rainwater, leaves, and sludge collected on the surface. Position the pump near the lowest point and run it until the cover’s nearly dry. After ensuring the pool cover is clean, it’s crucial to follow the best practices for inground pool care. This includes checking the water chemistry and ensuring the filtration system is functioning properly.
Reopening above ground pool setups goes smoother when you eliminate this water first. After the cover’s drained, you can remove leftover debris with a skimmer net before lifting.
Clear Leaves And Sludge
Clear leaves and sludge from the cover using a skimmer net before you lift it. With the cover water pumped off, you’ll still find leaves, twigs, and sludge clinging to the surface, and you need to clear that debris before lifting the cover. Grab a skimmer net and work methodically across the cover, scooping out standing leaves and settled sludge. This prevents that debris from dumping into the pool when you pull the cover free.
Remove every visible pile before you attempt the lift. Even a thin layer of decayed matter can slide off the edges and contaminate your water, forcing extra filtration and chemical work later.
After the surface reads clean, you’re ready to lift the cover carefully, keeping the edges tilted inward so any remaining residue stays contained rather than spilling into the pool below.
Store The Cover
Store the cover clean, dry, and folded or rolled loosely in a sealed, ventilated container away from sunlight, heat, and moisture. Rinse off remaining dirt, leaves, and sludge, then let the cover air-dry fully on both sides. Inspect it for tears, worn straps, or damaged grommets, and note any repairs you’ll need before next season.
Fold or roll the cover loosely to avoid creasing and cracking the material. Store it in a dry, ventilated container or bag that seals against rodents and insects. Choose a location protected from direct sunlight, extreme heat, and standing moisture, since UV exposure degrades the fabric over time. Trapped moisture breeds mold and attracts rodents over the off-season.
Label the container so you’ll locate the cover quickly when winterizing arrives, keeping your equipment organized and protected.
Clean and Store the Cover the Right Way
Clean and store the cover the right way to extend its lifespan. First, pump off any remaining cover water and skim away leaves and sludge before you lift it. Once the cover’s clear, follow these steps:
- Rinse both sides thoroughly to remove dirt, algae, and residue that can degrade the material.
- Dry the cover completely to prevent mold, mildew, and rot during storage.
- Fold and store it in a dry, rodent- and insect-free location until next season.
A clean, dry cover resists deterioration and stays ready for reuse. Skipping this step invites contamination that shortens the cover’s life and risks dumping debris into your pool later.
Reinstall Plugs and Reconnect Your Equipment
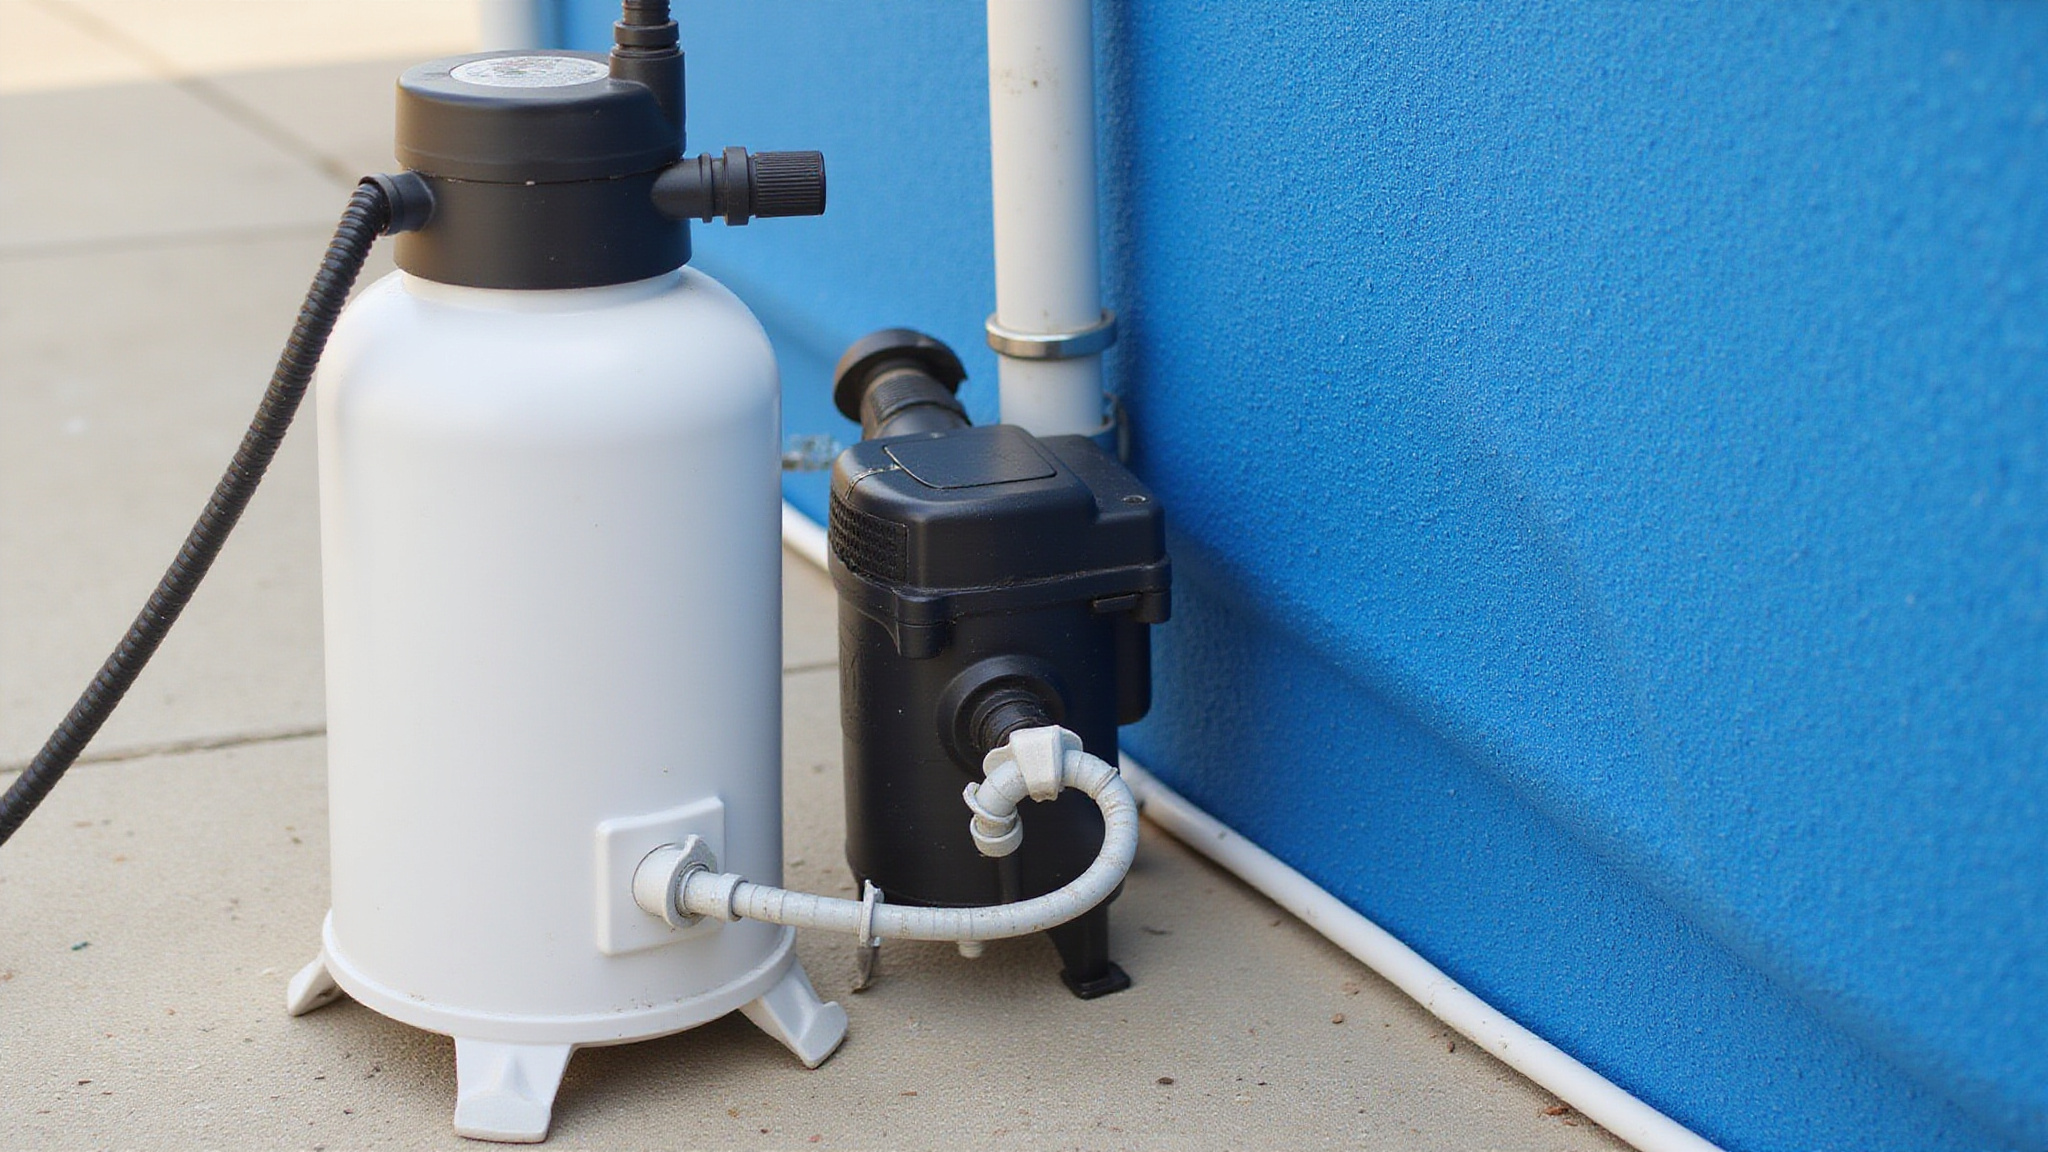
Reinstall the winterizing plugs in all drains and equipment fittings before you add a drop of water. Skipping this step lets water drain out during startup, leaving your pump unprimed and vulnerable to damage.
Next, reattach the hoses to the skimmer, return lines, pump, and filter system. Confirm every connection is tight, then open all valves and set any multiport valve to the “filter” position. Loose fittings cause air leaks and lost prime.
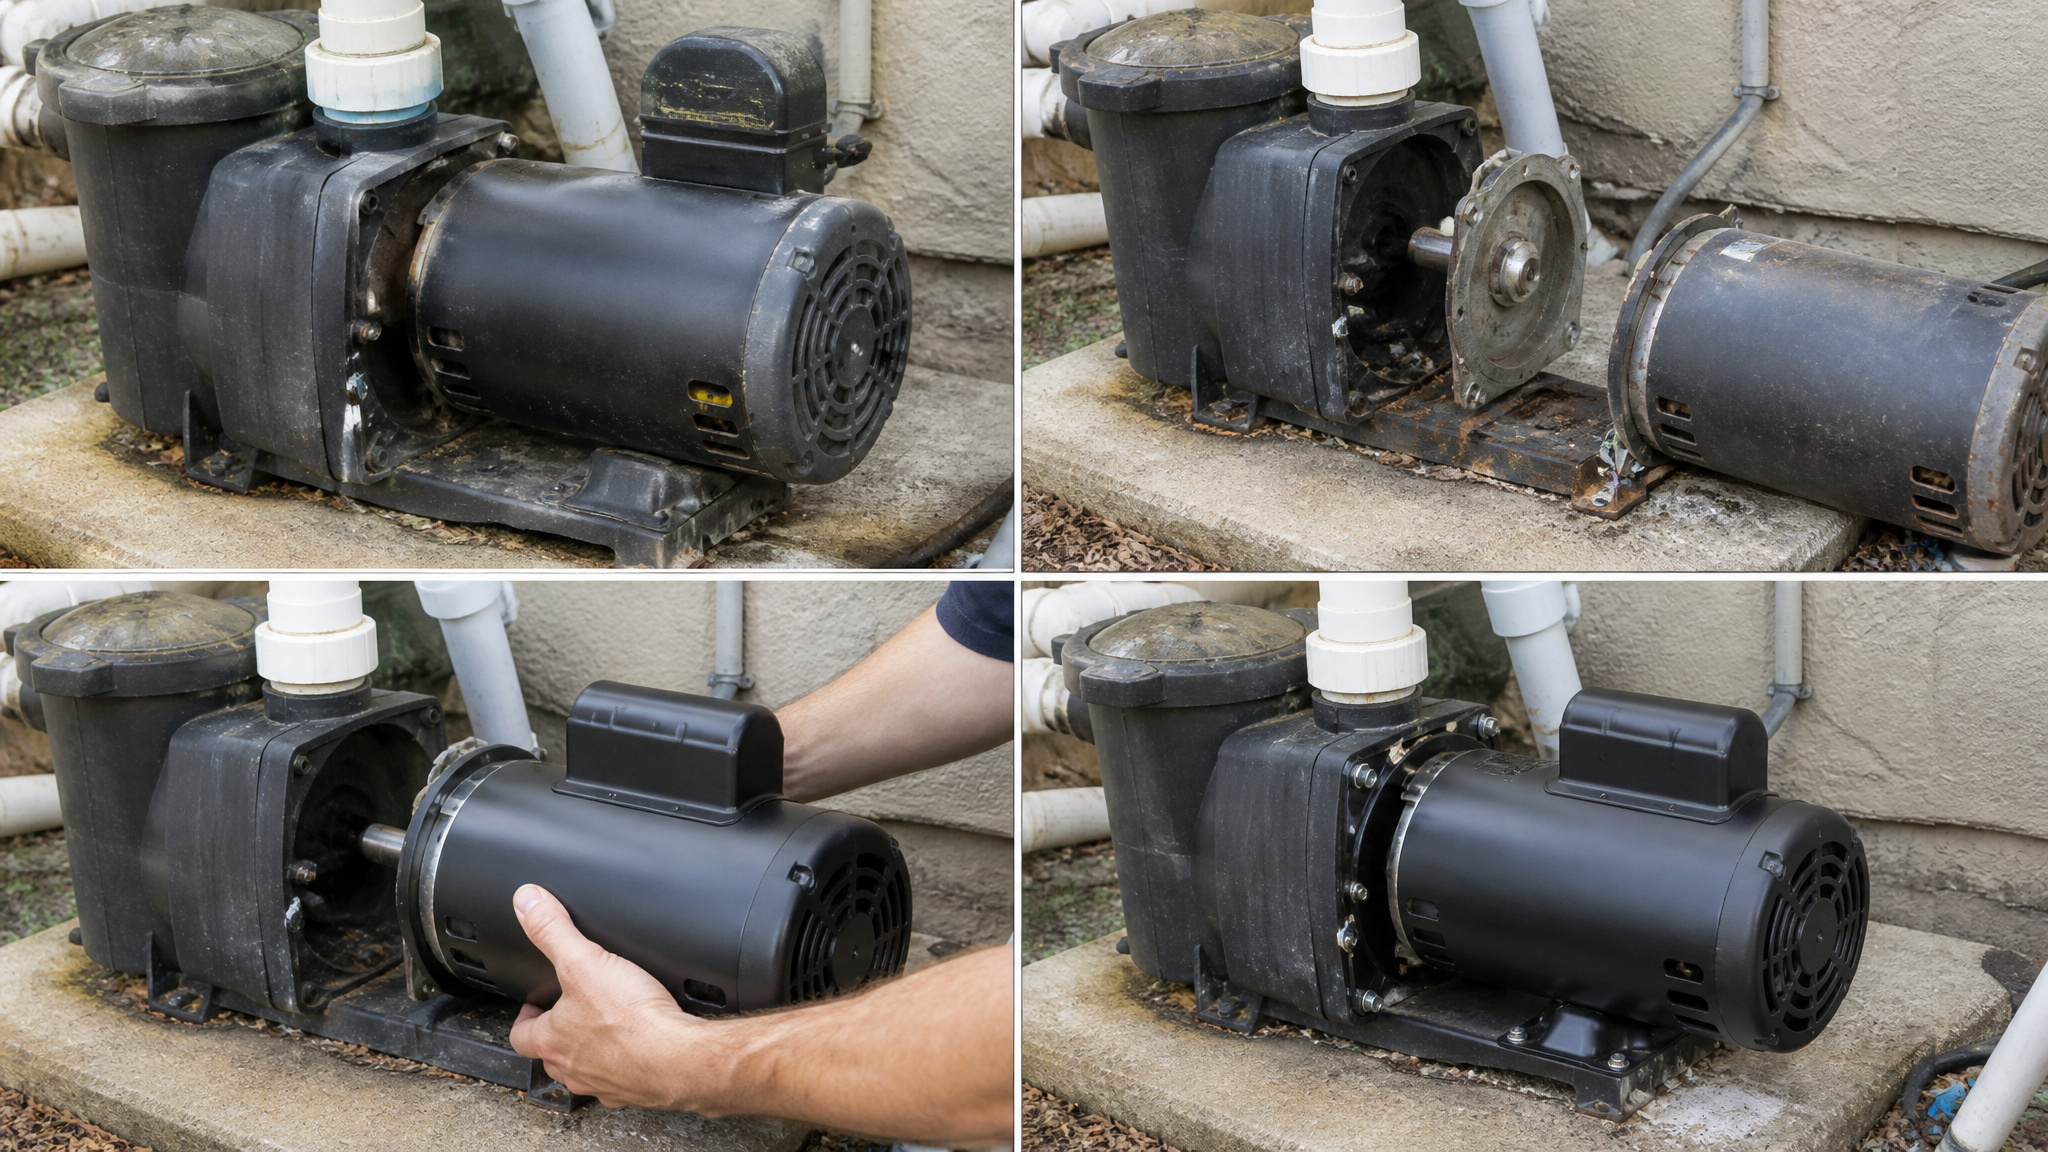
Prime the pump with water, ensuring the pump basket floods completely before you power on. Running a dry pump risks seal and impeller failure.
During startup, inspect closely for leaks, drips, loose clamps, and damaged O-rings. Replace worn seals immediately to protect your equipment and maintain proper circulation throughout the season.
Set the Valves and Prime Your Pool Pump
Set the valves and prime your pool pump by opening all valves, setting the multiport valve to the “filter” position, and adding water until the pump basket floods completely. Correct valve positioning ensures water flows through the intended route and prevents pressure buildup that can damage seals or fittings.
Prime the pump by adding water until the pump basket floods completely. A dry pump can overheat and destroy the seal, so confirm full flooding before powering on.
Verify these critical points before you restart the system:
- All valves are open and the multiport valve sits on “filter”
- The pump basket is flooded and the lid O-ring is seated properly
- Connections, clamps, and fittings are tight with no visible gaps
Once primed, power on and immediately inspect for leaks or drips.
Fill the Pool to the Right Water Level
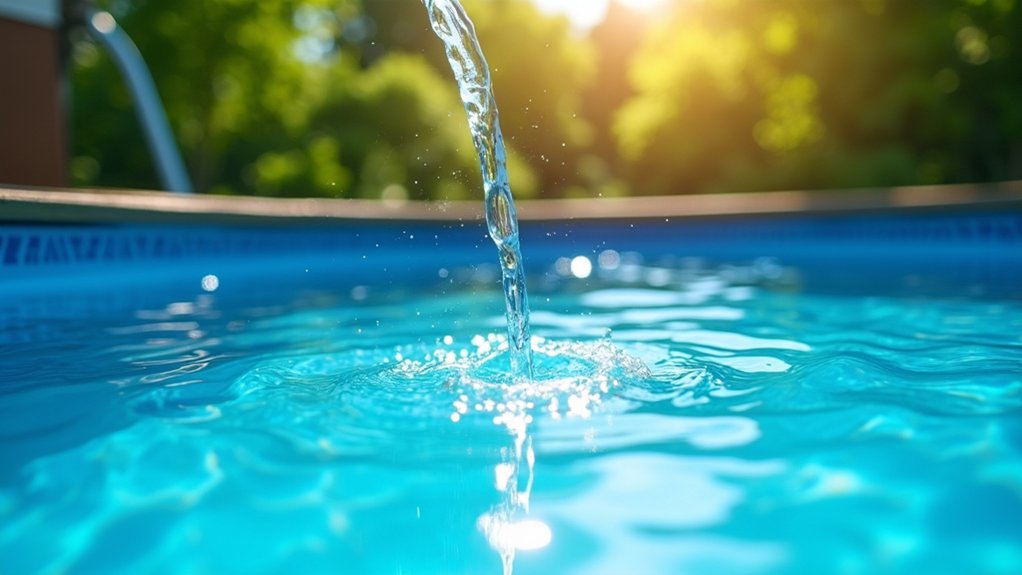
Fill the pool until the water level reaches the middle of the skimmer opening, or slightly above halfway up the skimmer mouth. This range keeps the pump primed and supports proper circulation, so skimming and filtration work correctly. Proper water level directly controls whether your pump stays primed and your circulation runs efficiently.
Fill to the middle of the skimmer opening to keep your pump primed and circulation running efficiently.
Fill before or during initial circulation. If your equipment manufacturer provides specific guidance, confirm that your water level matches those specifications.
After you’ve reached the target level, monitor for unexpected drops. A falling level that you can’t explain often signals a leak in the liner, plumbing, or equipment connections.
Maintaining the correct level throughout startup protects your pump from running dry and ensures the skimmer captures debris efficiently during these critical first hours.
How Do You Check for Leaks at Startup?
As you restart the system, inspect every connection and O-ring for tightness, checking hoses at the skimmer, return lines, pump, and filter. Watch for drips, seeping clamps, and damaged seals during initial circulation, since small leaks worsen under pressure. Monitor the water level for unexpected drops, which signal a leak that needs immediate attention before you continue.
Inspect Connections and O-Rings
Inspect connections and O-rings by walking the entire system and checking every connection point for leaks after the pump is powered on and water starts circulating. During startup, inspect these critical areas:
- Hose connections at the skimmer, return lines, pump, and filter. Confirm each clamp is tight and no drips form under pressure.
- O-rings on the pump lid, filter, and multiport valve. Look for cracks, dry rot, or misalignment that can break the seal.
- Fittings and unions where equipment threads together. Watch for weeping or slow seepage that signals a loose joint.
Tighten loose clamps and reseat or replace damaged O-rings immediately. A properly lubricated O-ring seals better and lasts longer. Catching these issues early prevents pressure loss, protects the pump from running dry, and keeps circulation efficient.
Monitor Water Level Drops
Track your water level to catch a slow leak, since it often shows up as an unexpected drop before you ever spot moisture at a fitting. Fill until the water reaches the middle of the skimmer opening, or slightly above halfway up the skimmer mouth, then mark that starting point. This level keeps the pump primed and supports proper circulation. Over the next day, watch for any decline that outpaces normal evaporation. A steady, unexplained drop signals a leak somewhere in your plumbing, fittings, or liner. Confirm the level matches your equipment manufacturer’s guidance if it’s available. Catch drops early, before they compromise the pump’s prime, interrupt filtration, or worsen into a larger structural problem.
Watch for Drips
Watch for drips the moment you power on the system, because leaks often reveal themselves during startup. As water pressurizes the lines, small drips signal loose fittings or failed seals that worsen quickly under sustained flow. Inspect the pump, filter, valves, and hose connections carefully while circulation runs.
Focus your inspection on these common failure points:
- Loose clamps and unions at the pump and filter, which back off during winterizing and often need retightening.
- Damaged or dry O-rings on the pump lid, filter, and valve assemblies that crack from cold storage.
- Hose connections at the skimmer and return lines, where seals loosen over time.
Address any drip immediately. Shut down the pump, correct the issue, then restart and reinspect.
Brush the Walls, Floor, and Waterline
Brush the walls, floor, and waterline systematically across every submerged surface with circulation running. Start at the walls, brushing from top to bottom so loosened material settles toward the floor. Cover the entire perimeter, then move to the floor, pushing debris toward the main drain or vacuum path.
Pay close attention to the waterline, where algae and winter buildup concentrate. Scrub this band thoroughly to break up any film clinging to the liner.
Reach corners, steps, and ladder bases, since these low-flow zones trap residue. Use firm, overlapping strokes to dislodge algae before it establishes.
Brushing before vacuuming suspends settled particles, letting filtration and manual cleanup remove them efficiently. Work methodically, section by section, so you don’t miss any surface during startup.
Vacuum and Skim Out Leftover Debris
Vacuum the floor to capture the debris you just loosened, preventing it from clouding the water again once circulation strengthens. Removing suspended particles before they resettle keeps the water clear.
Work methodically across the pool floor, overlapping each pass so you don’t miss residue in corners or along seams. Move slowly to avoid restirring fine sediment.
Slow, overlapping passes lift settled debris cleanly, leaving no residue hiding in corners or along the seams.
- Vacuum the floor first, targeting settled debris and residue from winter buildup.
- Skim any floating leaves, insects, or organic matter once circulation begins.
- Clean the filter frequently during this start-up period, since heavy debris loads are common.
Monitor filter pressure throughout the process. Rising pressure signals trapped debris, so backwash or clean the filter when readings climb above normal operating ranges to maintain effective filtration.
Run the Pool Pump for the First 24 Hours
Run the pump continuously for the first 24 hours to circulate the entire water volume through the filter. This initial run turns over stagnant water, distributes any dissolved chemicals, and pushes suspended particles toward the filter media. Expect heavy debris loads during this period, so clean or backwash the filter frequently rather than waiting for a scheduled interval. Watch the filter pressure gauge closely; a rise above normal signals restricted flow and demands cleaning. Keep the water level at mid-skimmer so the pump stays primed and doesn’t draw air. Skim any remaining floating debris as circulation begins. Don’t shut the system down early. Continuous operation is what clears the water and prepares it for balancing.
Test Your Pool Water Before Adding Anything
Testing your pool water first tells you exactly where your water stands, so you don’t waste chemicals or overcorrect. After winter, your chemistry drifts unpredictably, and guessing risks scale, corrosion, or cloudy water. Grab a fresh test kit or strips and pull a sample from elbow-depth, away from returns, for accurate readings.
Test and record these baseline values:
- Total alkalinity, which buffers pH and should be checked first
- pH, your primary indicator for water balance and swimmer comfort
- Calcium hardness, which protects surfaces and equipment from damage
Log each result before touching a single chemical. This baseline lets you calculate precise doses and confirm improvements when you retest. Never add anything blindly. Accurate data drives safe, effective adjustments every time.
Balance Alkalinity, pH, and Calcium in Order
Balance alkalinity, pH, and calcium in this exact sequence, total alkalinity, pH, then calcium hardness, because each step affects the next. Start with total alkalinity, since it buffers pH and prevents wild swings. Adjust it into the recommended range first, then retest before moving on. Next, tackle pH. With alkalinity stabilized, you’ll find pH easier to lock into range, and the water stays comfortable and non-corrosive. Once pH holds steady, address calcium hardness. Proper calcium protects your pool’s surfaces and equipment from etching or scaling. Add chemicals gradually, letting water circulate between doses so readings settle accurately. Always retest after each adjustment to confirm balance before proceeding. Skipping this order forces you to redo work, waste chemicals, and risk damage. Balance carefully, and you’ll build a stable foundation for shocking next.
How Much Shock Does Your Pool Need?
Once you’ve balanced alkalinity, pH, and calcium hardness, you’re ready to shock the pool at a common dose of 2 lbs per 10,000 gallons. Always shock after chemistry is balanced, not before, since unbalanced water reduces the treatment’s effectiveness. Measure your pool’s volume accurately so you can calculate the correct dose and avoid under- or over-treating the water.
Shock Dosage Guidelines
Shock dosage scales directly to your pool’s volume, so a common opening dose is 2 lbs of shock per 10,000 gallons. Calculate your volume before measuring anything out.
Confirm these conditions before you add shock:
- Balanced chemistry first, adjust total alkalinity, then pH, then calcium hardness before shocking.
- Accurate volume, miscalculating gallons leads to under- or over-treating, both of which cause problems.
- Proper circulation, run the pump so shock distributes evenly instead of concentrating in one area.
Add shock after chemistry’s balanced, then let the pool circulate for 24 to 48 hours before you retest or make any additional adjustments.
Timing After Balancing
Timing after balancing determines whether shock actually works or just wastes product. Add shock only after you’ve adjusted alkalinity, pH, and calcium hardness in that order. Adding shock to unbalanced water reduces its effectiveness and can cause cloudiness or scaling. After you’ve shocked, let the pump circulate continuously for 24 to 48 hours before you take a final sample or make further adjustments.
| Step | Timing |
|---|---|
| Balance chemistry | Before shocking |
| Add shock | After balancing |
| Circulate | 24 to 48 hours |
| Retest water | 12 to 24 hours later |
| Final sample | After circulation |
Retest after 12 to 24 hours to confirm chlorine, pH, and alkalinity hold steady. Don’t rush this window. Premature testing gives misleading readings and wastes chemicals.
When Should You Add Algaecide?
Add algaecide as part of your opening treatment, but only after you’ve balanced the water and shocked the pool. Introducing algaecide too early wastes product and reduces its effectiveness against early-season growth.
Follow these guidelines for proper application:
- Balance first: Adjust total alkalinity, pH, and calcium hardness before adding any algaecide.
- Shock before algaecide: High chlorine levels from shock can degrade algaecide, so let chlorine drop toward normal ranges first.
- Follow product directions: Add algaecide when your product label or pool guide recommends it during the opening process.
Circulate the water thoroughly after application. This ensures the algaecide disperses evenly, protecting all surfaces and preventing algae from establishing during startup.
When Is Your Pool Safe to Swim In?
Your pool is safe to swim in once every parameter confirms balanced, sanitized water, chlorine has fallen back into the 1 to 3 ppm range, and the water is clear enough to see the floor. Verify your chemistry before anyone gets in. Let the pump circulate for 24 to 48 hours after shocking, then retest the water 12 to 24 hours later. Confirm that pH sits between 7.2 and 7.8, alkalinity ranges from 80 to 120 ppm, and calcium hardness meets equipment guidance. Chlorine must fall back into the safe swimming range of 1 to 3 ppm before entry. Don’t allow swimming while chlorine remains high from shock treatment. Check that the water is clear enough to see the pool floor, indicating adequate filtration and circulation. If any reading falls outside range, adjust, circulate, and retest. Only enter once every parameter confirms balanced, sanitized, safe water.
Conclusion: Reopening an Above Ground Pool
Reopening an above ground pool is a manageable weekend job: clear and remove the cover, reconnect the pump and filter, top off the water, then balance and shock it. Give the filter a day or two to clear any cloudiness and the pool is ready. A steady, in-order approach turns spring reopening into a routine task rather than a chore.
Shop Pool Opening Chemicals for Spring
Getting your pool spring-ready starts with the right chemicals and equipment for a clean, safe opening. Shop Prime Pool Market for reliable Pool & Spa Chemicals at discount prices delivered right to your door. Call (877) 650-7665 today or browse our shop and save on every purchase.
Frequently Asked Questions
How Early in Spring Should You Reopen Your Above Ground Pool?
Open when daytime temperatures consistently reach the 60s and 70s, since warm water invites algae if the pool sits uncovered and unbalanced. Opening a bit early, before it gets truly warm, actually makes clearing the water easier because algae has not had a chance to bloom. Waiting too long often means a greener pool to clean.
Can You Reopen Your Pool Without Draining It Completely?
Yes, and you usually should. Draining an above ground pool is rarely necessary and can even risk the liner shifting. In most cases you just top off the water lost over winter, then balance and shock what is already there. Full draining is only needed if the water is beyond recovery or the liner needs replacing.
Why Is My Pool Water Still Cloudy After Opening?
Cloudiness right after opening is normal as the filter catches up and the chemistry balances. Give it a day or two of continuous filtering. If it lingers, the usual causes are unbalanced water, a filter that needs cleaning, or fine particles that need a clarifier. Running the pump longer clears most opening-day haze.
Do You Need a Professional to Open Your Above Ground Pool?
Usually not. Above ground pools are simpler than inground ones, and most owners handle the reopening themselves with a basic checklist. A professional is worth considering only if you are dealing with equipment problems, a badly green pool, or would simply rather not do the work. For a typical pool, it is a straightforward DIY job.
How Much Does It Cost to Reopen an Above Ground Pool?
Doing it yourself, you are mainly paying for chemicals, roughly 50 to 100 dollars. A professional opening service for an above ground pool generally runs 100 to 250 dollars depending on your area and pool size. The DIY route is affordable and realistic for most owners, with the pro option there for convenience.