
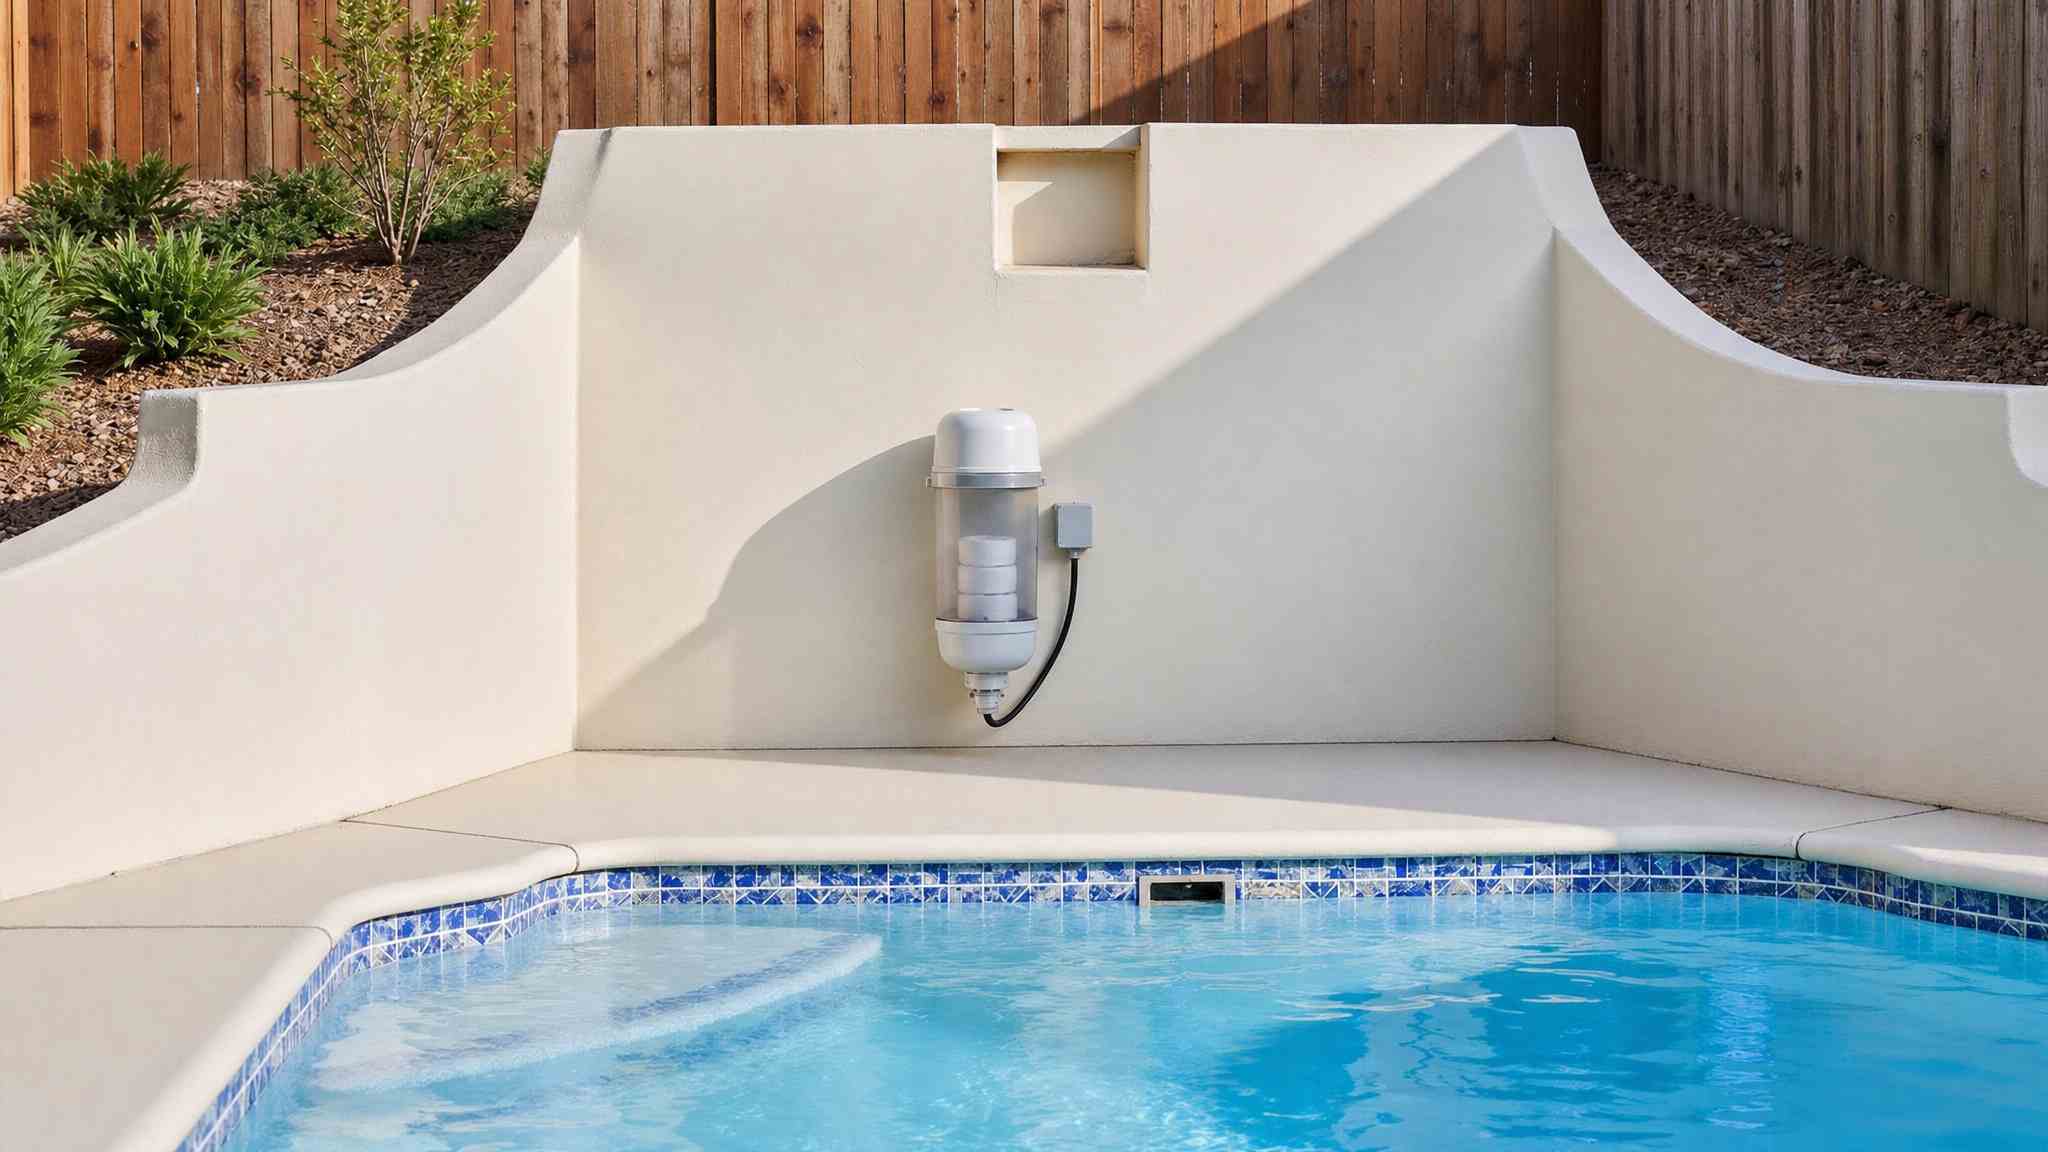
Open your pool once overnight temperatures stay reliably above freezing, typically late April to early May in Ontario. Pump standing water off the cover first, then remove debris carefully to avoid tears. Clean, dry, and store the cover, then reinstall ladders, baskets, and plugs. Refill to the skimmer, restart circulation, and purge air from the filter. Skim, brush, vacuum, then test, balance, and shock. Keep going to master each critical step.
Key Takeaways
- Time your opening for late April to early May when overnight temps stay above freezing and water reaches roughly 60°F.
- Pump off standing water and remove debris carefully before handling the cover to avoid tears or dumping debris into the pool.
- Reinstall ladders, rails, baskets, plugs, and gauges, seating each firmly and checking O-rings and threads for wear or damage.
- Refill to normal level, restart circulation, and purge trapped air from the filter, then run continuous filtration for 24 to 48 hours.
- Skim, brush, and vacuum thoroughly, then test and balance alkalinity (80 to 120 ppm) and pH (7.4 to 7.6) before shocking and swimming.
When Should You Open Your Inground Pool?

You should open your inground pool in late spring, once overnight temperatures stay reliably above freezing and weather has stabilized. In Ontario, the typical window to open your pool for spring runs from late April to early May. Use practical triggers to confirm readiness: daytime temperatures consistently above 70°F, or a water temperature reaching roughly 60°F. Once you’ve determined it’s time to open your pool, create a springtime checklist for pool maintenance to ensure everything is in order. This checklist should include tasks like cleaning the pool cover, checking the pump and filter, and balancing the water chemistry.
Don’t delay your spring pool opening. Opening earlier reduces the risk that spring debris, stagnant water, and algae buildup develop beneath the cover, which can complicate cleanup and strain your chemistry later. Monitor forecasts and confirm that freezing nights have passed before you begin. Matching your inground pool opening to stable conditions protects equipment, simplifies startup, and keeps your water safer from the start.
Pump Water and Debris Off the Cover
Before you touch the cover, use a cover pump or manual removal to clear all standing water, since even a few inches adds dangerous weight and can spill contaminated runoff into the pool. Once the water’s gone, remove leaves, branches, and other debris carefully to keep it from sliding into the water as you work. Take your time here, rushing this step risks tearing the cover or dumping debris that complicates the cleanup ahead.
Clearing Standing Water
Clearing standing water starts with removing it from the winter cover before doing anything else. Standing water and debris accumulate on top of an inground pool cover through the off-season, and removing them safely is a critical first step in how to open a pool without contaminating the water beneath.
Use a cover pump or manual removal to eliminate standing water. Work methodically to avoid dumping debris into the pool:
- Position a cover pump at the lowest point to draw off pooled water efficiently.
- Scoop or net leaves, twigs, and sediment before they slide toward the pool’s edge.
- Inspect the cover for tears or wear as you clear it.
Clearing water first prevents contamination during removal.
Removing Debris Safely
Remove debris safely by clearing leaves, twigs, and sediment manually before you pull the cover, since any debris left on top will slide into the water when you lift it. This layer can’t drain through a pump, so it needs hands-on removal. Work carefully from the pool’s edge to avoid straining or losing your balance near the water. Skim or scoop debris using a net or soft brush, then rinse the remaining sediment toward one edge for easier collection. Don’t drag heavy piles across the fabric, as grit can tear the cover. Inspect the surface as you clear it, noting any rips or worn spots for later repair. Keep the cover taut and supported so debris doesn’t pocket and re-collect.
Remove, Clean, and Store the Winter Cover
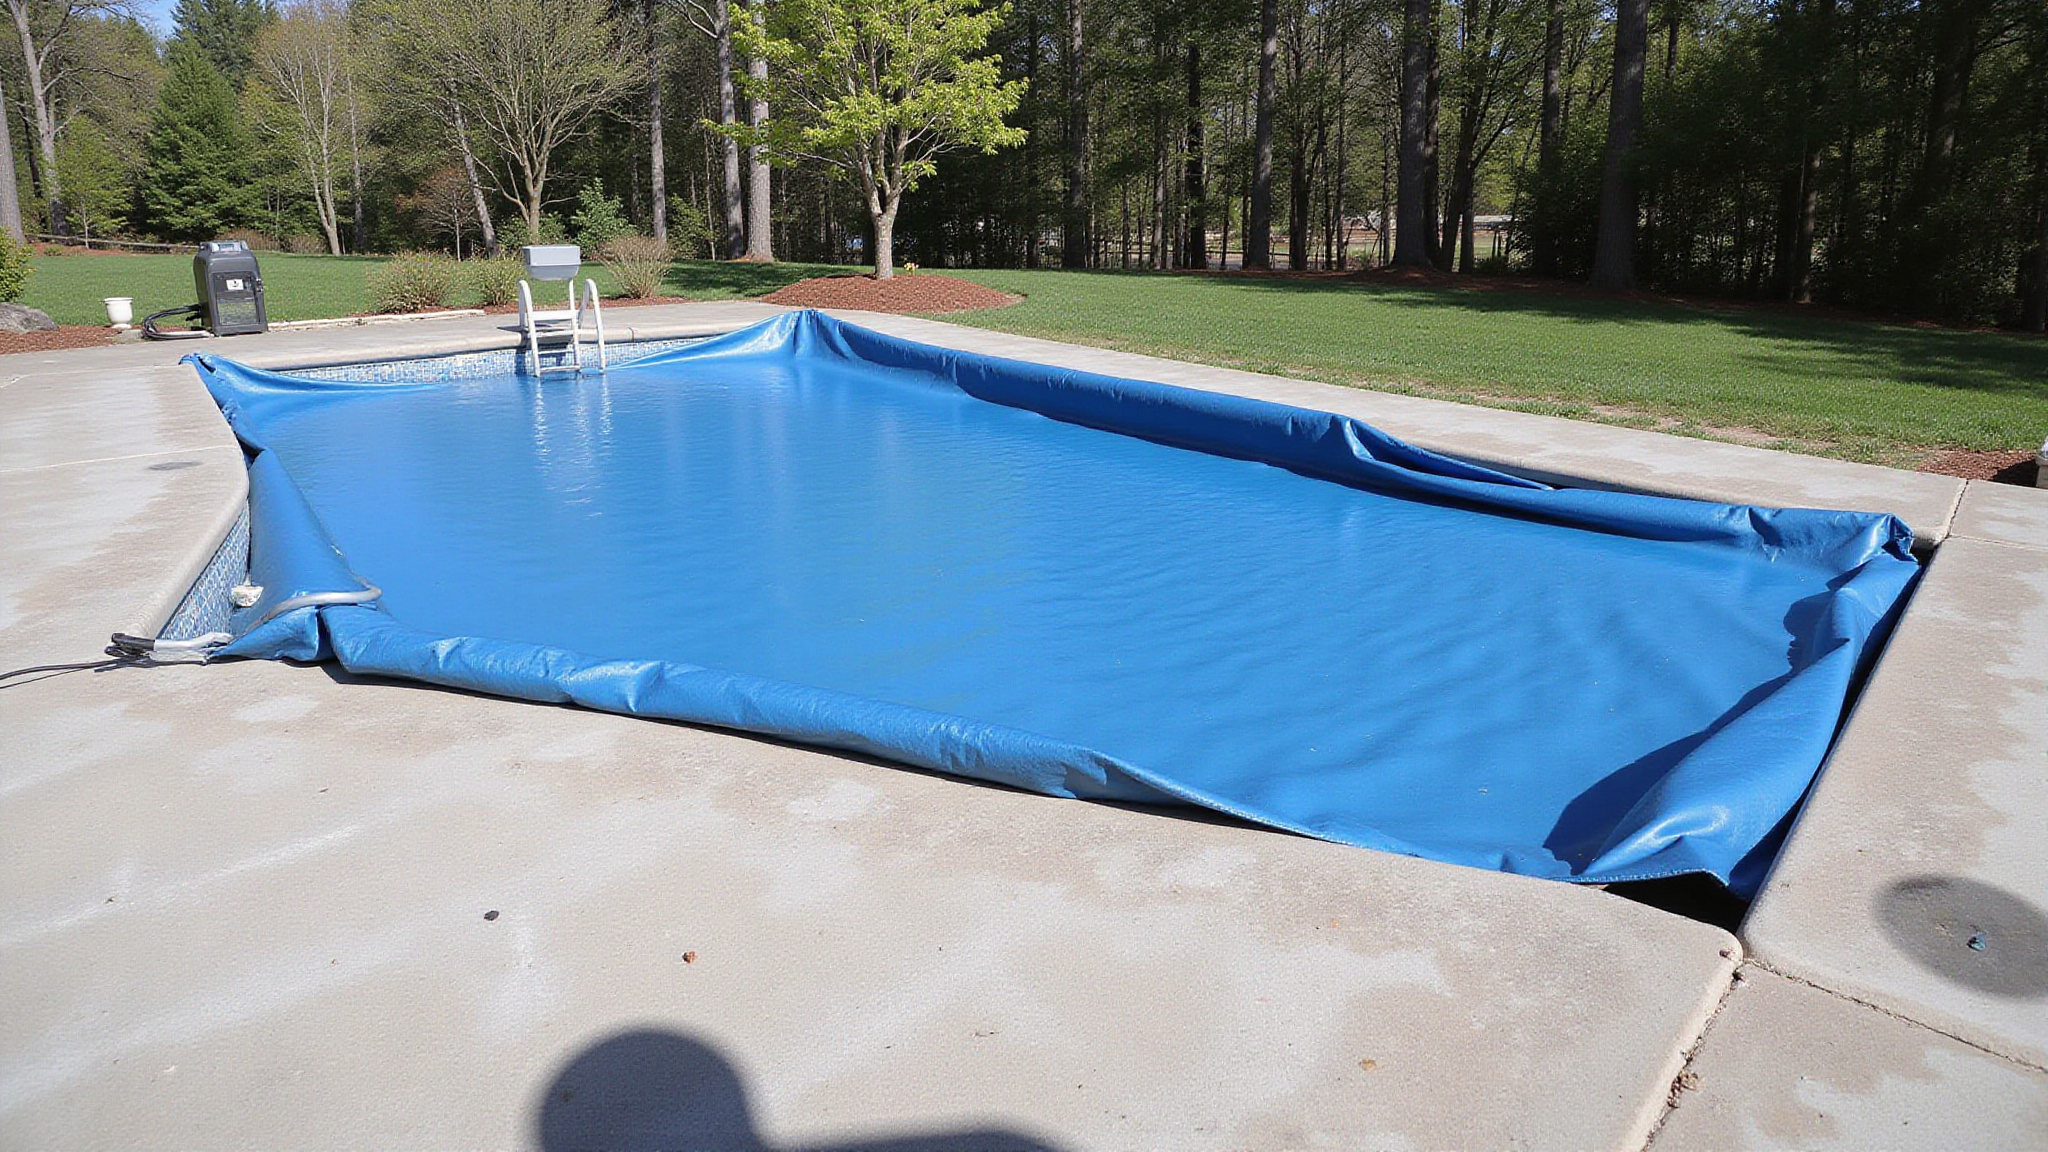
Remove standing water and debris from the winter cover with a cover pump or by hand, because they can contaminate your pool the moment you pull the cover off. Once the surface is clear, carefully draw the cover back to keep contaminants from sliding into the water.
After removal, inspect and prepare the cover for storage:
- Check the cover, fittings, and pool area for tears, wear, or damage that need repair.
- Clean and dry the cover completely to prevent mildew and material breakdown.
- Fold and store it in a dry, protected space until next season.
With the cover off, reinstall your ladders, rails, baskets, plugs, and gauges. Then brush or rinse the deck and surrounding surfaces so debris won’t wash back into the water.
Inspect the Pool Interior for Damage
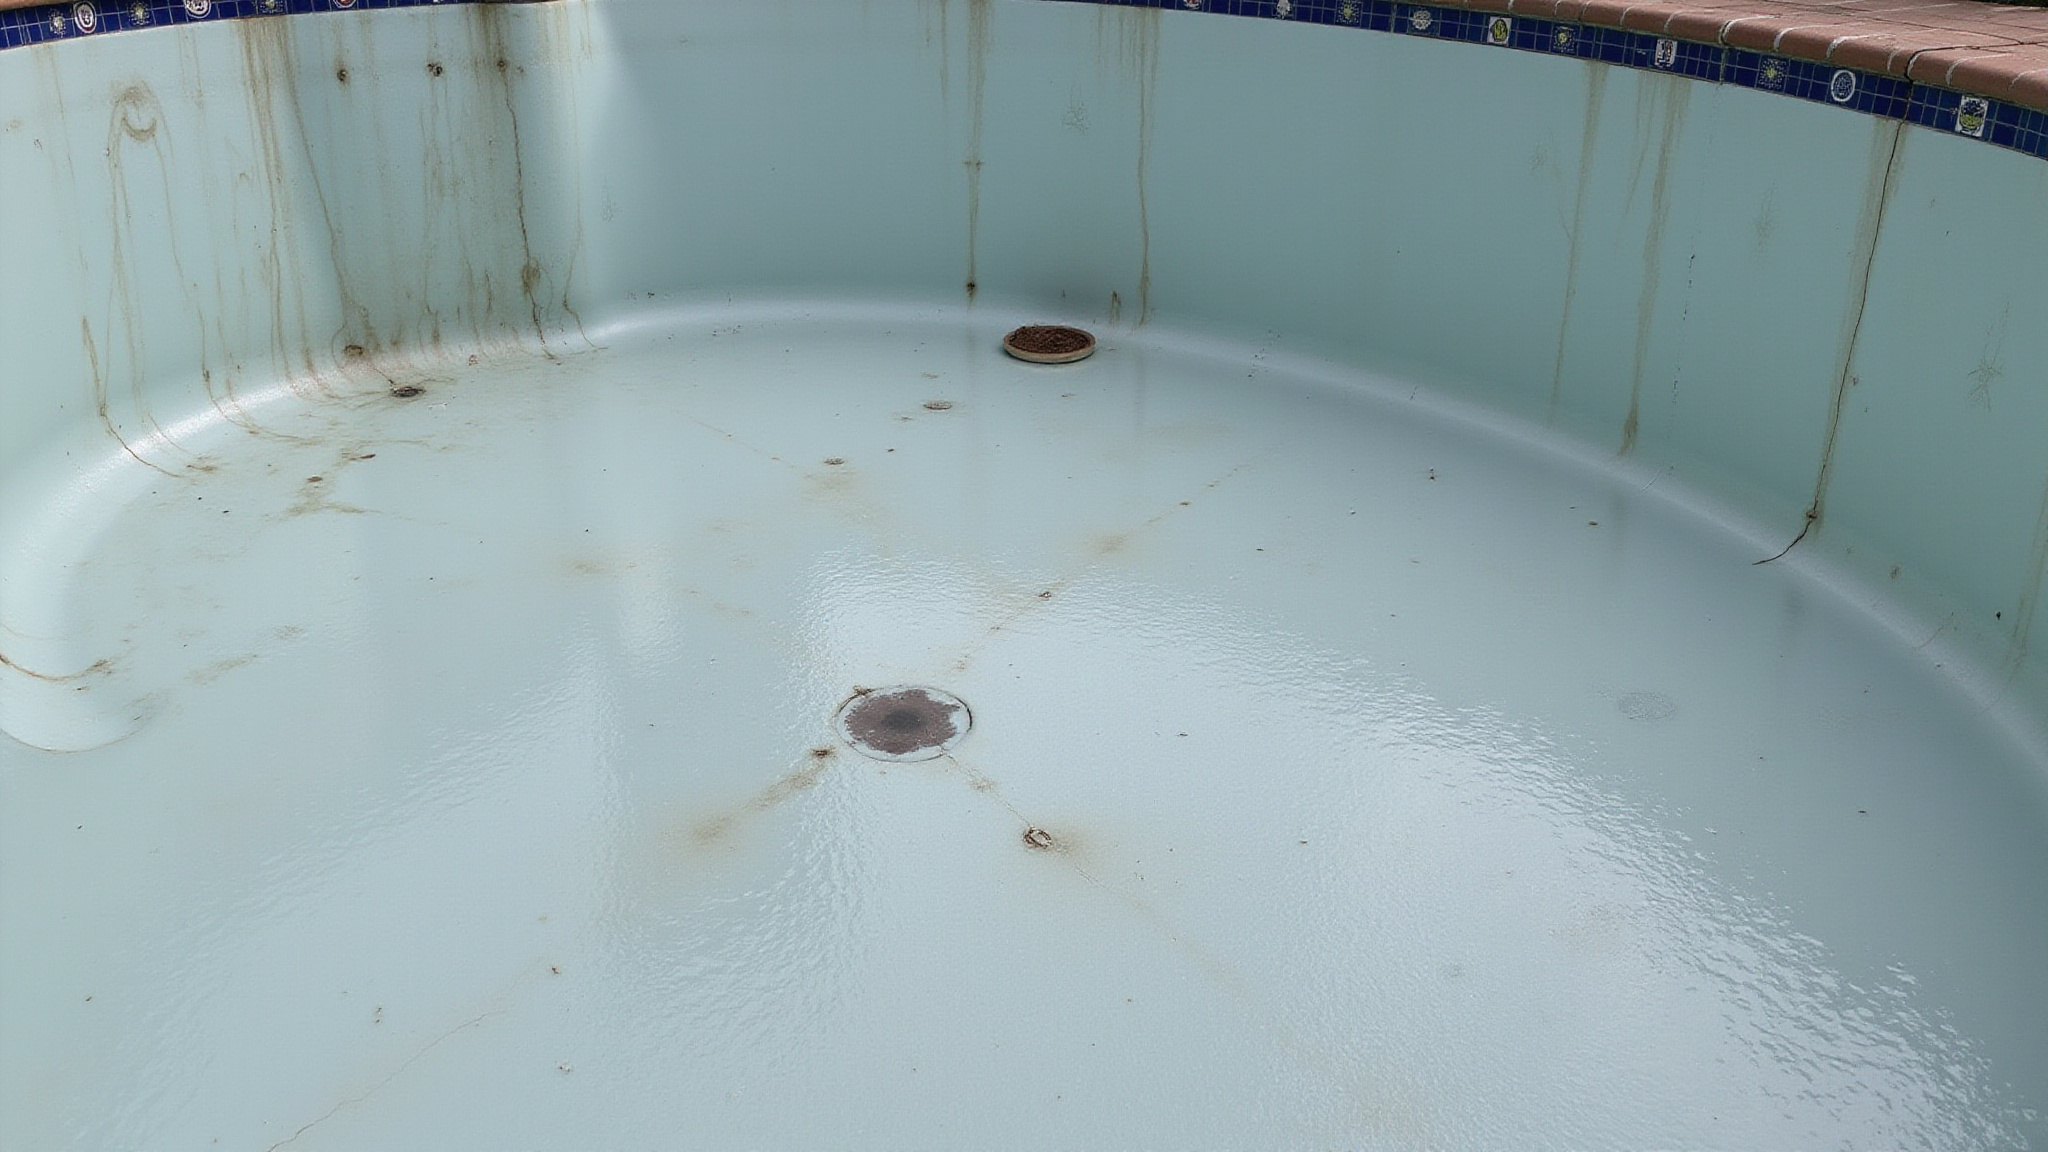
Inspect the pool interior for visible contamination, stains, cracks, or surface wear. Examine the walls, floor, steps, and waterline for discoloration, algae staining, or organic buildup left over winter. Look closely for cracks, hairline fractures, or surface delamination that signal structural damage or freeze stress. Check the liner or plaster for wrinkles, tears, blistering, or thinning that could worsen once you refill. Document any contamination or wear you find so you can address it during cleaning and balancing. Note stained areas that may need targeted treatment before you shock the water. Catching interior damage now prevents circulation problems, water loss, and safety hazards later, so don’t rush this step before restarting your system.
Reinstall Ladders, Rails, Baskets, and Plugs
Reinstall the ladders, rails, baskets, and plugs by seating each accessory firmly and verifying stability. Start with the ladders and handrails, seating each anchor firmly into its socket and tightening the wedge or bolt fittings until there’s no movement. Loose rails create a slip and fall hazard, so verify stability before anyone relies on them. Reinstall skimmer and pump baskets, confirming they sit properly to catch debris without obstructing flow. Replace any drain plugs, gauges, and fittings you stored during closing, checking threads and O-rings for wear as you go. Inspect each component for cracks or corrosion, and replace damaged hardware rather than reusing it. Once everything’s secured and seated correctly, you’re ready to move on to reassembling and starting your equipment.
Test GFCI Outlets and Safety Features
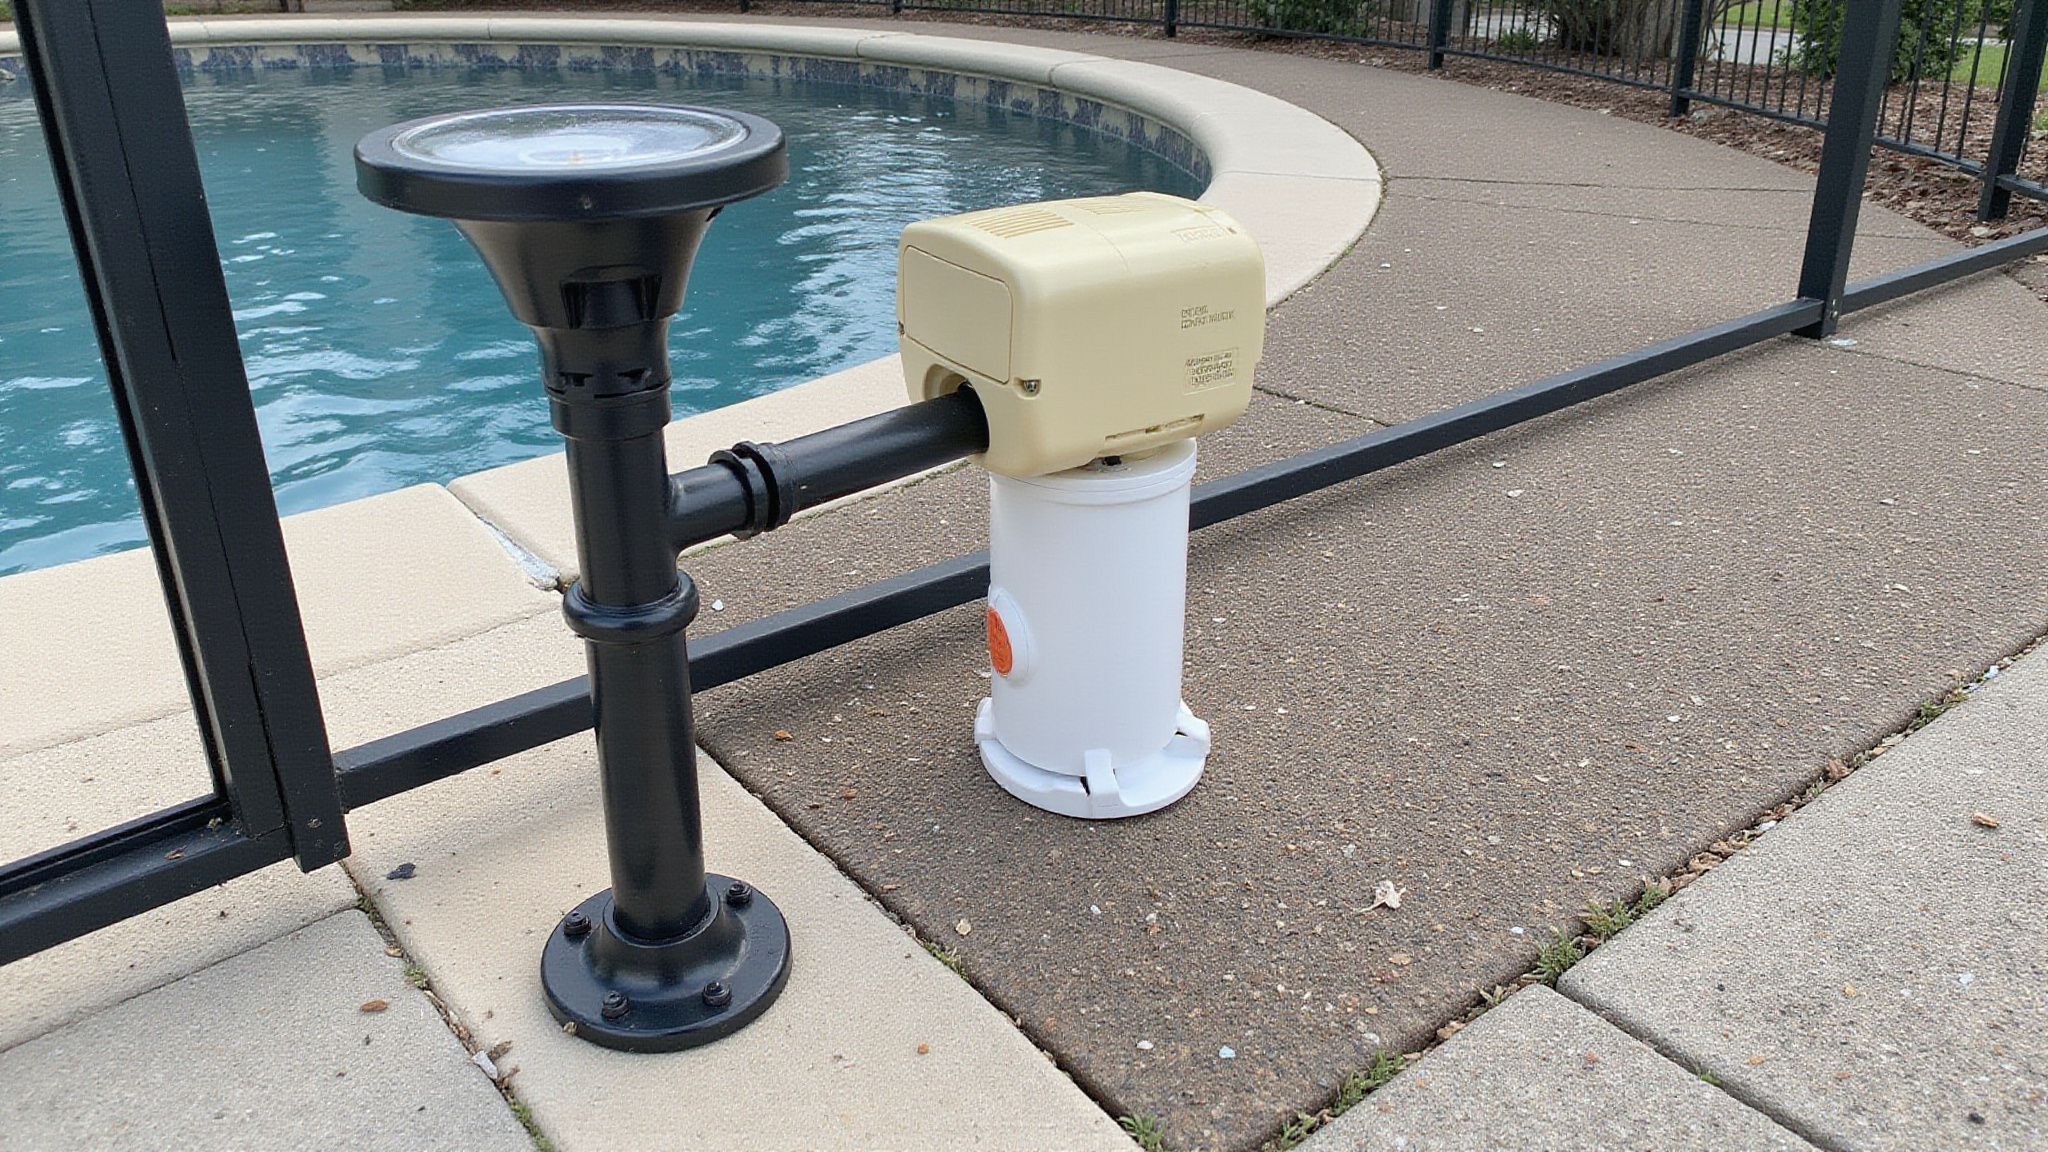
Testing GFCI outlets and safety features starts with checking every GFCI outlet near the pool. Press the test and reset buttons to confirm each outlet trips and restores correctly, since faulty ground-fault protection creates serious shock hazards around water. Verify your remaining safety features function and meet local code requirements.
- Confirm every GFCI outlet trips on test and resets cleanly.
- Test pool lighting for stable operation with no flickering or exposed wiring.
- Inspect gates for self-closing, self-latching hardware that seals securely.
- Verify fencing height, spacing, and integrity comply with local code.
- Check alarms, signage, and any electrical safety interlocks for proper response.
Don’t power up equipment until every item passes. Documented checks reduce liability and keep swimmers protected all season.
Refill the Pool to Its Normal Level
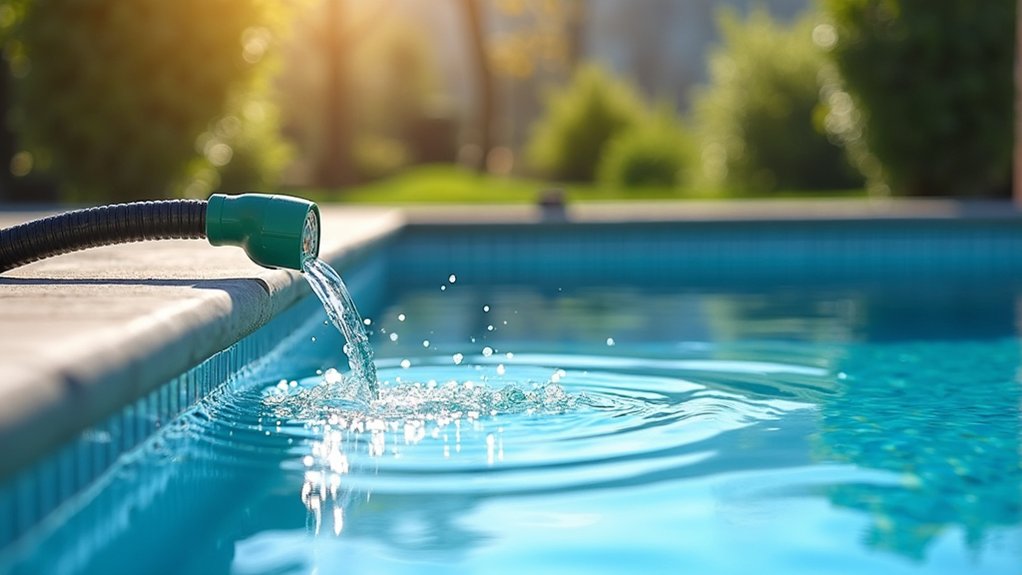
Refill your pool to its normal operating level, typically at the skimmer opening or halfway up the tile line. Add water steadily and monitor the rising level so you don’t overshoot the mark, which throws off skimmer performance and circulation. After you hit the target, start the circulation system so water mixes before you test and treat it. Running the pump early exposes hidden debris and preps the water for accurate chemistry readings.
- Fill to the skimmer opening or the tile line’s midpoint
- Restart circulation immediately after reaching the correct level
- Run continuous filtration for the first 24 to 48 hours
Leave the filter pump running overnight after startup. This initial circulation distributes chemicals evenly and prevents stagnation before full cleaning begins.
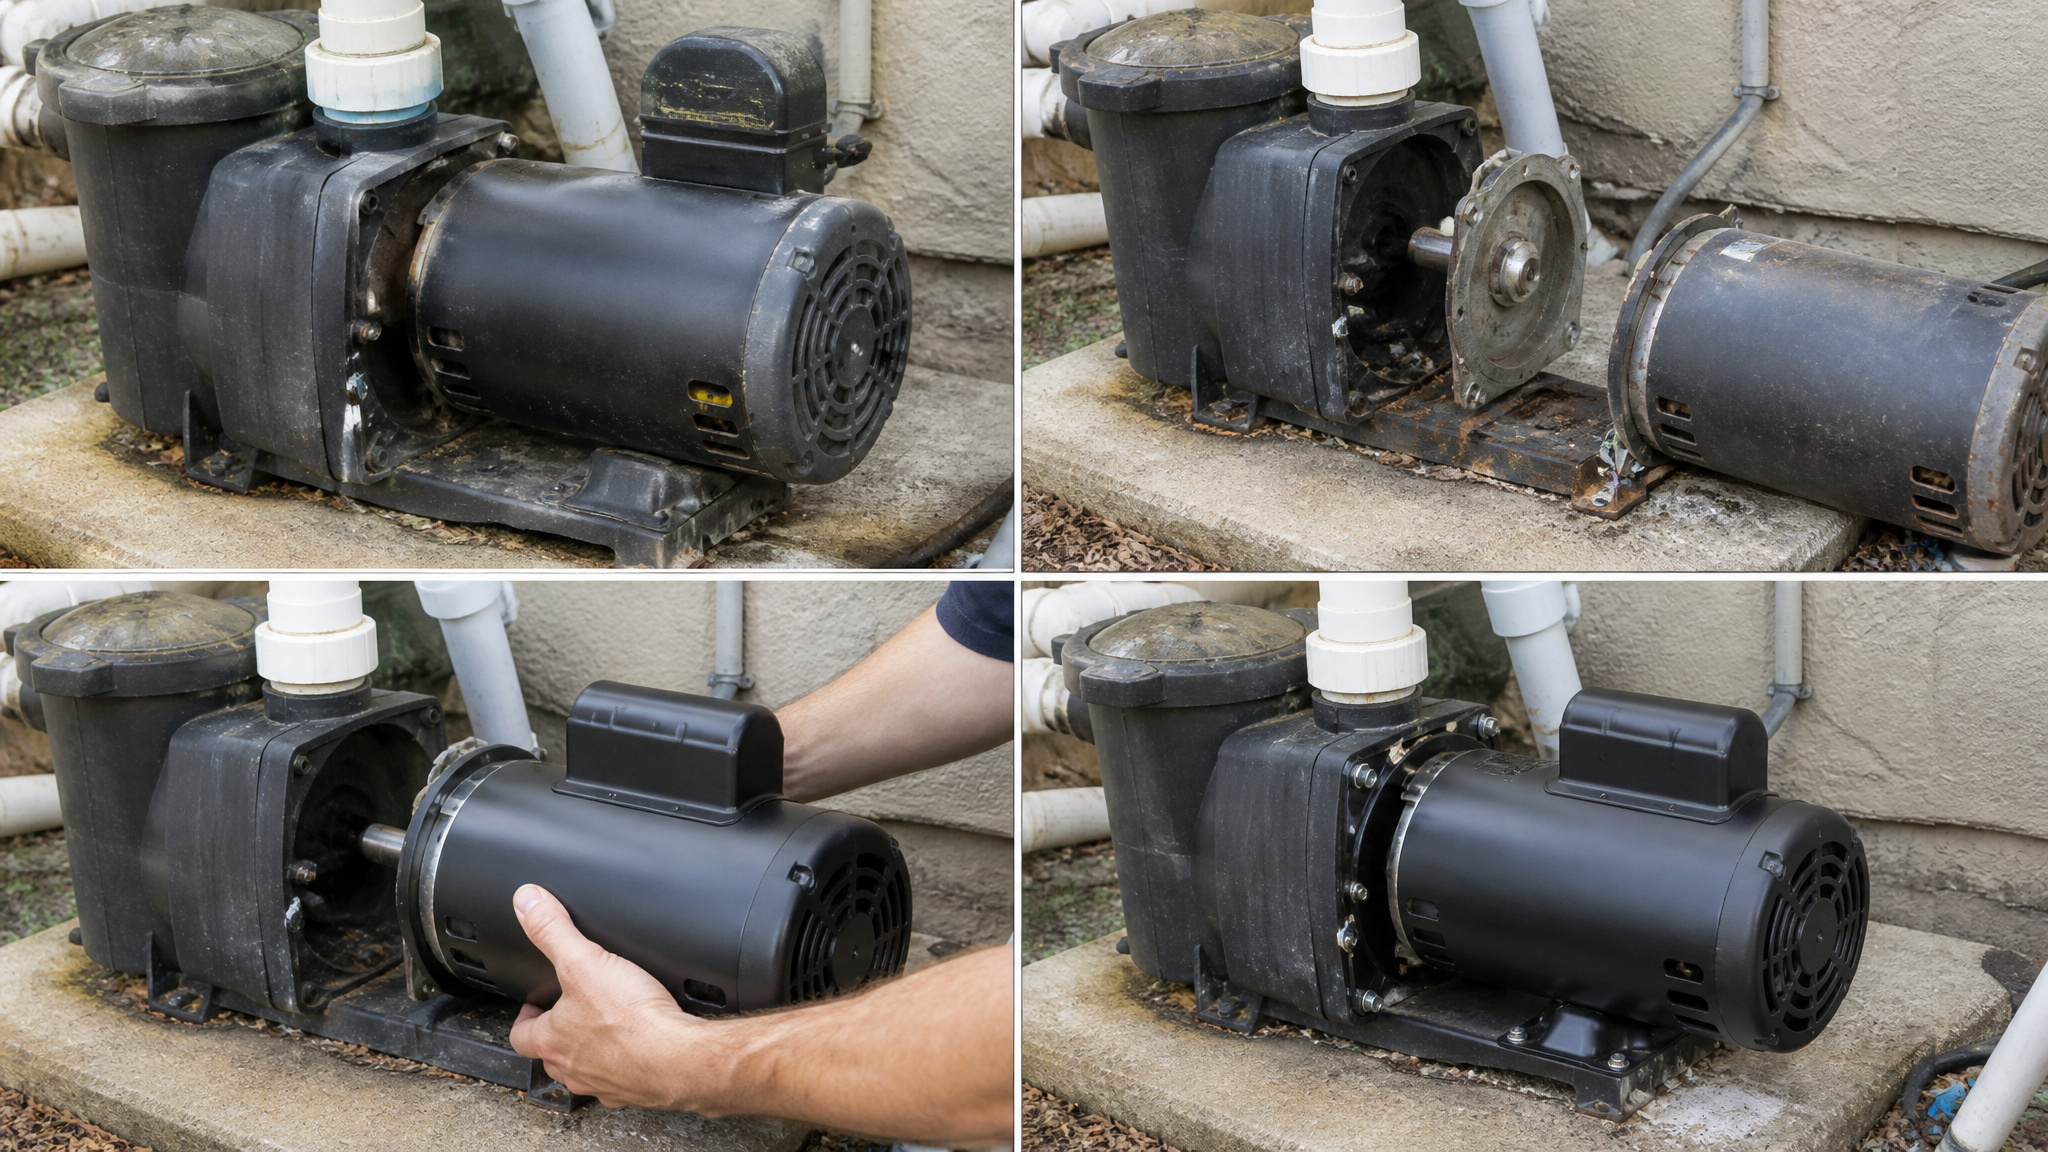
Reconnect the Pump, Filter, and Heater
Reconnect the pump, filter, and heater by inspecting each fitting for cracks, corrosion, or worn seals, and check electrical connections for damage. Confirm the heater’s connections are secure and free of debris. Don’t leave the system running until you’ve verified there are no leaks, unusual noises, or electrical issues. Careful reassembly now prevents equipment failure and safety hazards during startup and circulation.
Prime the Pump and Restart Circulation
Once you’ve reassembled the system, prime the pump by filling it with water and restart circulation. Open the air-relief valve on the filter and bleed trapped air until water flows steadily, then close the valve. Watch for leaks, unusual noises, or electrical issues during startup before you leave the system running.
Prime and Restart Pump
Prime the pump before restarting circulation after you’ve reassembled the system and confirmed the multiport valve is set to Filter. Fill the pump housing with water to create suction and prevent the pump from running dry, which can harm the seal and impeller.
Once the housing holds water, restart the pump and complete these steps:
- Bleed air from the filter or air-relief valve until water flows steadily, then close the valve.
- Confirm water moves through the system and returns to the pool without interruption.
- Inspect for cracks, leaks, unusual noises, or electrical issues before leaving the system running.
Don’t walk away until circulation stabilizes. A properly primed pump protects your equipment and ensures reliable filtration during the opening process.
Bleed Filter Air
Release trapped air from the filter by locating the air-relief valve on top and opening it slowly. You’ll hear air escaping as pressure equalizes. Keep the valve open until a steady stream of water flows out without sputtering, which signals that trapped air has cleared. Once water runs steadily, close the valve completely.
Don’t skip this step. Trapped air reduces filtration efficiency and can create dangerous pressure buildup inside the tank. Watch for irregular pressure readings on the gauge while you’re at the valve. If pressure spikes or the tank vibrates, shut the system down and inspect before continuing. Confirm water flows consistently before proceeding.
Bleed Air From the Filter Safely
Bleed air from the filter safely by opening the air-relief valve slowly as soon as the pump primes and water starts flowing. Locate the air-relief valve on top of the filter housing and open it slowly to release the accumulated air. Trapped air can create pressure spikes and disrupt circulation, so this step protects the system. You’ll hear a hiss as air escapes, followed by a steady stream of water signaling the system’s fully purged.
Trapped air creates pressure spikes and disrupts circulation, so bleeding the filter slowly protects your entire system during startup.
- Open the air-relief valve gradually, keeping your face and hands clear of any pressurized discharge.
- Watch for a consistent water flow, which confirms the air is gone.
- Close the valve firmly once water flows steadily, then verify the pressure gauge reads within normal range.
Inspect the seal afterward for leaks or seepage before continuing startup.
Run Pool Filtration for the First 24 to 48 Hours
Once your system’s primed and running, keep it circulating continuously for the first 24 to 48 hours after startup. This sustained filtration mixes the water thoroughly, distributing any chemicals evenly before you test and balance. It also exposes hidden debris that’s settled over winter, giving you a clear picture of what needs cleaning next.
Run Continuous Filtration
Run continuous filtration for the first 24 to 48 hours before you test or treat the water. This initial circulation gives the system time to mix the water fully and exposes hidden debris before you begin full cleaning and chemical balancing. Running the pump uninterrupted, including overnight after startup, delivers several benefits:
- It distributes water evenly, eliminating stagnant pockets that harbor contaminants.
- It surfaces settled debris, making skimming, brushing, and vacuuming more effective.
- It prepares the water for accurate chemistry testing once circulation stabilizes.
Monitor the system for leaks, unusual noises, or pressure irregularities while it runs. Don’t test or add chemicals until you’ve completed this uninterrupted filtration window.
Mix Water Thoroughly
Mixing water thoroughly means running the pump uninterrupted through that 24-to-48-hour window to blend your entire pool volume into a uniform mixture. It’s doing more than moving water. Stagnant winter water stratifies, with temperature and chemical variations between the surface and deep end. Continuous circulation eliminates these gradients before you test or treat. Don’t skip this step; testing unmixed water gives false readings that lead to over- or under-dosing.
| Circulation Benefit | Outcome |
|---|---|
| Distributes chemicals | Even concentrations throughout |
| Exposes hidden debris | Easier full cleaning |
This mixing also surfaces trapped debris the filter can capture, and it reveals problem areas needing brushing or vacuuming. Once the water’s fully blended, your chemistry tests will reflect accurate, pool-wide conditions, the foundation for safe, precise balancing.
Expose Hidden Debris
Hidden debris surfaces when you run continuous filtration for the first 24 to 48 hours, pulling suspended particles, fine sediment, and organic matter out of dead zones and into your filter media. Beneath the surface calm of freshly circulated water, debris you never saw at cover removal starts migrating toward your skimmer and main drain. Don’t skip this window, it exposes contamination that hides during static conditions.
As the pump runs, watch for these indicators:
- Cloudiness or discoloration signaling dissolved organics you’ll need to shock later
- Skimmer basket accumulation revealing leaves and grit settled below sight lines
- Rising filter pressure confirming the system’s capturing debris effectively
One spring-opening guide recommends leaving the pump running overnight after startup. Monitor pressure gauges and backwash when readings climb 8 to 10 psi above clean startup baseline.
Skim, Brush, and Vacuum Every Pool Corner
Grab a skimmer net and clear the surface of leaves, insects, and floating debris. Next, brush the walls, steps, and waterline to dislodge buildup that’s accumulated under the cover. Work methodically from the shallow end toward the deep end so loosened material settles where you can reach it. Then vacuum thoroughly, targeting ladders, crevices, lights, and corners where debris collects. If you spot algae, vacuum to waste rather than routing dirty water through your filter, this prevents contamination and pressure spikes. Don’t rush this step; hidden debris in tight spots can clog equipment or throw off your chemistry later. A complete cleaning now sets up accurate testing and effective shocking in the stages ahead.
Clean or Backwash Your Filter Properly
Clean or backwash your filter based on its pressure reading compared to a clean startup baseline. All that vacuuming and brushing loads your filter with debris, so check its pressure before you go any further. A clean startup pressure gives you a baseline to measure against, so note it during initial circulation. Once the reading climbs, clean or backwash according to your filter type:
Your clean startup pressure is the baseline, note it early, then watch for the climb that signals cleaning time.
- Sand or DE filters: Backwash when pressure rises 8 to 10 psi above clean startup pressure to restore flow.
- Cartridge filters: Rinse when pressure climbs about 5 psi or flow drops noticeably.
- Visibly dirty media: Clean the filter before or during startup, regardless of the gauge.
If you vacuumed to waste because of algae, you’ve already bypassed the filter, so inspect the media anyway. Restoring proper flow keeps circulation efficient and your chemistry balanced.
Test and Balance Alkalinity, pH, and Chlorine
Test alkalinity first and bring it into the 80 to 120 ppm range before touching anything else, because alkalinity buffers pH against sudden swings. Once alkalinity stabilizes, adjust pH into the 7.4 to 7.6 range, since a balanced buffer keeps that correction from drifting. Check calcium hardness, free chlorine, and cyanuric acid too, so you’re working from a complete chemistry profile rather than guessing.
After cleaning and startup, shock the pool with a chlorine-based product to destroy bacteria, algae, and organic matter. Then circulate and retest. Aim for free chlorine at 1 to 4 ppm before anyone swims, and keep swimmers out until chlorine drops below 3.0 ppm.
Never mix chemicals directly, and always add product to water, not water to product, to prevent dangerous reactions.
Shock the Pool Before Anyone Swims
Shock the pool with a chlorine-based product to destroy the bacteria, algae, and organic matter that accumulated under the cover all winter, after you’ve balanced alkalinity and pH. Timing and sequence matter here, so follow these steps:
- Add shock after startup and cleaning, once circulation is running to distribute it evenly.
- Run continuous filtration afterward, ideally overnight, so the treatment reaches every corner.
- Recheck chemistry before anyone enters the water.
Don’t rush swimmers back in. One guide recommends free chlorine between 1 to 4 ppm before entry, while another advises keeping swimmers out until chlorine drops below 3.0 ppm. Test again with a reliable kit, confirm your readings, and wait for levels to settle within a safe range before allowing anyone to swim.
Confirm Swim Readiness Before Diving In
Your pool is swim-ready when the water chemistry has stabilized and all safety features pass inspection. Confirm this by running the pump and filter continuously for about 24 hours after chemical treatment, then retesting the water to verify levels have stabilized. Check that pH sits at 7.2 to 7.6, alkalinity holds at 80 to 120 ppm, free chlorine reads 1 to 3 ppm, and calcium hardness falls within 200 to 400 ppm. Don’t allow swimming until these readings confirm balance.
Next, inspect ladders, handrails, and depth markers for secure mounting and safe operation. Verify rescue equipment is accessible and lighting functions correctly for visibility. Confirm fences, gates, alarms, and signage comply with local safety rules before granting access.
After chemistry stabilizes and safety features pass inspection, your pool’s ready. Establish ongoing maintenance to keep conditions stable throughout the season.
Conclusion: Opening an Inground Pool
Opening an inground pool follows a clear order: remove and clean the cover, reconnect and prime the equipment, top off the water, then balance and shock the chemistry. Take the steps in sequence and give the filter time to clear the water, and the pool is swim-ready within a few days. A careful opening sets the tone for a smooth, low-hassle season.
Shop Pool Opening Chemicals for Spring
Getting your pool spring-ready starts with the right chemicals and equipment for a clean, safe opening. Shop Prime Pool Market for reliable Pool & Spa Chemicals at discount prices delivered right to your door. Call (877) 650-7665 today or browse our shop and save on every purchase.
Frequently Asked Questions
How Much Does It Cost to Open an Inground Pool Professionally?
A professional opening typically runs 200 to 500 dollars, depending on pool size, your region, and whether extras like equipment startup or chemical balancing are included. Opening it yourself costs only the price of chemicals. The professional route is worth it for a large or complex pool, or when you would rather skip the labor.
Can I Open My Pool Myself or Hire a Service?
Many owners open their own pool with a weekend of work and a checklist. It involves removing the cover, reconnecting equipment, and balancing the water, none of it especially technical. Hiring a service makes sense if you are short on time, unsure about the plumbing, or dealing with a large pool with lots of features.
How Long Does the Entire Pool Opening Process Take?
The hands-on work takes a few hours to a full day, but getting the water clear and balanced usually takes two to four days as the filter runs and the chemistry settles. A pool that wintered well clears faster; one that opened green or cloudy takes longer. Plan for a few days before it is truly swim-ready.
What Tools and Supplies Do I Need for Opening?
The basics are a cover pump and cleaner, a telescoping pole with brush and net, a water test kit, and opening chemicals like shock and balancers. The plugs and fittings you removed at closing come back in as well. Having everything on hand before you start keeps the opening from stalling partway through.
How Do I Prevent Algae From Returning After Opening?
Keep the chemistry balanced, maintain a steady chlorine level, and run the filter enough to turn the water over daily. Brushing the walls and adding a maintenance dose of algaecide help too. Most algae comes back from low sanitizer or poor circulation, so staying on top of those two things keeps a freshly opened pool clear.
Can I Open My Pool Without Draining the Water Completely?
Yes, and you should. Draining is rarely necessary and can even risk damage to the liner or shell. In almost all cases you top off the water lost over winter, then balance and shock what is already there. A full drain is only needed if the water is beyond saving or a repair requires it.
How Long After Opening Can I Safely Swim in My Pool?
Usually two to four days, once the water is balanced, the chlorine sits in the normal range, and the pool has filtered clear. A pool that wintered well is ready faster; a cloudy or green one takes longer. Always confirm the chemistry is balanced and the water is clear before anyone gets in.