
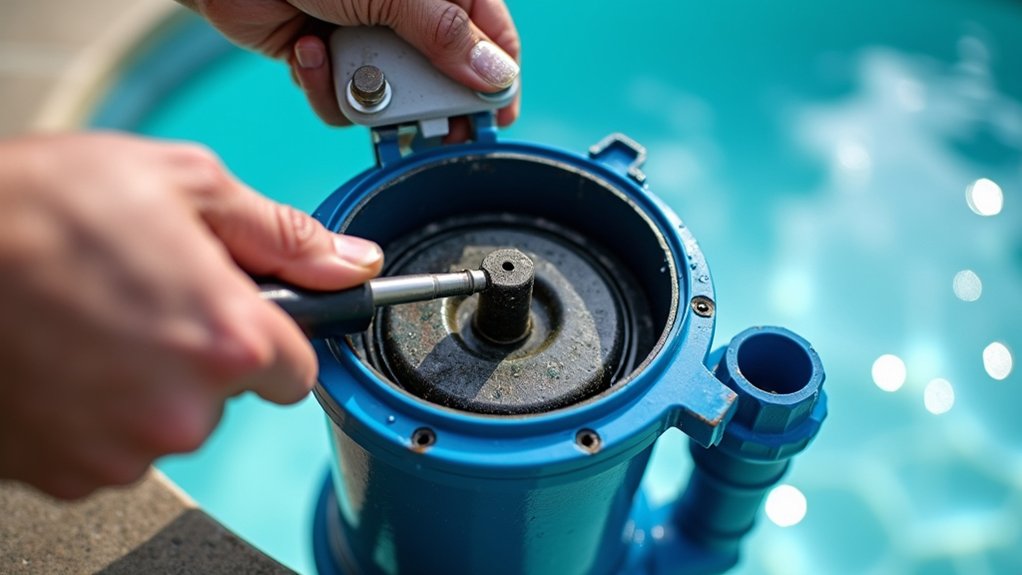
Start by carefully removing and cleaning your winter cover, then inspect the pool interior for cracks, stains, or freeze damage. Clear deck debris and verify fencing, gates, and signage meet local code. Check your pump, filter, and heater for freeze damage, then reinstall baskets, ladders, and hardware. Refill to mid-skimmer, prime the pump, and restart filtration. Test GFCI outlets, balance your water chemistry, and shock properly. The right sequence keeps everyone safe, here’s how.
Key Takeaways
- Carefully remove and clean the winter cover, then inspect the pool interior for stains, cracks, or freeze-related surface damage.
- Clear debris from the deck, trim overhanging landscaping, and verify fencing, gates, and signage meet local safety codes.
- Inspect and reinstall equipment like pumps, filters, heaters, ladders, and drain plugs, checking for freeze damage and worn seals.
- Test GFCI outlets, pool lighting, alarms, and gate hardware while confirming rescue equipment is accessible for safe operation.
- Refill water to mid-skimmer, prime the pump, run filtration 12 to 48 hours, then skim, brush, vacuum, and balance the water.
Remove and Clean Your Winter Pool Cover
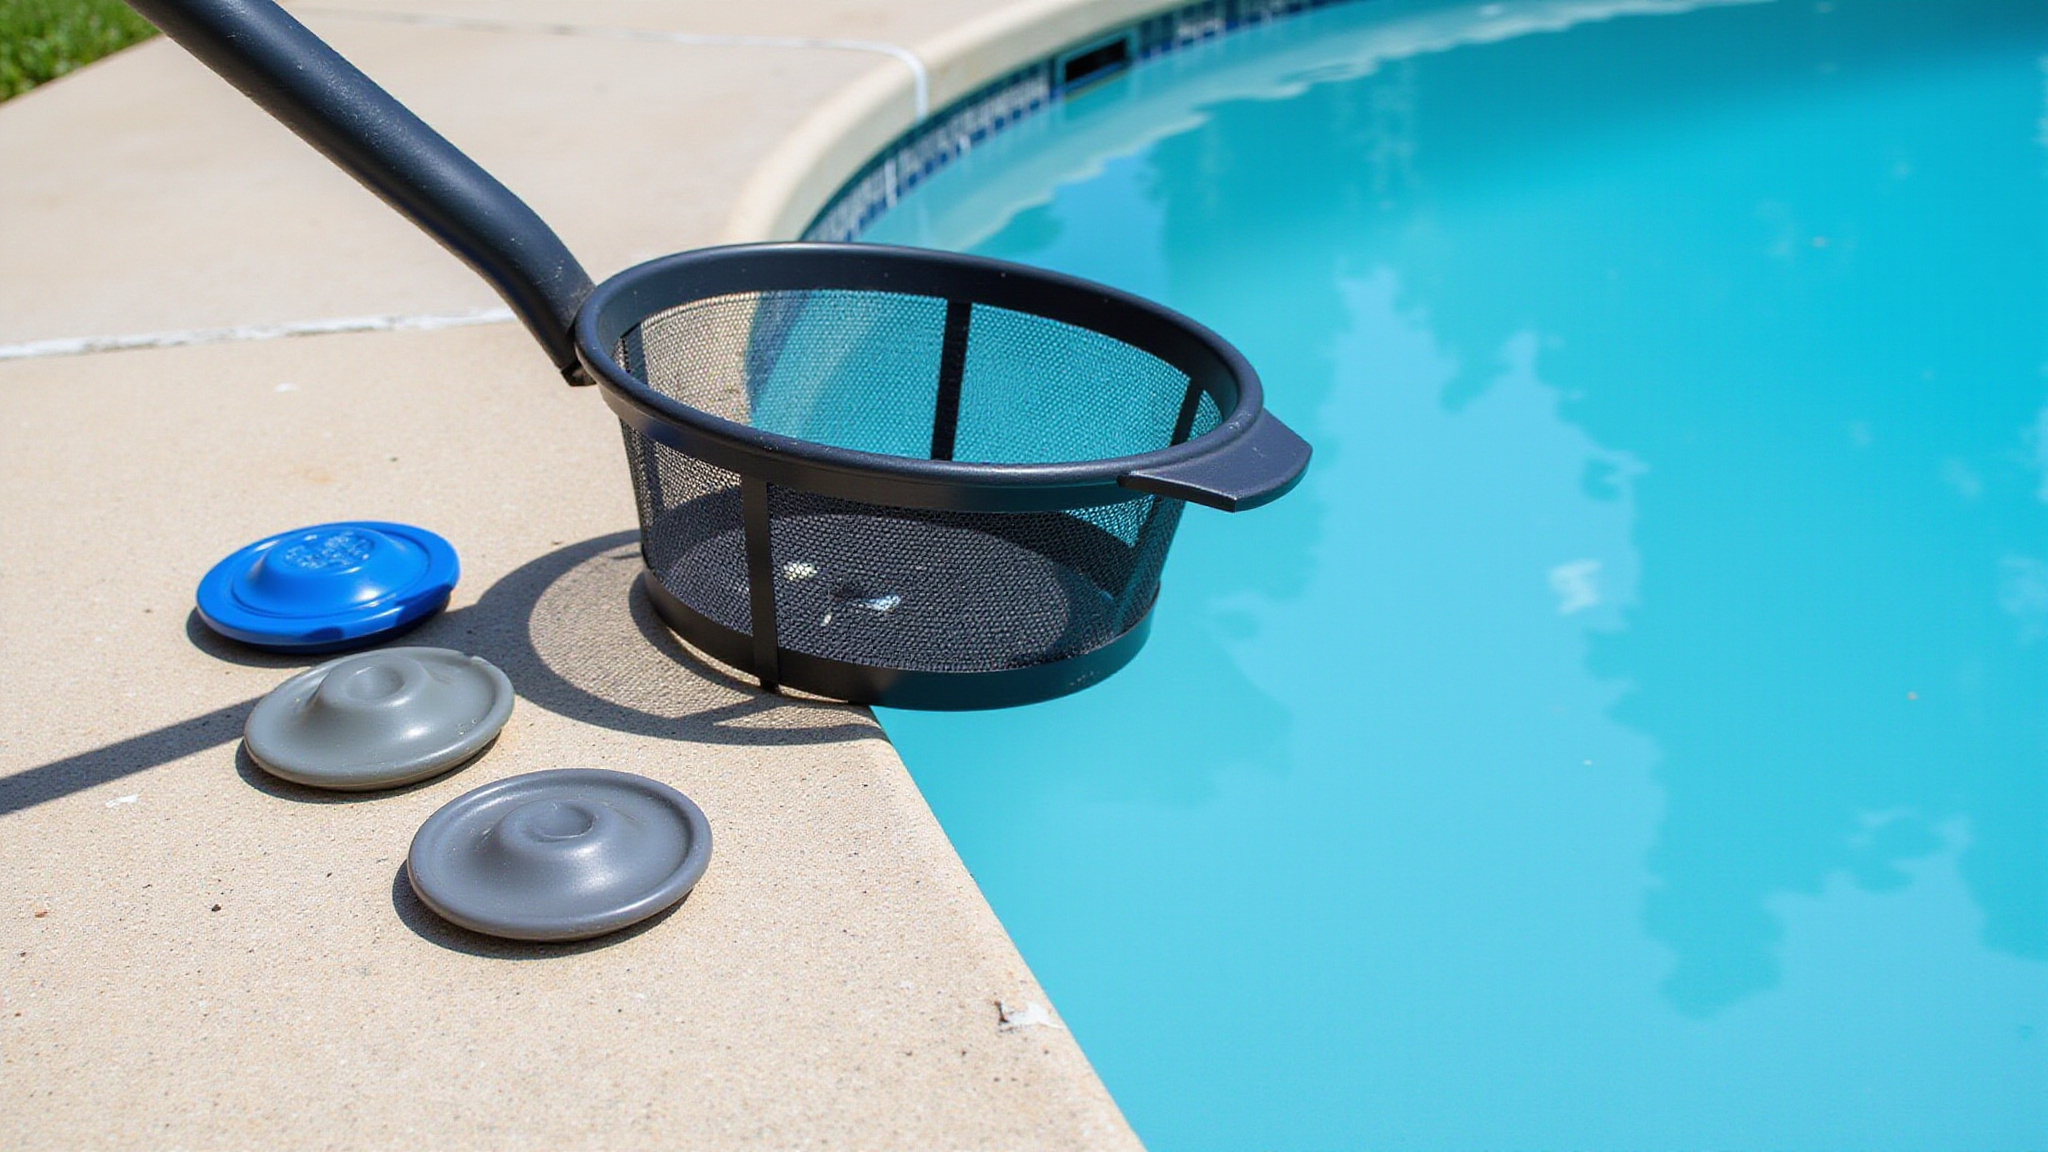
Remove the winter cover carefully to avoid dragging accumulated debris into the water. Start by pumping off standing water, then clear leaves, dirt, and other winter debris from the cover’s surface. This first step in your pool opening steps prevents contamination from entering the pool during removal.
Lift the cover away, clean it thoroughly, and let it dry completely before storage. This reduces mold and mildew risk while extending the cover’s lifespan.
Next, inspect the pool interior for visible contamination, stains, or surface wear. When opening pool for spring, also clean surrounding surfaces, including the deck, patio, and nearby landscaping, to limit new debris. Completing this section of your pool opening checklist sets a clean foundation for everything that follows.
Clear Winter Debris From the Deck
Clear winter debris from the deck by sweeping or blowing the surface thoroughly, removing accumulated winter buildup from corners, expansion joints, and drainage channels. Clearing debris from the deck, patio, and nearby landscaping is a critical step in any spring pool opening, since loose leaves, dirt, and organic matter easily migrate into the water and contaminate it during startup. Trim overhanging branches and rake nearby landscaping to reduce ongoing debris entering the pool. A clean perimeter directly reduces filtration load and chemical demand later. Inspect the deck for cracks, uneven surfaces, or slip hazards as you work, addressing any safety concerns before you proceed to equipment inspection and circulation restart.
Inspect the Pool Interior for Damage
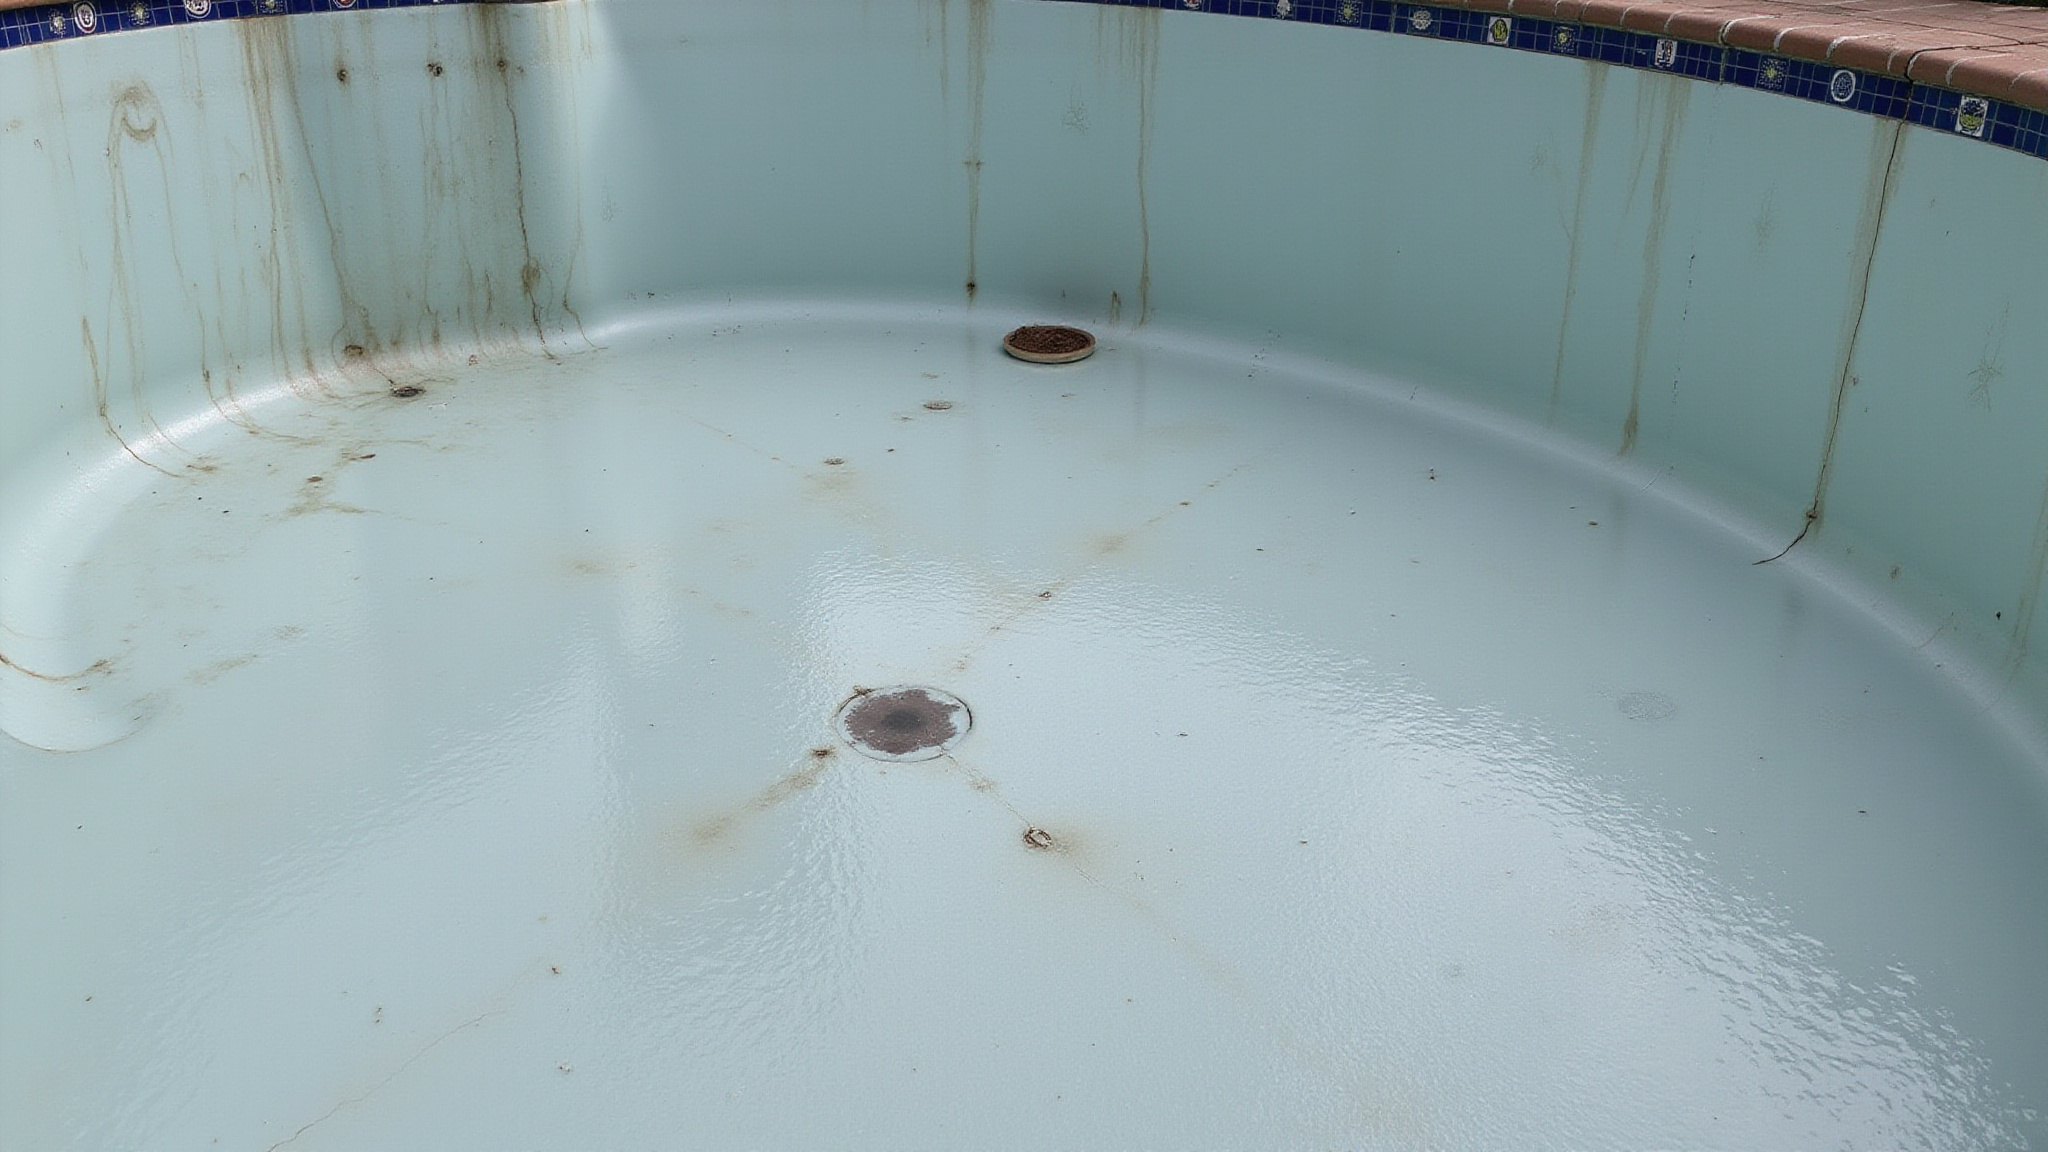
Inspect the pool interior for visible contamination, stains, cracks, or surface wear. Examine the walls, floor, steps, and waterline for discoloration, algae staining, or organic buildup left over winter. Look closely for cracks, hairline fractures, or surface delamination that signal structural damage or freeze stress. Check the liner or plaster for wrinkles, tears, blistering, or thinning that could worsen once you refill. Document any contamination or wear you find so you can address it during cleaning and balancing. Note stained areas that may need targeted treatment before you shock the water. Catching interior damage now prevents circulation problems, water loss, and safety hazards later, so don’t rush this step before restarting your system.
Check Your Pump, Filter, and Heater
Inspect the pump, filter, heater, skimmer, plumbing, and fittings for cracks, leaks, freeze damage, or worn parts before startup. Reinstall drain plugs, skimmer baskets, ladders, railings, and any other hardware you removed for winter, then check valves, seals, O-rings, and gaskets for damage that could cause leaks or reduce circulation. Verify that gauges, timers, and electrical components are functioning, test GFCI outlets, and confirm lighting operates correctly before full operation begins.
Inspect for Damage
Examine your pump, filter, and heater closely for cracks, leaks, freeze damage, and worn parts before you restart any equipment. Freeze damage often shows as split housings, cracked pump bodies, or fractured plumbing joints, so inspect every fitting carefully. Check valves, seals, O-rings, and gaskets for wear or damage that could reduce circulation or cause leaks. Replace any component showing degradation before startup.
Verify that gauges, timers, and electrical components function correctly. Test GFCI outlets and confirm they trip properly. Inspect plumbing and fittings for hairline cracks that spraying or pressure loss might later reveal.
Don’t overlook the skimmer, drain plugs, or removable hardware. Reinstall these only after confirming they’re intact. Catching damage now prevents leaks, equipment failure, and safety hazards once your system runs.
Reinstall Removable Hardware
Reinstall removable hardware by starting with the drain plugs on the pump, filter, and heater, confirming each seats tightly to prevent leaks. Replace skimmer baskets, then reattach ladders, railings, and other removable fittings. Inspect O-rings and gaskets during reassembly, lubricating them as needed for a proper seal.
| Component | Reinstall Task | Safety Check |
|---|---|---|
| Drain Plugs | Tighten fully | Verify no leaks |
| Skimmer Basket | Seat in place | Confirm secure fit |
| Ladders/Railings | Bolt firmly | Test for stability |
After hardware’s in place, confirm every connection holds under pressure. Loose plugs or worn seals can cause air locks or leaks, so double-check each fitting before restarting circulation.
Verify Electrical Components
Verifying electrical components confirms that every part functions correctly and meets local code before full operation begins. Faulty wiring, tripped breakers, or non-functional safety features can create serious hazards, so don’t skip this step. These components power your pump, filter, and heater.
- Verify gauges, timers, and electrical components function properly before full operation.
- Test GFCI outlets to confirm they trip and reset correctly.
- Confirm pool lighting operates safely without flickering or damage.
- Check that gates, fencing, and alarms meet local code requirements.
- Inspect the pump, filter, and heater controls for freeze damage or worn parts.
Address any deficiencies now, before you energize the system and restore circulation.
Reinstall Baskets, Ladders, and Hardware
Now you’ll reinstall the drain plugs, skimmer baskets, ladders, and railings you removed for winter, securing each component firmly to prevent movement during operation. Before startup, inspect all fittings, valves, seals, and O-rings for cracks or wear that could reduce circulation or cause leaks. Replace any damaged parts now, since faulty hardware compromises both safety and system performance.
Secure Removable Hardware Components
Secure removable hardware components by reinstalling every piece you pulled or stored during winterization. Each fitting affects circulation, filtration, and swimmer safety, so verify placement and secure attachment as you go. Reseat drain plugs fully to prevent leaks and air intake once the pump primes. Confirm each piece seats correctly against its seal or mount, and tighten hardware to manufacturer specifications.
- Reinstall drain plugs on the pump, filter, and heater, checking O-rings for wear.
- Seat skimmer baskets and return fittings before opening circulation lines.
- Mount ladders and railings, tightening anchor bolts to eliminate movement.
- Confirm gaskets and seals sit flush to prevent leaks during startup.
- Verify all removable hardware locks in place before energizing equipment.
Inspect each connection twice.
Inspect Fittings Before Startup
Inspect every valve, seal, O-ring, and gasket for cracks, freeze damage, or wear that could reduce circulation or cause leaks. A thorough fitting inspection before startup catches damage that hardware reinstallation alone can’t reveal. After you’ve reinstalled baskets, ladders, and hardware, examine each component carefully. Confirm drain plugs seat properly and skimmer baskets fit securely before you prime the pump.
| Component | Inspection Point |
|---|---|
| Valves | Cracks, stiff operation |
| O-rings | Dryness, deformation |
| Gaskets | Splits, compression loss |
| Drain plugs | Secure seating, threading |
Check plumbing connections and fittings for signs of separation or corrosion. Replace any worn part now, since a failure during operation risks air locks, water loss, or equipment damage. Verify each connection tightens fully before circulation begins.
Test GFCI Outlets and Safety Features
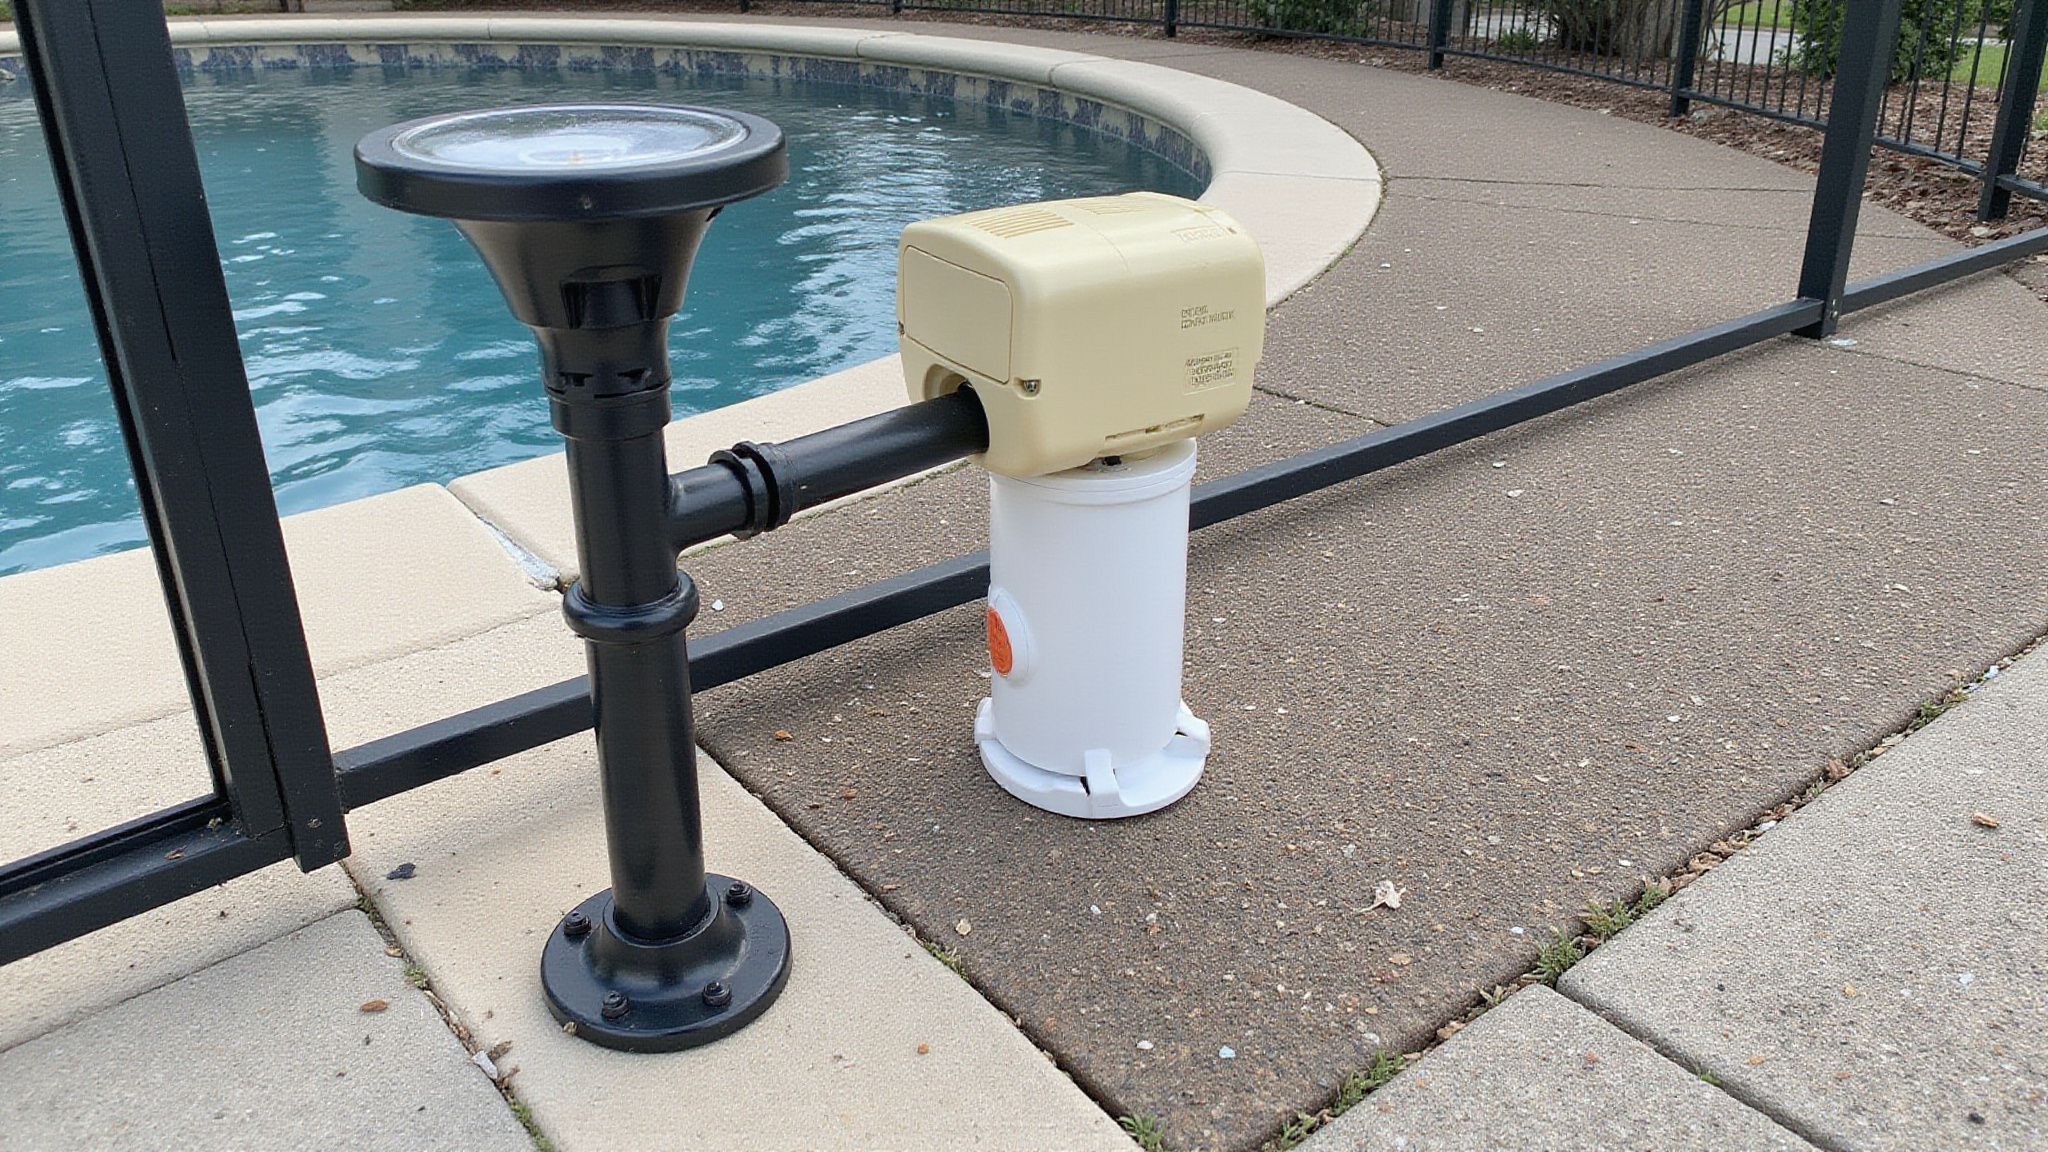
Testing GFCI outlets and safety features starts with checking every GFCI outlet near the pool. Press the test and reset buttons to confirm each outlet trips and restores correctly, since faulty ground-fault protection creates serious shock hazards around water. Verify your remaining safety features function and meet local code requirements.
- Confirm every GFCI outlet trips on test and resets cleanly.
- Test pool lighting for stable operation with no flickering or exposed wiring.
- Inspect gates for self-closing, self-latching hardware that seals securely.
- Verify fencing height, spacing, and integrity comply with local code.
- Check alarms, signage, and any electrical safety interlocks for proper response.
Don’t power up equipment until every item passes. Documented checks reduce liability and keep swimmers protected all season.
Refill Your Pool to the Right Level
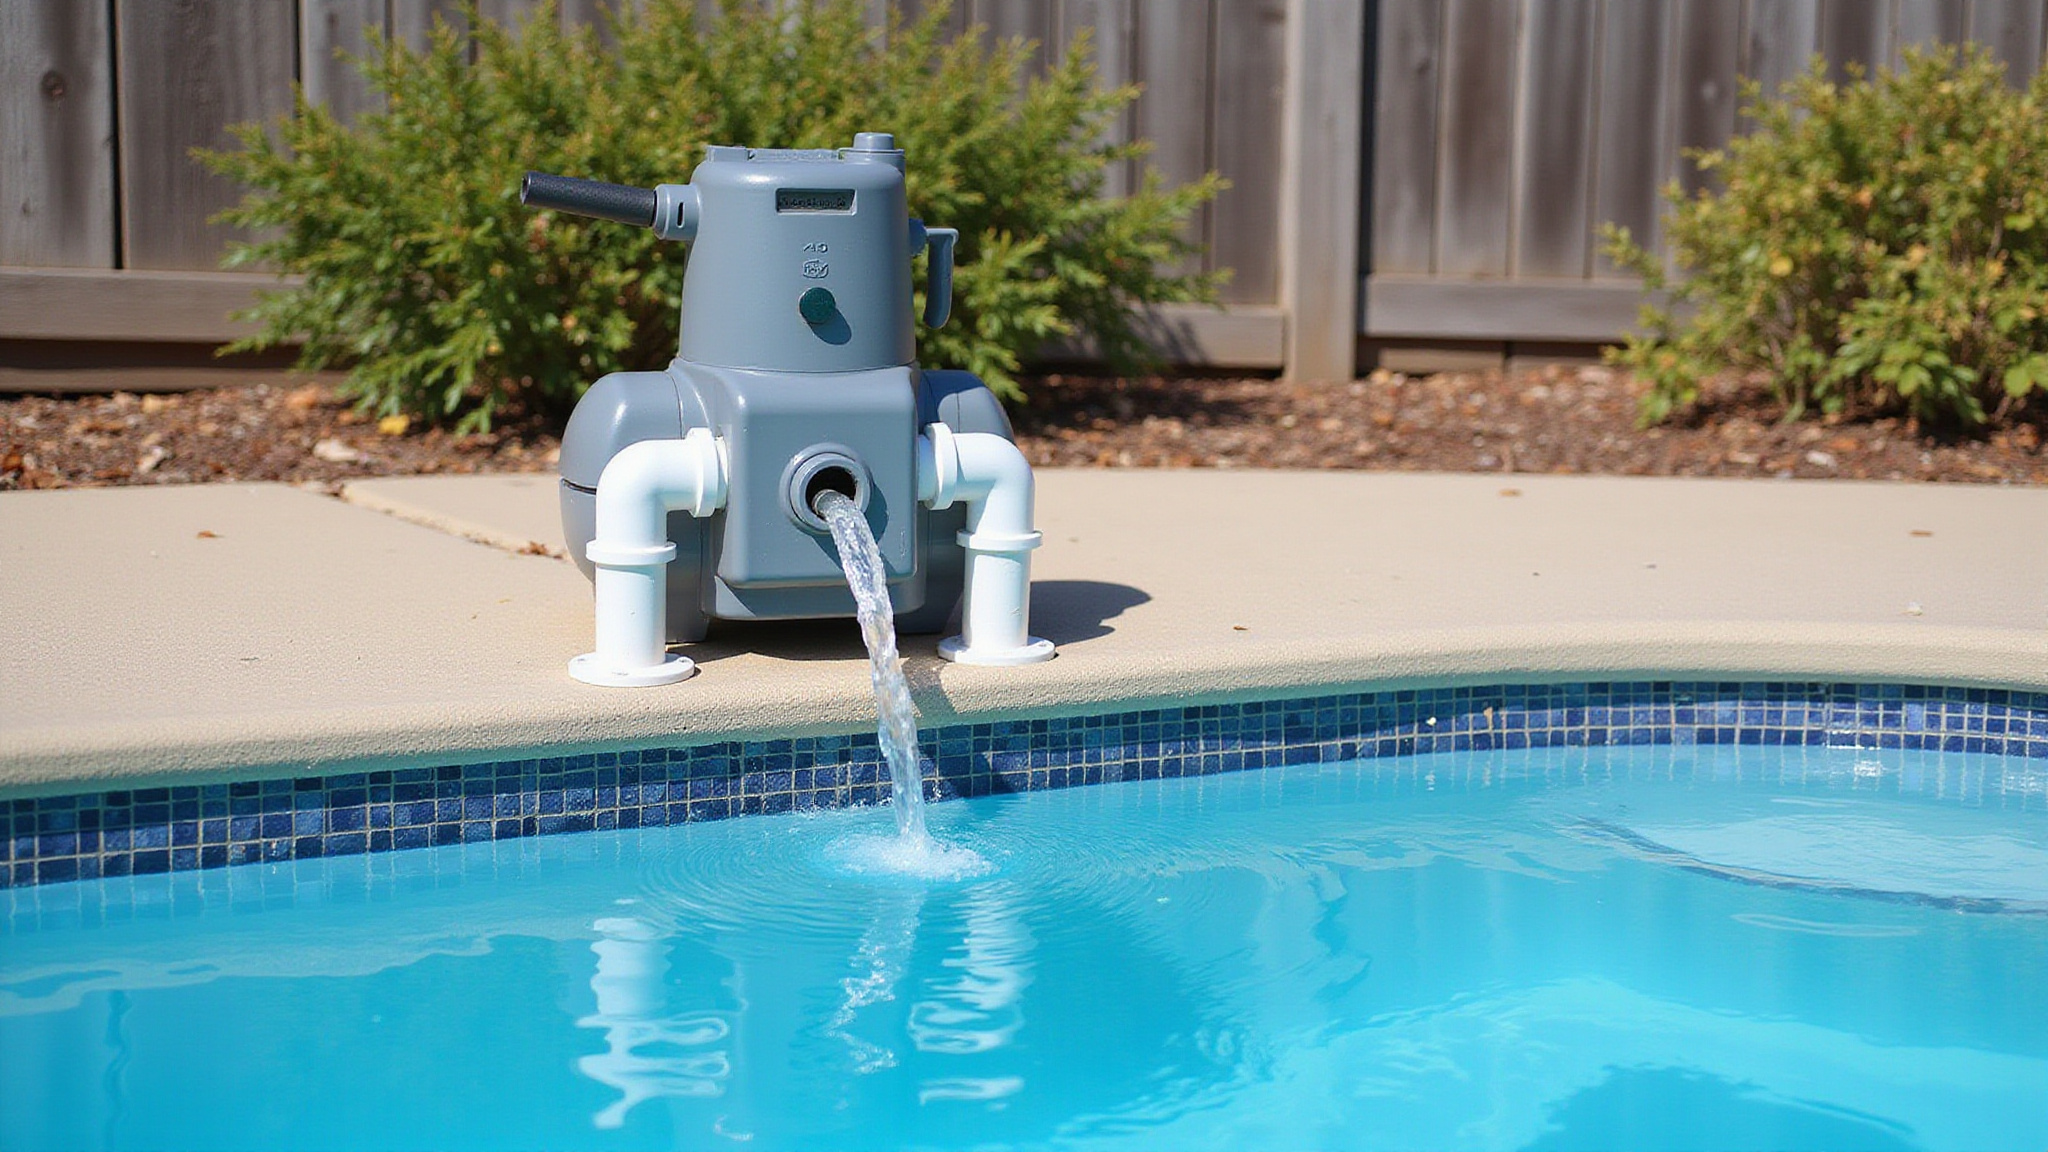
Refill the pool to its proper operating level by adding water until it reaches halfway up the skimmer opening, the standard level for effective circulation. If the water sits too low, the pump can draw air and lose prime; too high, and the skimmer won’t pull surface debris efficiently.
Use a garden hose or dedicated fill line, and monitor the rise closely to avoid overfilling. Check that the level aligns with the middle of the skimmer’s mouth before you proceed.
Correct water level supports proper skimmer function, protects the pump from air lock, and prepares the system for circulation restart. Once you’ve hit the target level, you’re set to prime the pump and begin filtration.
Prime the Pump and Restart Circulation
Once your pool’s refilled, prime the pump before startup to restore circulation and prevent an air lock. Start the filtration system slowly, watching for air leaks, unusual pressure, or spraying from fittings. Then run the pump long enough to confirm stable flow, since consistent circulation sets the foundation for safe chemical balancing.
Priming the Pump
Priming the pump means filling the pump housing with water to displace trapped air and establish water flow through the system. Air pockets cause air lock, which starves the pump and can damage the seals if you run it dry. Filling the pump housing with water restores suction and protects your equipment during startup.
- Open the pump lid and fill the housing with water until it reaches the intake port.
- Reseat the lid O-ring and verify a tight, leak-free seal before closing.
- Open return and skimmer valves to allow full water flow through the lines.
- Switch on the pump and watch for water pulling through the basket.
- Monitor for air leaks, spraying fittings, or abnormal pressure during the first minutes.
Slow Filtration Startup
Start the filtration system slowly to protect your equipment and catch problems early after you’ve primed the pump. Open your return and skimmer lines so water can circulate freely through the system. As flow begins, watch closely for air leaks, unusual pressure readings, or spraying from fittings and connections. These signs point to loose seals, cracked components, or trapped air that needs correction before full operation. Confirm the pressure gauge stabilizes within its normal range and that water returns steadily through the return lines. Once flow holds steady, run the pump long enough to verify stable circulation. Opening guidance commonly ranges from 12 to 48 hours. This extended run confirms your system moves water reliably and prepares the pool for cleaning and chemical balancing.
Confirming Stable Flow
You confirm stable flow by watching for consistent movement of water, not just a pump spinning against trapped air. Air pockets, pressure spikes, and leaks all signal problems you need to resolve before running longer cycles. Confirm the system holds steady before you move on.
- Watch return jets for a strong, uninterrupted stream free of sputtering or air bursts.
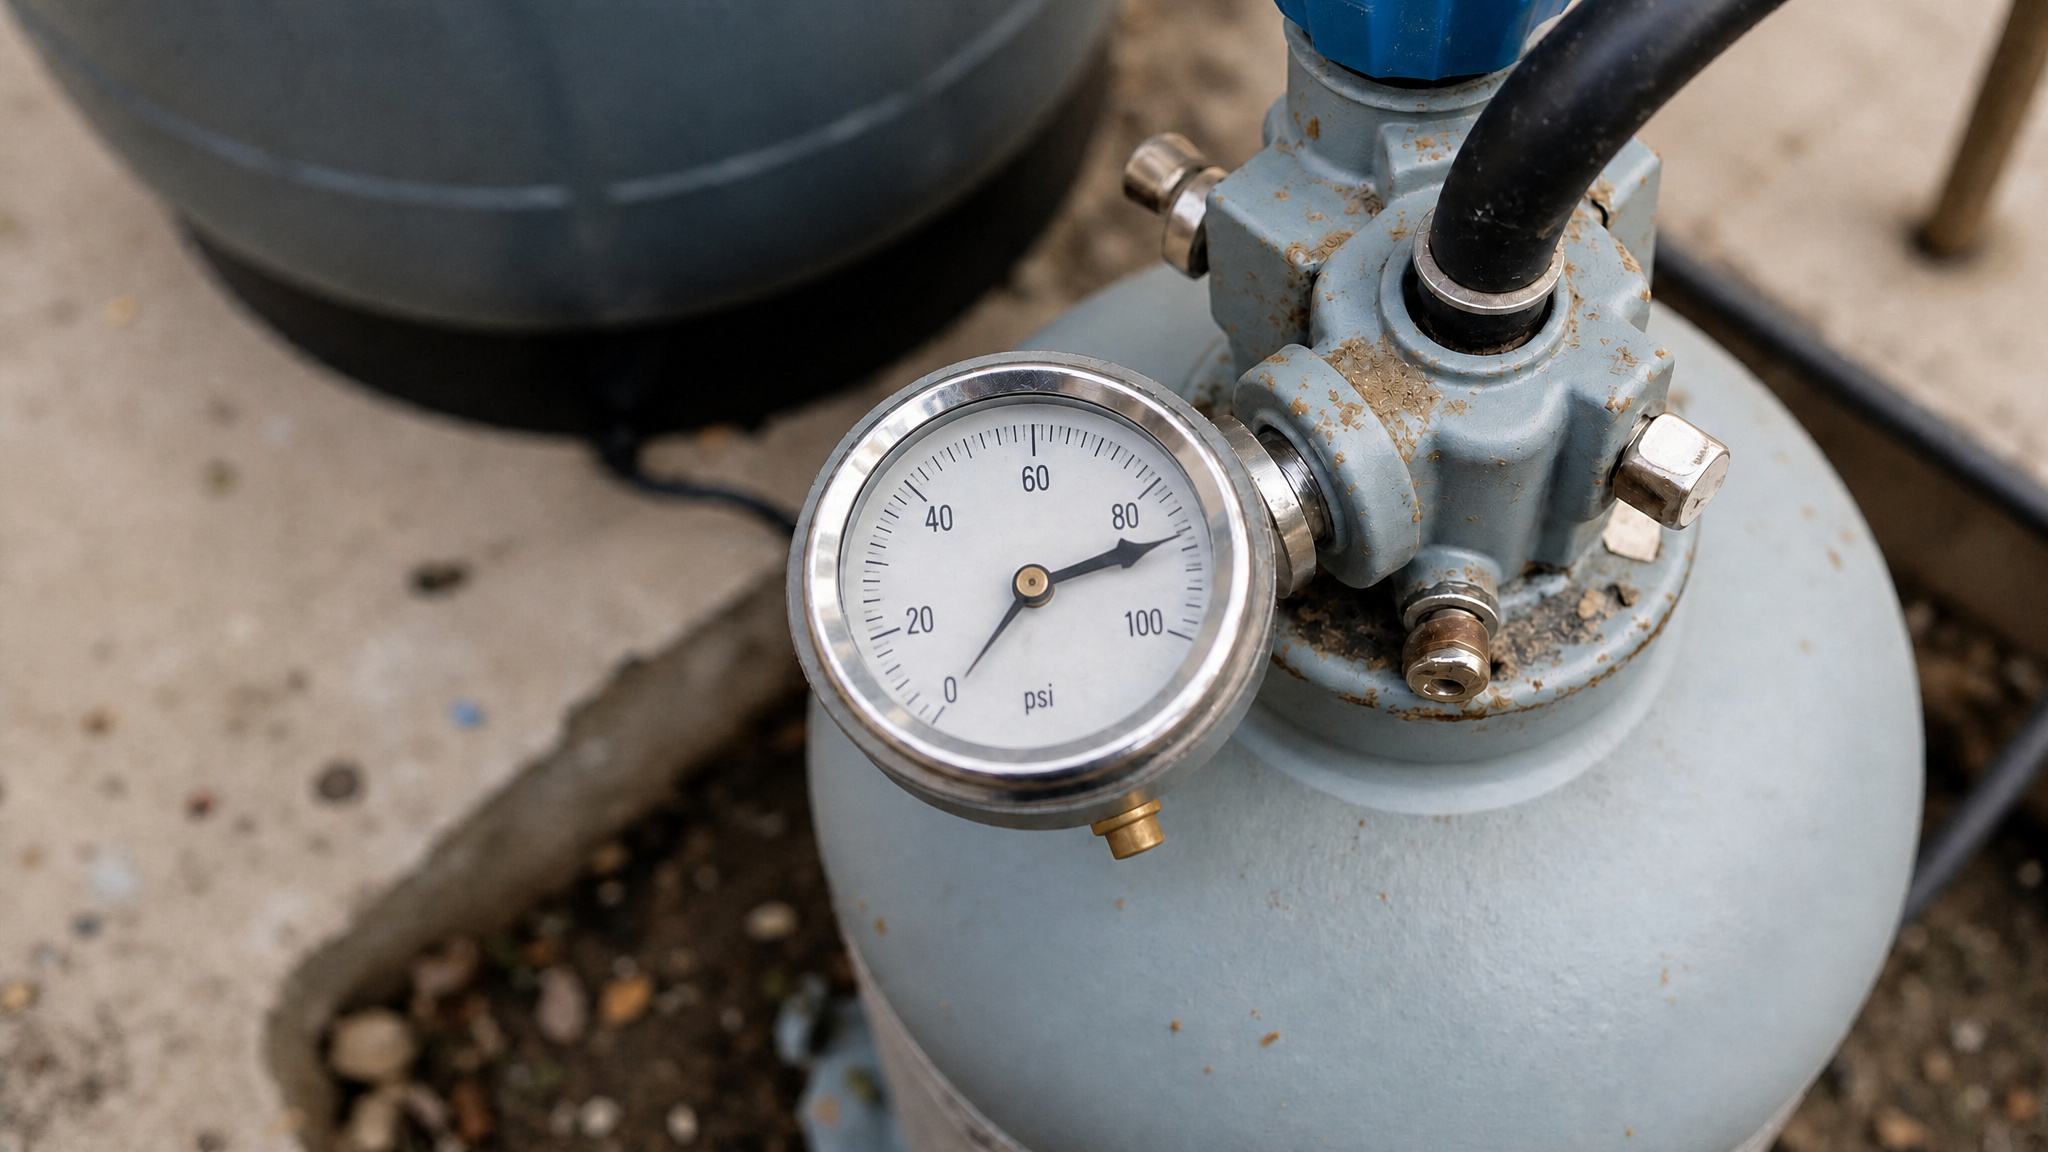
- Check the filter pressure gauge for a stable reading within the normal operating range.
- Inspect fittings, seals, and plumbing joints for spraying, dripping, or air leaks.
- Verify both skimmer and return lines stay open and drawing water properly.
- Run circulation 12 to 48 hours to confirm consistent, reliable flow.
Skim, Brush, and Vacuum the Pool
Skim floating debris from the water surface before you move to deeper work. Removing leaves and surface material first prevents that debris from sinking and complicating the next steps. Once the surface is clear, brush the walls, steps, and floor to loosen dirt, algae, and residue that settled over winter. Work systematically toward the main drain so loosened material collects for removal.
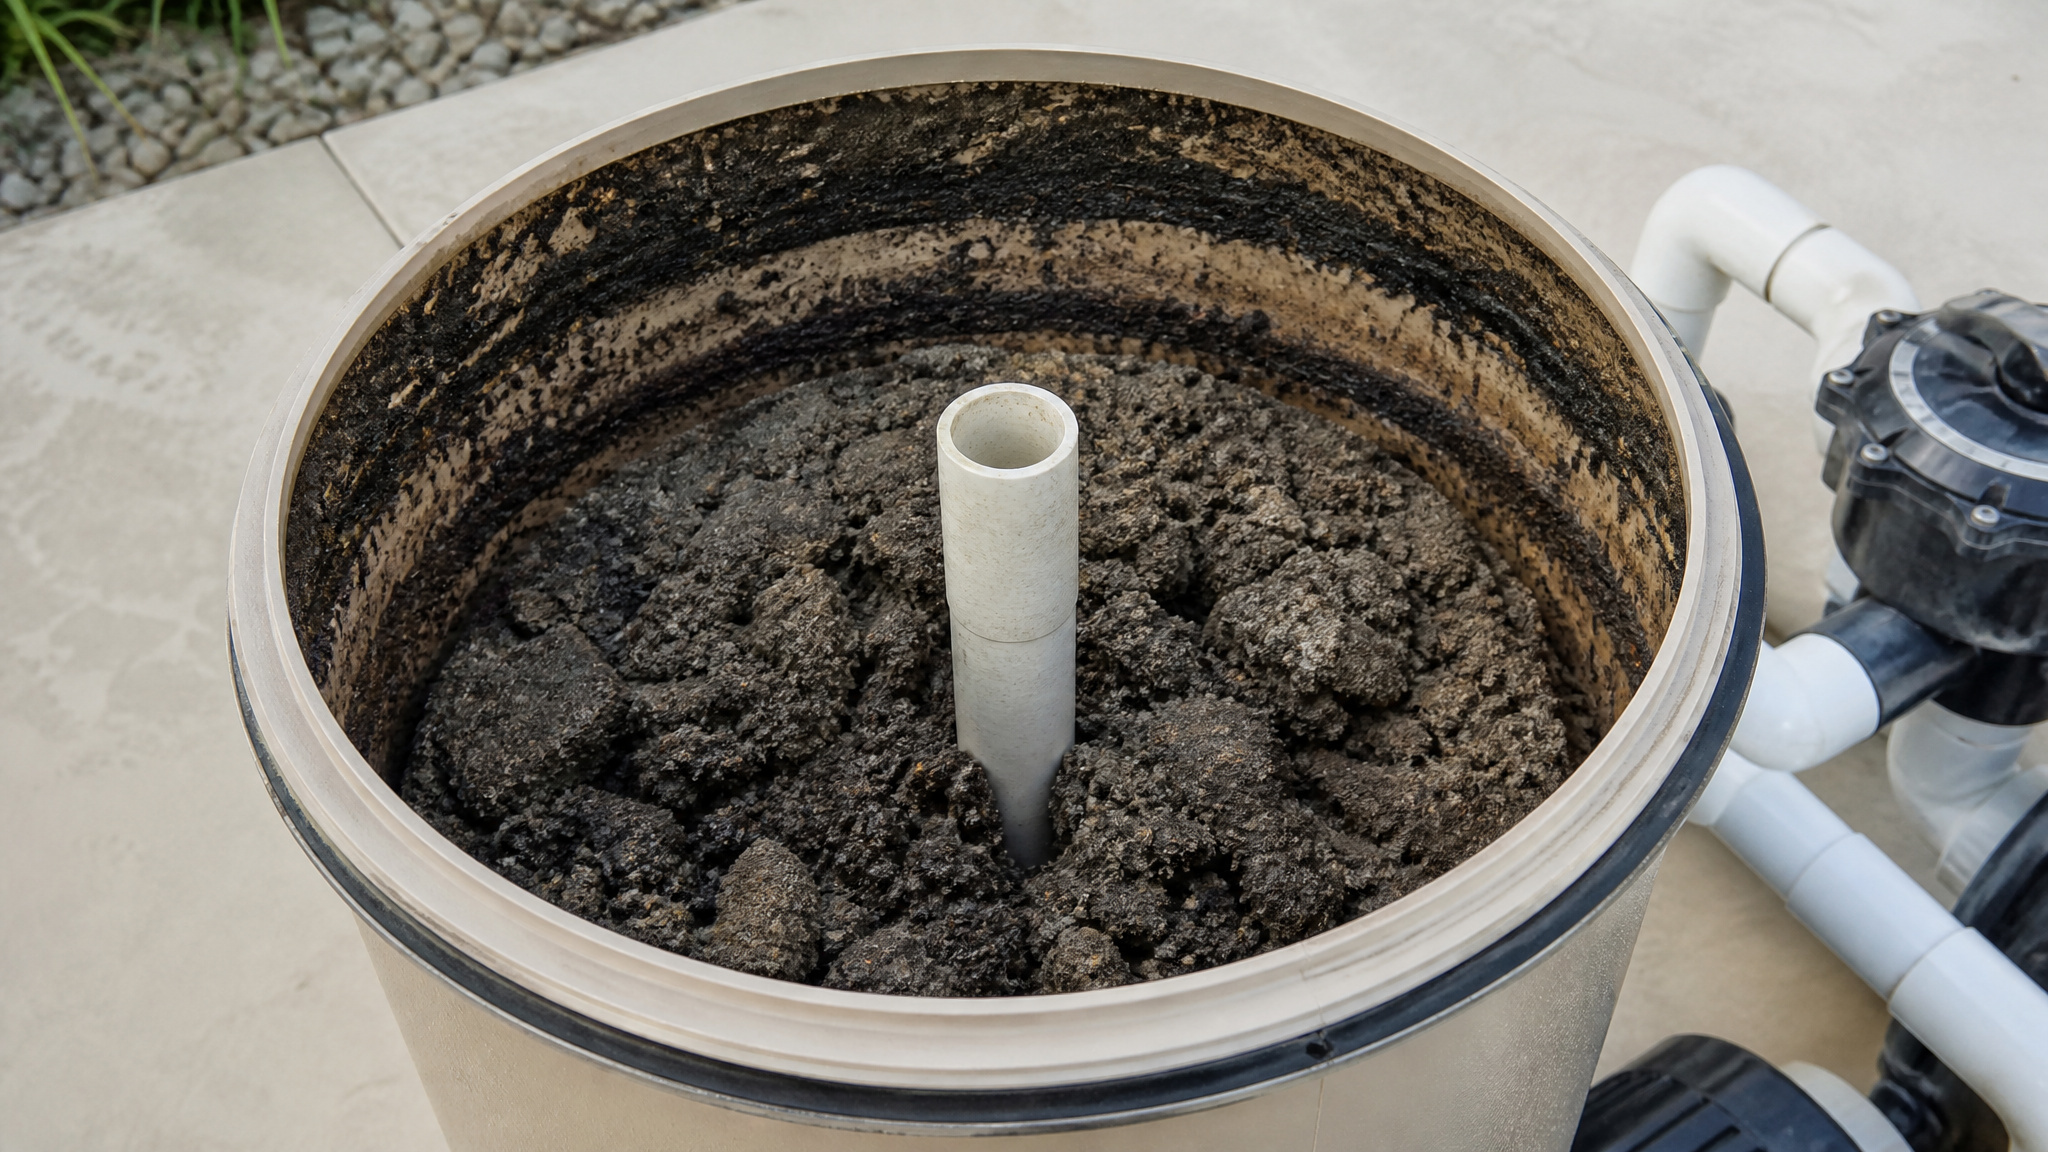
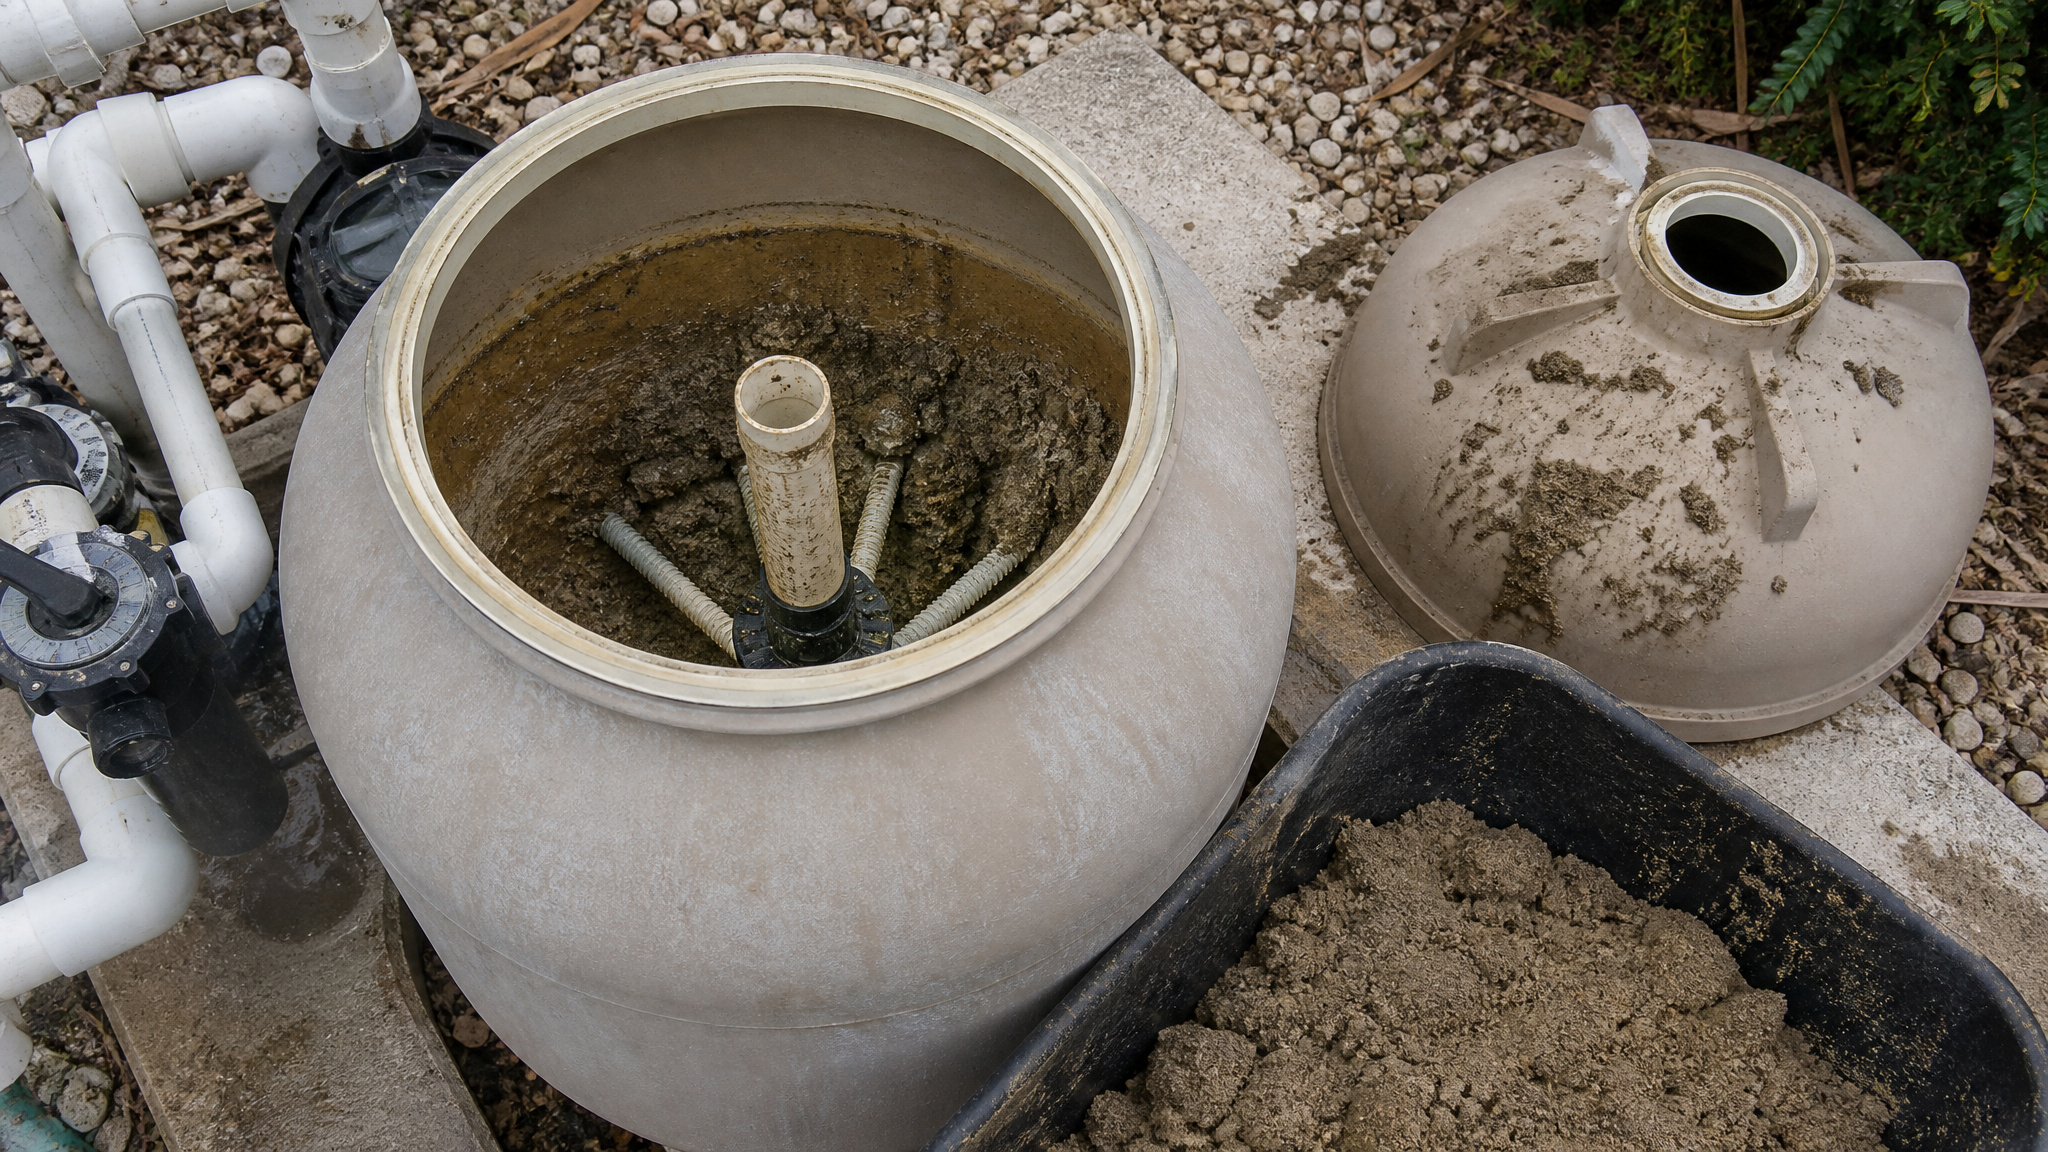
After brushing, let circulation run until loose sediment clears, then vacuum the pool to pull settled debris from the floor. Clean tiles and visible buildup as part of this initial cleanup. If you’re running sand or DE filters, backwash them when pressure rises to remove winter sediment and restore filtration efficiency before you balance the water.
Backwash the Filter to Clear Sediment
Backwash your sand or DE filter to clear sediment once the pressure gauge climbs 8 to 10 psi above its clean baseline, since winter sediment restricts flow and reduces filtration efficiency. Running the reversed flow flushes trapped debris out through the waste line, restoring circulation and protecting downstream equipment from strain. Monitor the sight glass and stop when the water runs clear.
- Turn off the pump before switching the multiport valve to the backwash position.
- Run the backwash cycle until the sight glass shows clear water, typically two to three minutes.
- Switch to rinse, run 30 seconds, then return the valve to filter.
- Recharge DE filters with fresh media after each backwash to maintain filtration.
- Recheck the pressure gauge to confirm it returned to baseline.
Test and Balance Your Pool Water
Test your water before adding any chemicals or letting anyone swim, checking pH, total alkalinity, calcium hardness, and free chlorine, comparing results against standard opening ranges: pH 7.2 to 7.6, alkalinity 80 to 120 ppm, chlorine 1 to 3 ppm, calcium hardness 200 to 400 ppm, and stabilizer 30 to 50 ppm.
Adjust alkalinity first, since it stabilizes pH and prevents fluctuations during later corrections. Add balancing chemicals only after you’ve brushed and vacuumed, allowing circulation to distribute them evenly. Then retest once flow has stabilized to confirm accurate readings.
Shock the pool afterward to eliminate lingering contaminants, ideally at night when sunlight won’t degrade the chlorine. Precise, sequenced balancing protects swimmers, safeguards equipment, and establishes stable water chemistry before your season begins.
Shock Your Pool the Right Way
Shock your pool the right way by destroying lingering contaminants, organic waste, and bacteria that winter left behind, after you’ve balanced the water. Timing and technique matter, so follow a disciplined process to protect both water quality and equipment.
- Shock at night, since sunlight degrades chlorine and reduces treatment effectiveness.
- Confirm the pump and filter are running to circulate the shock evenly throughout the water.
- Pre-dissolve granular shock in a bucket of water when the manufacturer directs, then pour it around the perimeter.
- Keep swimmers out until free chlorine drops back into the 1 to 3 ppm range.
- Retest after circulation stabilizes to verify chlorine levels and confirm contaminants are fully neutralized.
Never mix shock products, and always add chemicals to water.
Confirm Swim Readiness Before Diving In
Your pool is swim-ready when the water chemistry has stabilized and all safety features pass inspection. Confirm this by running the pump and filter continuously for about 24 hours after chemical treatment, then retesting the water to verify levels have stabilized. Check that pH sits at 7.2 to 7.6, alkalinity holds at 80 to 120 ppm, free chlorine reads 1 to 3 ppm, and calcium hardness falls within 200 to 400 ppm. Don’t allow swimming until these readings confirm balance.
Next, inspect ladders, handrails, and depth markers for secure mounting and safe operation. Verify rescue equipment is accessible and lighting functions correctly for visibility. Confirm fences, gates, alarms, and signage comply with local safety rules before granting access.
After chemistry stabilizes and safety features pass inspection, your pool’s ready. Establish ongoing maintenance to keep conditions stable throughout the season.
Conclusion: Your Spring Opening Checklist
A solid opening checklist keeps spring stress-free: clear and store the cover, reconnect the equipment, top off and balance the water, then shock and filter until it clears. Working through it in order means nothing gets missed and the pool is ready sooner. Follow the same steps each year and opening becomes a predictable routine rather than a guessing game.
Shop Pool Opening Chemicals for Spring
Getting your pool spring-ready starts with the right chemicals and equipment for a clean, safe opening. Shop Prime Pool Market for reliable Pool & Spa Chemicals at discount prices delivered right to your door. Call (877) 650-7665 today or browse our shop and save on every purchase.
Frequently Asked Questions
When Is the Best Time to Open My Pool in Spring?
Open once daytime temperatures are regularly in the 60s and 70s. Opening a little early, before the water warms, actually makes things easier because algae has not had a chance to bloom yet. Waiting until it is hot often means opening to a green pool that takes more work and chemicals to clear.
How Much Does Professional Pool Opening Typically Cost?
A professional opening usually runs 150 to 500 dollars depending on pool size, region, and whether chemical balancing and equipment startup are included. Inground pools cost more than above ground ones. Opening it yourself only costs chemicals, so the professional route mainly buys convenience and expertise for larger or more complex pools.
Should I Open My Pool Myself or Hire a Professional?
Many owners handle it themselves with a checklist and a free weekend, since the steps are straightforward. Hiring a pro makes sense for a large or feature-heavy pool, if you are unsure about the plumbing, or if you simply prefer to skip the labor. Match the choice to your comfort level and the pool’s complexity.
Can I Open My Pool Without Draining the Water Completely?
Yes, and you should. Draining is rarely necessary and can even risk damage to the liner or shell. In almost all cases you top off the water lost over winter, then balance and shock what is already there. A full drain is only needed if the water is beyond saving or a repair requires it.
How Long After Opening Can I Safely Swim in My Pool?
Usually two to four days, once the water is balanced, the chlorine sits in the normal range, and the pool has filtered clear. A pool that wintered well is ready faster; a cloudy or green one takes longer. Always confirm the chemistry is balanced and the water is clear before anyone gets in.