
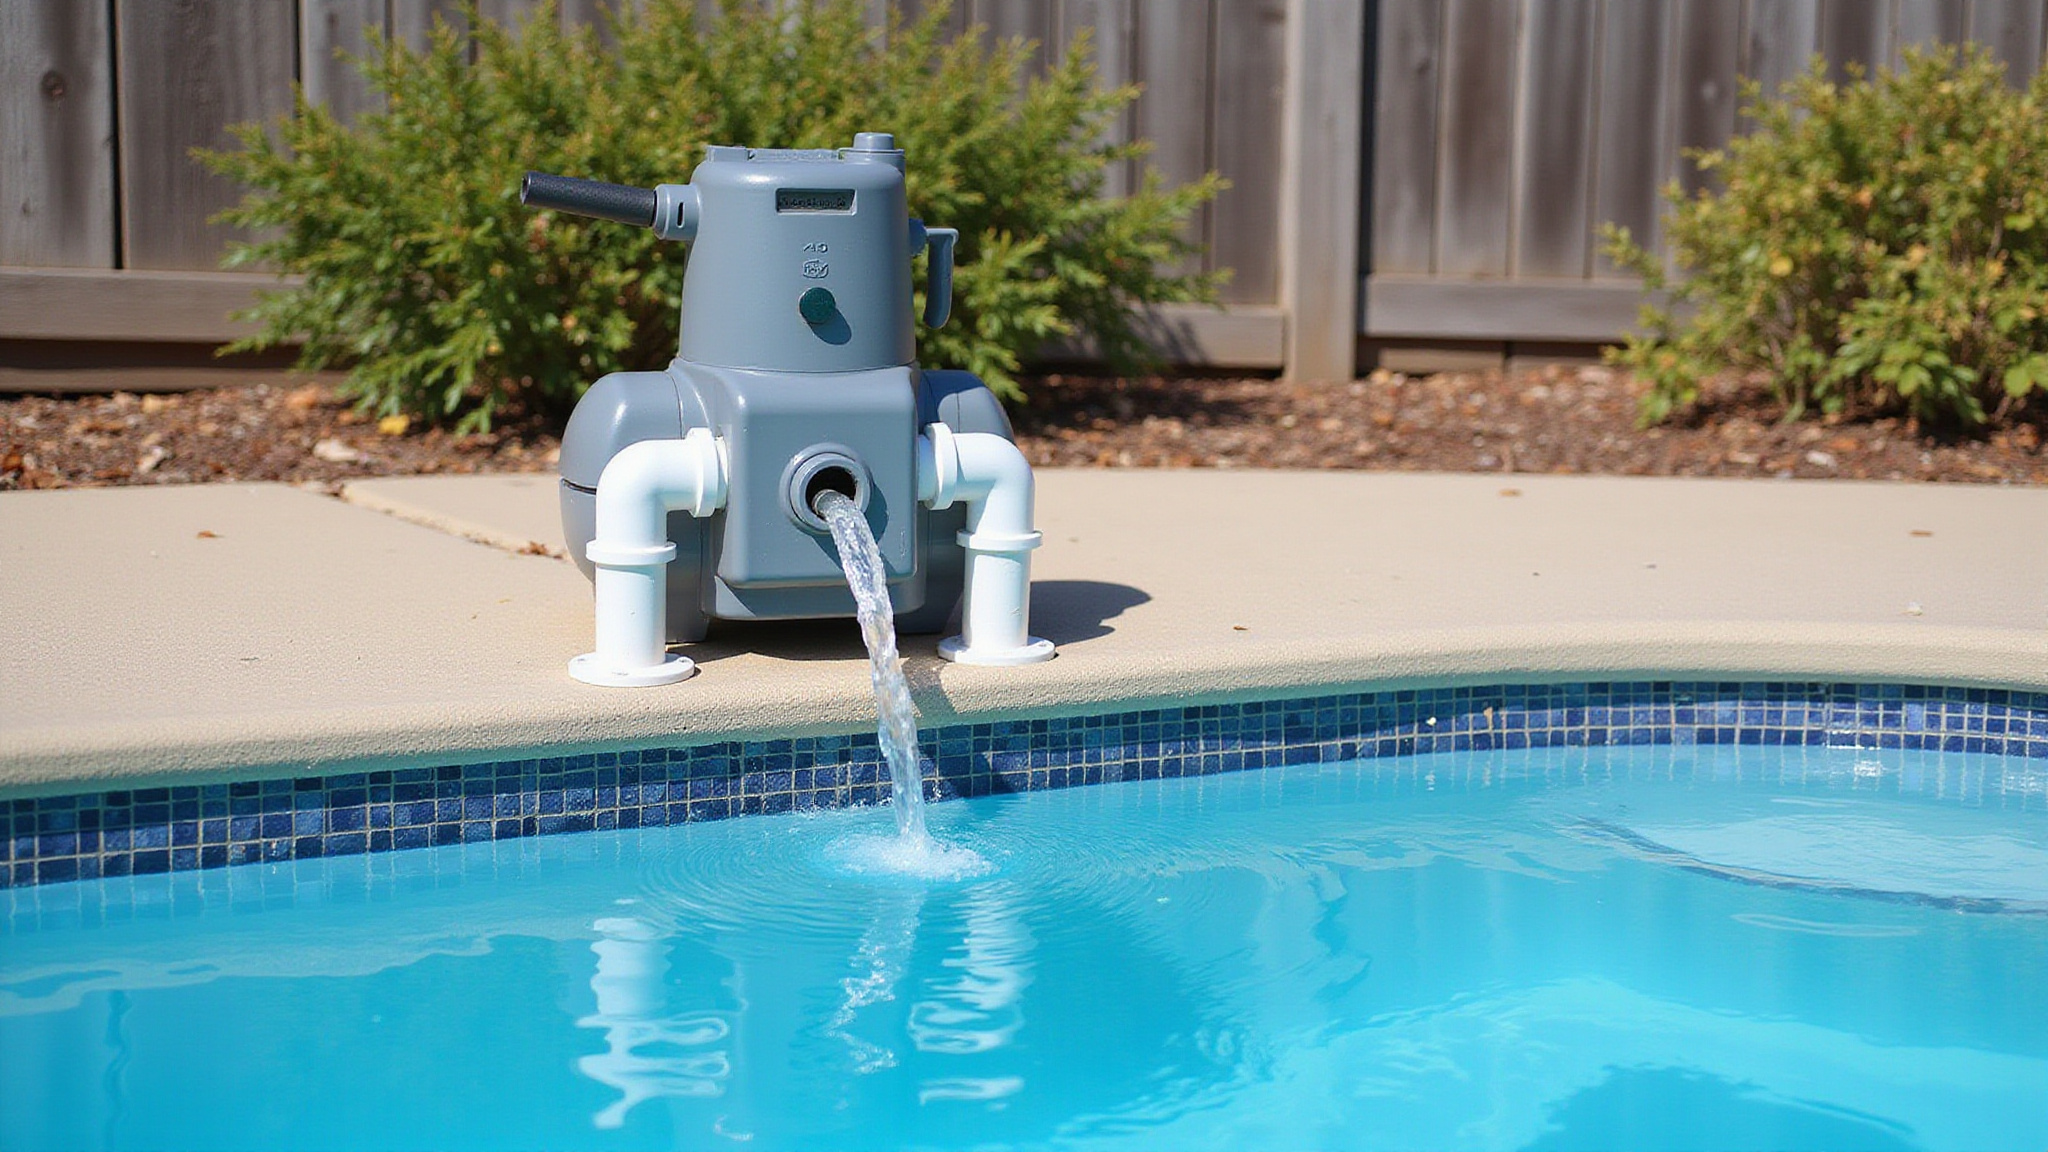
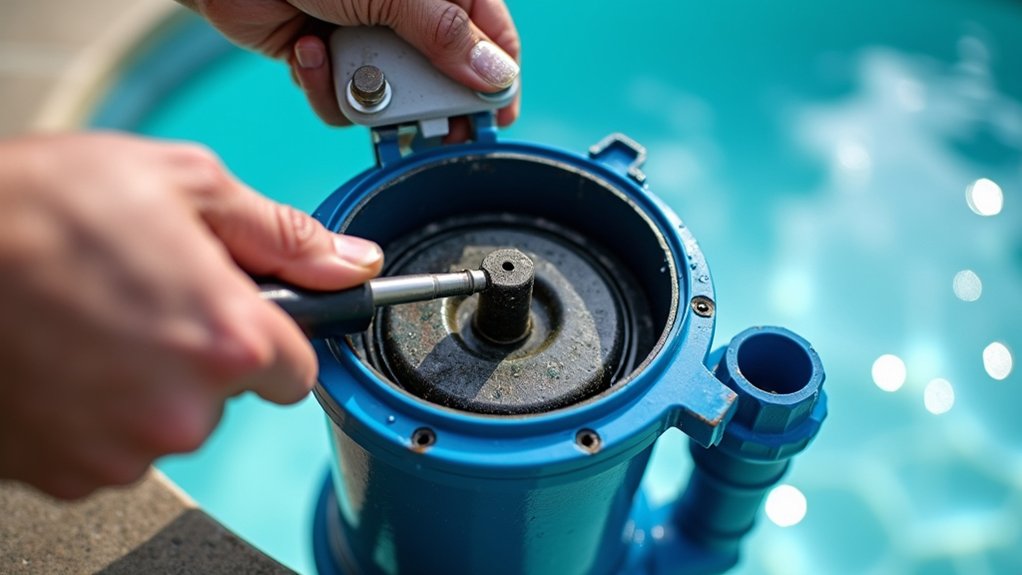
If your pool pump’s making a loud grinding noise, you’re dealing with a mechanical fault that’s actively damaging the motor. Worn motor bearings produce a gritty, metallic tone. Debris lodged in the impeller causes rhythmic rattling. Impeller-to-volute contact creates grinding from interference. Cavitation, when the pump starves for water, sounds like rocks tumbling in a can. Each cause leaves distinct clues, and knowing how to isolate them safely can save your motor.
Key Takeaways
- Worn motor bearings produce a rough, gritty, metallic grinding tone and may pair with heat at the motor housing.
- Debris lodged in the impeller, such as leaves, pebbles, or screws, causes rhythmic rattling against the vanes.
- Impeller-to-volute contact creates grinding from direct mechanical interference between moving and stationary parts.
- Cavitation from low water levels or restricted flow sounds like rocks tumbling in a can.
- A failed shaft seal lets water reach and corrode the front bearing, shifting squealing into grinding.
What That Pump Grinding Noise Really Means
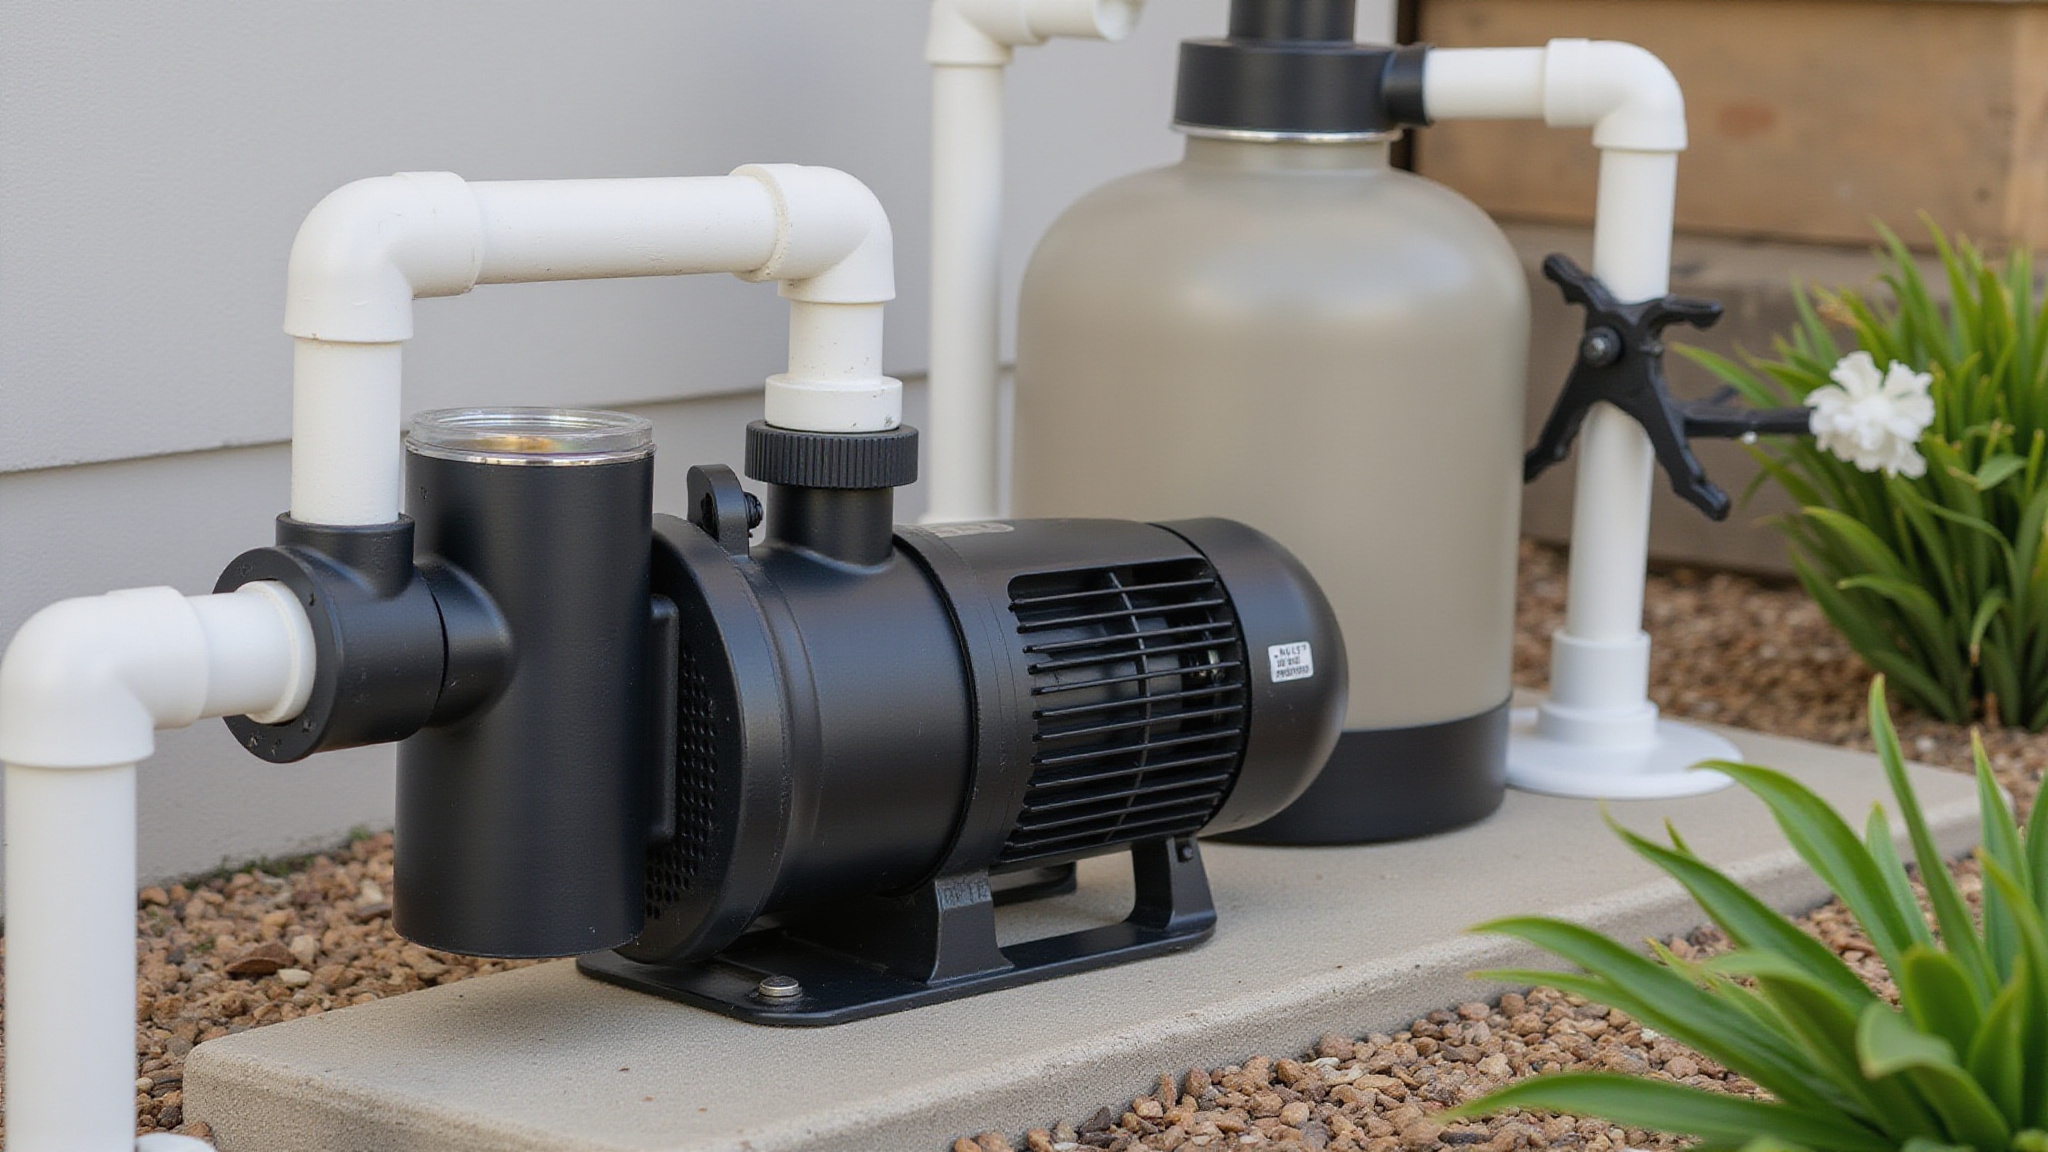
A pool pump grinding noise usually means worn motor bearings, debris lodged in the impeller, impeller-to-volute contact, or cavitation from restricted water flow. That sound is a diagnostic clue pointing to a specific mechanical fault, not just background nuisance. Each fault generates a distinct signature. Worn bearings create a rough, gritty, metallic tone that worsens as the motor runs. Debris produces rhythmic rattling. Cavitation sounds like rocks tumbling in a can. A noisy pool pump won’t fix itself, so you need to isolate the cause before damage escalates. Identifying the exact character of the noise helps you narrow down pool pump problems and target the correct repair efficiently.
Should You Shut the Pump Off Right Away?
Yes, in most cases you should shut the pump off right away. Persistent loud grinding, especially paired with heat buildup, signals bearing deterioration or impeller contact that worsens with every rotation. Running a loud pool pump under these conditions risks total motor failure and expensive replacement. Shut it down and evaluate before damage compounds.
Loud grinding paired with heat means bearing failure, shut the pump down before minor damage becomes a costly replacement.
Shut off power immediately when you notice:
- Metallic grinding plus heat at the motor housing, indicating bearing failure
- Water pooling at the motor-to-pump junction, signaling seal failure
- Rhythmic rattling suggesting debris lodged in the impeller
- Escalating pool pump noise that climbs above normal operating levels
If cavitation’s the cause, correcting flow may resolve it.
How to Diagnose the Pump Noise Safely
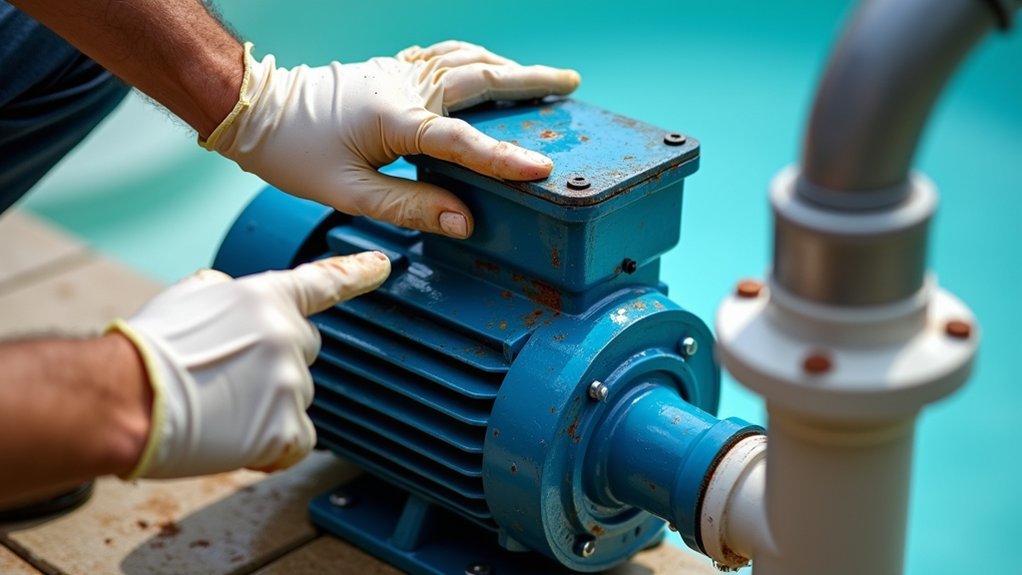
Before touching anything, cut power to the pump at the breaker so the motor can’t start while you’re working. With power off, spin the motor shaft by hand, a rough or wobbly feel points to worn bearings, while smooth rotation suggests the noise is coming from elsewhere. Next, remove and inspect the pump and skimmer baskets, then check the impeller opening with a flashlight for lodged debris or damage.
Power Off First
Power off first at the breaker panel, cutting power to the pump before you touch anything. A pool pump motor spins fast and holds residual charge in the capacitor, so never inspect baskets, the impeller, or the shaft while power’s live. Verify the motor’s fully stopped before you open anything. Pool pump operation during summer can significantly impact the maintenance of your pool. Understanding how to adjust the pump settings based on temperature and usage will help keep your water clean and clear.
- Trip the breaker, don’t just flip the timer switch. Timers can re-energize on schedule.
- Confirm zero voltage at the motor terminals with a multimeter if you’re opening the housing.
- Wait for full spin-down. A coasting impeller can grind, mislead your diagnosis, or injure your hand.
- Discharge the capacitor before touching internal wiring, since stored charge remains after shutdown.
After you’ve verified everything’s dead, you can safely spin the shaft and inspect for roughness.
Spin Shaft Manually
Spin the shaft by hand after confirming power is dead and the capacitor is discharged, reaching behind the motor to turn it. A healthy shaft turns smoothly, with even resistance and no lateral play. Feel for roughness, grittiness, or catching as it rotates, these indicate worn bearings. Notice any wobble; a shaft that shifts side to side signals bearing damage or shaft misalignment.
Listen closely while spinning. A metallic scraping or crunching confirms bearing deterioration, often accelerated by water intrusion from a failed seal. Compare what you feel to normal operation: smooth equals intact bearings, rough equals replacement.
If the shaft spins freely and quietly, the noise likely originates elsewhere, debris in the impeller, cavitation, or impeller-to-volute contact. Document what you feel before moving to the next diagnostic step.
Inspect Baskets And Impeller
Inspect the baskets and impeller by cutting power at the breaker, then removing the pump basket and inspecting the skimmer basket for cracks or trapped debris. A compromised basket lets leaves, acorns, pebbles, or screws pass through to the impeller vanes, producing rhythmic grinding or rattling. Shine a flashlight into the impeller opening and check for lodged objects or damaged blades.
- Remove and examine the pump basket for cracks that allow debris through
- Clear the skimmer basket of leaves, acorns, and small hardware
- Inspect the impeller opening with a flashlight for trapped objects
- Check impeller vanes for wobble, wear, or volute contact
Clearing lodged debris often resolves the noise.
Worn Motor Bearings: The Usual Culprit
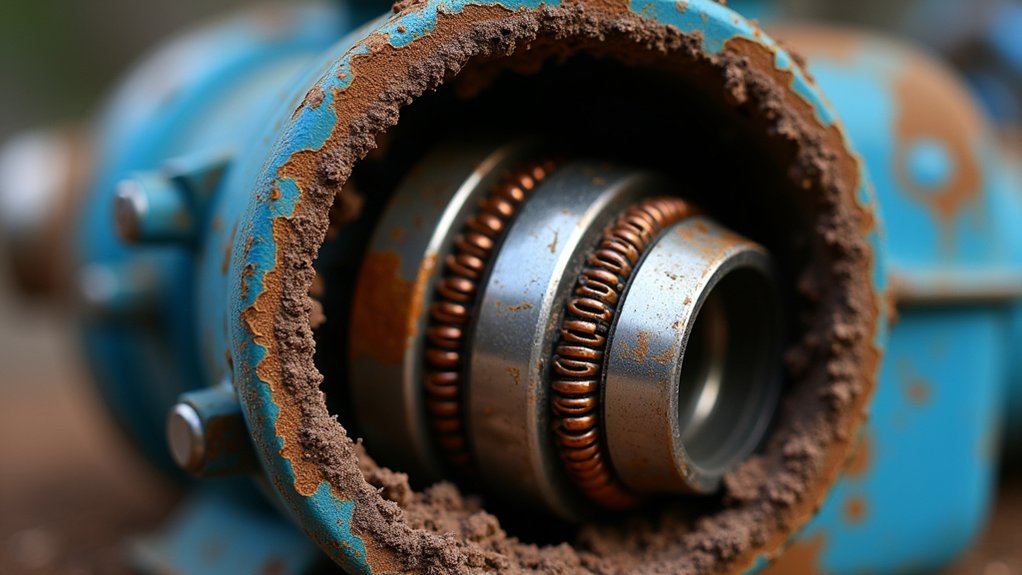
Worn motor bearings are the most likely culprit when your pool pump starts making a loud grinding noise. Bearings degrade from age, heat, lubrication loss, or water intrusion through a failed shaft seal. As they wear, they produce a rough, gritty, or metallic grinding that worsens the longer the motor runs.
To confirm, cut power to the pump and spin the motor shaft by hand. A failing bearing feels rough or wobbly rather than smooth. You may also notice heat buildup around the motor housing during operation, another sign of deteriorating bearings.
After you’ve verified the bearings are worn, replace them. If the shaft itself is damaged or corroded, you’ll need to replace the entire motor assembly to restore quiet operation.
How to Spot a Failing Bearing by Hand
With the power off, spin the motor shaft by hand and feel for roughness as it turns. A healthy bearing rotates smoothly, while a failing one feels gritty or catches against internal wear. Check for wobble too, any lateral play in the shaft points to worn bearings that need replacement.
Spin the Shaft
Spin the shaft by hand to check whether the bearings are healthy. Kill the power before you touch anything. Once the motor’s fully de-energized, locate the motor shaft at the rear of the assembly, usually accessible under a protective cap or slotted end. Grip the shaft and rotate it slowly by hand. A healthy bearing spins smoothly and quietly. A failing one won’t.
Pay attention to what you feel and hear as you turn it:
- Roughness or grittiness as the shaft rotates, signaling worn bearing surfaces
- Wobble or lateral play, indicating the shaft’s no longer seated tightly
- Resistance or binding that catches at certain points in the rotation
- Metallic scraping sounds that confirm internal wear
If you notice any of these, your bearings are compromised and need replacement before further damage occurs.
Feel for Roughness
The roughness you feel through your fingertips is the clearest signal a bearing’s on its way out. With power off, grip the shaft and turn it slowly. A healthy bearing spins smooth and even. A failing one feels gritty, notched, or catches at points through the rotation. That texture comes from pitted races and worn ball bearings grinding metal on metal.
Pay attention to wobble too. If the shaft shifts side to side or feels loose in its housing, the bearing’s lost its tolerance and won’t hold the rotor true. Both symptoms, grit and play, confirm internal wear. Once you feel either, plan on replacing the bearings, or the motor assembly if the shaft’s damaged.
Check for Wobble
Check for wobble by gripping the motor shaft with power off and trying to move it laterally, not just rotating it. A healthy bearing holds the shaft firmly centered. If you feel play, side-to-side movement or a loose, sloppy give, the bearing race has worn beyond tolerance. This wobble confirms the shaft won’t stay aligned under load, which explains the grinding you hear when the motor’s running.
- Lateral play: shaft shifts side-to-side instead of staying fixed.
- Vertical give: shaft drops or lifts when pressure’s applied.
- Uneven resistance: rotation feels tight in spots, loose in others.
- Audible click: faint metallic tick as the shaft moves.
Any wobble means replacement.
When a Failed Shaft Seal Lets Water In
A failed shaft seal lets water reach internal motor components and attack the front bearing directly. Water intrusion often signals one of the most destructive failures your pool pump can suffer: a broken mechanical shaft seal. Look for water pooling under the pump or seeping at the motor-to-pump junction. That’s your primary diagnostic marker. As corrosion develops around the bearing, you’ll hear screeching, squealing, or grinding that intensifies with runtime. Don’t ignore these sounds. Running the pump with a compromised seal accelerates bearing corrosion and drives the motor toward total failure. To repair it, replace the mechanical seal and inspect the bearing condition closely. If corrosion has already reached the bearing, you’ll likely need bearing replacement, or a full motor assembly swap.
Signs of Water Intrusion at the Motor
Water intrusion at the motor leaves clear physical evidence, so you can catch it before the bearing fails completely. Start your inspection with power off, then examine the motor-to-pump junction for telltale signs. Water tracking along the shaft indicates a compromised mechanical seal, and you’ll often find corrosion developing around the front bearing before the noise turns catastrophic.
Catch water intrusion early, power off, check the shaft and bearing for corrosion before the noise turns catastrophic.
Watch for these diagnostic indicators:
- Water pooling under the pump or dripping at the motor-to-pump junction
- Rust or corrosion streaks on the motor face or shaft area
- Screeching or squealing that shifts to grinding as the front bearing corrodes
- A rough or wobbly shaft when you spin it by hand
If you spot these signs, replace the seal and inspect the bearing immediately.
Cavitation and the Rocks-in-a-Can Sound
Cavitation, not failing bearings, causes a distinctive rocks-in-a-can rattle. Cavitation happens when your pump starves for water, forming air bubbles that collapse violently inside the housing. That collapse generates the harsh, gravelly noise you’re hearing.
Start by checking your pool’s water level. If it’s too low, the skimmer pulls air instead of water. Next, inspect the pump and skimmer baskets for clogs that restrict flow, then examine suction plumbing for blockages or partially closed valves.
Don’t overlook air leaks. Loose suction-side fittings let air infiltrate the system, producing the same noisy operation.
To correct it, raise the water level, open all suction valves fully, and clear every basket and line. Restoring adequate flow eliminates the bubbles and silences the rattle.
Why Low Water Starves Your Pump
When your pool’s water level drops too low, the skimmer starts pulling air instead of water, starving the pump of the flow it needs. That air forms bubbles inside the pump housing, and when they collapse against the impeller, you’ll hear the telltale rocks-in-a-can cavitation noise. Raising the water level back to the middle of the skimmer opening restores proper suction and often silences the racket.
Skimmer Pulls Air
A dropping water level pulls air into your skimmer and turns your pump into a noisemaker. When the pool surface falls near the skimmer’s throat, the skimmer starts pulling air instead of water. That air enters the suction line, travels to the pump, and collapses inside the housing as bubbles implode against the impeller. The result is that harsh “rocks-in-a-can” sound you’re hearing.
Watch for these diagnostic signs:
- A swirling vortex forming at the skimmer mouth
- Air bubbles returning through the pool jets
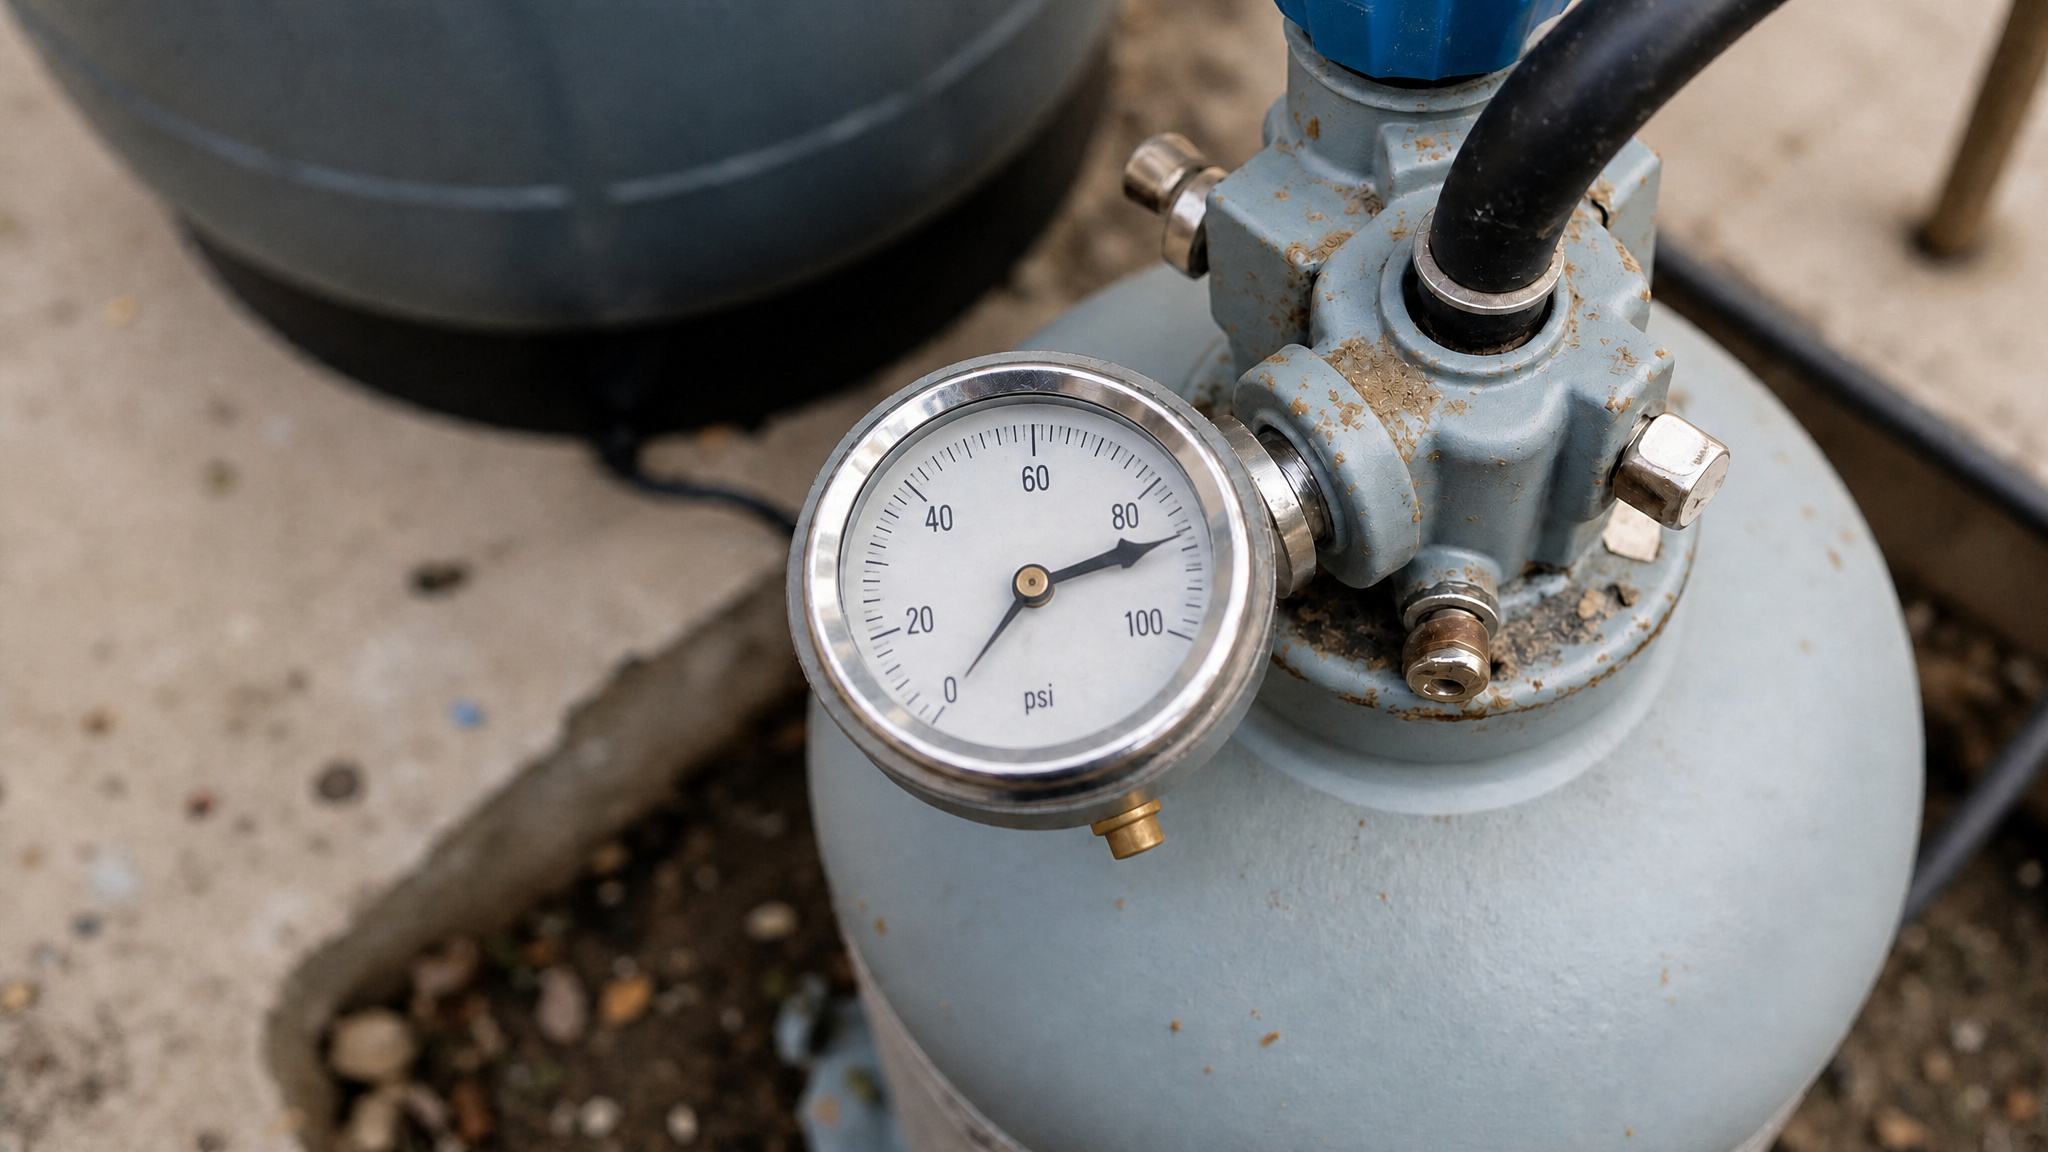
- Fluctuating or dropping pressure on the filter gauge
- Noise that intensifies as the water level keeps falling
Fix it fast: raise the water level to mid-skimmer height. That single adjustment restores steady flow and silences the cavitation quickly.
Cavitation Noise Explained
Cavitation noise is that distinct rocks-in-a-can rattle produced when vapor bubbles form in low-pressure zones and then collapse violently as they hit the impeller vanes. Cavitation starves your pump of water, forcing the impeller to spin against pockets of air and vapor instead of a solid, steady flow. Low pool water level is a frequent trigger, letting the skimmer pull air instead of water. Restricted suction plumbing, a clogged pump basket, or a clogged skimmer basket can starve flow just as effectively. Loose suction-side fittings and air leaks add infiltration that worsens the noise. You’ll hear irregular grinding that fluctuates with flow, not the steady metallic grind of failing bearings. Correct it by raising the water level, opening suction valves fully, and clearing every blockage.
Raising Water Level
Raise your pool’s water level first, because it’s the most common trigger for cavitation. When the water drops below the skimmer’s intake, the pump pulls air instead of water. That air forms bubbles inside the housing, and when they collapse against the impeller, you hear that rocks-in-a-can grinding. Starved for water, the pump can’t maintain proper flow, and the noise worsens the longer it runs.
Raise the level to roughly the middle of the skimmer opening, then watch and listen:
- Water line: keep it at the skimmer’s midpoint, never below the intake throat.
- Skimmer weir: confirm it moves freely and isn’t stuck.
- Air bubbles: check the pump lid for visible air.
- Noise change: verify the grinding stops after refilling.
Clogged Baskets and Restricted Suction Lines
Clogged baskets and restricted suction lines starve your pump and cause grinding noise. When your pump basket or skimmer basket clogs with leaves and debris, water can’t reach the impeller fast enough. That flow restriction triggers cavitation. Air bubbles form and collapse inside the pump, producing a rocks-in-a-can grinding you’ll hear clearly.
Start by shutting off power. Pull the pump basket and clear it completely, then check the skimmer basket for the same buildup. Inspect suction-side plumbing for restrictions or partially closed valves; open them fully.
Don’t overlook debris that slips past a damaged basket and lodges in the impeller vanes. Use a flashlight to check the impeller opening. Restoring unrestricted suction flow usually eliminates the noise, provided your bearings remain intact.
Debris Stuck in the Impeller or Housing
Debris stuck in the impeller or housing produces a distinct rhythmic rattling or grinding as small objects like leaves, acorns, pebbles, screws, or toy fragments lodge in the impeller area and grind against moving parts. A clogged basket often lets enough debris pass through to reach the impeller vanes, where it collides with each rotation. You’ll hear the noise cycle in time with the motor’s speed, distinguishing it from bearing wear or cavitation.
Rhythmic rattling that cycles with motor speed points to debris grinding against the impeller vanes, not bearings or cavitation.
To inspect and clear the obstruction, follow these steps:
- Turn off power at the breaker before touching any component
- Remove the pump basket and check for missed debris
- Shine a flashlight into the impeller opening to spot lodged objects
- Extract fragments carefully to avoid damaging the vanes
Clearing the debris typically resolves the noise if bearings remain intact.
How to Inspect the Impeller for Blockage
Kill the power at the breaker before you touch anything, the impeller’s spinning vanes can amputate a fingertip if the motor kicks on. Confirm the motor’s dead by testing it won’t start. Remove the pump lid and lift out the basket, since debris often bypasses a cracked or improperly seated basket. Shine a flashlight into the impeller opening at the housing’s rear. Look for lodged leaves, acorns, pebbles, screws, or plastic fragments wedged against the vanes. Rotate the impeller by hand and feel for gritty resistance or an obstruction catching between blades. Clear any debris using a stiff wire or needle-nose pliers, working carefully around the vane edges. If the impeller spins freely and cleanly afterward, you’ve likely isolated the grinding source. Reassemble and test.
When the Impeller Rubs the Volute
When the impeller touches the volute face, you’ll hear a grinding sound during rotation, often paired with reduced flow. This contact typically results from debris impact, a damaged impeller, or long-term stress from cavitation and restriction. Depending on the severity, you’ll need to reseat the impeller if it’s shifted or replace it if the blades are worn or damaged.
Recognizing the Grinding Sound
Impeller-to-volute contact produces a steady, mechanical grinding that tracks with the motor’s rotation rather than the intermittent rattle of loose debris. This consistency is your key diagnostic marker. The sound stays uniform because the contact point repeats with each revolution, unlike debris that shifts position and produces irregular noise.
Listen for these characteristics to confirm impeller-to-volute contact:
- Rhythmic consistency that matches motor RPM, not random rattling
- Reduced water flow accompanying the grinding sound
- Continuous friction tone rather than sharp, sporadic impacts
- No improvement after clearing the basket and checking for debris
When you’ve ruled out debris and flow drops alongside the noise, you’re likely dealing with physical impeller contact.
Causes of Impeller Contact
Impeller contact stems from several forces pushing the two surfaces together. Debris impact is a frequent culprit. A pebble or screw striking the impeller can chip or deform its blades, pushing them into the volute face. Long-term stress from cavitation or chronic flow restriction can also wear the impeller until it wobbles and rubs. Worn bearings compound the problem: when the shaft loses its true axis, the impeller shifts forward and grinds against the volute. You’ll often notice reduced flow alongside the noise, since a damaged or misaligned impeller can’t move water efficiently. Inspect the impeller for cracked blades, embedded debris, and improper seating. If the shaft feels rough or loose, bearing failure is likely driving the contact.
Reseating or Replacing Impeller
Reseating or replacing the impeller depends on what’s actually wrong, so begin by diagnosing whether the impeller just needs reseating or complete replacement. Cut power, remove the basket, and inspect the impeller with a flashlight. If it’s simply misaligned or shifted on the shaft, you can often reseat it against the volute face to eliminate contact. But if you find cracked vanes, chipped edges, or a wobble on the shaft, replacement is your only dependable option.
- Check clearance: Verify the gap between the impeller and volute face is uniform.
- Spin test: Rotate the shaft by hand to feel for rubbing or resistance.
- Inspect vanes: Look for cracks, chips, or worn blade edges.
- Confirm seating: Ensure the impeller is torqued flush and true.
Loose Mounting and Pump Vibration
A loose pump can mimic a serious internal failure, but it’s often one of the easier problems to diagnose and fix. When mounting hardware loosens, the pump vibrates against the pad, producing a noise that sounds like small rocks rattling inside the housing. With the power off, grip the pump and try to rock it. If it shifts or wobbles, the mounting bolts have likely backed out or the pad has degraded. Check each fastener securing the motor and pump base, tightening any that feel loose. Inspect the pad for cracks or unevenness that let the assembly flex under load. After you’ve stabilized the mount and eliminated vibration, the grinding should stop, confirming the noise was mechanical looseness, not bearing or impeller damage.
Repair It Yourself or Replace the Motor?
Repair it yourself if the shaft spins straight and the damage is isolated to worn bearings. Replace the motor if the shaft is scored, corroded, or the seal has failed with water intrusion. To decide, spin the shaft by hand with power off. If it feels rough or wobbly but the shaft is straight, bearing replacement is viable. If the shaft is scored, corroded, or the seal has failed with water intrusion, replacing the motor assembly is often the smarter call.
- Replace bearings if the shaft spins straight and damage is isolated to worn bearings.
- Replace the motor if the shaft is damaged, corroded, or water-soaked.
- Weigh cost: bearings are cheap, but labor and press tools add up.
- Check warranty before opening a sealed motor housing.
Conclusion: Silencing a Grinding Pump
A loud grinding noise from a pool pump almost always means worn motor bearings, and it is a warning worth heeding before the motor seizes. Sometimes debris or a dry pump is the cause, which is easier to fix, but grinding bearings usually mean a repair or replacement is coming. Act on the noise early and you often save the motor rather than replacing the whole pump.
Shop Reliable Pool Pumps at Discount Prices
Whether you’re replacing an old pump or upgrading to a more energy-efficient model, quality matters for lasting performance. Shop Prime Pool Market for reliable Pool Pumps at discount prices delivered right to your door. Call (877) 650-7665 today or browse our shop and save on every purchase.
Frequently Asked Questions
How Much Does It Cost to Replace a Pool Pump Motor?
A replacement motor typically costs 150 to 400 dollars for the part, with labor adding more if you hire it out. In some cases just the bearings can be replaced for less, though many techs prefer swapping the whole motor. Getting the noise diagnosed first tells you whether a full motor replacement is really necessary.
How Long Do Pool Pump Motors Typically Last?
Most last eight to twelve years with good care. Keeping the motor dry, clearing its air vents, and running it with proper water flow all help it reach that range. Grinding or squealing bearings are a sign the motor is wearing out, sometimes early if it has run hot or sat in standing water.
Can a Grinding Pump Increase My Electricity Bill?
Yes. Worn bearings create friction, so the motor has to draw more power to spin, which shows up on the bill. A struggling motor is also less efficient at moving water, meaning it runs longer to do the same job. Fixing the noise early restores efficiency and stops the slow creep in energy use.
Should I Hire a Professional or Attempt Repairs Myself?
Simple causes like clearing debris or priming the pump are fine to handle yourself. Replacing bearings or a motor involves electrical work and press-fit parts that are easy to get wrong, so most owners are better off with a pro for those. If the grinding is bearing-related, professional repair is usually the safer call.
How Often Should I Service My Pool Pump to Prevent Problems?
A basic check every few months goes a long way: clear the vents, empty the strainer basket, and listen for new noises. A more thorough annual service catches wear before it becomes a breakdown. Regular attention to small things like a clean basket and good water flow is what keeps bearings and seals lasting longer.